
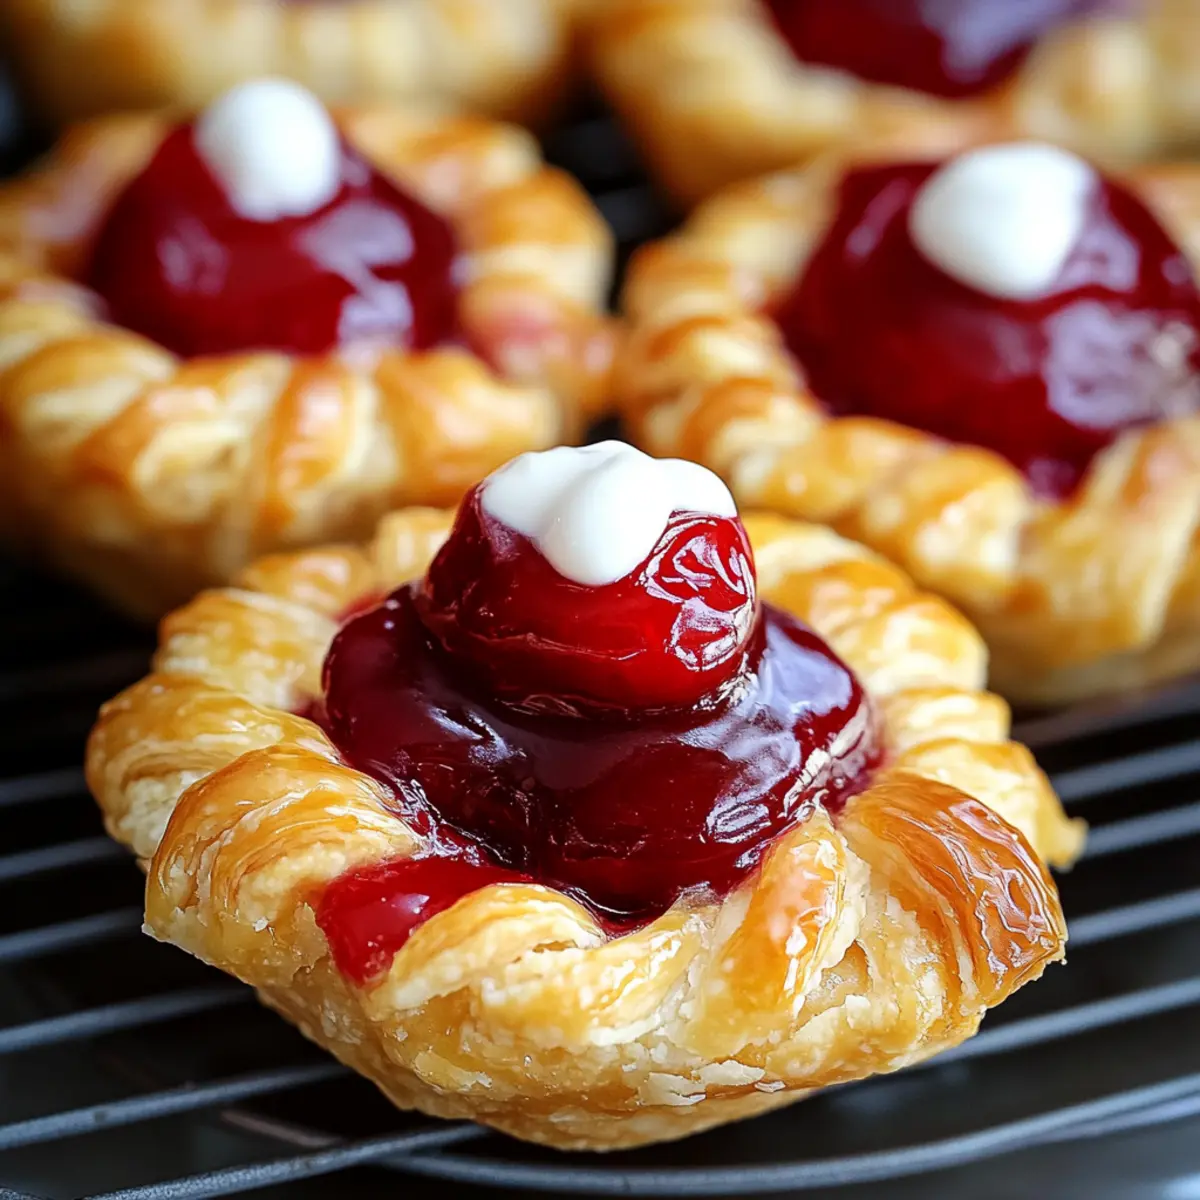
As I stood in my kitchen, the sweet aroma of cherries wafted through the air, instantly transporting me back to summer family picnics and lazy afternoons. These Quick & Easy Cherry Pie Bites capture that nostalgic flavor perfectly, transforming the classic cherry pie into bite-sized delights that are as simple to make as they are delightful to eat. Ready in under 30 minutes, they are not only a portable dessert you can enjoy on the go, but they’re also budget-friendly, making them a go-to treat for any occasion. With their flaky exterior and gooey cherry filling, they’re bound to charm friends and family alike. Curious about how to whip up these little treasures? Let’s dive in!
Why are Cherry Pie Bites a Must-Try?
Simplicity: These Cherry Pie Bites are effortlessly quick to prepare, making them an ideal option for busy days or last-minute gatherings.
Versatile: Swap out the cherry filling for any fruit you love—think blueberries or even pumpkin for a seasonal twist!
Budget-Friendly: Using common pantry ingredients ensures you won’t break the bank while satisfying your sweet cravings.
Portable Goodness: Perfect for lunchboxes or picnics, these tasty bites can be enjoyed on the go without all the fuss of a regular pie.
Crowd-Pleaser: Their irresistible combination of flaky crust and gooey filling will win hearts at any party—like serving up a scoop of nostalgia with each bite! For more quick desserts, check out my Cherry Snowball Cookies or the delicious Peanut Butter Pie.
Cherry Pie Bites Ingredients
-
For the Dough
• Crescent Roll Dough – Perfect for quick assembly and adds that flaky texture. -
For the Filling
• Cherry Pie Filling – Gives you that sweet and tangy cherry flavor; homemade can elevate the taste!
• Cream Cheese (optional) – This dollop adds creaminess, similar to cheesecake texture, enhancing your Cherry Pie Bites. -
For the Glaze
• Powdered Sugar – Essential for that sweet glaze; adjust based on your desired sweetness level.
• Vanilla Extract – A key flavor that enhances the overall taste; swap it for almond extract for something different. -
For the Topping
• Butter – Brush on top for richness and beautiful browning.
• Coarse Sugar (optional) – For added crunch and sparkle on the top of your bites. -
For the Optional Glaze
• Powdered Sugar and Milk – Mix to create a drizzleable glaze, adjusting thickness to your liking.
Step‑by‑Step Instructions for Cherry Pie Bites
Step 1: Preheat Oven
Begin by preheating your oven to 375°F (190°C). While it heats, prepare a baking sheet by lining it with parchment paper. This ensures easy clean-up and helps the Cherry Pie Bites bake evenly. Prepping your workspace now will streamline the assembly process later on.
Step 2: Prepare Filling
In a mixing bowl, combine cream cheese, powdered sugar, and vanilla extract. Use a hand mixer or a whisk to blend the ingredients until the mixture is smooth and creamy, about 2-3 minutes. This creamy layer will provide a delightful contrast to the sweet cherry pie filling and enhance the overall flavor of your Cherry Pie Bites.
Step 3: Assemble Bites
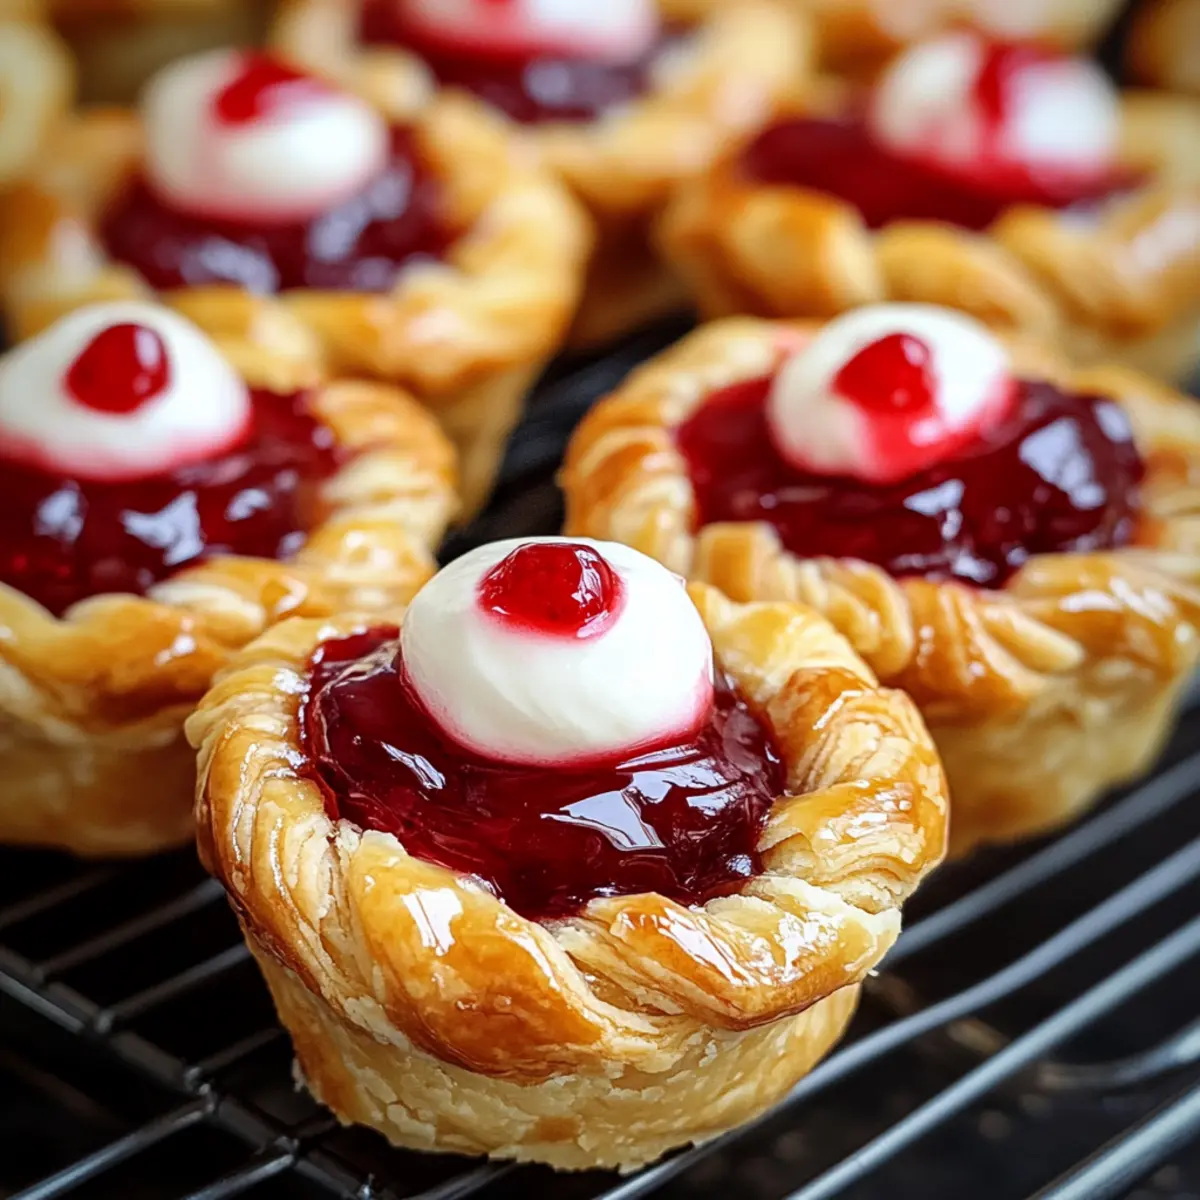
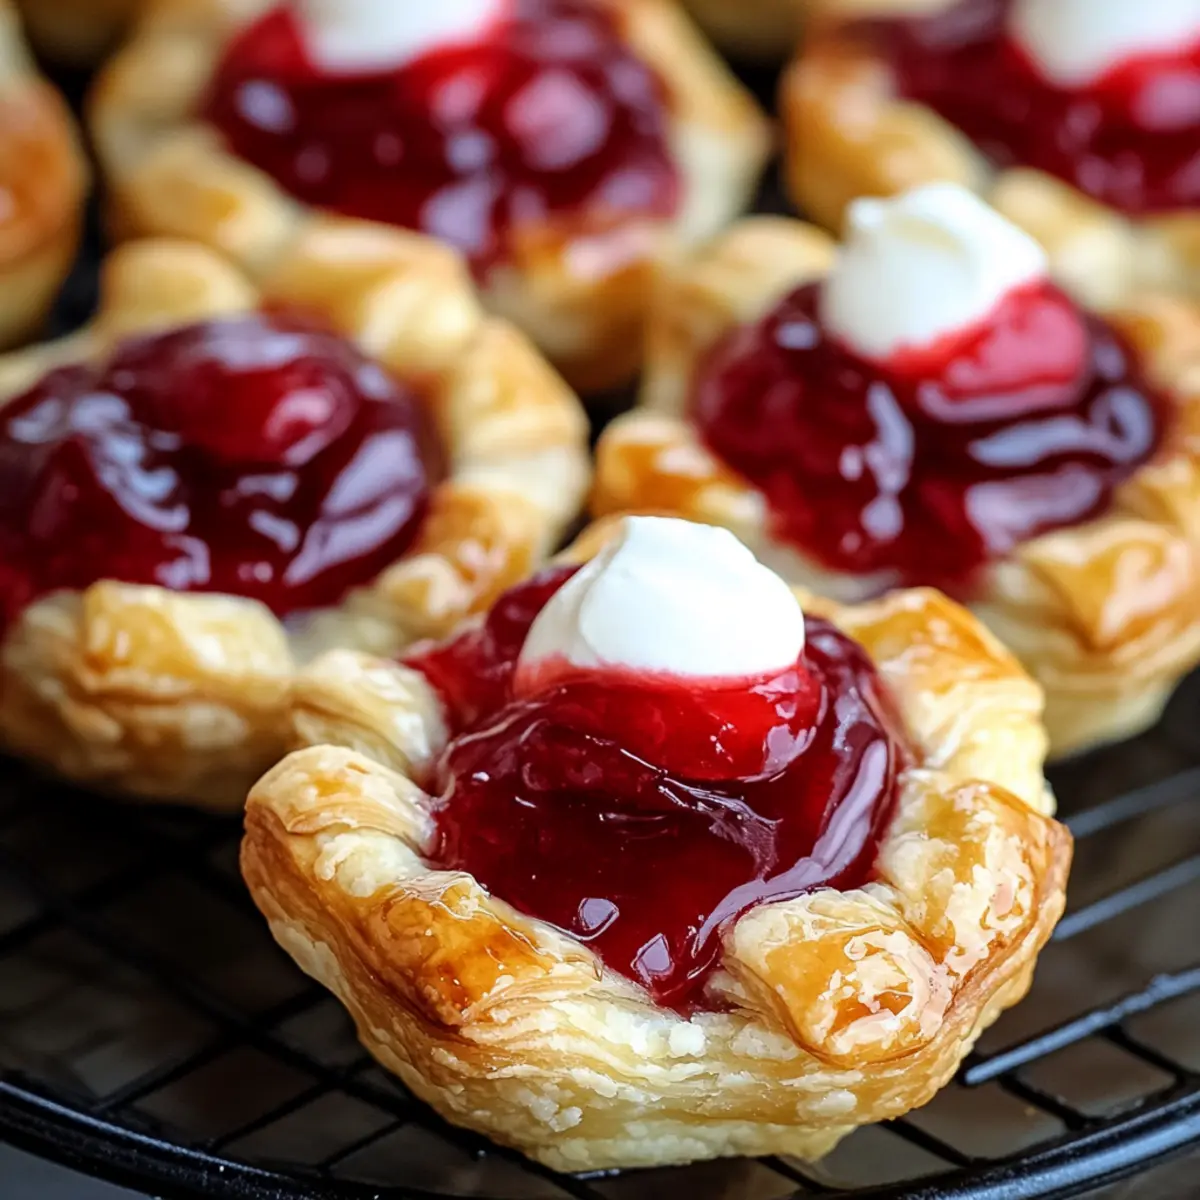
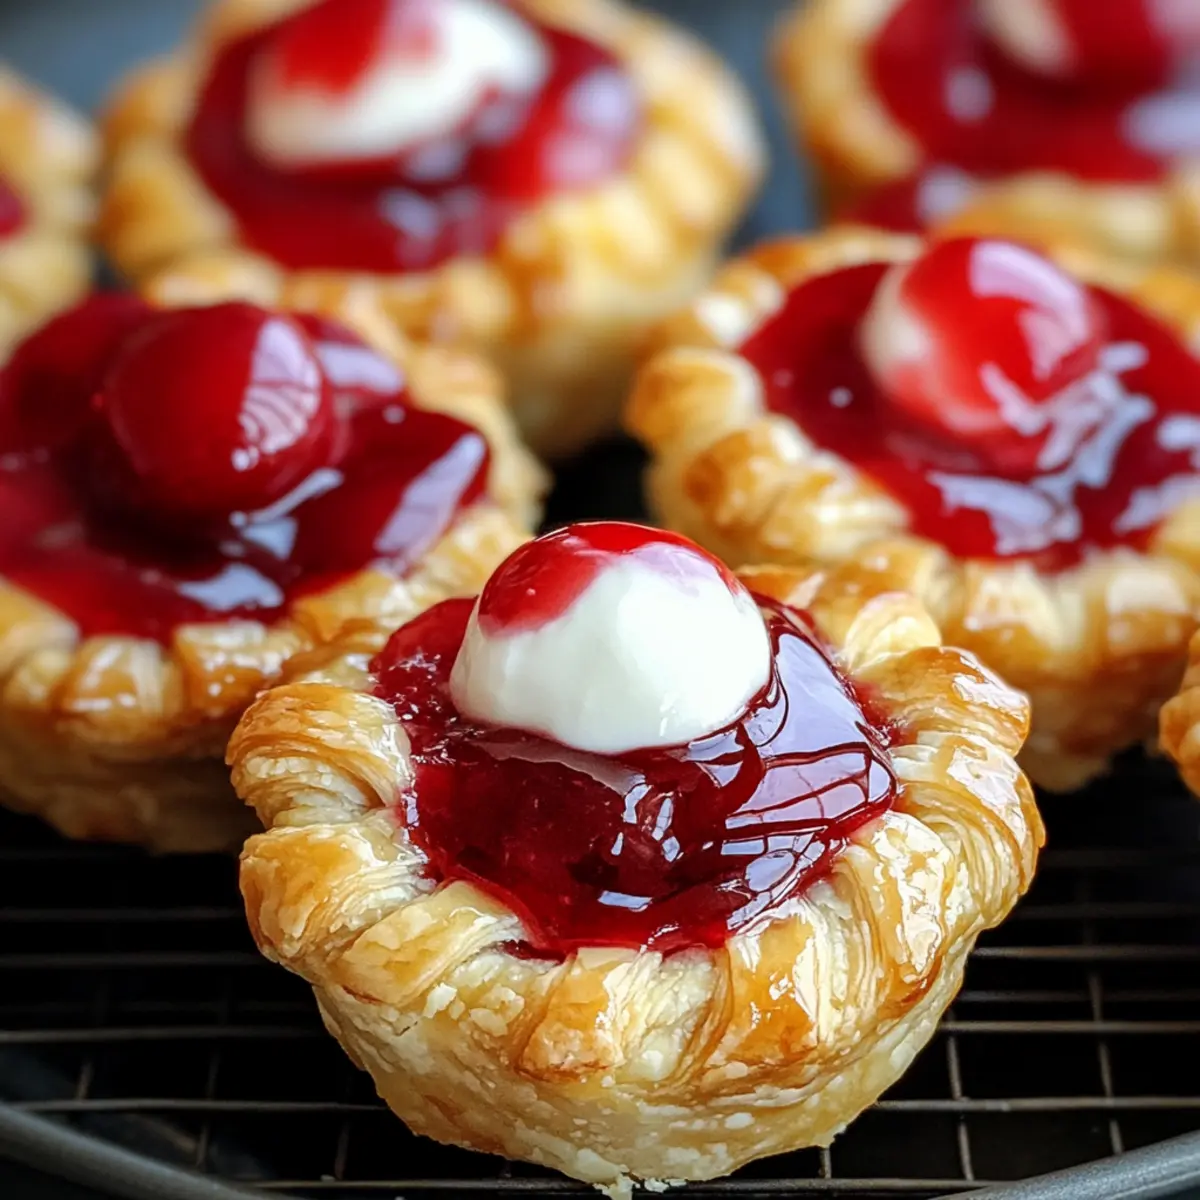
Unroll the crescent roll dough on a clean surface and separate it into individual triangles. Place about ½ teaspoon of the cream cheese mixture at the center of each triangle, followed by 1 or 2 cherries from your pie filling. Carefully fold the dough over the filling, pinching the edges tightly to seal, while allowing some of the cherry filling to peek out for visual appeal.
Step 4: Bake
Arrange the assembled Cherry Pie Bites on your prepared baking sheet. Brush the tops gently with melted butter, which will add flavor and a beautiful golden color as they bake. If desired, sprinkle coarse sugar over the tops for a sparkly finish. Bake in the preheated oven for 10 to 12 minutes, or until they are puffed and golden brown.
Step 5: Cool and Glaze
After baking, remove the Cherry Pie Bites from the oven and allow them to cool on the baking sheet for a few minutes. Meanwhile, if you choose to make a glaze, combine powdered sugar and a splash of milk in a small bowl until smooth. Drizzle the glaze over the bites while still warm for a sweet finishing touch, enhancing the lovely appearance and taste of your delightful treat.
How to Store and Freeze Cherry Pie Bites
Room Temperature: Keep Cherry Pie Bites in an airtight container at room temperature for up to 2 days to maintain their flaky texture.
Fridge: Store in the refrigerator for up to 5 days; just make sure they’re in a sealed container to prevent them from drying out.
Freezer: You can freeze Cherry Pie Bites for up to 2 months. Wrap them tightly in plastic wrap, then place in a freezer bag or airtight container.
Reheating: To enjoy frozen Cherry Pie Bites, reheat directly from frozen in the oven at 350°F (175°C) for about 10 minutes until warmed through and crisp.
Cherry Pie Bites: Delicious Customizations!
Feel free to explore these variations and make the Cherry Pie Bites your own delightful creation!
-
Gluten-Free: Use gluten-free crescent roll dough for a safe and tasty option that everyone can enjoy.
-
Fruit Fillings: Replace cherry filling with blueberry, apple, or peach for a unique twist each time. Think of the burst of summer flavors!
-
Nutty Crunch: Sprinkle sliced almonds or walnuts inside for a delightful crunch that adds texture and richness.
-
Chocolate Chip: Add a few mini chocolate chips to the cherry filling for an indulgently sweet surprise in every bite. Who can resist chocolate?
-
Spiced Apples: Use spiced apple pie filling for a cozy autumn version that pairs perfectly with a warm cup of cider.
-
Cocoa Twist: Mix a little cocoa powder into the cream cheese for a chocolatey background that complements the cherry. Dessert thrill awaits!
-
Zesty Lemon: Add lemon zest to the cream cheese mixture for a zesty contrast that brightens the cherry flavor. It’s a refreshing match!
-
Festive Drizzle: Drizzle melted white chocolate or caramel sauce on top of the baked bites for a visually stunning finish that’s simply irresistible!
Want more ideas for your dessert repertoire? Check out my delightful Pecan Pie Baked Oatmeal for a comforting twist or indulge in the luxurious Bang Salmon Bites for something savory!
Expert Tips for Cherry Pie Bites
-
Perfect Filling Amount: Avoid overfilling your Cherry Pie Bites; sticking to 1-2 cherries ensures they bake properly without leaking.
-
Seal the Edges: Pinch the dough edges securely to prevent filling from escaping during baking. A good seal means a better bite!
-
Golden Brown Bliss: Brush with melted butter before baking; this maximizes flavor and results in a beautifully golden crust.
-
Cooling Time: Allow bites to cool slightly before glazing; this helps the glaze set better and keeps the filling intact.
-
Storage Secrets: For optimal freshness, store in a sealed container at room temperature. If freezing, reheat directly from frozen to maintain that beautiful texture.
Make Ahead Options
These Cherry Pie Bites are a fantastic option for meal prep and can save you valuable time during busy weeks! You can prepare the filling (cream cheese mixture and cherry filling) up to 3 days in advance and store it in an airtight container in the refrigerator. You can also assemble the bites up to 24 hours ahead—just ensure you refrigerate them before baking to keep the dough fresh. When you’re ready to enjoy, simply preheat your oven, place the assembled bites on a baking sheet, brush them with melted butter, and bake as directed. This way, you’ll have delicious, homemade Cherry Pie Bites ready to impress your family with minimal effort!
What to Serve with Cherry Pie Bites?
These delightful bites are perfect for sharing and savoring with a variety of complementary dishes!
-
Vanilla Ice Cream: A scoop of creamy vanilla ice cream melds beautifully with the warm, gooey filling, creating a lovely contrast. The coolness of the ice cream balances the sweetness of the pie bites, making each mouthful a joyful experience.
-
Fresh Whipped Cream: Light and fluffy, whipped cream adds a delightful airy texture that enhances the rich flavors of the cherry filling. A dollop on the side will make your dessert feel even more indulgent!
-
Greek Yogurt: Creamy and slightly tangy, Greek yogurt serves as a refreshing counterpoint to the sweetness of the Cherry Pie Bites. Drizzle some honey for an extra touch of natural sweetness.
-
Coffee or Espresso: A robust cup of coffee or a rich espresso can enhance the sweet flavors while providing a delightful contrast. The bitter notes balance the richness of the cherry filling, perfect for a cozy afternoon.
-
Sparkling Water: Effervescent sparkling water with a splash of lemon or lime gives a refreshing lift, cleansing the palate in between bites. The bubbly texture adds a fun twist to your dessert experience!
-
Cheese Platter: A selection of creamy brie or tangy goat cheese can create a delightful contrast with the sweet bites. The richness of the cheese adds complexity that pairs well with the fruitiness of the filling.
-
Fruit Salad: A vibrant fruit salad with fresh berries or tropical fruits offers a refreshing brightness that complements the cherry flavor perfectly. It lightens the overall meal while providing a burst of color on your plate.
-
Chocolate Sauce: For those who love decadence, a drizzle of warm chocolate sauce can elevate the sweetness of the pie bites even further. Think of this as a more indulgent twist on your already delightful dessert.
These serving suggestions will ensure your Cherry Pie Bites are the star of the show, making every occasion just a bit sweeter.
Cherry Pie Bites Recipe FAQs
How do I choose the best cherries for my pie filling?
Absolutely! When selecting cherries, look for those that are plump, firm, and vibrant in color. Dark red or black cherries tend to be sweeter and juicier. Avoid any with blemishes or dark spots, as these can indicate overripeness.
How should I store leftover Cherry Pie Bites?
You can store any uneaten Cherry Pie Bites in an airtight container at room temperature for up to 2 days. If you’d like to keep them longer, pop them in the refrigerator for up to 5 days. Just make sure they’re well-sealed to keep them fresh and delicious!
Can I freeze Cherry Pie Bites for future enjoyment?
Certainly! To freeze your Cherry Pie Bites, first let them cool completely. Then, wrap each bite tightly in plastic wrap and place them in a freezer bag or airtight container. They will keep well for up to 2 months. When you’re ready to indulge, simply reheat them directly from frozen in a preheated oven at 350°F (175°C) for about 10 minutes, until warmed through and crisp.
What if my Cherry Pie Bites are leaking during baking?
If your bites are leaking, it’s often due to overfilling them. To prevent this, stick to the recommended amount of filling – about 1 to 2 cherries per bite. Also, ensure that you pinch the edges of the dough tightly to create a good seal. If you do notice leaking, simply enjoy the extra cherry goodness that spills out—they’re still yummy!
Are Cherry Pie Bites gluten-free?
Absolutely! To make gluten-free Cherry Pie Bites, substitute the crescent roll dough with gluten-free puff pastry or pre-made gluten-free pie crusts, which are widely available. Always double-check the labels of your fillings to ensure they are gluten-free as well.
Can I use other fruit fillings for this recipe?
Very! The beauty of these Cherry Pie Bites is their versatility. You can easily swap the cherry filling for other fruit fillings like blueberry, apple, or even pumpkin. Just make sure to adjust the sweetness level based on the fruit you choose—some fruits might require a little extra sugar!
Cherry Pie Bites: Quick, Crispy Treats for Sweet Cravings
Ingredients
Equipment
Method
- Preheat your oven to 375°F (190°C) and line a baking sheet with parchment paper.
- In a mixing bowl, combine cream cheese, powdered sugar, and vanilla extract. Blend until smooth and creamy, about 2-3 minutes.
- Unroll the crescent roll dough and separate it into triangles. Place a small amount of cream cheese mixture and 1-2 cherries in the center of each triangle. Fold and seal the edges.
- Arrange the bites on the baking sheet. Brush the tops with melted butter and sprinkle coarse sugar, if desired. Bake for 10 to 12 minutes until golden brown.
- Allow bites to cool for a few minutes. If making a glaze, mix powdered sugar and milk until smooth, then drizzle over warm bites.
Leave a Reply