
As I lifted the lid of my rice cooker, the sweet, savory scent of kombu enveloped my kitchen, instantly transporting me to a bustling sushi bar in Tokyo. This “Authentic Japanese Sushi Rice” recipe is my secret weapon whenever I want to make sushi at home, and I’m excited to share it with you! It’s incredibly rewarding to master sushi rice, as it’s the essential foundation for amazing sushi rolls or bowls. The beauty of this recipe lies in its simplicity and the perfect sticky texture it delivers every time. Plus, it’s a fantastic way to impress your loved ones without the fuss of complicated techniques. Are you ready to bring the authentic flavors of Japan into your culinary repertoire? Let’s dive into the world of sushi rice together!
Why is this sushi rice so special?
Authenticity Matters: This recipe captures the essence of traditional Japanese sushi rice, ensuring you experience the true flavors of Japan in your own kitchen.
Culinary Confidence: You don’t need to be a sushi master to achieve perfect results; this straightforward process elevates your cooking skills effortlessly.
Perfectly Balanced Flavor: The blend of rice vinegar, sugar, and salt creates a unique taste that enhances your sushi rolls or bowls beautifully.
Versatility Awaits: Use this sushi rice as a base for various dishes, whether you’re crafting sushi rolls, sushi bowls, or enjoying it as a side alongside delectable flavors—try pairing it with options like Spicy Salmon Sushi for a delightful meal!
Time-Saving Delight: With a rice cooker, you can prepare this delicious sushi rice without any hassle, allowing you to enjoy fresh, homemade sushi in no time.
Sushi Rice Ingredients
• To make the perfect sushi rice, gather these essential ingredients that ensure authentic flavor and texture.
For the Rice
- Sushi Rice – Short-grain Japonica rice, preferably Koshihikari, is key to achieving that desired sticky texture.
- Water – Use less water (about 10% less) for sushi rice compared to regular rice for optimal cooking.
For the Seasoning
- Rice Vinegar (Sushizu) – The soul of the sushi rice flavor; balances taste with sugar and salt.
- Sugar – Provides sweetness that brightens up the tartness of vinegar; essential for authenticity.
- Salt – Enhances the overall flavor and is crucial for seasoning; avoid substitutions.
For Umami Flavor
- Kombu (kelp) – Adds a depth of umami flavor during cooking; consider using optional dashi powder if you don’t have kombu.
With these simple yet vital ingredients, you’re all set to create the best sushi rice that will elevate your homemade sushi game!
Step‑by‑Step Instructions for Perfect Sushi Rice
Step 1: Wash the Rice
Begin by rinsing 2 cups of sushi rice under cold water in a fine mesh strainer. Gently swish the rice in the water until the water runs clear, which usually takes about 3 to 5 washes. This step removes excess starch, which helps achieve the perfect sticky texture for your sushi rice. Drain the rice thoroughly after washing.
Step 2: Cook the Rice
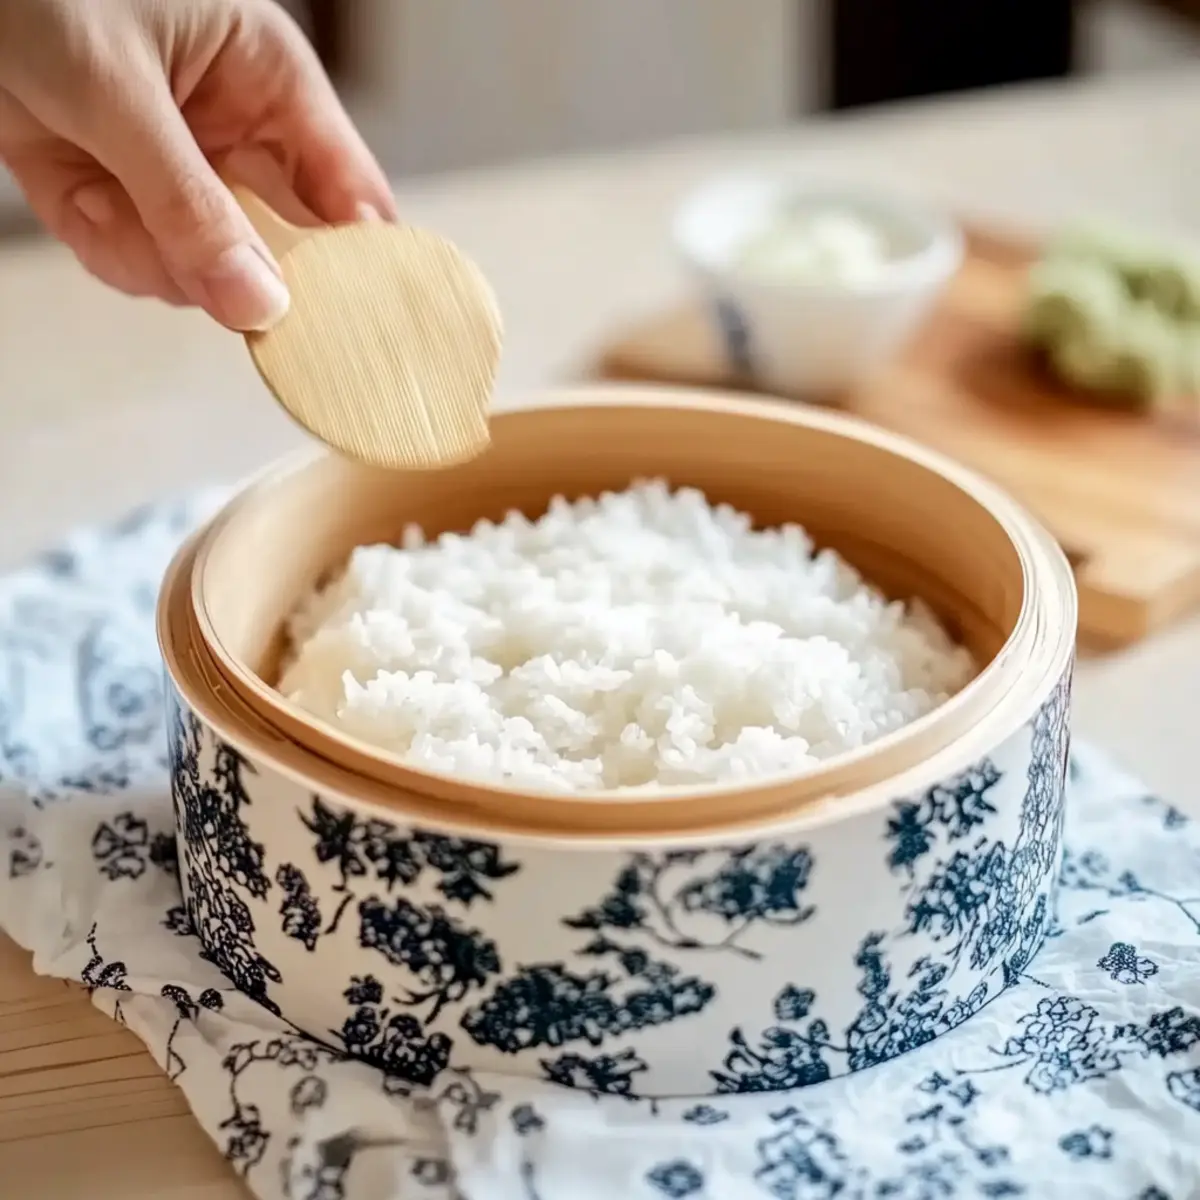
Transfer the rinsed sushi rice into your rice cooker and add 1.8 cups of water, adjusting to 10% less for the ideal sushi rice consistency. If using kombu, add a piece on top of the rice. Set the rice cooker to the white rice setting and start it. Allow the rice to cook for about 30 to 40 minutes, until it’s tender and slightly sticky.
Step 3: Make the Sushi Vinegar
While the rice is cooking, prepare your sushi vinegar. In a small saucepan, combine 1/3 cup of rice vinegar, 3 tablespoons of sugar, and 1 teaspoon of salt. Heat the mixture over medium heat, stirring until the sugar and salt have completely dissolved. Avoid boiling, as you just want to warm it up to enhance the flavors for perfectly seasoned sushi rice.
Step 4: Combine Rice and Vinegar
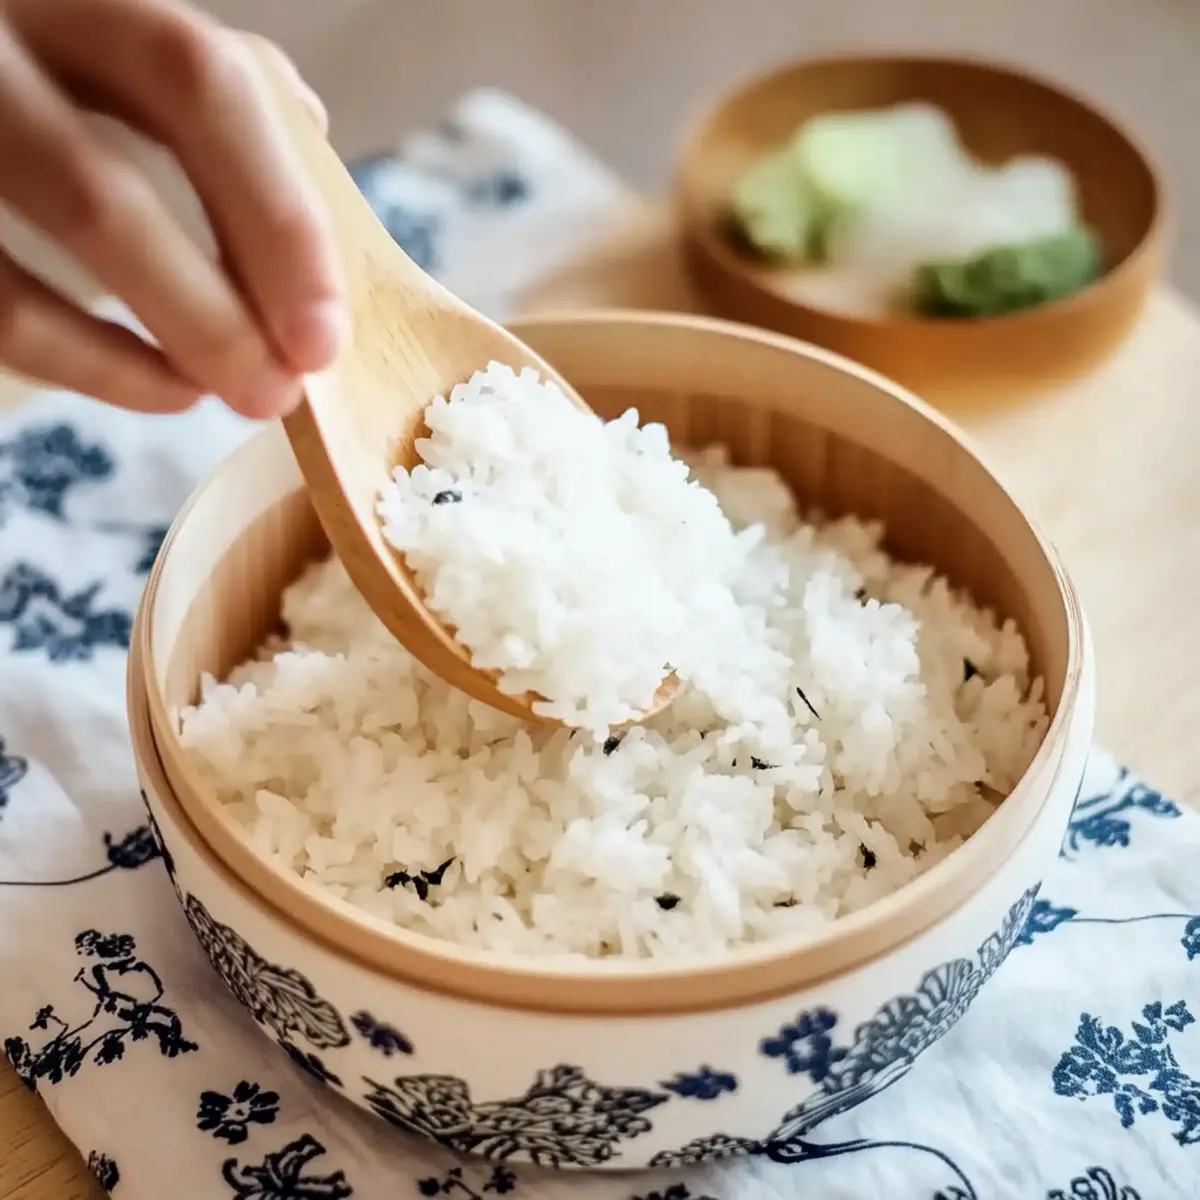
Once your sushi rice is cooked, remove the piece of kombu (if used) and gently transfer the rice to a wooden tub or a large bowl. Immediately pour your sushi vinegar over the hot rice, ensuring even distribution. Use a wooden spatula or rice paddle to mix the rice and vinegar together, being careful not to mash the rice, which helps maintain its fluffy texture.
Step 5: Mix and Cool the Rice
With a rice spatula, gently cut through the rice in a folding motion while fanning with a hand fan or piece of cardboard to cool the rice. This technique allows steam to escape, enhancing the sushi rice’s sheen while keeping it light and fluffy. Continue this process for about 5 to 7 minutes until the rice reaches room temperature.
Step 6: Rest the Rice
Once the sushi rice has cooled, cover it with a damp cloth to prevent it from drying out. Let it rest at room temperature for an additional 10 to 15 minutes before using. This final resting phase is essential as it allows the flavors to meld, ensuring that your perfect sushi rice is ready for your favorite sushi rolls or bowls.

How to Store and Freeze Sushi Rice
Airtight Container: Store sushi rice in an airtight container at room temperature for up to 1 day. This helps maintain its texture and flavor, ensuring it’s ready for your next sushi adventure.
Avoid Refrigeration: Do not refrigerate sushi rice, as it alters the desirable sticky texture, making it less suitable for rolls or bowls.
Freezing: If you need to store it longer, homemade sushi rice can be frozen for up to 3 months. Allow it to cool completely, then scoop portions into freezer bags, removing as much air as possible before sealing.
Reheating Tips: To use frozen sushi rice, thaw overnight in the fridge and gently reheat in the microwave with a splash of water to restore its moisture and fluffiness. Enjoy your homemade sushi rice as if it were freshly made!
Tips for the Best Sushi Rice
Choose the Right Rice: Always opt for short-grain Japonica rice, such as Koshihikari, for authentic sushi rice. Long-grain varieties lack the desired stickiness.
Wash Thoroughly: Rinse the sushi rice multiple times until the water runs clear to remove excess starch, which can make your rice gummy instead of fluffy.
Measure Water Correctly: Use about 10% less water than regular rice cooking methods for perfect sushi rice. The right water-to-rice ratio is key to achieving the ideal texture.
Gentle Mixing: When combining the rice and vinegar, use a gentle cutting motion with a spatula to avoid mashing the rice. This preserves the fluffy texture essential for sushi.
Optimize Cooling Technique: Fan the rice while mixing to help it cool down quickly and evenly. This enhances the rice’s sheen and ensures it’s light for rolling.
Prevent Drying Out: Cover the finished sushi rice with a damp cloth after resting to keep it moist until you’re ready to assemble your sushi.
What to Serve with Perfect Sushi Rice
As you prepare to dive into the world of sushi, crafting the perfect accompaniments brings each flavor to life and creates an unforgettable meal.
- Fresh Sashimi: A platter of beautifully sliced fresh fish adds a touch of elegance and pairs harmoniously with the slightly sweet and tangy sushi rice.
- Seaweed Salad: This crunchy, tangy side salad provides a delightful contrast to the sticky rice, while its mild flavors complement the sushi perfectly.
- Pickled Ginger: A traditional sushi accompaniment, its sharpness helps cleanse the palate between bites, enhancing the overall experience.
- Miso Soup: A warm, comforting bowl of miso soup offers a savory depth that pairs exquisitely with sushi rice and balances the meal wonderfully.
- Edamame: These lightly salted, tender soybeans provide a pop of freshness and texture, making them a delightful finger food alongside sushi.
- Teriyaki Chicken Skewers: Grilled skewers drizzled with a sweet, savory glaze bring a delectable contrast to the sushi rice, making for a well-rounded meal.
- Japanese Beer or Sake: Pairing your meal with cold, refreshing Japanese beer or a crisp sake enhances the experience, giving it a true cultural touch.
- Mochi Ice Cream: For dessert, soft and chewy mochi filled with sweet ice cream is a delightful, indulgent treat that rounds off the meal beautifully.
- Fruit Sushi Rolls: If you’re looking to keep things light and refreshing, fruit sushi rolls filled with strawberries or mangoes add a sweet finish to your sushi journey!
Sushi Rice Variations & Substitutions
Feel free to get creative with your sushi rice by trying out these delightful twists that cater to different tastes and dietary preferences!
- Dairy-Free: Substitute regular sugar with coconut sugar for a hint of caramel flavor and a touch of tropical sweetness.
- Kombu Alternative: If you don’t have kombu, use a teaspoon of dashi powder mixed with water for the umami effect in your rice. This still brings depth to your dish without the need for kelp.
- Vinegar Swap: Experiment with apple cider vinegar instead of rice vinegar for a fruity undertone that adds an unexpected twist to your sushi. It’s a great way to make your sushi unique and memorable!
- Citrus Zest: Add 1 teaspoon of finely grated lemon or lime zest to the sushi vinegar for a citrusy kick. It brightens the flavor, making your sushi even more refreshing.
- Spice it Up: Mix in a hint of wasabi powder to the sushi vinegar for a spicy finish. This adds a delightful kick that will awaken your taste buds.
- Toasted Seeds: Sprinkle in some toasted sesame seeds right before serving for an extra layer of crunch and nuttiness. They complement the sushi rice beautifully, enhancing both texture and flavor.
- Wild Rice Add-In: Blend short-grain rice with a small amount of cooked wild rice for an earthy taste and contrasting texture. It’s an adventurous twist for those looking to embrace something different!
- Herb-Infused Variation: Infuse the water with fresh herbs, like basil or cilantro, when cooking your rice. This subtle flavor change pairs wonderfully with fresh vegetables in your rolls, making every bite a little more exciting!
With these variations, the possibilities are endless, and your sushi will always be a delicious surprise. If you’re ready to pair it with something scrumptious, consider enjoying it with Street Corn Chicken Rice Bowl or Coconut Chicken Brothy Rice for a cozy night in!
Make Ahead Options
These sushi rice preparations are perfect for busy home cooks looking to save time without sacrificing flavor! You can wash and soak the sushi rice up to 24 hours in advance to ensure a head start. Once cooked, the rice can be left to cool and then covered with a damp cloth, resting at room temperature (this preserves its perfect texture). Preferably, use the rice within the same day for optimal freshness. If you must store it, place the cooled sushi rice in an airtight container at room temperature for up to 1 day. When ready to serve, simply fluff the rice with a spatula and gently mix in the sushi vinegar. This makes your sushi assembly a breeze, allowing you to enjoy homemade sushi whenever you like!

Perfect Sushi Rice Recipe FAQs
What type of rice is best for making sushi rice?
Absolutely! The best type of rice for sushi is short-grain Japonica rice, particularly Koshihikari. This rice varieties offer the essential stickiness that traditional sushi needs. If you can’t find Koshihikari, brands like Nishiki or Kokuho Rose are great alternatives.
How long can I store sushi rice?
Sushi rice is best enjoyed fresh, but if needed, you can store it in an airtight container at room temperature for up to 1 day. Just be sure to avoid refrigerating it, as cold storage will alter its texture and make it less sticky.
Can I freeze leftover sushi rice?
Very! You can freeze sushi rice for up to 3 months. Here’s how: After cooking, allow the rice to cool completely. Scoop portions into freezer bags, removing as much air as possible before sealing them shut. Label them with the date, and they’ll be ready for your sushi cravings later!
What should I do if my sushi rice is too sticky?
If your sushi rice turns out too sticky, it might be due to excess water or not washing the rice properly. In future batches, rinse the rice well until the water runs clear and adjust the water-to-rice ratio to about 10% less water than usual for sushi rice.
Is sushi rice safe for pets or people with gluten allergies?
Yes! Sushi rice is naturally gluten-free and safe for most people, including those with gluten allergies. However, if you’re adding seasonings or ingredients containing gluten, be sure to check that their labels are certified gluten-free to ensure safety.
Why is resting sushi rice important after mixing with vinegar?
Resting sushi rice after mixing with vinegar is essential for flavor melding. This step not only allows the warm rice to absorb the tangy seasoning fully but also helps maintain moisture. Cover it with a damp cloth for about 10 to 15 minutes to keep it from drying out, ensuring peak quality when you’re ready to assemble your sushi dishes.
Perfect Sushi Rice Recipe for Flavorful Homemade Rolls
Ingredients
Equipment
Method
- Wash the rice under cold water until the water runs clear, about 3 to 5 washes. Drain thoroughly.
- Cook the rinsed rice in a rice cooker with 1.8 cups of water. If using kombu, add it on top. Cook for 30 to 40 minutes.
- Prepare sushi vinegar by combining rice vinegar, sugar, and salt in a saucepan over medium heat until dissolved.
- Once the rice is cooked, mix it with the sushi vinegar in a wooden tub or large bowl.
- Gently fold and cool the rice while fanning it to enhance its sheen.
- Cover with a damp cloth and let it rest for 10 to 15 minutes before using.
Leave a Reply