
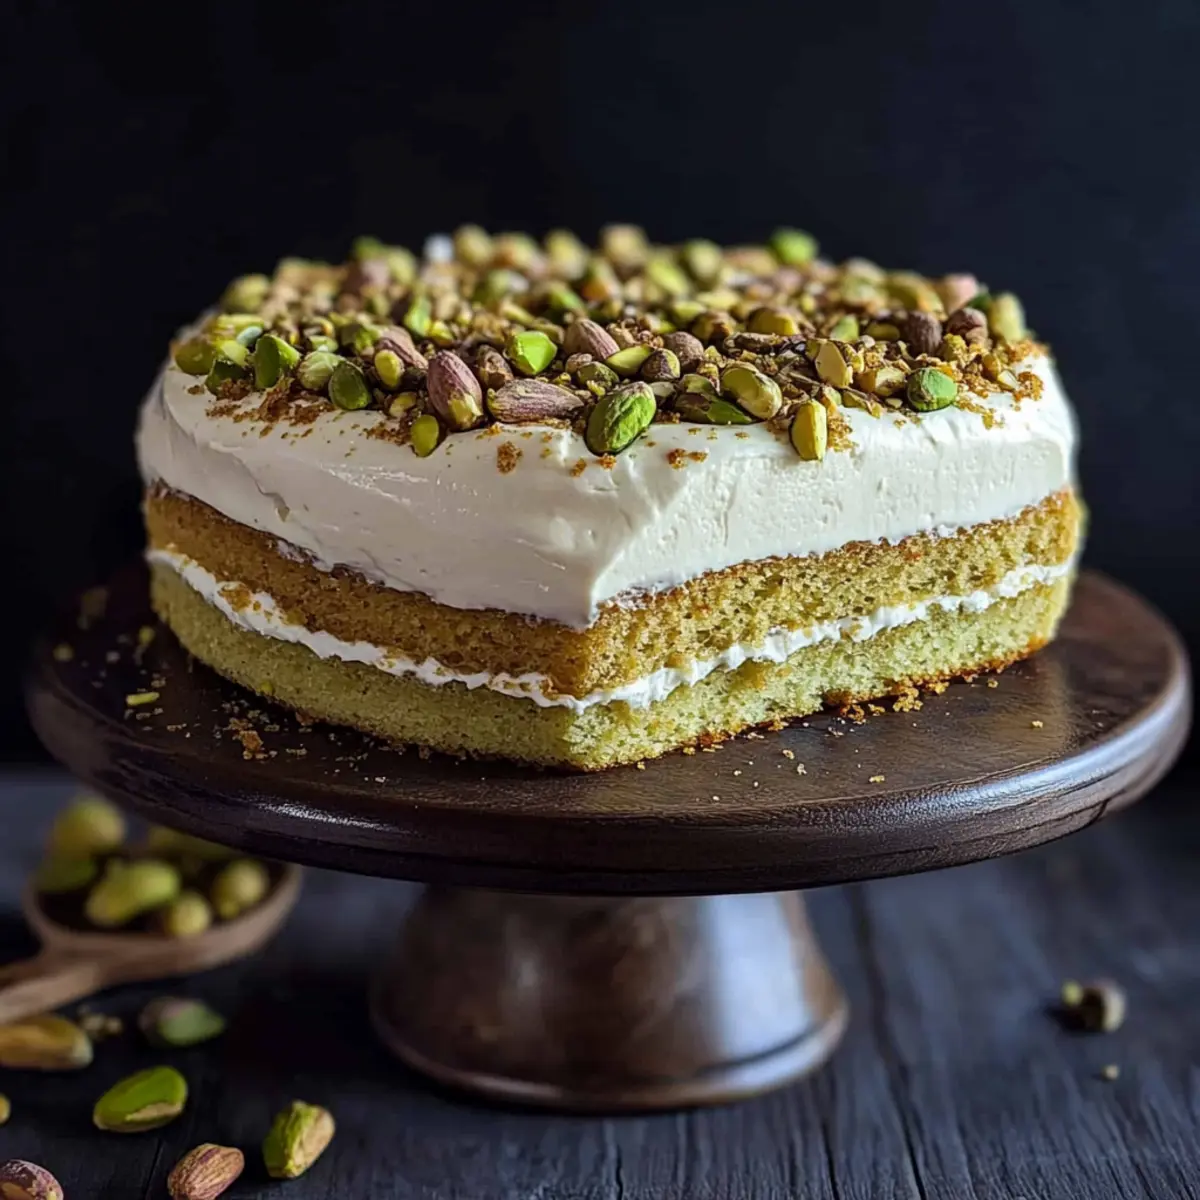
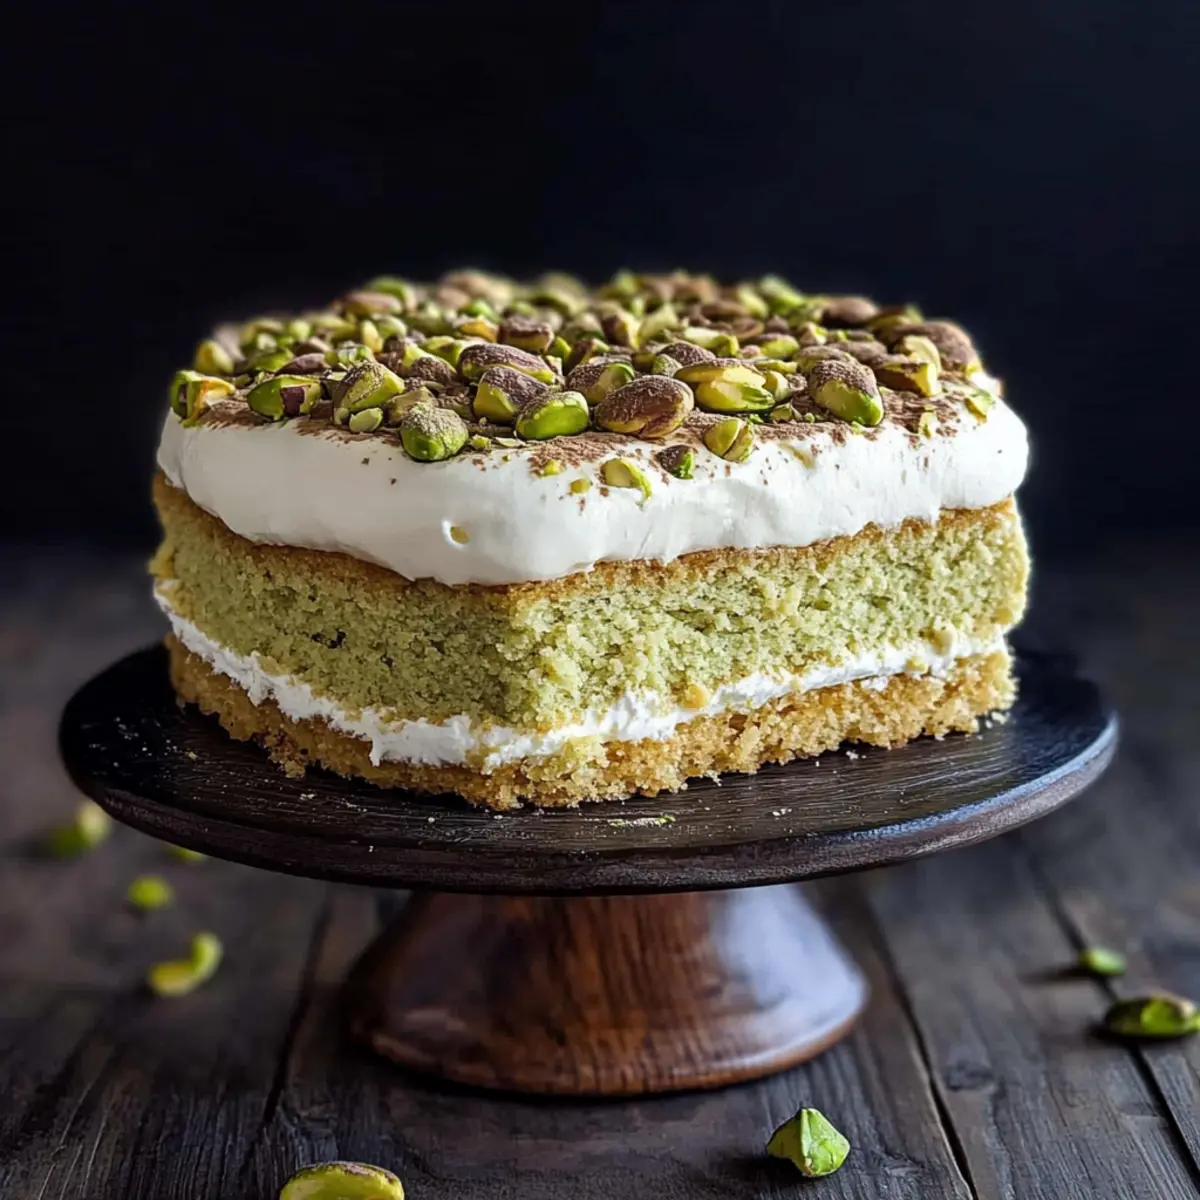
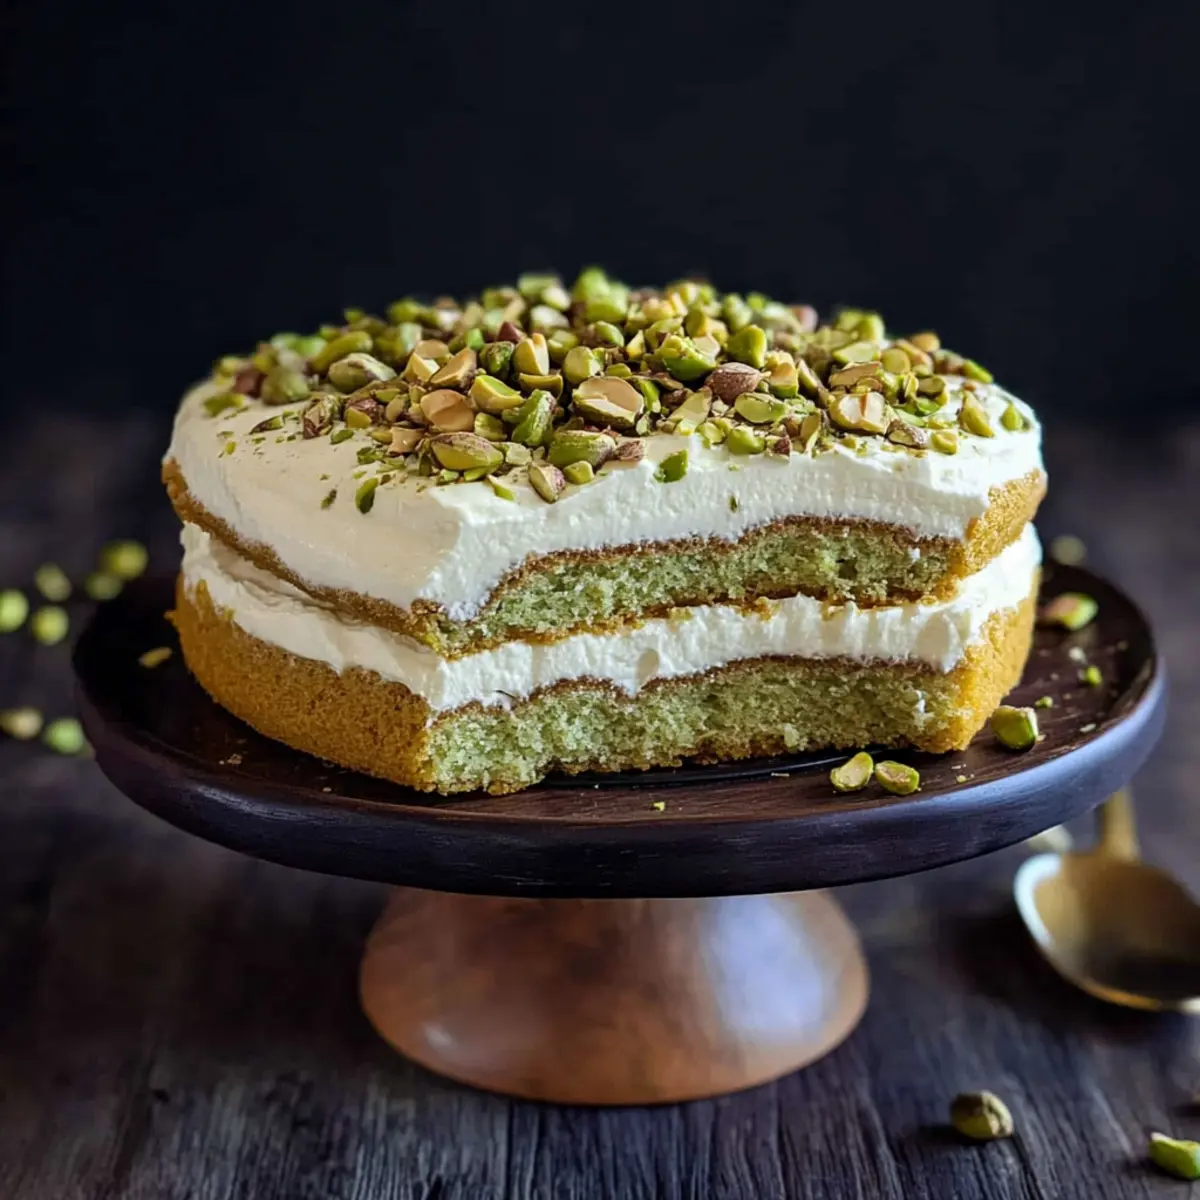
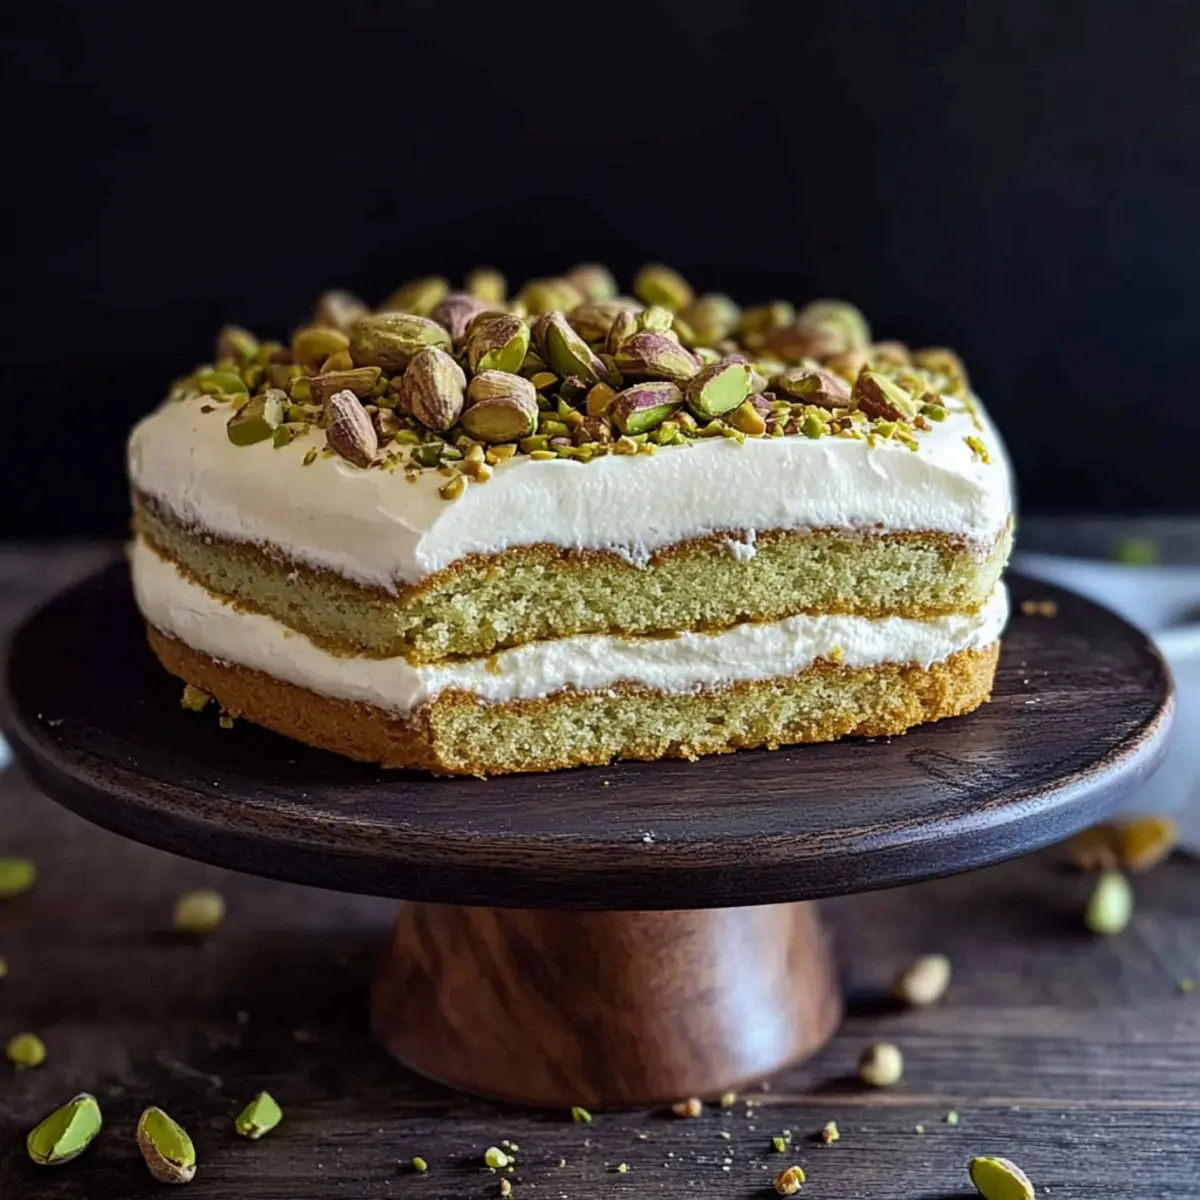
As I stood in my kitchen, the fragrant blend of roasted pistachios filled the air, instantly transporting me to a sun-drenched Italian café. This is where my journey to creating the Homemade Pistachio Tiramisu began—a creamy, no-bake Italian dessert that’s both simple to prepare and irresistibly indulgent. With the option of using either sponge cake or ladyfingers, this recipe caters to everyone’s taste and makes a delightful centerpiece for any gathering or cozy family night. Not only does it bring a unique nutty flavor that sets it apart from traditional tiramisu, but it also promises a velvety texture that pleases the palate. Are you ready to take your dessert game to the next level and impress your loved ones? Let’s dive into this delightful treat together!
Why choose Homemade Pistachio Tiramisu?
Uniqueness: This Homemade Pistachio Tiramisu showcases an exciting twist on the classic dessert, introducing a luscious nutty flavor that elevates any dining experience.
No-Bake Convenience: Enjoy a hassle-free treat that requires no baking—perfect for busy cooks or last-minute gatherings!
Flexible Options: With the choice between sponge cake or ladyfingers, you can tailor each creation to your tastes or what you have on hand, ensuring everyone is satisfied.
Crowd-Pleasing: Whether it’s a holiday celebration or a casual family dinner, this dessert is bound to impress, tempting both dessert aficionadas and newbies alike!
Time-Saving: Simply prepare, layer, chill, and serve—it’s that easy! For added inspiration, you might also enjoy my delightful Tiramisu Brownies Coffee or indulge in Chocolate Croissants Decadent.
Get ready for creamy joy in every bite!
Homemade Pistachio Tiramisu Ingredients
For the Base
• Sponge Cake or Ladyfingers – The backbone of your dessert; use sponge for a lighter texture or ladyfingers for an easy assembly.
For the Pistachio Cream
• Pistachio Cream – Brings a rich pistachio flavor; you can choose between ready-made or homemade for convenience.
• Milk (8-10 tablespoons) – Helps moisten the base; substitute with espresso for an extra kick of flavor.
For the Mascarpone Filling
• Large Egg (optional) – Adds richness and thickness; can be omitted or substituted with powdered sugar for an egg-free version.
• Granulated Sugar (2 tablespoons) – Sweetens the mascarpone filling beautifully.
• Heavy Cream (1½ cups) – Vital for a luxurious texture; make sure to whip to soft peaks for best results.
• Mascarpone (1½ cups) – The creamy star of the filling that enhances the dessert’s richness.
Get ready to create a show-stopping Homemade Pistachio Tiramisu that’s sure to wow everyone at your gathering!
Step‑by‑Step Instructions for Homemade Pistachio Tiramisu
Step 1: Prepare Your Base
Start by creating your base for the Homemade Pistachio Tiramisu. If you choose sponge cake, bake it according to your recipe and allow it to cool completely. Alternatively, if using ladyfingers, you can skip this step. Once cooled, slice the sponge cake into two even layers, ready for assembly.
Step 2: Make the Pistachio Cream Mixture
In a mixing bowl, blend the pistachio cream with 3–4 tablespoons of milk until the mixture is creamy and smooth. Adjust the consistency with more milk if needed, ensuring it is spreadable. This nutty paste will create a luscious layer in your tiramisu, so ensure it’s well combined and creamy.
Step 3: Layer the Cake
Place the first layer of sponge cake or ladyfingers on a serving plate. Drizzle 4-5 tablespoons of milk (or espresso for a coffee twist) evenly over the top until moistened, but not soggy. Then, spread half of the prepared pistachio cream mixture on top, creating a smooth, even layer, and refrigerate while you prepare the mascarpone filling.
Step 4: Prepare the Mascarpone Filling
In a separate bowl, beat the optional egg with granulated sugar until frothy and pale. If omitting the egg, simply mix the powdered sugar with the mascarpone. Add in the heavy cream, and beat until the mixture is thick and creamy with soft peaks, making sure not to overwhip. This will be the rich filling that complements your pistachio layers.
Step 5: Assemble the Tiramisu
Spread half of the mascarpone filling over the pistachio layer evenly. Place the second layer of sponge cake or ladyfingers on top, drizzle with more milk, and finish by spreading the remaining pistachio cream mixture, followed by the last of the mascarpone filling. Layer it beautifully to create a striking visual.
Step 6: Chill
Cover your assembled Homemade Pistachio Tiramisu with plastic wrap and refrigerate for at least 3-4 hours, or overnight if possible. This chilling time allows the flavors to meld beautifully, transforming your dessert into a cohesive, inviting treat with each bite.
Step 7: Serve
Before serving, take the tiramisu out of the fridge and carefully remove the plastic wrap. Garnish with chopped pistachios on top for a delightful crunch. Slice into portions and enjoy the creamy delight of your Homemade Pistachio Tiramisu, impressing everyone at your gathering with its rich texture and nutty flavors.
Homemade Pistachio Tiramisu Variations
Feel free to customize your delightful dessert experience with these creative twists that heighten its already wonderful flavors!
-
Nut-Free: Use sunflower seed butter in place of pistachio cream for a safe yet tasty option.
Keep the delightful layers intact while offering a perfectly creamy alternative that still satisfies. -
Dairy-Free: Swap heavy cream for coconut cream and mascarpone for a dairy-free cream cheese.
This dairy-free version packs in a tropical twist that pairs beautifully with pistachio for a dreamy dessert experience! -
Vegan Delight: Replace the egg with aquafaba and use vegan cream cheese in your filling for a plant-based treat.
Creamy, indulgent, and without any animal products, this vegan version allows everyone to partake joyfully! -
Decadent Chocolate Add-In: Swirl melted dark chocolate into your mascarpone filling for a rich contrast.
This luxurious combination of chocolate and pistachio creates a flavor explosion that feels utterly extravagant! -
Coffee Lover: Substitute part of the milk with brewed espresso to introduce a delightful coffee flavor.
This little jolt enhances the richness while complementing the pistachio wonderfully, perfect for fellow coffee aficionados! -
Spicy Kick: Add a pinch of cayenne pepper to the pistachio cream for an unexpected heat.
This subtle kick elevates the dessert to a whole new level, appealing to adventurous tastebuds looking for a surprise! -
Layered Fruits: Add layers of fresh berries like raspberries or strawberries in between the fillings for a fruity freshness.
These bursts of juiciness not only add bright colors but also a refreshing contrast to the creaminess of the tiramisu. -
Fruity Twist: Incorporate a layer of apple or pear compote beneath the mascarpone layer for a seasonal touch.
This sweet fruit layer gives a lovely tartness that beautifully complements the richness of the dessert.
Feel free to let your culinary creativity shine! And for more delightful inspirations, check out my fabulous Tiramisu Brownies Coffee or indulge in some heavenly Chocolate Croissants Decadent. Happy cooking!
Make Ahead Options
These Homemade Pistachio Tiramisu are perfect for busy home cooks looking to save time! You can prepare the pistachio cream mixture and mascarpone filling up to 24 hours in advance. Simply blend the pistachio cream with milk to achieve the right consistency, and refrigerate it. In a separate bowl, whip the mascarpone and cream mixture, and store it tightly covered in the fridge. When ready to assemble, layer the cake and fillings, and refrigerate the completed tiramisu for at least 3-4 hours or overnight to let the flavors meld. This advance prep means you’ll enjoy an indulgent dessert with minimal effort while ensuring it remains just as delicious for your guests!
How to Store and Freeze Homemade Pistachio Tiramisu
Fridge: Store assembled Homemade Pistachio Tiramisu in an airtight container for up to 2-3 days. This keeps it fresh and allows the flavors to deepen over time.
Freezer: For longer storage, freeze the tiramisu for up to two weeks. Wrap it tightly in plastic wrap and aluminum foil to prevent freezer burn.
Thawing: When you’re ready to enjoy, thaw overnight in the fridge before serving. This helps preserve the creamy texture and flavors of the dessert.
Serving Leftovers: If you have leftovers after serving, ensure that they are stored properly to maintain their delightful taste for your next sweet craving!
Expert Tips for Homemade Pistachio Tiramisu
-
Freshness Matters: Use fresh ingredients, particularly heavy cream and mascarpone, to ensure the best texture and flavor in your Homemade Pistachio Tiramisu.
-
Milk Drizzling: Be careful not to soak the sponge cake or ladyfingers too much with milk; just a light drizzle ensures they remain firm yet moist without becoming soggy.
-
Chilling is Key: Allowing the tiramisu to chill for several hours or overnight melds the flavors beautifully. Don’t rush this crucial step!
-
Egg-Free Option: If you’re making an egg-free version, opt for powdered sugar to sweeten the mascarpone filling instead of using an egg, making it safer and just as rich.
-
Decorative Garnish: A sprinkle of chopped pistachios not only adds flavor but also a gorgeous decorative touch, enhancing the visual appeal of your Homemade Pistachio Tiramisu.
-
Taste Before Serving: Take a small taste of the layers before serving to ensure you’re happy with the pistachio flavor and sweetness; feel free to adjust if needed!
What to Serve with Homemade Pistachio Tiramisu?
Delight in crafting a memorable meal with these accompanying dishes that beautifully balance the creamy decadence of your dessert.
-
Rich Espresso: The boldness of espresso enhances the pistachio flavors, making for a classic and satisfying finish to your meal.
-
Fruit Salad: A light and refreshing fruit salad adds a burst of freshness, contrasting wonderfully with the creamy dessert.
-
Chocolate Truffles: Indulge in a few chocolate truffles alongside the tiramisu for a sophisticated touch of sweetness, inviting an explosion of flavor.
-
Almond Biscotti: Crunchy almond biscotti provide a delightful texture, perfect for dipping in your coffee or enjoying alongside the dessert.
-
Sparkling Prosecco: Serve chilled prosecco to elevate your dining experience—its bubbles and crispness beautifully pair with the richness of the tiramisu.
-
Pistachio Ice Cream: For those who can’t get enough of pistachio, a scoop of this creamy ice cream makes for a delightful companion to the layered dessert, amplifying that nutty flavor.
Enjoy creating an unforgettable dining experience with these harmonious pairings!
Homemade Pistachio Tiramisu Recipe FAQs
What kind of pistachio cream should I use?
I recommend using high-quality pistachio cream for the best flavor. You can either buy ready-made versions or make your own by blending roasted pistachios with a touch of sugar and oil until smooth. The homemade version allows you to control the sweetness and richness, elevating your Homemade Pistachio Tiramisu!
How should I store leftover pistachio tiramisu?
Store your assembled Homemade Pistachio Tiramisu in an airtight container in the fridge for up to 2-3 days. This keeps it fresh while the flavors continue to meld beautifully. If you have extra, it’s best enjoyed within this timeframe for optimal taste and texture.
Can I freeze pistachio tiramisu?
Absolutely! You can freeze your Homemade Pistachio Tiramisu for up to two weeks. To do this, wrap it tightly in plastic wrap and then in aluminum foil to avoid freezer burn. When you’re ready to enjoy, let it thaw overnight in the fridge for the best results.
What if my mascarpone filling is too thick or too thin?
If your filling turns out too thick, you can incorporate a little more heavy cream while gently folding it in until you reach the desired consistency. Conversely, if it’s too thin, try to whisk it a bit longer to stabilize, or add a small amount of powdered sugar to help thicken it up.
Are there any dietary restrictions I should be aware of?
If you’re making this Homemade Pistachio Tiramisu for someone with allergies, be mindful of the ingredients. Both pistachios and heavy cream can be allergens. You can substitute the heavy cream with a dairy-free alternative and ensure the pistachio cream is free from additional allergens, making this dessert accessible to more people.
Creamy Homemade Pistachio Tiramisu That Will Wow Everyone
Ingredients
Equipment
Method
- Start by creating your base for the Homemade Pistachio Tiramisu. If using sponge cake, bake it according to your recipe and allow it to cool. Alternatively, skip this step for ladyfingers.
- Blend the pistachio cream with 3–4 tablespoons of milk until smooth. Adjust with more milk if needed.
- Place the first layer of sponge cake or ladyfingers on a serving plate. Drizzle with 4-5 tablespoons of milk or espresso until moistened. Spread half of the pistachio cream mixture on top and refrigerate.
- In a separate bowl, beat the optional egg with granulated sugar until frothy. If omitting the egg, mix powdered sugar with mascarpone. Add heavy cream and beat until thick and creamy.
- Spread half of the mascarpone filling over the pistachio layer. Add the second layer of sponge cake or ladyfingers, drizzle with more milk, and finish with remaining pistachio and mascarpone mixtures.
- Cover and refrigerate for at least 3-4 hours, or overnight.
- Before serving, remove the plastic wrap, garnish with chopped pistachios, slice, and enjoy!
Leave a Reply