
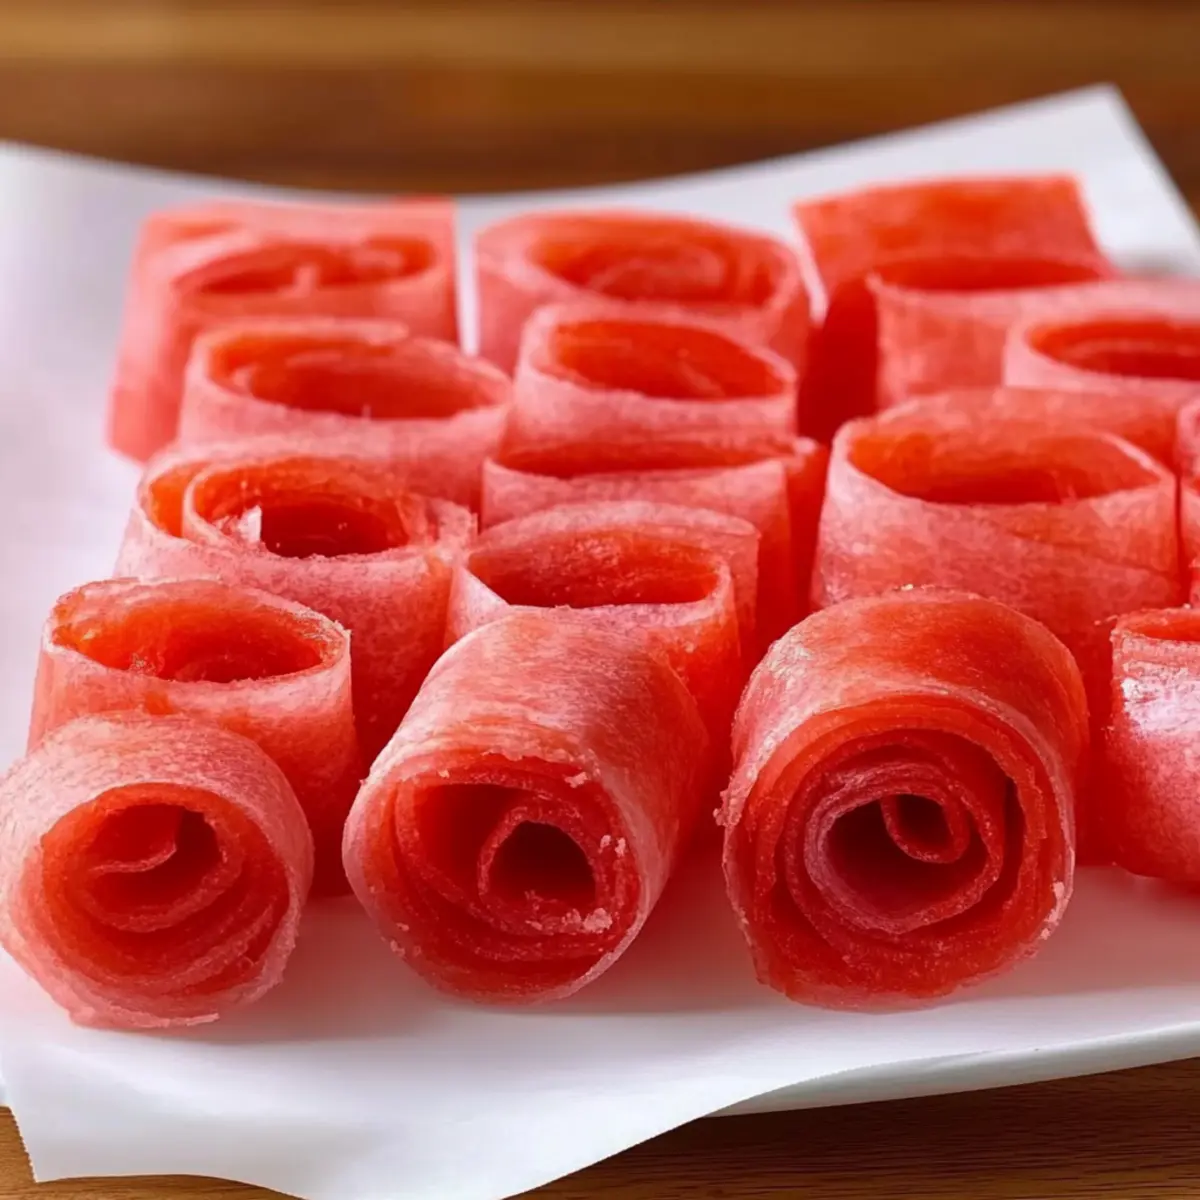
As the summer sun reaches its peak, the allure of juicy watermelon beckons me to create something truly special. Enter my Easy Homemade Watermelon Fruit Roll-Ups—delightfully chewy snacks that turn vibrant, ripe watermelon into a fun and healthy treat. With just three simple ingredients and a low oven, I can whip up these gluten-free, low-calorie goodies in no time. They’re perfect for popping into lunchboxes or enjoying during an afternoon picnic, offering a refreshing alternative to store-bought snacks that often come packed with preservatives. Plus, you can feel good about serving them to your loved ones, knowing they’re made from fresh fruit! Curious about how to make these irresistible roll-ups in your own kitchen? Let’s dive into the recipe!
What Makes Watermelon Fruit Roll-Ups Special?
Simplicity: With just three ingredients—fresh watermelon, sugar, and lime juice—this recipe is effortless, perfect for those busy days when you crave something delightful without fuss.
Healthy Snacking: These roll-ups are gluten-free and low-calorie, offering a guilt-free way to satisfy your sweet tooth. Each serving contains only about 52 calories!
Versatile Treat: Customize your Watermelon Fruit Roll-Ups by experimenting with different fruit blends or adding a pinch of spice for a unique twist.
Perfect for Kids: Kids love these chewy snacks, making them ideal for lunchboxes or after-school treats. They’re a fun way to introduce healthy eating to little ones!
Summer Vibes: Brighten up your hot days with these refreshing roll-ups that capture the essence of summer in every bite. Ideal for family picnics or road trips!
For even more fun, check out my tips on serving suggestions that pair perfectly with these fruit roll-ups!
Watermelon Fruit Roll-Ups Ingredients
• Unlock the magic of homemade snacks!
For the Fruit Mixture
- Watermelon – the star of the show, providing hydration and sweetness; choose fresh, ripe watermelon for the best flavor.
- Granulated Sugar – enhances sweetness; feel free to adjust based on taste and natural sweetness of your watermelon.
- Lime Juice – adds a bright acidity that balances the sweetness and enhances the watermelon flavor.
Enjoy creating your own delicious Watermelon Fruit Roll-Ups, a wholesome treat perfect for summer snacking!
Step‑by‑Step Instructions for Watermelon Fruit Roll-Ups
Step 1: Prepare the Watermelon
Begin by cubing 8 cups of fresh, ripe watermelon. Place the watermelon cubes into a blender or food processor, then blend on high speed until the mixture becomes completely smooth. This process should take about 1–2 minutes. A vibrant, fluid consistency is what you’re aiming for, as this will form the base of your Watermelon Fruit Roll-Ups.
Step 2: Mix Ingredients
In a large mixing bowl, combine the smooth watermelon puree with 1/2 cup of granulated sugar and the juice from 1 lime. Stir the mixture thoroughly until the sugar dissolves completely and evenly throughout. This should take about 2–3 minutes of gentle mixing. The lime juice will not only enhance the flavor but also add a delightful acidity to balance sweetness.
Step 3: Prep the Oven
Preheat your oven to a very low setting—around 170°F (75°C). While the oven warms up, prepare a baking sheet by lining it with a silicone baking mat or parchment paper. Ensure that the mat is secured to the sheet to prevent slipping. This setup will help create an ideal environment for the watermelon mixture as it transforms into Fruit Roll-Ups.
Step 4: Spread Mixture
Carefully pour the watermelon mixture onto the prepared baking sheet. Using a spatula, spread it evenly to a thickness of about 1/8 inch across the surface. Make sure there are no bare spots or overly thick sections, as this will ensure consistent drying. The bright pink color should be vibrant and appetizing, signaling that you’re on the right track to delicious Watermelon Fruit Roll-Ups.
Step 5: Dehydrate
Place the baking sheet in the preheated oven and allow the mixture to dehydrate for about 3 hours. Keep an eye on the progress; the mixture should gradually turn dry and slightly tacky to the touch but not sticky. If it appears sticky, it will need more time, so check every 30 minutes. The goal is to achieve a chewy yet flexible consistency.
Step 6: Cool and Cut
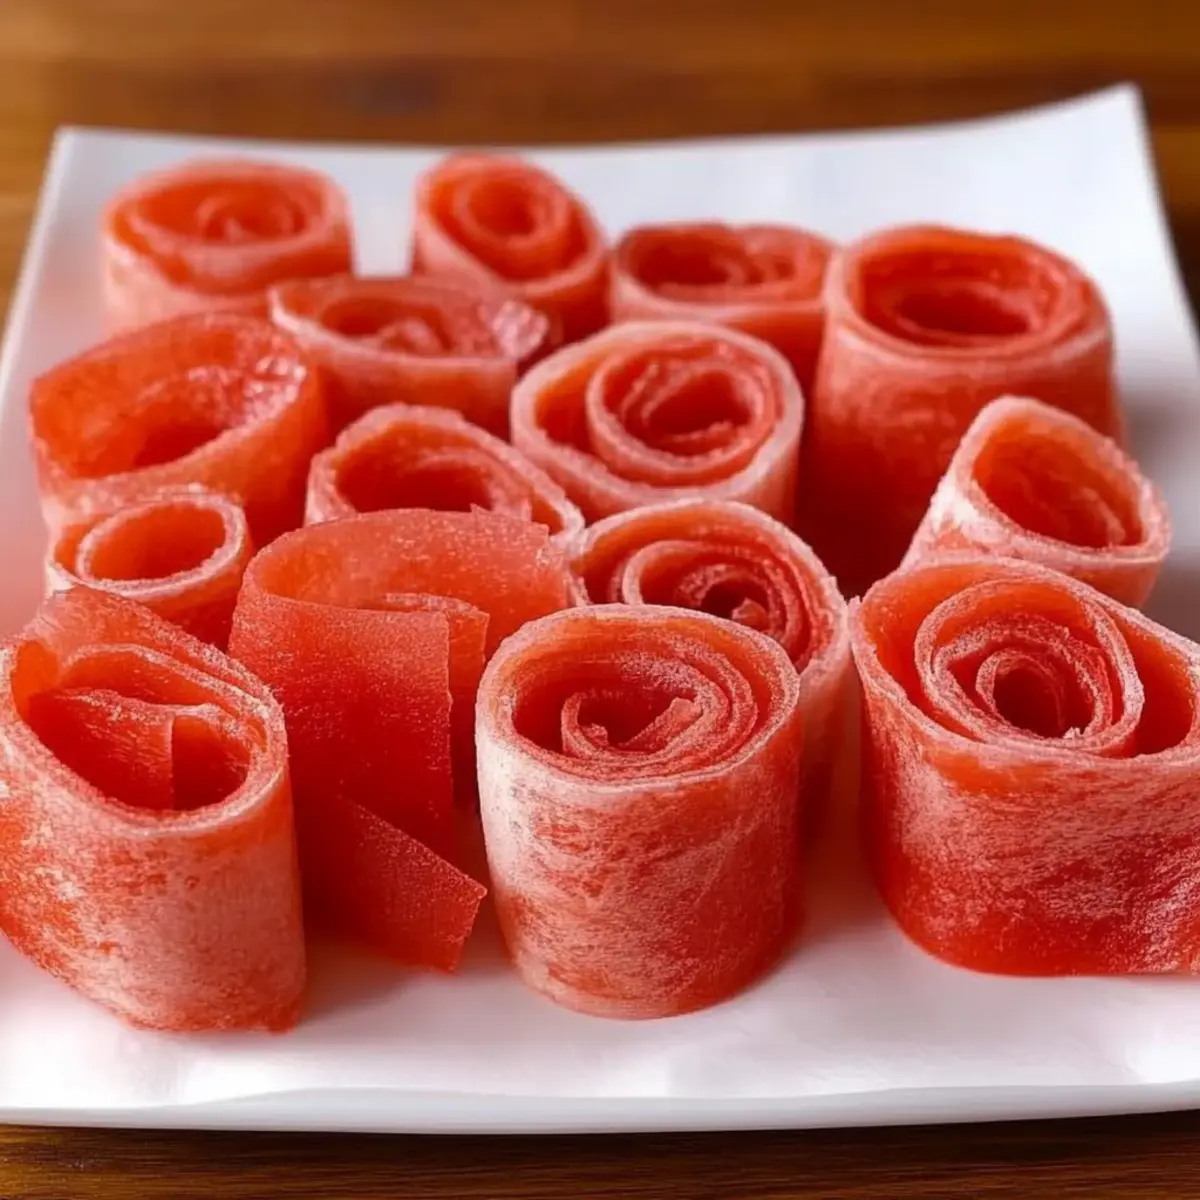
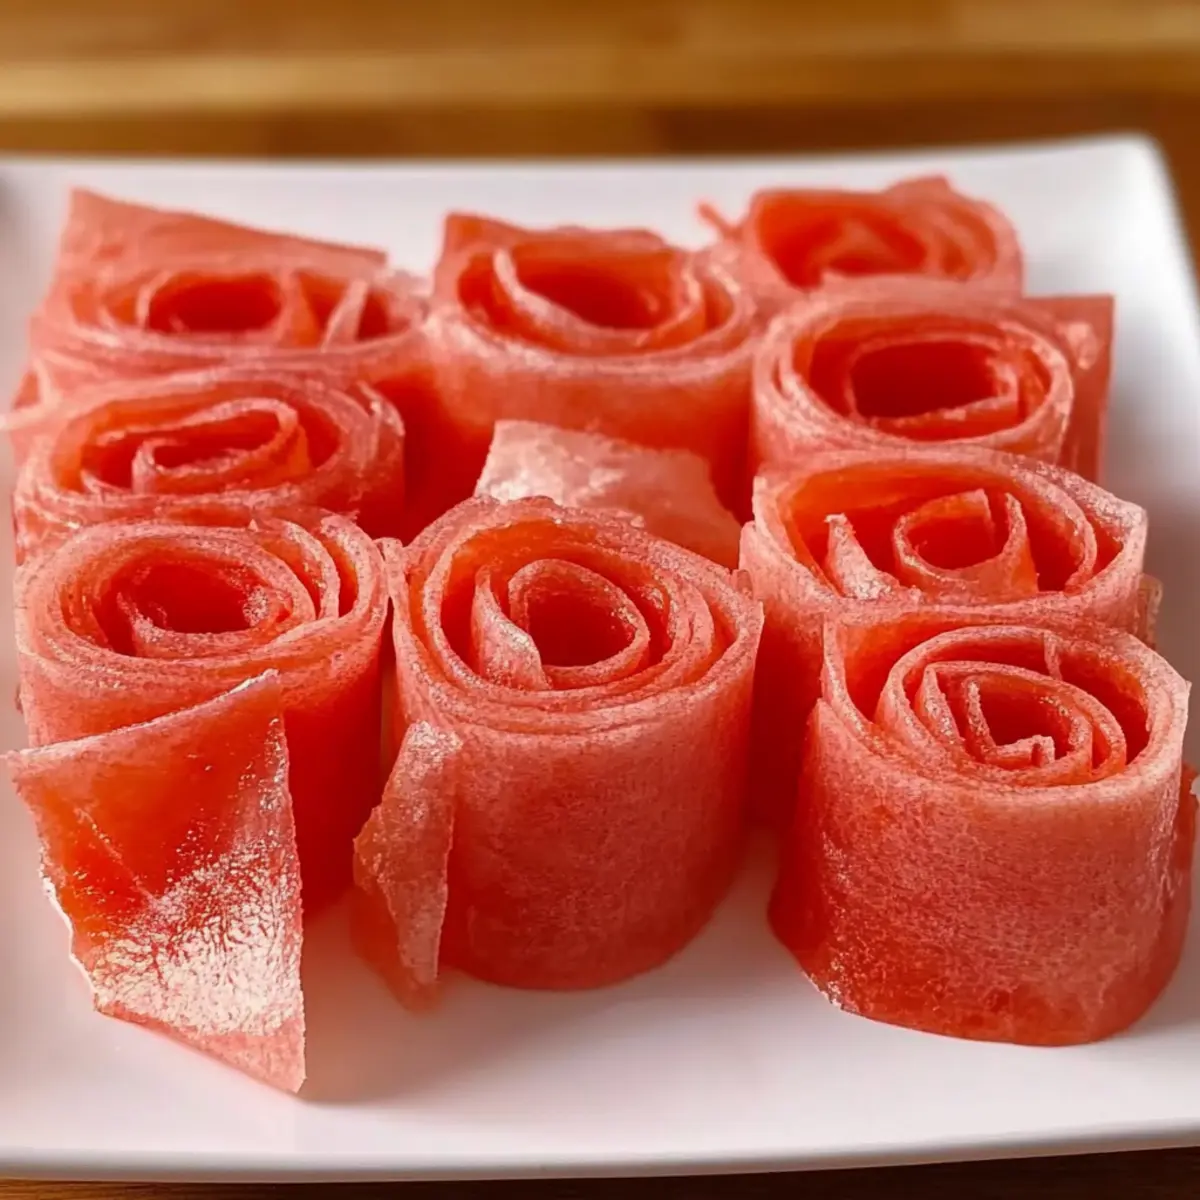
Once the Watermelon Fruit Roll-Ups are dry, remove the baking sheet from the oven and let it cool on a wire rack for about 30 minutes. Once cooled, use a sharp knife or a pizza cutter to slice the roll-up into strips of your desired width. Roll each strip up carefully, and they are now ready for enjoyable snacking or packing away for lunches!
Expert Tips for Watermelon Fruit Roll-Ups
-
Fresh Watermelon Matters: Use ripe, seedless watermelon for a smoother puree and optimal flavor. Avoid waterlogged ones for the best outcome.
-
Sugar Adjustment: Tailor the amount of granulated sugar based on the sweetness of your watermelon. Taste the puree before adding more sugar, as natural sweetness varies.
-
Thick Layer Caution: Ensure the spread is evenly 1/8 inch thick—thicker areas take longer to dehydrate, leading to uneven textures in your Watermelon Fruit Roll-Ups.
-
Oven Monitoring: While dehydrating, check every 30 minutes. If it’s still sticky, give it more time. The goal is a perfectly chewy consistency without being overly tacky.
-
Cutting Tips: Once cooled, use a sharp knife or pizza cutter for clean edges. This will make rolling up the strips easy and visually appealing!
Make Ahead Options
These Watermelon Fruit Roll-Ups are perfect for busy home cooks looking to save time! You can prepare the watermelon puree up to 24 hours in advance by blending and storing it in an airtight container in the refrigerator. This prepping step helps capture the fresh flavor while making your roll-up assembly a breeze. Additionally, once you’ve dehydrated and cooled the roll-ups, they can be stored in an airtight container at room temperature for up to 2 weeks. To serve, simply cut and roll the strips, and you’ll have delicious, chewy snacks ready to go for lunchboxes or quick treats without any hassle.
Watermelon Fruit Roll-Ups: Customization Ideas
Feel free to get creative with your Watermelon Fruit Roll-Ups and make them uniquely yours!
-
Berry Blast: Substitute some of the watermelon with blended strawberries or raspberries for an added burst of flavor. The mix of fruits creates a sweet symphony that’s simply irresistible!
-
Tropical Delight: Replace watermelon with mango or pineapple puree for a tropical twist. The sunny flavors will transport you straight to a beachside paradise!
-
Spicy Kick: Add a pinch of cayenne or chili powder to the watermelon mixture for a surprising heat that complements the sweetness beautifully. Just a dash will elevate this snack to a whole new level!
-
Herbal Infusion: Mix in fresh mint or basil into the puree for an aromatic, refreshing touch. This herbal addition not only increases flavor but also adds a delightful hint of sophistication.
-
Dairy-Free Dip: Pair your roll-ups with a coconut yogurt for dipping! This creamy, dairy-free alternative will enhance the fruity experience with its rich texture.
-
Nutty Crunch: Finely chop your favorite nuts and sprinkle them on top of the rolled strip before slicing. The crunchiness will add a delightful contrast to the chewy fruit.
-
Citrus Zing: Experiment with different citrus juices like grapefruit or blood orange instead of lime for a unique acidity. Each choice will give your roll-ups a fresh and vibrant twist!
-
Fruit Leather Variety: For a different texture, blend in some applesauce to the watermelon mixture. This will make the roll-up a bit thicker and give it a fruit leather vibe, ideal for adventurous snackers!
Remember, the beauty of homemade snacks lies in their versatility. Enjoy personalizing your Watermelon Fruit Roll-Ups, and for more snack ideas, check out my suggestions for delicious serving options!
How to Store and Freeze Watermelon Fruit Roll-Ups
Room Temperature: Keep your homemade Watermelon Fruit Roll-Ups in an airtight container at room temperature for up to 2 weeks, perfect for snacking anytime.
Fridge: For longer freshness, store in the fridge using an airtight container for up to 3 weeks. This helps maintain moisture and flavor without drying out.
Freezer: Wrap each roll-up tightly in plastic wrap or foil and store in a freezer-safe bag for up to 3 months. Thaw in the fridge or at room temperature when you’re ready to enjoy them.
Reheating: There’s no need to reheat! Simply enjoy them as-is after thawing from the freezer, retaining their chewy texture and vibrant flavor.
What to Serve with Watermelon Fruit Roll-Ups
Create an inviting summer feast with delightful additions to these chewy snacks!
- Greek Yogurt: The creamy texture of Greek yogurt complements the chewy fruit roll-ups beautifully. Dip or spread some on top for a refreshing snack.
- Coconut Chunks: Fresh coconut enhances the tropical vibe of watermelon. Add some shredded coconut on the side for a fun, chewy twist!
- Mixed Nuts: A handful of mixed nuts provides a satisfying crunch. The salty notes will contrast nicely with the sweet fruit rolls, offering a delightful balance.
- Cheese Platter: Pair soft cheeses like goat cheese for a rich and unique flavor experience. The creaminess enhances the sweetness of the roll-ups, making them extra special.
- Fresh Berries: Juicy strawberries or blueberries add freshness and a burst of flavor. Their natural sweetness will beautifully harmonize with the watermelon.
- Lemonade or Iced Tea: Quench your thirst with a refreshing glass of lemonade or iced tea. A hint of citrus will accentuate the vibrant watermelon flavors.
- Granola Bars: For a filling option, serve homemade granola bars alongside. The crunchy texture complements the fruit’s chewiness, creating a satisfying snack time!
- Fruit Salad: A colorful fruit salad featuring ripe peaches, berries, or bananas can turn your snack into a delightful dessert. The mix of flavors and textures is incredibly refreshing!
- Dark Chocolate: Consider pairing these roll-ups with dark chocolate for an indulgent treat. The bitterness of chocolate contrasts beautifully with the natural sweetness.
Watermelon Fruit Roll-Ups Recipe FAQs
How do I choose the best watermelon for the recipe?
Absolutely! For the best flavor, select a seedless, ripe watermelon that’s heavy for its size. Look for a uniform shape and a creamy yellow spot on one side—this indicates ripeness. Avoid waterlogged melons, as they may not blend as smoothly.
What’s the best way to store leftover Watermelon Fruit Roll-Ups?
You can keep your homemade Watermelon Fruit Roll-Ups in an airtight container at room temperature for up to 2 weeks. For even longer freshness, consider storing them in the refrigerator for up to 3 weeks instead. This method helps retain moisture and flavor, ensuring each roll-up is just as delightful as when they were first made.
Can I freeze Watermelon Fruit Roll-Ups?
Absolutely! To freeze, tightly wrap each roll-up in plastic wrap or foil, and then place them in a freezer-safe bag. They will maintain their quality for up to 3 months. When you’re ready to enjoy them, simply thaw in the fridge or at room temperature. There’s no need to reheat—just savor their chewy goodness!
What should I do if the roll-ups are still sticky after dehydrating?
Very few things can be more frustrating! If your Watermelon Fruit Roll-Ups are still sticky, they likely need additional time in the oven. Check them every 30 minutes until they become dry and slightly tacky. If the edges are drying out faster than the center, consider rotating the pan for even drying.
Are Watermelon Fruit Roll-Ups safe for kids with allergies?
Yes! These roll-ups are a gluten-free and low-calorie treat made from only three ingredients: watermelon, sugar, and lime juice. However, if a child has an allergy to any of these ingredients, particularly citrus, it’s important to adjust the recipe or avoid it altogether. Always check for any added sweeteners if you’re using store-bought sugar!
Can I customize the flavor of my Watermelon Fruit Roll-Ups?
Very! You can experiment with blending in other fruits like strawberries or raspberries for varied flavors. Adding a pinch of salt or even a dash of cayenne can also give them a unique twist. Feel free to get creative as you tailor these roll-ups to match your family’s preferences!
Delicious Watermelon Fruit Roll-Ups for Easy Summer Snacking
Ingredients
Equipment
Method
- Begin by cubing fresh, ripe watermelon and blend on high speed until smooth.
- In a bowl, combine watermelon puree, sugar, and lime juice. Mix until sugar dissolves.
- Preheat the oven to 170°F (75°C) and prepare a baking sheet with a silicone mat.
- Spread the watermelon mixture on the baking sheet to a thickness of about 1/8 inch.
- Dehydrate in the oven for about 3 hours, checking every 30 minutes until slightly tacky but not sticky.
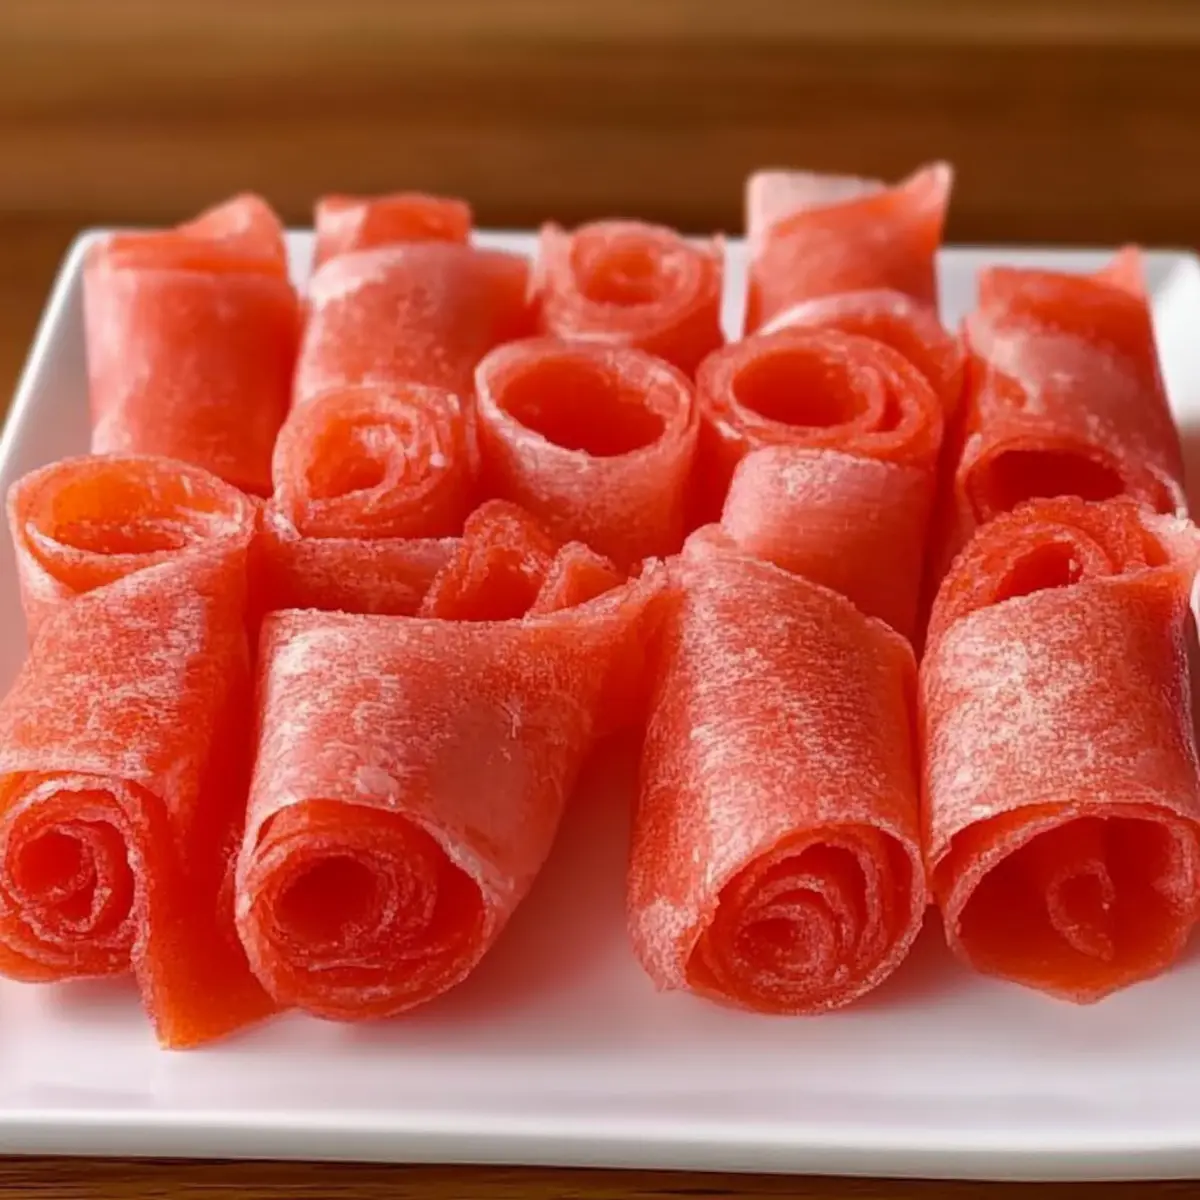
- Let cool on a wire rack for 30 minutes, then slice into strips and roll up for snacking.
Leave a Reply