
As I opened my refrigerator, a burst of sunshine seemed to pour out—bright and inviting, just like the tropical flavors waiting to dance into my next baking adventure. Today, I’m thrilled to share my recipe for Pineapple Bliss Bars, a decadent yet easy-to-make treat that transports your taste buds straight to a beachside paradise. With a buttery crust and a creamy pineapple filling, these bars not only come together in just 15 minutes but also promise to delight friends and family at any gathering. Plus, they’re freezer-friendly, making them perfect for those sweet cravings that catch you by surprise. Are you ready to indulge in a slice of bliss? Let’s dive into this tropical dessert that’s as simple as it is scrumptious!
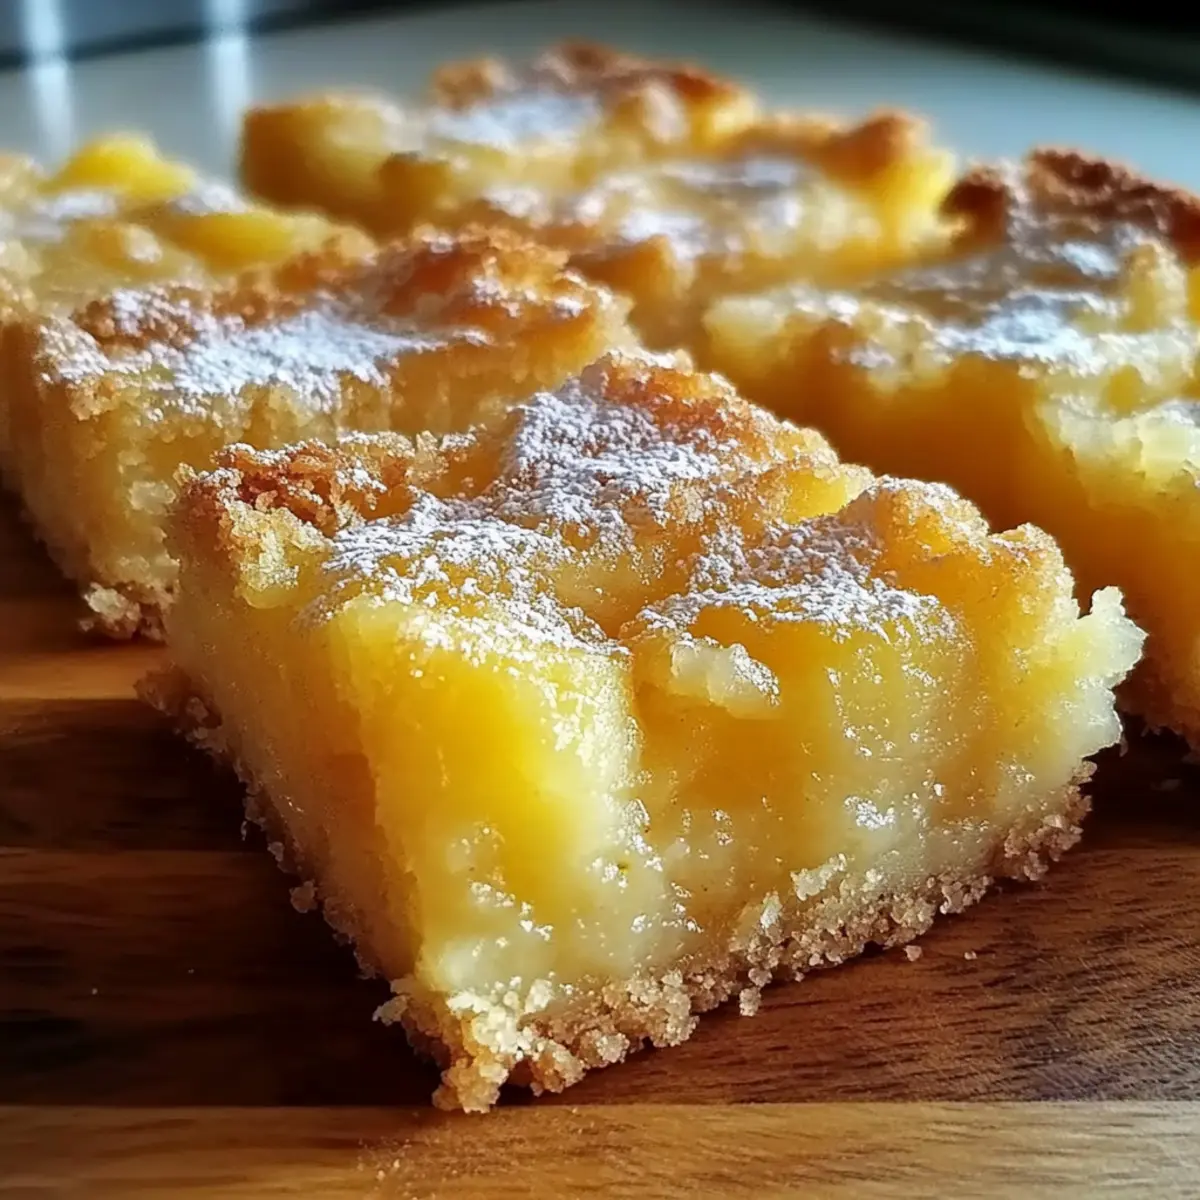
Why Are Pineapple Bliss Bars a Must-Try?
Tropical Escape: Each bite of these Pineapple Bliss Bars whisks you away to a sunny paradise, with the bright flavors of pineapple brightening your day.
Quick and Easy: Perfectly suited for busy days, these bars come together in just 15 minutes, allowing you to whip up a delicious dessert without fuss.
Crowd-Pleasing Delight: Whether for a casual brunch or a celebratory dinner, these treats are bound to impress guests, much like the refreshing Lemon Crumb Bars.
Versatile Options: Feel free to play with flavors by adding a drizzle of chocolate or using different fruits, making them suitable for any occasion or preference.
Freeze for Later: These bars can be frozen, giving you a sweet option ready to go whenever a craving hits!
Pineapple Bliss Bars Ingredients
• Get ready for a tropical treat!
For the Crust
- All-purpose flour – Provides structure for the crust; substitute with gluten-free flour for a gluten-free version.
- Unsalted butter (melted) – Adds richness and moisture; use coconut oil as a dairy-free alternative.
- Granulated sugar (for crust) – Sweetens the crust; brown sugar can be substituted for a deeper flavor.
For the Filling
- Crushed pineapple (drained) – The main flavor component providing tropical sweetness; ensure it’s well-drained to avoid sogginess.
- Large eggs – Binds the filling together, contributing to its creamy texture.
- Granulated sugar (for filling) – Sweetens the filling; adjust to taste based on pineapple sweetness.
- Vanilla extract – Enhances the flavor profile; consider using fresh vanilla bean for added richness.
- Shredded coconut (optional) – Adds texture and flavor; can be omitted for a simpler dessert.
For Serving
- Powdered sugar – Perfect for dusting before serving, enhancing the presentation of your Pineapple Bliss Bars.
Step‑by‑Step Instructions for Pineapple Bliss Bars
Step 1: Preparation
Preheat your oven to 350°F (175°C). While it warms up, grab an 8×8-inch baking pan and grease it lightly to ensure easy removal after baking. This crucial first step sets the stage for your Pineapple Bliss Bars, creating an inviting space for the delicious layers to come.
Step 2: Make the Crust
In a medium bowl, combine melted butter, all-purpose flour, and 1/4 cup of granulated sugar. Stir until the mixture appears crumbly, resembling wet sand. Press this mixture evenly into the bottom of the prepared pan. Bake for 10–12 minutes, or until the crust is lightly golden and fragrant, and then set it aside to cool slightly.
Step 3: Prepare the Filling
In another bowl, whisk together the large eggs, 1/2 cup of sugar, drained crushed pineapple, and vanilla extract until the mixture is smooth and well combined. If you’re adding shredded coconut for extra texture and flavor, fold it in gently. This pineapple filling will create the creamy heart of your blissful bars.
Step 4: Assemble & Bake
Pour the luscious pineapple mixture over the pre-baked crust, spreading it evenly with a spatula. Bake in the preheated oven for 20–25 minutes, until the filling is set and the edges are just beginning to brown. Keep an eye on it—perfectly cooked filling should jiggle slightly in the center.
Step 5: Cooling
Once baked, remove the pan from the oven and allow your Pineapple Bliss Bars to cool completely at room temperature. This step is vital for easy cutting; warm bars can crumble. Patience is key here as the flavors meld beautifully during this cooling period.
Step 6: Serve & Enjoy
After the bars have cooled, cut them into squares for serving. Dust the tops with powdered sugar for a delightful finishing touch. These Pineapple Bliss Bars are perfect for sharing with friends and family, showcasing a taste of tropical bliss in every bite!
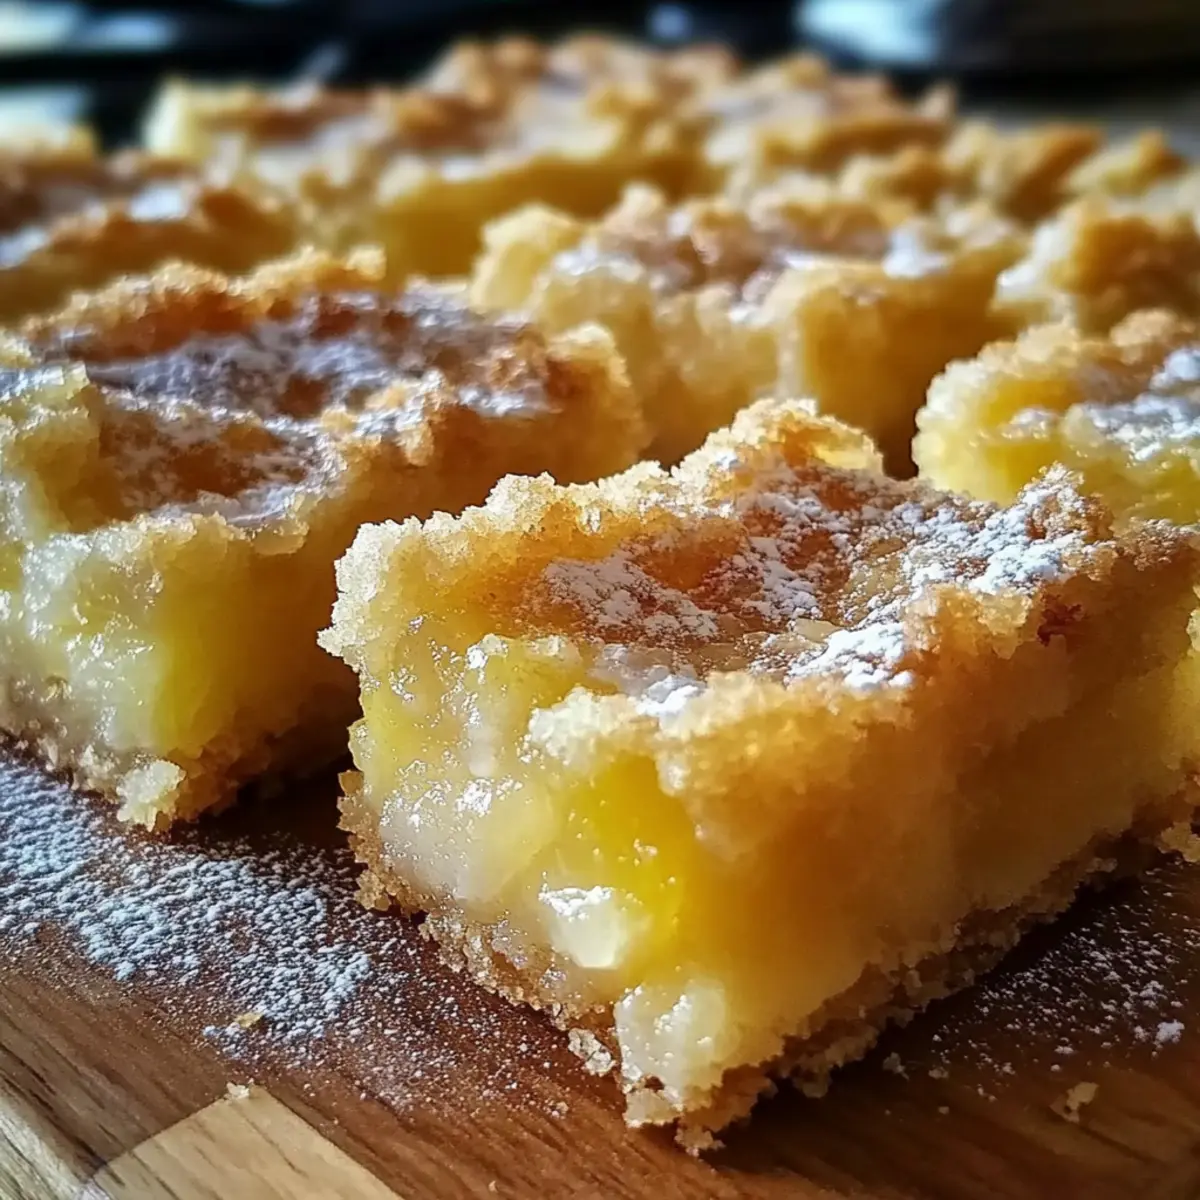
What to Serve with Pineapple Bliss Bars?
Imagine a plate of Pineapple Bliss Bars glowing in the sun, their creamy filling beckoning for companions that enhance every enchanting bite.
- Vanilla Ice Cream: The creamy richness of vanilla ice cream beautifully contrasts with the tangy pineapple, creating a delightful melting experience.
- Whipped Cream: Light and airy, whipped cream adds a cloud-like texture that complements the bars’ smooth filling and enhances their tropical charm.
- Fruit Salad: A medley of fresh fruits not only brightens up your plate but also offers refreshing juiciness, balancing the sweetness of the bars with nature’s sweetness.
- Toasted Coconut: Toasted coconut sprinkles add a delicious crunch and an extra layer of tropical flavor that ties in seamlessly with the bars.
- Lemonade: A glass of icy lemonade serves as the perfect thirst-quencher, the zesty citrus notes cutting through the sweetness and enhancing the tropical vibes.
- Pineapple Juice: Keep it on theme with some cold pineapple juice, amplifying the bars’ fruity essence and transporting you straight to a sunny beach.
- Chocolate Drizzle: Drizzling warm chocolate over the bars offers an indulgent touch, enriching the tropical sweetness with a rich and enticing contrast.
- Margaritas: For an adult twist, pair with refreshing margaritas; the tangy kick beautifully complements the fruity flavors of the dessert.
Pineapple Bliss Bars Variations & Substitutions
Feel free to tweak this recipe for Pineapple Bliss Bars to suit your taste and dietary needs while keeping that tropical flair alive!
-
Gluten-Free: Substitute all-purpose flour with a gluten-free blend to make these bars safe for those with gluten sensitivities. This swap keeps the deliciousness intact!
-
Dairy-Free: Use coconut oil instead of unsalted butter for a rich, dairy-free crust. It adds a hint of tropical flavor to complement the pineapple beautifully.
-
Sugar Swap: For a deeper flavor, replace granulated sugar with brown sugar in the crust. This little change adds a delightful caramel note that enhances the richness.
-
Fruit Variations: Get creative and use different fruits like fresh mango or luscious peaches in place of the crushed pineapple for a unique twist. Each fruit brings its own delicious personality!
-
Choco-Coconut Bliss: Drizzle melted chocolate or caramel over the bars after baking for an indulgent touch. Pair it with a sprinkle of toasted coconut for an extra layer of flavor.
-
Flavor Enhancers: Fold in some zest from a lime or lemon into your filling for a zesty kick that brightens the bars and complements the pineapple.
-
Texture Twist: Add chopped nuts like macadamia or pecans to the crust for added crunch. This little change elevates your bars’ texture and taste, giving them a delightful surprise.
-
Heat It Up: If you love a little spice, mix in a dash of cayenne pepper or finely chopped jalapeños into the pineapple filling for a surprising heat that contrasts beautifully with the sweetness.
Remember, every variation is an invitation to discover a new favorite you didn’t know you needed. Don’t be afraid to experiment, and you might just uncover a new family-loved recipe to cherish! If you enjoy experimenting with tropical ingredients, you might love these Lemon Crumb Bars or the delicious Goat Cheese Bliss for a savory twist!
Expert Tips for Pineapple Bliss Bars
• Drain Pineapple Well: Ensure that your crushed pineapple is thoroughly drained to prevent a soggy filling that doesn’t hold together properly.
• Cool Completely: Allow the bars to cool completely in the pan for cleaner cuts; slicing while warm may cause them to crumble, leading to messy servings.
• Measure Ingredients Accurately: Use precise measurements for the crust and filling to maintain the perfect balance of flavors and textures in your Pineapple Bliss Bars.
• Try Flavor Variations: Don’t hesitate to get creative, adding extras like shredded coconut or swapping in different fruits for a personal twist that suits your taste.
• Serve with Accents: Enhance the experience by serving your bars with a scoop of vanilla ice cream or a dollop of whipped cream for an extra indulgent treat.
Storage Tips for Pineapple Bliss Bars
Fridge: Store leftover Pineapple Bliss Bars in an airtight container for up to 5 days. This keeps them fresh, and the cold helps to maintain their creamy texture.
Freezer: For longer storage, freeze the bars wrapped tightly in plastic wrap and placed in an airtight container for up to 2 months. This preserves their tropical flavor until you’re ready to enjoy them later.
Thawing: When you’re ready to indulge, simply thaw the frozen bars in the refrigerator overnight before serving. This method ensures they’re still delicious and retains their delightful texture.
Reheating: If you prefer them warm, you can lightly reheat individual bars in the microwave for about 15-20 seconds. Enjoy the burst of flavor as the pineapple filling warms up!
Make Ahead Options
These Pineapple Bliss Bars are a real time-saver for busy home cooks! You can prepare the crust up to 24 hours in advance; simply bake it, cool it, and store it in an airtight container at room temperature. For the filling, whisk together the eggs, sugar, drained crushed pineapple, and vanilla, then refrigerate it for up to 3 days. When you’re ready to serve, pour the chilled filling over the crust and bake as directed. This way, you can enjoy delicious, freshly baked Pineapple Bliss Bars with minimal effort on the day of your gathering, ensuring they taste just as delightful as when made from scratch!
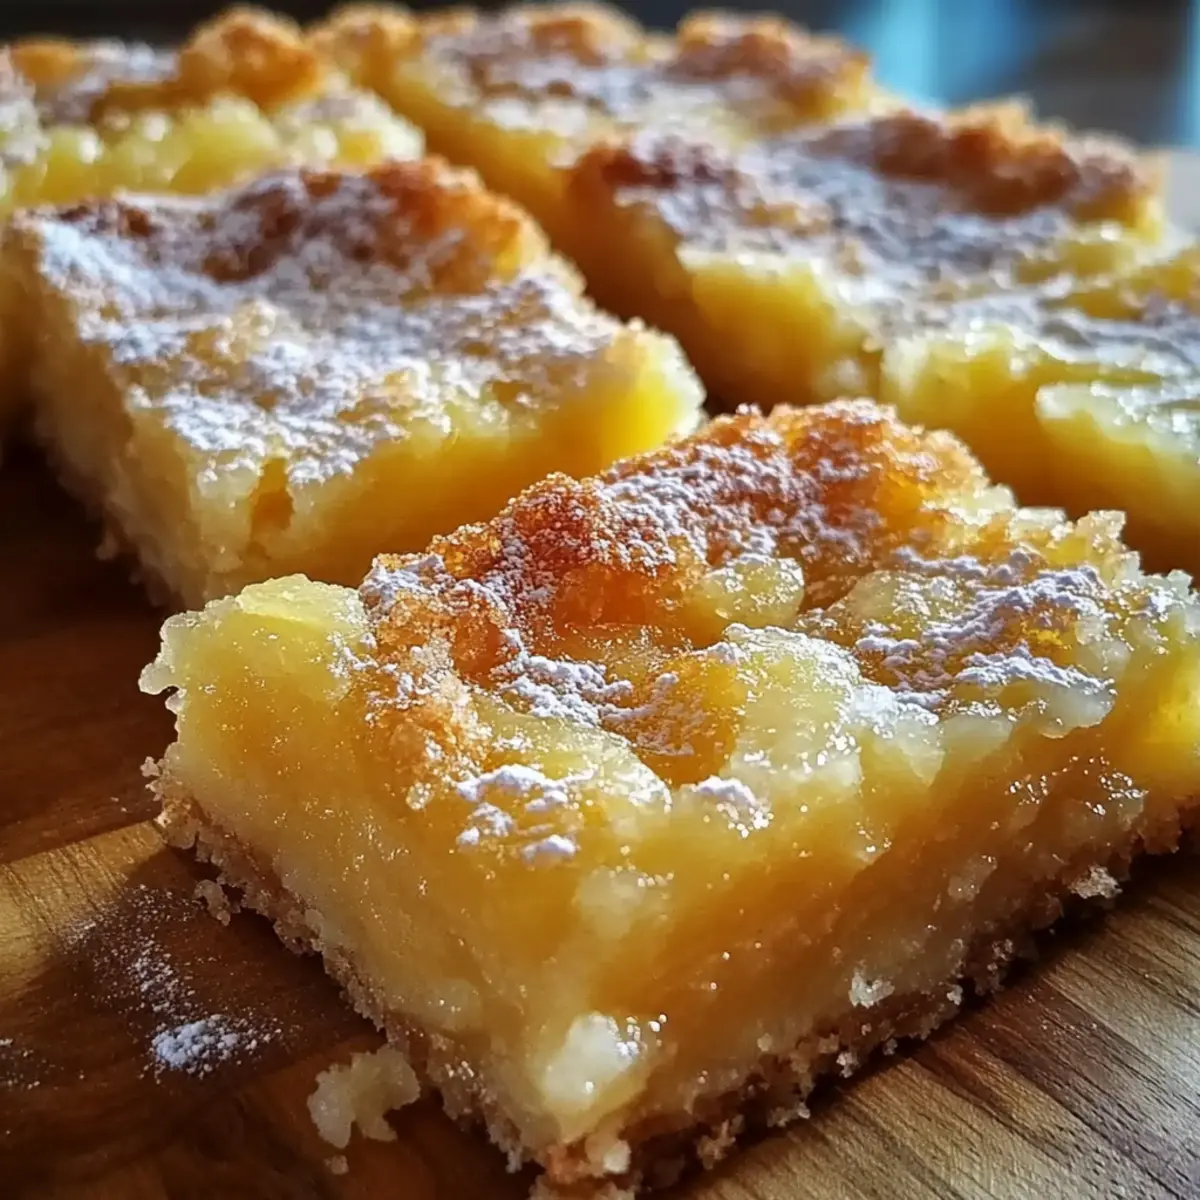
Pineapple Bliss Bars Recipe FAQs
What kind of pineapple should I use for the filling?
Absolutely! For the filling, you can use either fresh or canned crushed pineapple. If using canned, make sure it’s thoroughly drained to avoid sogginess. Look for pineapple that’s sweet and vibrant, and avoid any with dark spots or an off-smell.
How do I store leftover Pineapple Bliss Bars?
Very easy! Keep your leftover Pineapple Bliss Bars in an airtight container in the refrigerator for up to 5 days. This helps maintain their creamy texture and flavor. If you want to keep them longer, you can freeze them.
Can I freeze Pineapple Bliss Bars?
Definitely! To freeze, wrap the cooled bars tightly in plastic wrap and place them in an airtight container. They’ll last for up to 2 months. To enjoy later, simply thaw them in the refrigerator overnight. This method helps preserve their delicious taste and texture.
What should I do if my bars are too soggy?
If your Pineapple Bliss Bars turn out soggy, it could be due to under-drained pineapple or over-mixing. Next time, ensure to drain the pineapple thoroughly before adding it to the filling. Take extra care not to over-mix the filling after adding the eggs to keep it from becoming too watery.
Are Pineapple Bliss Bars safe for people with allergies?
It’s always wise to check! These bars contain eggs and butter, so they may not be suitable for those with egg or dairy allergies. For dietary considerations, you can use egg substitutes and coconut oil for a dairy-free version. Always consult with your guests about any food allergies or dietary restrictions before serving!
How do I enhance the flavor of my Pineapple Bliss Bars?
Wonderful question! You can elevate the flavor by adding a teaspoon of lemon or lime juice to the filling, which brings out the tropical notes. Serving them with a scoop of vanilla ice cream or a sprinkle of toasted coconut on top can add that extra touch. Enjoy the delicious burst of flavors in every bite!
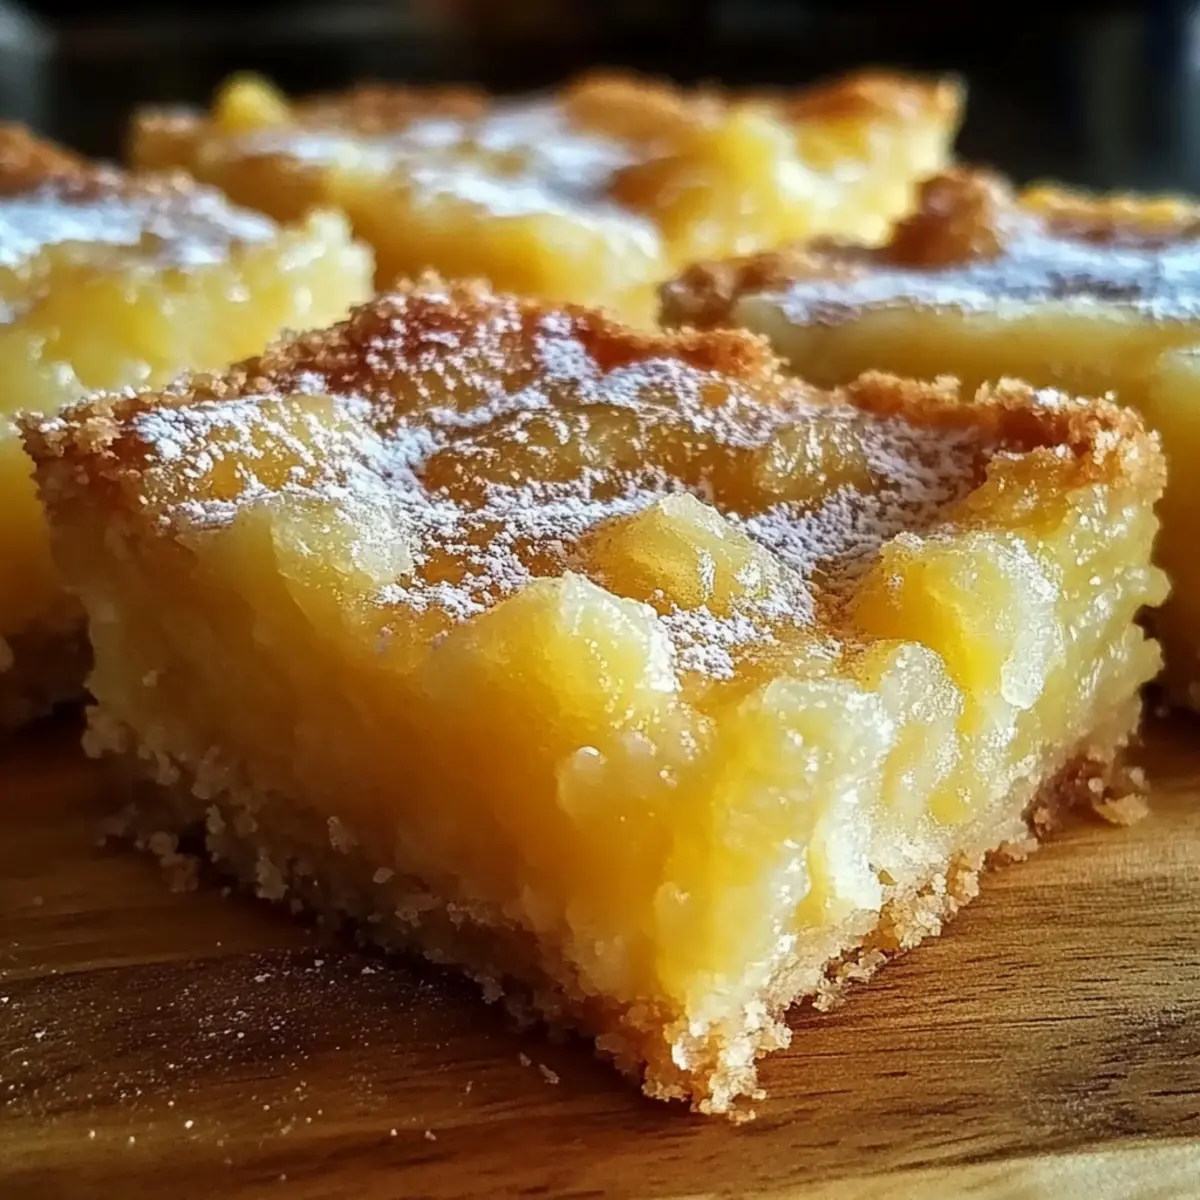
Pineapple Bliss Bars: Tropical Treats Easy Enough for Any Day
Ingredients
Equipment
Method
- Preheat your oven to 350°F (175°C). Lightly grease an 8×8-inch baking pan.
- In a medium bowl, combine melted butter, all-purpose flour, and 1/4 cup of granulated sugar. Stir until crumbly. Press into the bottom of the prepared pan. Bake for 10–12 minutes until golden.
- In another bowl, whisk together the large eggs, 1/2 cup of sugar, drained crushed pineapple, and vanilla extract until smooth. Fold in shredded coconut if using.
- Pour the pineapple mixture over the pre-baked crust and spread evenly. Bake for 20–25 minutes until set.
- Allow the bars to cool completely at room temperature before cutting.
- Cut into squares and dust the tops with powdered sugar before serving.
Leave a Reply