
On a scorching summer day, nothing hits the spot quite like a frosty treat! If you’re like me, the nostalgia of Wendy’s famous frosty is hard to resist—but what if I told you we could whip up a healthier version right at home? Enter the 4-Ingredient Healthy Ninja Creami Frosty! It’s a guilt-free indulgence that satisfies your sweet tooth while being significantly lower in sugar and easy to make. With just four simple ingredients, this delightful dessert is perfect for those of us looking to ditch fast food while still enjoying a creamy, dreamy treat. Plus, it’s gluten-free, making it a crowd-pleaser for everyone. Curious about how to create this frozen delight that’s just as rich in flavor as its fast-food counterpart? Let’s dive into this delicious recipe!
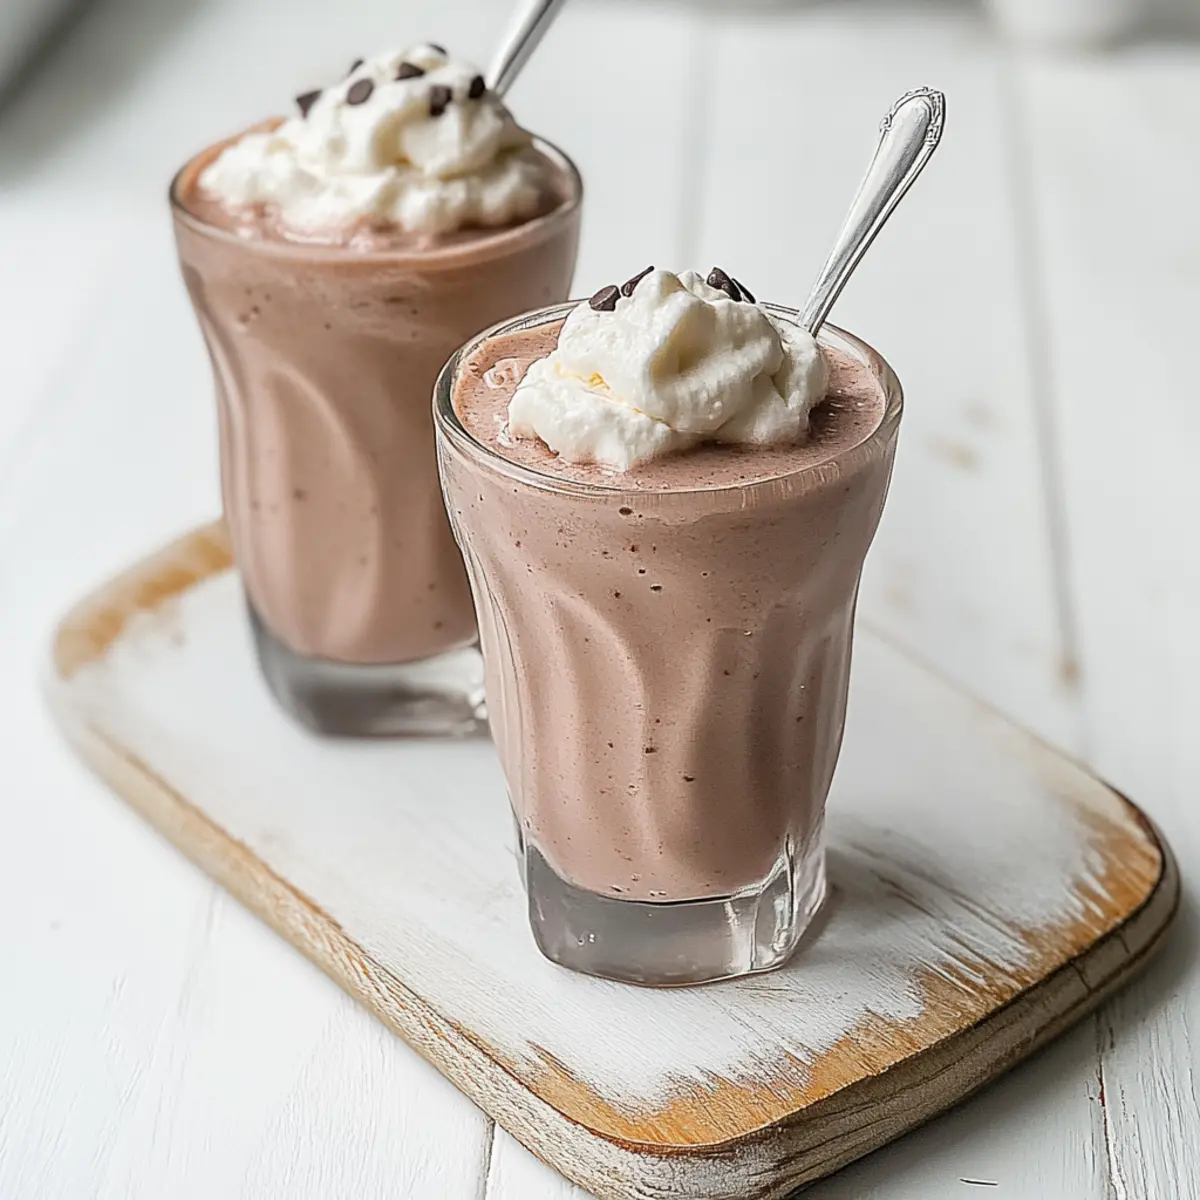
Why Make a Ninja Creami Frosty?
Healthier Alternative: This frosty gives you the indulgence you crave without the guilt, thanks to its low-sugar and gluten-free profile.
Easy Prep: With just four ingredients and minimal effort, you can craft this delicious treat while spending more time enjoying yourself and less time in the kitchen.
Flavorful Customization: You can easily mix it up by swapping out chocolate milk for other flavors or adding fun toppings like fruit swirls or crushed cookies.
Crowd-Pleasing Delight: Perfect for both kids and adults, this frosty is sure to impress at summer gatherings or cozy family nights!
Quick Satisfaction: Get your dessert fix in no time, making it an ideal solution to those sudden sweet cravings without resorting to fast food. Enjoy every creamy spoonful knowing it’s a homemade, healthier choice!
Ninja Creami Frosty Ingredients
For the Frosty
- Chocolate Milk – This forms the creamy base; substitute with almond milk for a dairy-free version.
- Sugar-Free Pudding Mix – Provides sweetness and thickness without excess sugar; try different flavors for variety!
- Vanilla Extract – Enhances the overall flavor; pure vanilla gives the best results, but imitation works too.
- Sugar – Adds a touch of sweetness; consider using stevia or erythritol for a sugar-free option.
Optional Toppings
- Whipped Cream – A luscious topping that brings extra indulgence to your frosty experience.
- Chocolate Chips – Sprinkle for a delightful crunch and added sweetness to your homemade frosty!
Step‑by‑Step Instructions for Ninja Creami Frosty
Step 1: Combine Ingredients
In a tall jar, whisk together 1.5 cups of chocolate milk, 1 package of sugar-free pudding mix, 1 teaspoon of vanilla extract, and ½ tablespoon of sugar until fully combined. For an ultra-smooth texture, using an immersion blender is ideal, mixing for about 1-2 minutes until no lumps remain. The mixture should be thick and creamy, resembling a rich chocolate batter.
Step 2: Freeze the Mixture
Pour the mixture into the Ninja Creami container, ensuring it’s filled to the proper fill line. Place the lid on securely and freeze the container for 24 hours. This extended freezing is crucial for achieving that perfect frosty consistency; the mixture should become solid and ready for processing by the Ninja Creami.
Step 3: Prepare the Creami
After the freezing period, remove the Ninja Creami container from the freezer and allow it to stand at room temperature for about 10 minutes. This slight thawing will help the frozen mixture soften, making it easier to process into a creamy texture while also enhancing the overall flavor of your Ninja Creami frosty.
Step 4: Process the Frosty
Insert the chilled container into the outer bowl of the Ninja Creami, ensuring it’s securely locked in place. Then, close the lid and select the “lite ice cream” setting. Let the Ninja Creami work its magic for approximately 2-3 minutes. You’ll know it’s ready when the mixture is thickened and has reached a soft-serve consistency reminiscent of your favorite frosty.
Step 5: Achieve Perfect Consistency
Once processed, carefully remove the outer bowl and gently pour in the remaining 1 teaspoon of chocolate milk into the center of the frosty. Press the “re-spin” button for another minute to achieve an even creamier, thicker consistency. The Ninja Creami frosty will transform into a luscious treat that is rich and velvety.
Step 6: Serve and Enjoy
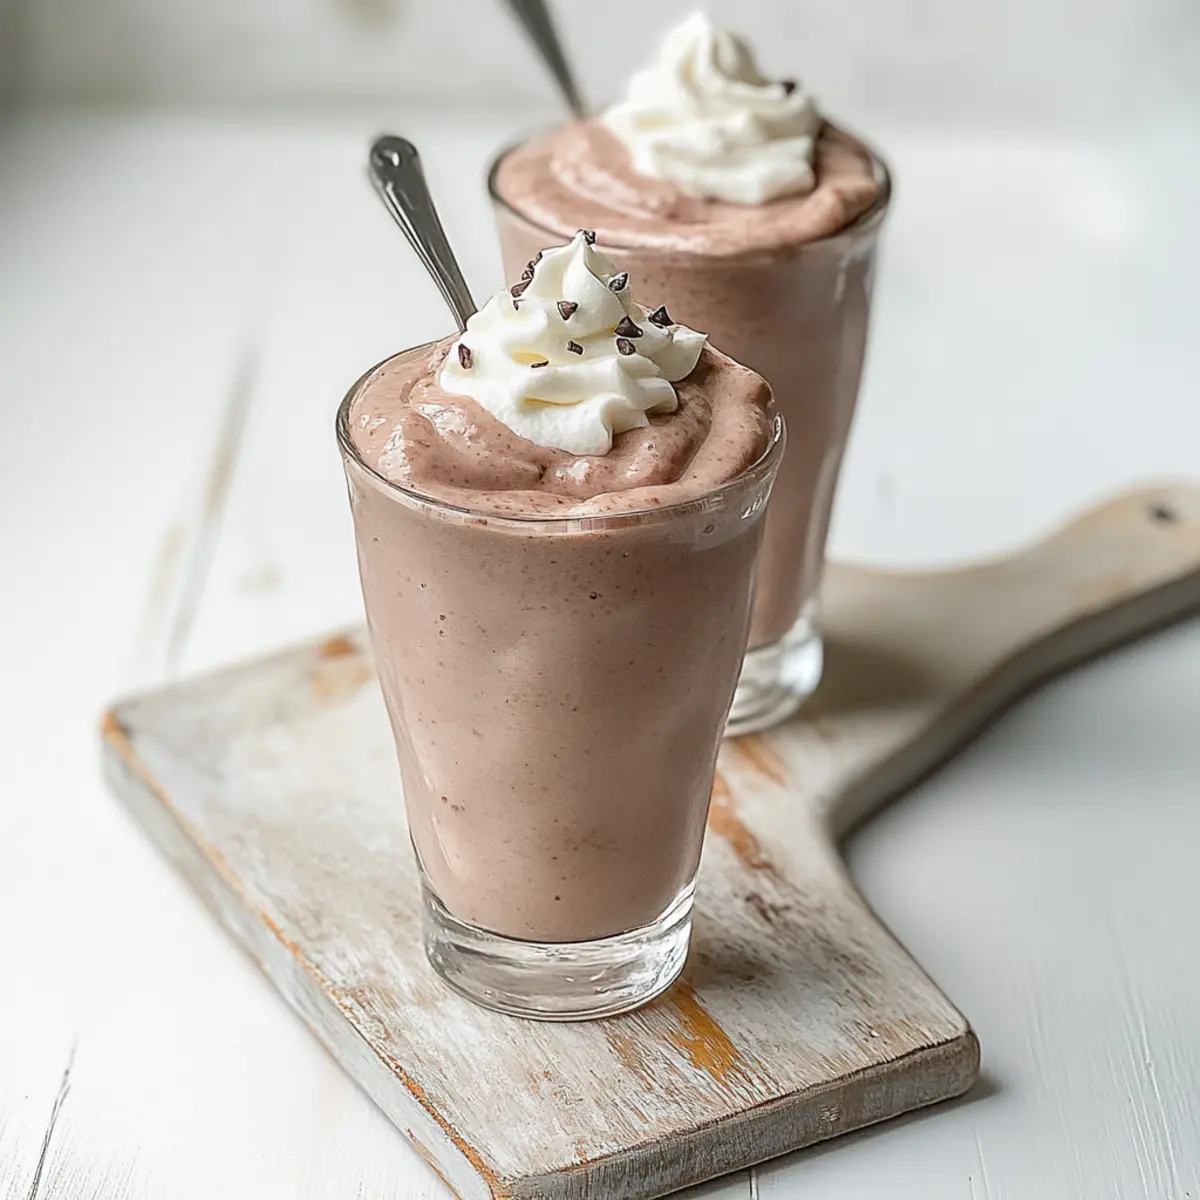
Scoop the frosty into glasses and serve immediately for the best experience. For a little extra indulgence, feel free to top your Ninja Creami frosty with whipped cream or sprinkle some chocolate chips on top. Gather your loved ones and dig into this delightful frozen treat that captures the joy of a fun-filled dessert!
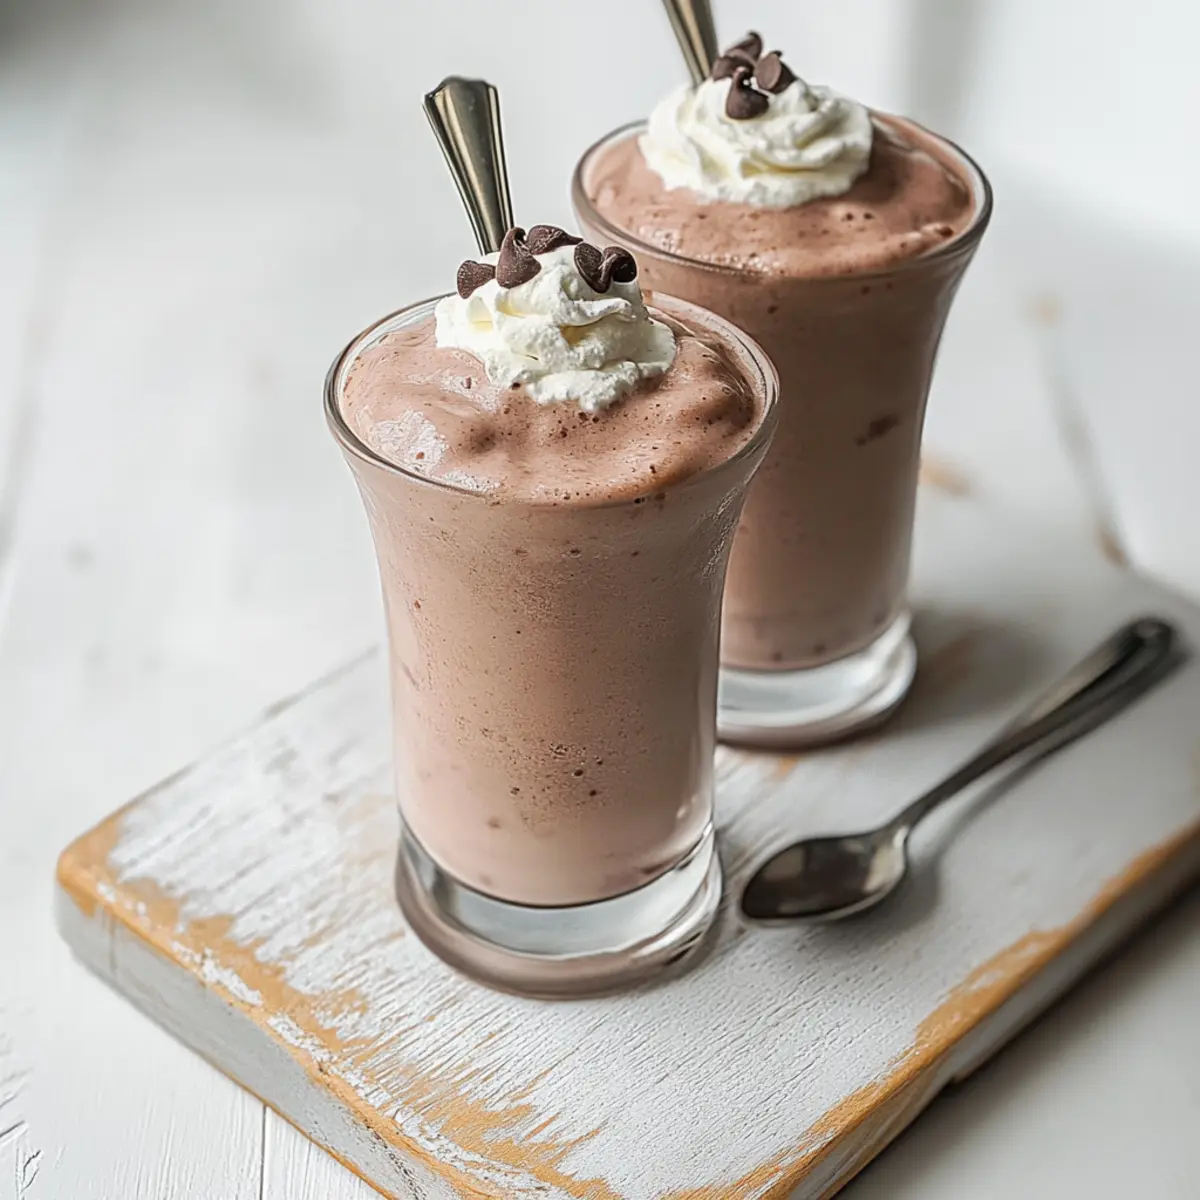
What to Serve with Ninja Creami Frosty?
On a warm day, the right companion can elevate your frozen treat experience into something truly special!
-
Fresh Berries: The tartness of strawberries, raspberries, or blueberries adds a refreshing contrast that brightens the creamy richness of the frosty.
-
Chocolate Chip Cookies: Warm, gooey cookies offer a delightful crunch and a complementary sweetness that pairs perfectly with your cold, creamy dessert.
-
Nutty Granola: A sprinkle of nutty granola provides a satisfying crunch and wholesome flavor that balances the silky smoothness of the frosty.
-
Whipped Cream: This classic topping adds a luxurious layer of creaminess; consider jazzing it up with a dash of cocoa powder or vanilla!
-
Coconut Flakes: Toasted coconut offers a tropical flair and chewy texture that pairs beautifully with the chocolate flavor of your Ninja Creami frosty.
-
Iced Coffee: An iced coffee provides a lovely caffeine kick; the bitter notes cut through the sweetness for a refreshing duo.
-
Brownie Bites: Indulgent, fudgy brownie bites create a heavenly chocolate experience that every chocolate lover will adore alongside the frosty.
-
Chocolate Sauce Drizzle: A rich chocolate sauce enhances the sweetness; it’s a decadent way to finish your frosty and add an elegant touch.
-
Refreshing Fruit Sorbet: A scoop of sorbet adds a burst of fruity flavor and a cool, icy texture to balance the creamy frosty delight perfectly.
-
Chilled Herbal Tea: A lightly sweetened herbal tea, like mint or chamomile, adds a unique flavor profile while refreshing your palate between bites.
Storage Tips for Ninja Creami Frosty
Fridge: Store any leftover Ninja Creami frosty in an airtight container in the fridge for up to 3 days. However, note that the texture may change slightly after refrigeration.
Freezer: For longer storage, keep the frosty in the Ninja Creami container with the lid on and freeze for up to 1 month. Before serving, let it sit at room temperature for about 10 minutes for easier scooping.
Reheating: If your frosty becomes too solid after freezing, allow it to thaw for a few minutes, then use the “re-spin” button on your Ninja Creami to restore its creamy texture before enjoying.
Serving: Always serve immediately after processing for the best flavor and texture. A sprinkle of chocolate chips or a dollop of whipped cream can elevate your homemade treat!
Ninja Creami Frosty Variations
Feel free to get creative and customize your frosty experience with these fun variations!
-
Dairy-Free: Substitute chocolate milk with almond milk or coconut milk for a deliciously creamy and dairy-free treat. This change keeps all the great flavors while making it suitable for lactose-intolerant family members.
-
Flavor Explosion: Use different flavored pudding mixes like butterscotch or cheesecake. This easy swap will add a whole new dimension to your frosty and keep it exciting!
-
Fruit Swirls: Before freezing, mix in some fruit puree like strawberries or bananas for a fresh twist. You’ll enjoy bursts of fruity flavor with every spoonful.
-
Crunchy Topping: Add crushed cookies or graham crackers to the mixture before freezing for delightful texture. This creates a lovely contrast with the creamy base that is simply irresistible.
-
Spicy Kick: Stir in a pinch of cayenne powder or cinnamon to add some unexpected heat. It may sound wild, but a little spice can elevate your frosty into a whole new flavor territory!
-
Sweetener Swap: Want to lighten it up even more? Try using stevia or erythritol instead of sugar. You’ll still get that sweetness while cutting back the calories.
-
Nutty Twist: Add a spoonful of peanut or almond butter into the mix. This not only enhances the creaminess but gives a lovely nutty flavor that pairs wonderfully with chocolate.
-
Choco Delight: Mix in mini chocolate chips before freezing for decadent little bursts of chocolate in every bite. This will amplify the chocolatey goodness of your frosty.
Embrace the joy of experimenting with these variations to make your Ninja Creami Frosty even more delightful! Each twist brings out new flavors; why not start with something simple like the Dairy-Free option for an immediate change?
Make Ahead Options
These 4-Ingredient Healthy Ninja Creami Frosty treats are perfect for meal prep enthusiasts! You can whisk together the chocolate milk, sugar-free pudding mix, vanilla extract, and sugar up to 24 hours in advance. Just pour the mixture into the Ninja Creami container, cover it, and freeze. To maintain the best quality, ensure the container is sealed tightly to prevent any freezer burn. When you’re ready to enjoy your frosty, allow the container to sit at room temperature for about 10 minutes before processing it in the Ninja Creami. This way, you’ll get a creamy dessert with minimal effort, making your busy weeknights a little sweeter!
Expert Tips for the Best Ninja Creami Frosty
- Perfect Consistency: Start with chilled ingredients for the best results; this will help the Ninja Creami Frosty achieve that creamy texture more easily.
- Whisk Thoroughly: Use an immersion blender for a lump-free mixture; this avoids an uneven texture and ensures every bite is as delightful as the last.
- Adjust Sweetness: Always taste the mixture before freezing, and feel free to add more sugar or a sugar substitute to match your palate.
- Thawing Trick: If your frosty is too hard after freezing, let it sit at room temperature for a few minutes before re-spinning to get that perfect softness.
- Don’t Rush Freezing: Make sure to freeze for a full 24 hours; this is key for transforming your mixture into that thick and luscious frosty treat you crave.
Ninja Creami Frosty Recipe FAQs
What type of chocolate milk should I use?
You can use any brand of chocolate milk that you enjoy! If you’re looking for a healthier option, I recommend using unsweetened chocolate almond milk—it provides great flavor while keeping the recipe lower in calories.
How long can I store the Ninja Creami Frosty?
You can store your frosty in the freezer in its Ninja Creami container for up to 1 month. For best results, let it sit at room temperature for about 10 minutes before serving to soften it just enough for easy scooping.
Can I freeze the frosty after making it?
Absolutely! After processing, you can put any leftovers back into the Ninja Creami container and freeze them. Just remember that if it becomes too firm, let it thaw for a few minutes before using the “re-spin” button to bring back that creamy texture.
What should I do if my frosty is too thick after freezing?
If you find your frosty has turned rock-solid, the easiest fix is to let the container sit out at room temperature for about 10 minutes. This allows it to soften slightly. Then, simply re-spin it in your Ninja Creami, and it will return to that luscious, creamy consistency!
Is this recipe safe for people with dietary restrictions?
Yes! This Ninja Creami frosty is gluten-free and can be made with low-sugar ingredients, making it suitable for various dietary needs. If you’re concerned about sugar, you can substitute regular sugar with stevia or erythritol. Always check labels for any specific allergies you or your guests may have!
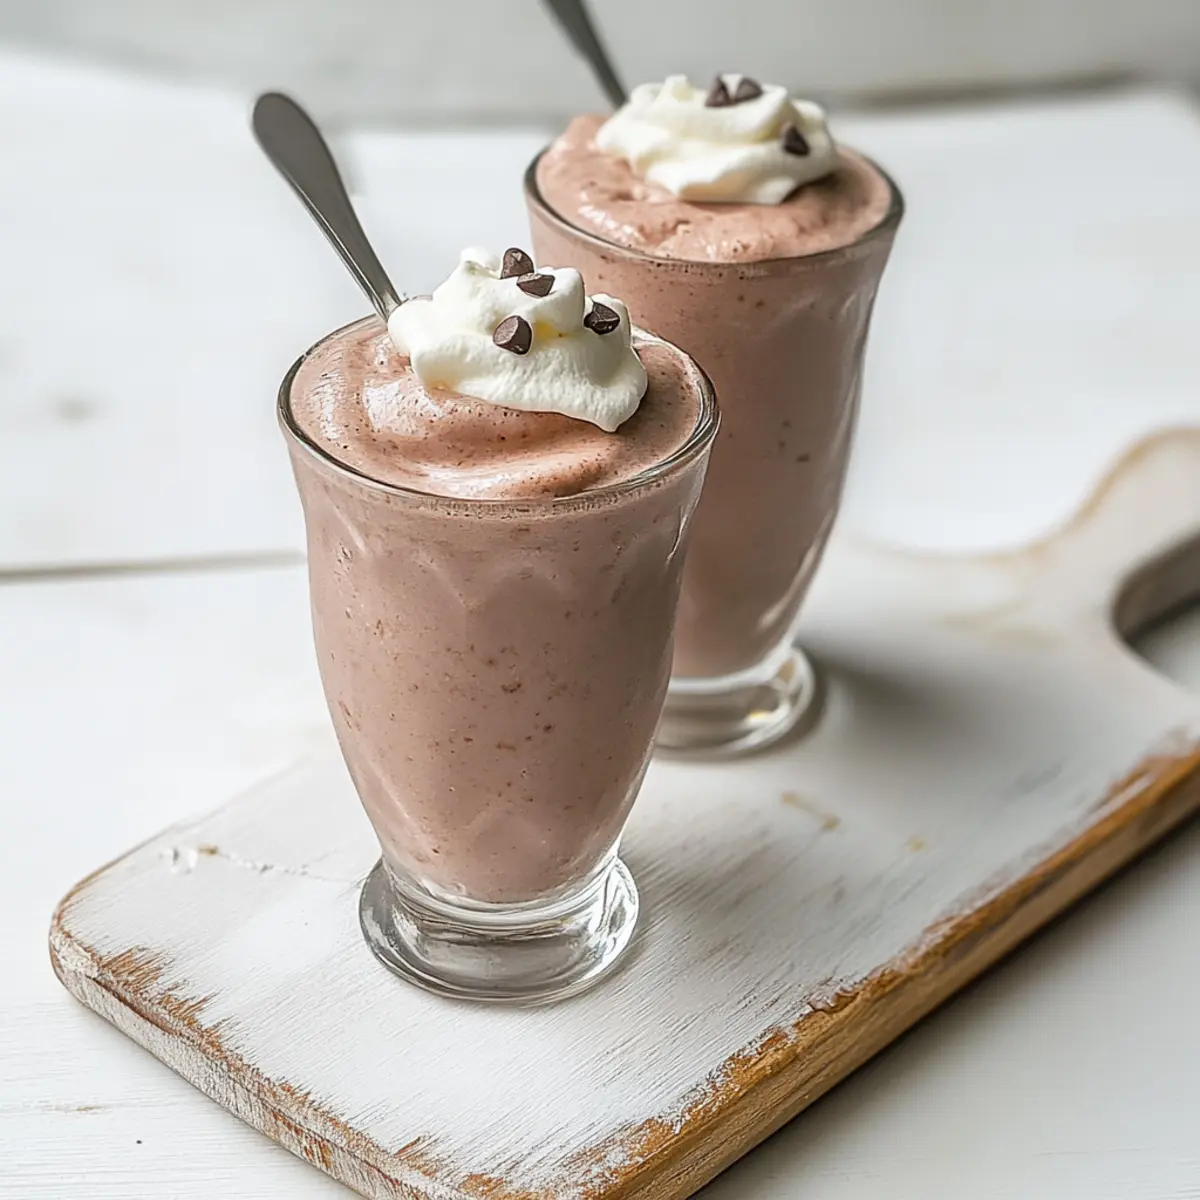
Deliciously Healthy Ninja Creami Frosty in Just 4 Ingredients
Ingredients
Equipment
Method
- In a tall jar, whisk together chocolate milk, pudding mix, vanilla extract, and sugar until fully combined. Use an immersion blender for a smoother texture.
- Pour the mixture into the Ninja Creami container and freeze for 24 hours.
- After freezing, allow the container to stand at room temperature for about 10 minutes before processing.
- Insert the container into the Ninja Creami and select the 'lite ice cream' setting for about 2-3 minutes.
- Pour in remaining chocolate milk and press 're-spin' to achieve a creamier consistency.
- Scoop into glasses, top with whipped cream and chocolate chips if desired, and serve immediately.
Leave a Reply