
As I strolled through my local bakery, the sweet aroma of freshly baked goods danced around me, drawing me closer to a stack of golden Hawaiian rolls. This moment sparked the inspiration for my Baked Hawaiian Roll Grilled Cheese, a cozy dish that redefines simple comfort food. Imagine buttery, lightly sweet rolls encasing an irresistible blend of melted cheddar and mozzarella, all perfectly baked to golden perfection. This easy-to-make recipe is not only a crowd-pleaser but also a fantastic option for gatherings, letting you serve up delightful, pull-apart sandwiches with minimal fuss. Whether you’re hosting a game night or enjoying a family dinner, these cheesy bites promise to create joyful moments around the table. Ready to take your grilled cheese game to the next level?
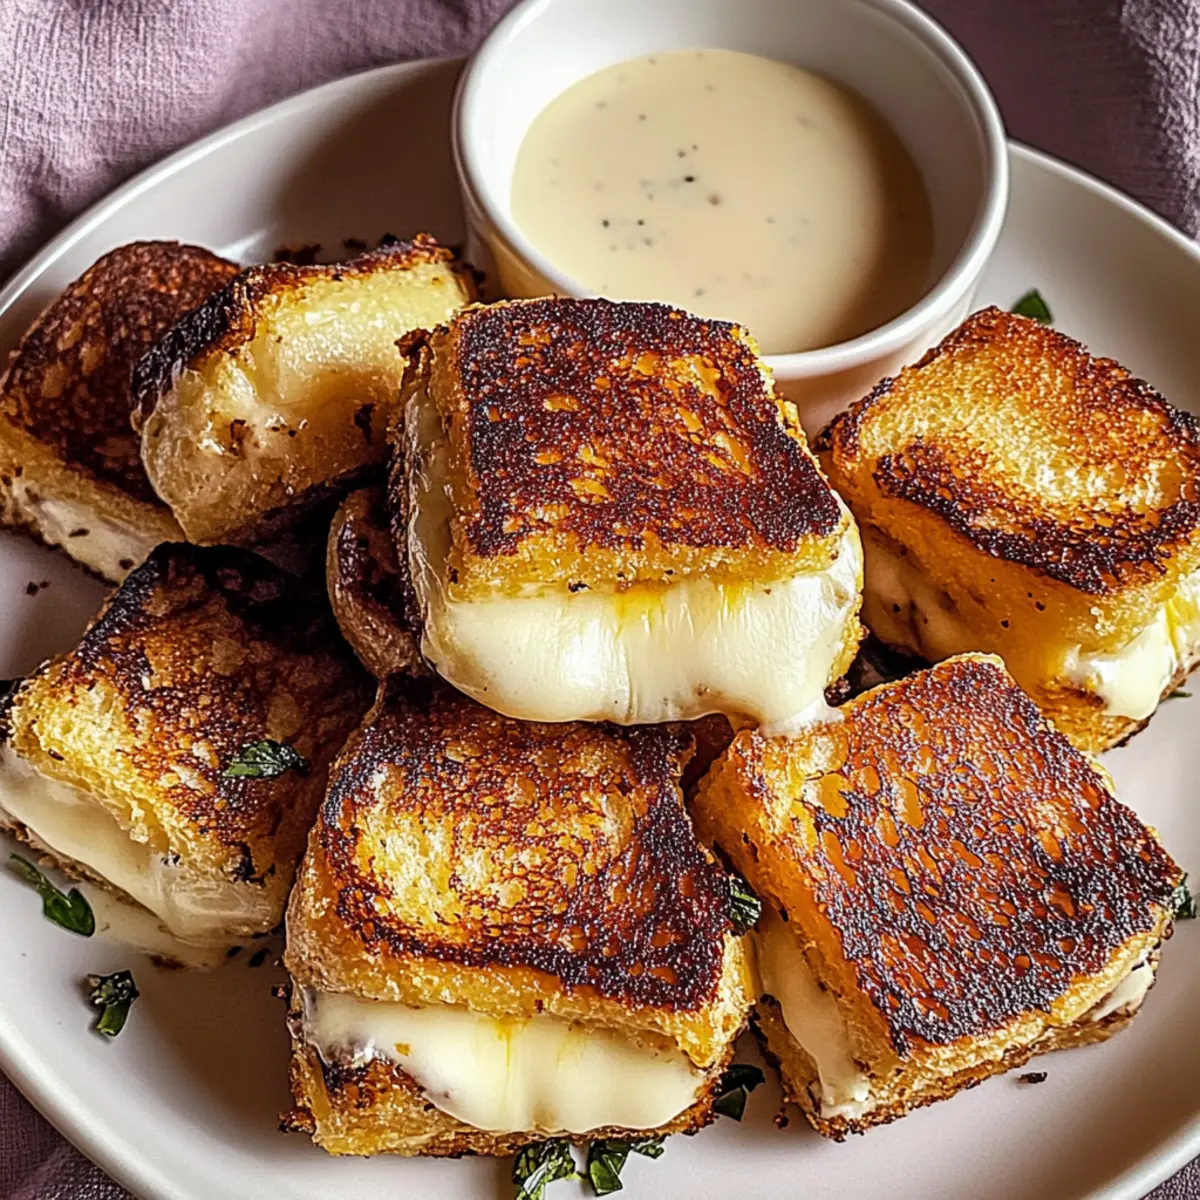
Why is This Grilled Cheese So Special?
Baked Brilliance: This recipe elevates the humble grilled cheese into a stunning dish that’s perfect for gatherings.
Irresistible Flavor: A delightful mix of cheddar and mozzarella nestled in sweet Hawaiian rolls offers a taste sensation that everyone will love.
Effortless Preparation: Assemble and pop it in the oven – it’s never been easier to serve warm, cheesy goodness.
Crowd-Pleasing Fun: Ideal for parties or family dinners, this dish allows for sharing and enjoying together, making it a standout at any meal.
Versatile Options: Add layers of favorite ingredients, like ham or extra spices, to tailor this dish to your guests’ preferences.
Comforting Nostalgia: With its cheesy, gooey texture and rich buttery topping, each bite takes you back to the classic comfort food we all cherish.
Hawaiian Roll Grilled Cheese Ingredients
For the Sandwich
- Hawaiian Sweet Rolls – The base of the sandwich that adds a soft, lightly sweet texture.
- Sharp Cheddar Cheese – Provides bold flavor; substitute with a milder cheese if you prefer something less intense.
- Low-Moisture Mozzarella Cheese – Contributes delicious stretchiness; provolone works well as a variation.
For the Topping
- Unsalted Butter – Gives a rich buttery flavor; use olive oil for a dairy-free option.
- Dijon Mustard – Adds a tangy kick to the garlic butter blend; yellow mustard is a suitable substitute.
- Garlic Powder – Elevates the flavor; fresh minced garlic can be used for a stronger taste.
- Dried Parsley – Offers a touch of freshness and color; feel free to leave it out if you don’t have any.
- Fine Sea Salt – Enhances overall flavor; kosher salt can also be used if preferred.
Step‑by‑Step Instructions for Hawaiian Roll Grilled Cheese
Step 1: Preheat and Prepare
Start by preheating your oven to 350°F (175°C). While it heats up, grab a baking dish and pour in some melted unsalted butter to coat the bottom. This will not only prevent sticking but will also enhance the flavor of your Hawaiian Roll Grilled Cheese once baked, creating a delightful golden crust.
Step 2: Slice the Rolls
Carefully take a pack of Hawaiian sweet rolls and slice them horizontally to create two even halves, ensuring each roll stays connected. This keeps the sandwiches intact and allows for easy assembly in the baking dish. Place the bottom half, cut-side up, right into the buttered baking dish.
Step 3: Layer the Cheese
Evenly distribute sharp cheddar and low-moisture mozzarella cheese over the bottom layer of the Hawaiian rolls. Make sure to cover every inch to guarantee cheesy goodness in every bite. The combination of these cheeses will create a melty, stretchy texture that makes this Hawaiian Roll Grilled Cheese truly irresistible.
Step 4: Add the Top Half
Carefully place the top half of the Hawaiian rolls onto the cheese-covered bottom, gently pressing down to avoid squishing them. This step is crucial as it helps the rolls adhere to the gooey cheese and ensures each sandwich pulls apart beautifully after baking.
Step 5: Prepare the Topping
In a small bowl, mix the remaining melted butter with Dijon mustard, garlic powder, dried parsley, and a pinch of fine sea salt. This buttery garlic topping will add a flavorful punch to your sandwiches. Brush this mixture generously over the top of the assembled rolls, making sure to coat them evenly.
Step 6: Bake Covered
Cover the baking dish with aluminum foil to protect the sandwiches from over-browning. Place the dish in the preheated oven and bake for 15 minutes. This initial baking period helps soften the rolls and melt the cheese without burning the tops, ensuring a perfect Hawaiian Roll Grilled Cheese.
Step 7: Bake Uncovered
After 15 minutes, remove the foil and continue baking for an additional 8–10 minutes. Keep an eye on the rolls as they turn a lovely golden brown, with the cheese bubbling and oozing out from between the layers. This beautiful color indicates that the topping is beautifully crisp and ready to enjoy.
Step 8: Rest and Serve
Once baked, take the dish out of the oven and let the Hawaiian Roll Grilled Cheese rest for about 5 minutes. This resting period is key to allowing the melted cheese to settle, making it easier to cut and serve. When ready, slice into pull-apart portions and share the cheesy goodness with family and friends.
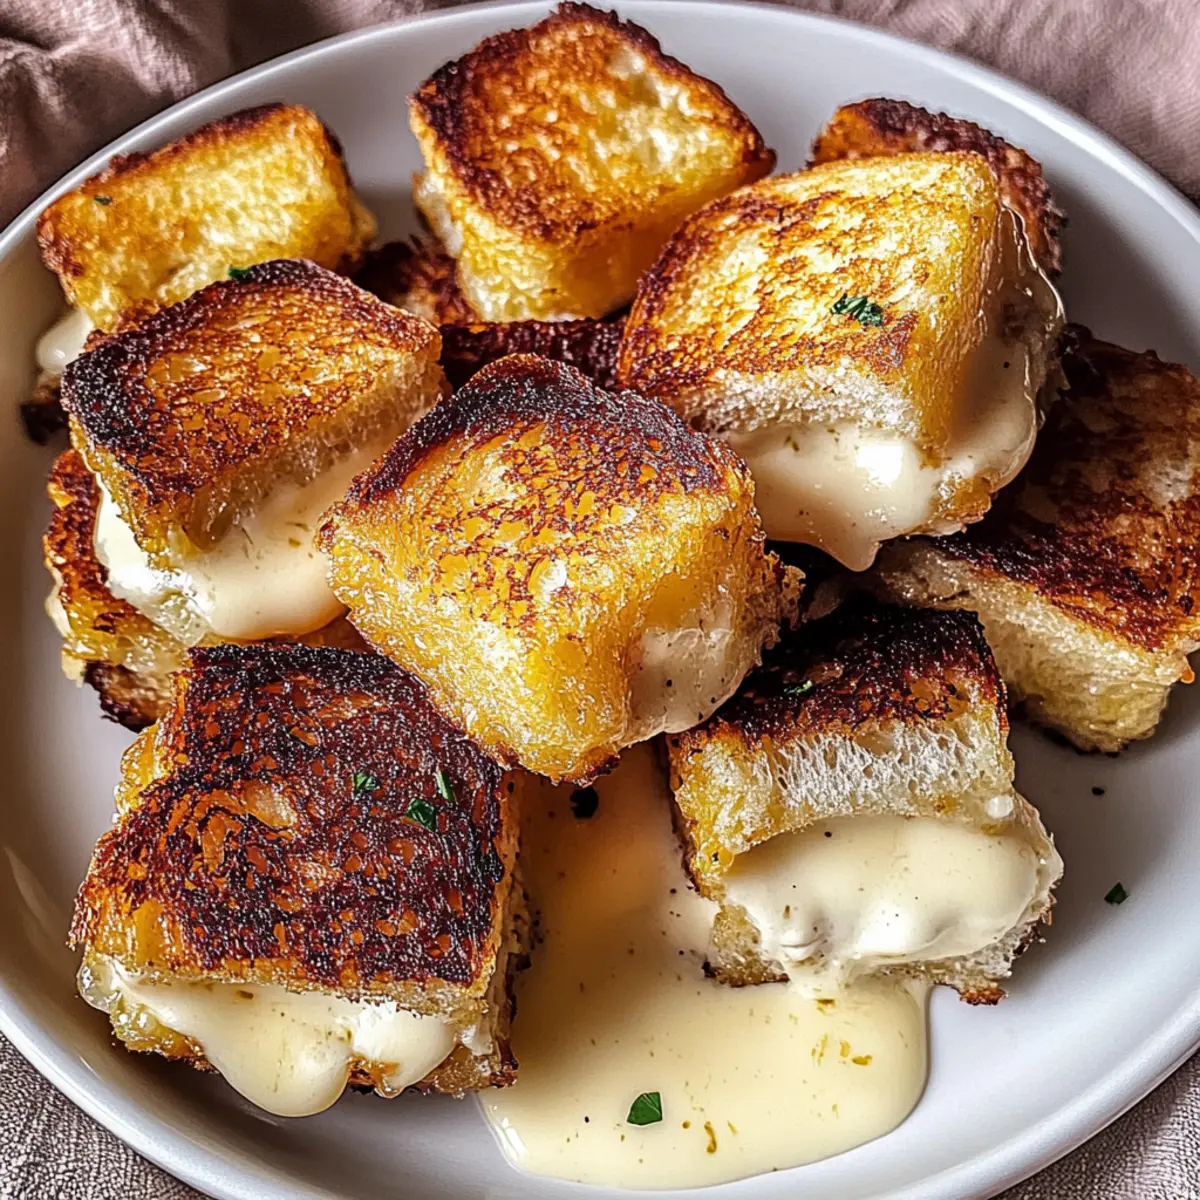
How to Store and Freeze Hawaiian Roll Grilled Cheese
-
Fridge: Store any leftovers in an airtight container for up to 3 days to keep your Hawaiian Roll Grilled Cheese fresh and delicious.
-
Freezer: For longer storage, cool completely, then wrap each sandwich individually and freeze for up to 1 month. This is ideal for meal prep or future gatherings.
-
Reheating: Thaw frozen sandwiches overnight in the fridge, then reheat in a preheated oven at 350°F (175°C) for about 10–15 minutes, until warmed through.
-
Make-Ahead: Assemble the sandwiches (without the garlic butter topping) and refrigerate for up to 6 hours. Brush with the topping just before baking for fresh-out-of-the-oven goodness.
Hawaiian Roll Grilled Cheese Variations
Feel free to get creative with your Hawaiian Roll Grilled Cheese and make it your own delicious masterpiece!
-
Meaty Delight: Add thinly sliced ham or turkey for a hearty twist that’s perfect for meat lovers. This extra layer not only enhances the flavor but also adds a satisfying richness.
-
Spicy Kick: Incorporate sliced jalapeños or red pepper flakes to give it a fiery kick. This add-on will elevate each sandwich with a delightful burst of heat, perfect for those who enjoy a bit of spice in their meals.
-
Dairy-Free: Swap cheeses for plant-based alternatives and use olive oil instead of butter to cater to dairy-free diets. You can still enjoy a melty texture with vegan cheeses made from nuts or soy.
-
Herbed Twist: Mix in fresh herbs like basil or chives into the garlic butter for an aromatic boost. This simple change adds layers of flavor that can transport you to a sun-drenched herb garden.
-
Sweet & Savory: Place a layer of sliced ripe tomatoes or peaches on the cheese before baking. The sweetness complements the savory cheese beautifully, creating a delightful contrast that will surprise your taste buds.
-
Different Cheeses: Experiment with cheeses like Monterey Jack, gouda, or even a spicy pepper jack for varied flavor profiles. Mixing cheeses can create a unique taste experience with every batch.
-
Crunch Factor: Add a layer of crispy bacon or fried onions for texture. The crunch contrasts wonderfully with the soft rolls and gooey cheese, elevating the overall enjoyment of your grilled cheese.
As you embark on this culinary adventure, don’t forget to pair your grilled cheese with a warm bowl of tomato soup or a colorful salad, or even a Goat Cheese Grilled combo for an extra special meal!
What to Serve with Baked Hawaiian Roll Grilled Cheese?
Imagine relishing your warm, cheesy sandwiches while creating the perfect dining experience that caters to comfort and flavor.
- Tomato Soup: A classic pairing that adds a creamy and tangy element, making each bite of your Hawaiian Roll Grilled Cheese even more satisfying.
- Crispy Green Salad: Fresh greens topped with a tangy vinaigrette offer a delightful crunch that balances the richness of the cheesy sandwiches wonderfully.
- Sweet Potato Fries: Their natural sweetness and crisp texture complement the savory flavors of the grilled cheese, providing a hearty side for your meal.
- Fruit Skewers: Refreshing and colorful, they add a fun, sweet contrast to the savory cheese, perfect for summer gatherings or casual picnics.
- Pickles or Pickled Vegetables: Their zesty crunch brings an exciting tang that cuts through the richness, creating a delightful contrast with the comfort food.
- Sparkling Lemonade: This bubbly drink with a hint of citrus adds a refreshing twist that complements the warm, gooey goodness of the Hawaiian Roll Grilled Cheese.
Expert Tips for Hawaiian Roll Grilled Cheese
-
Cheese Balance: Ensure you use a good balance of sharp cheddar and low-moisture mozzarella for optimal flavor and stretch. This will make each bite of your Hawaiian Roll Grilled Cheese truly delightful.
-
Mind the Baking Time: Cover your dish with foil during the first baking phase to prevent the tops from burning. Uncovering later allows for that perfect golden crunch.
-
Let It Rest: Allowing the sandwiches to rest for 5 minutes after baking is crucial; it helps the melted cheese settle for easier serving and a perfect pull-apart experience.
-
Avoid Sogginess: To prevent any sogginess, use low-moisture cheeses and apply butter sparingly; this keeps your Hawaiian Roll Grilled Cheese light and fluffy.
-
Additions and Substitutions: Feel free to customize by adding layers of ham or turkey, or switching up the cheese combinations. This makes your dish even more enjoyable for guests!
Make Ahead Options
These Hawaiian Roll Grilled Cheese sandwiches are perfect for meal prep, saving you time on busy weeknights! You can assemble the rolls (without the buttery garlic topping) and refrigerate them for up to 6 hours in advance. Just be sure to cover them tightly with plastic wrap to prevent drying out. Alternatively, you can prepare the entire dish (including the topping), cover it with foil, and refrigerate for up to 24 hours. When ready to bake, simply take them out of the fridge and let them sit at room temperature for about 30 minutes before popping them in the oven. By prepping ahead, you’ll enjoy warm, cheesy sandwiches on the table with minimal last-minute effort, just as delicious as if made fresh!
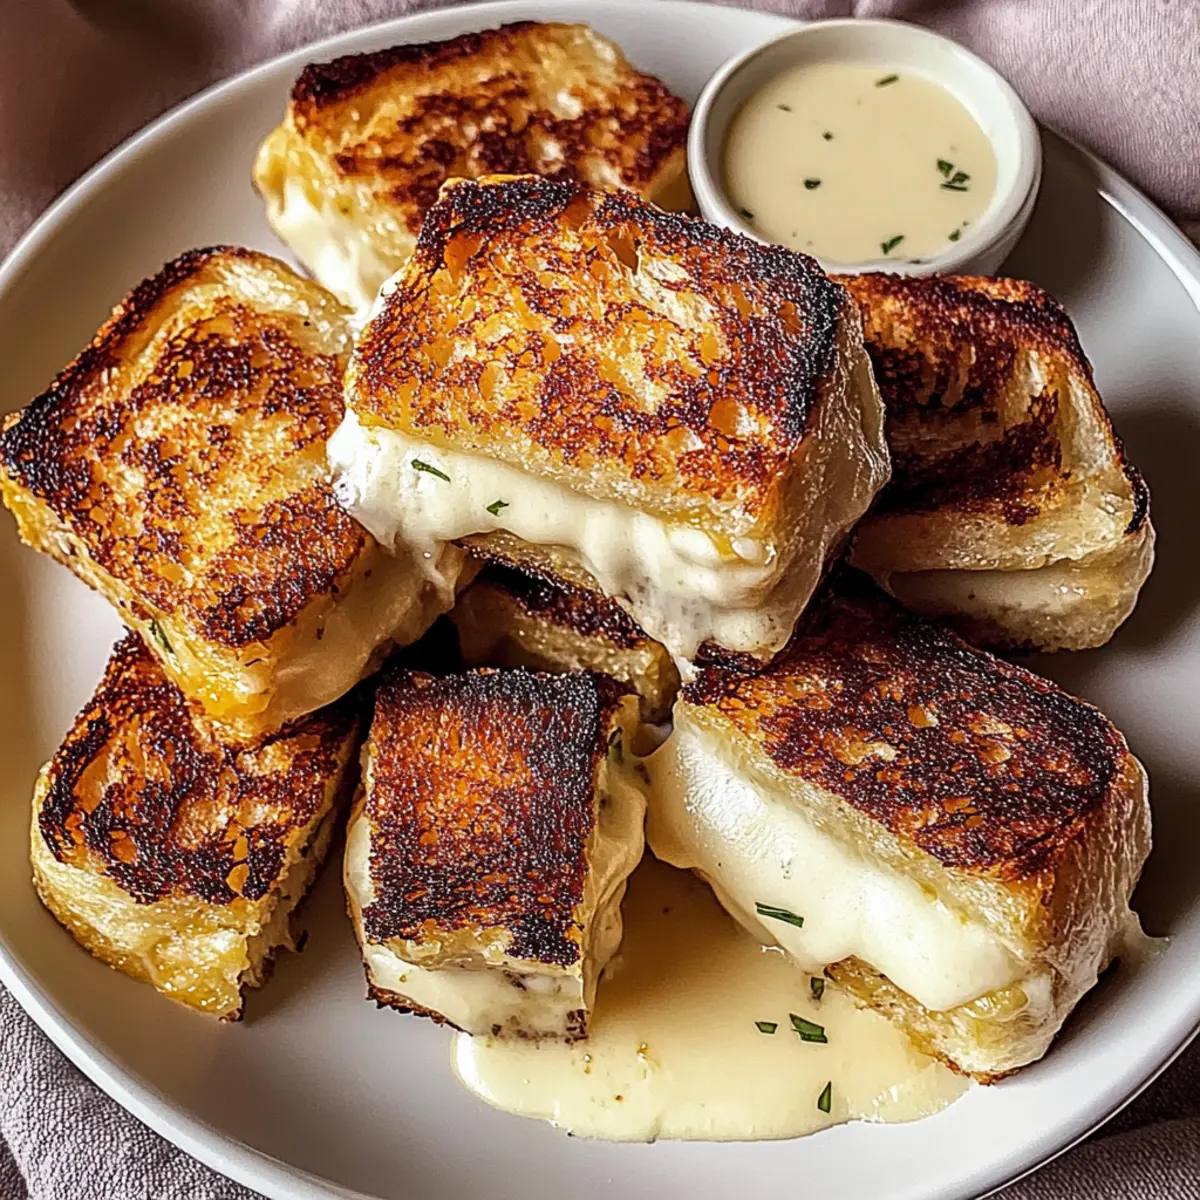
Hawaiian Roll Grilled Cheese Recipe FAQs
What kind of Hawaiian rolls should I use?
I recommend using fresh, soft Hawaiian sweet rolls for the best flavor and texture. Look for rolls that are free from dark spots or signs of staleness. Fresh rolls will provide that delightful sweetness and pillowy softness that is characteristic of this dish.
How do I store leftover Hawaiian Roll Grilled Cheese?
Store any leftover sandwiches in an airtight container in the refrigerator for up to 3 days. If you’re like me and love to enjoy them later, just ensure they are completely cooled before sealing them. This helps maintain their delicious taste and texture!
Can I freeze Hawaiian Roll Grilled Cheese?
Absolutely! After baking, allow the sandwiches to cool completely. Then, wrap each sandwich individually in plastic wrap and store them in a freezer-safe bag. They can be frozen for up to 1 month. When you’re ready to enjoy one, thaw it overnight in the fridge and reheat in the oven at 350°F (175°C) for about 10–15 minutes until warmed through.
What can I do if my grilled cheese is soggy?
To avoid sogginess, use low-moisture cheeses and limit the amount of butter applied. If you find that your sandwiches are soggy after baking, I suggest placing them back in the oven for a few additional minutes. This helps to crisp them up! Also, avoid overloading on toppings that contain moisture, like fresh tomatoes or sauces.
Are there any dietary considerations for making Hawaiian Roll Grilled Cheese?
If you’re concerned about allergies, be aware that this recipe contains dairy and gluten due to the cheese and rolls. For a dairy-free version, you can use dairy-free cheese alternatives and substitute olive oil for butter. Additionally, you can use gluten-free rolls if necessary, ensuring everyone can enjoy this Hawaiian Roll Grilled Cheese delight!
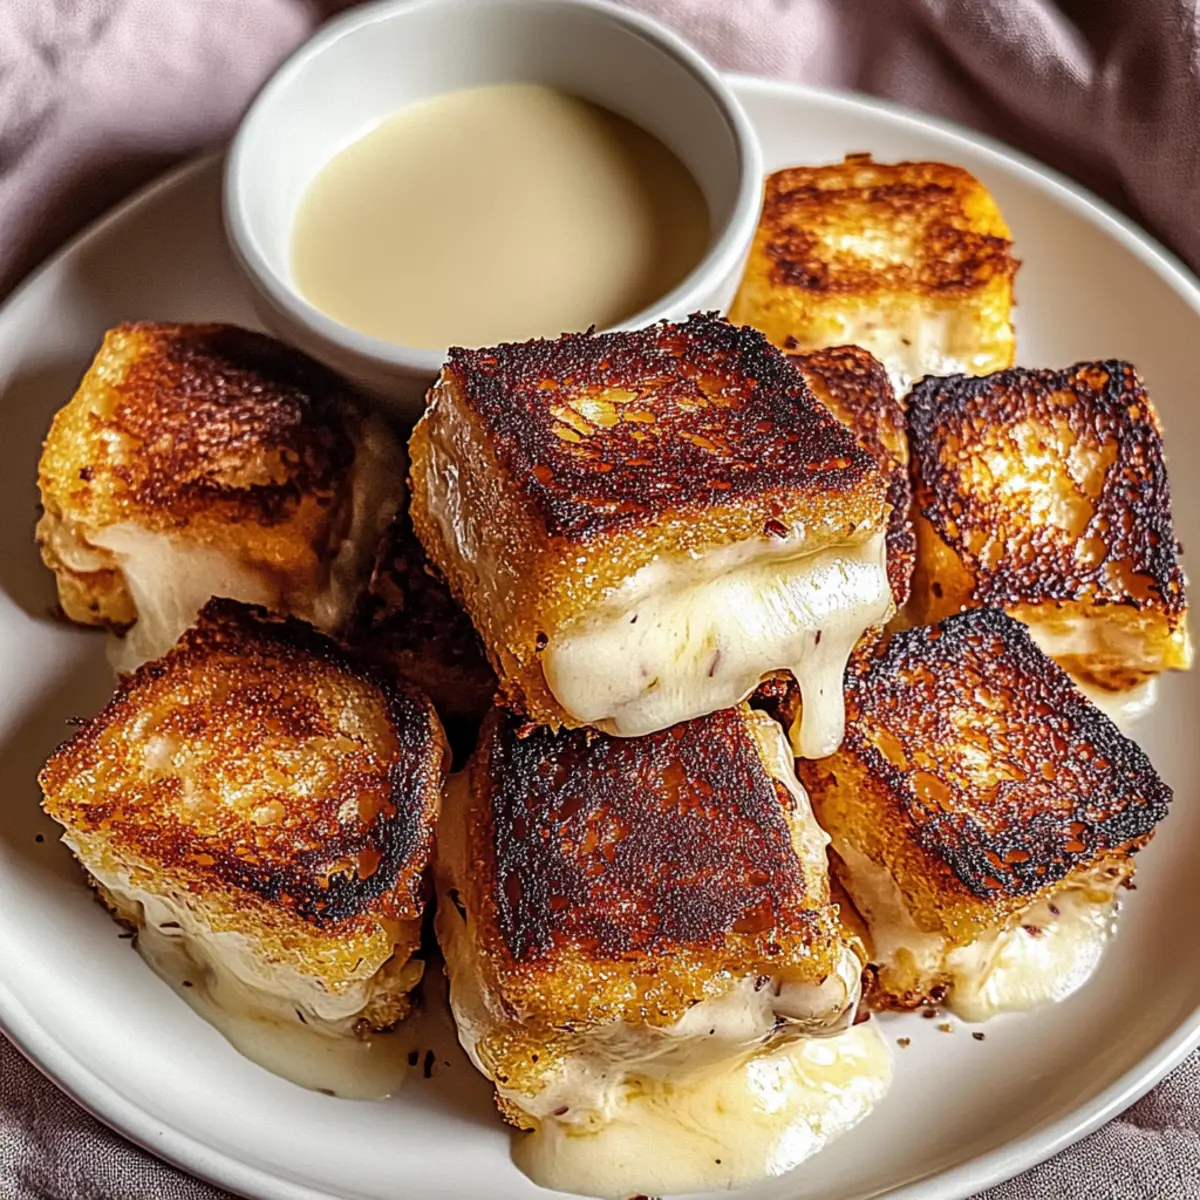
Melt-in-Your-Mouth Hawaiian Roll Grilled Cheese Delight
Ingredients
Equipment
Method
- Preheat your oven to 350°F (175°C) and coat a baking dish with melted unsalted butter.
- Slice the Hawaiian sweet rolls horizontally in half, keeping them connected.
- Layer the sharp cheddar and mozzarella cheeses evenly over the bottom half of the rolls.
- Place the top half of the rolls over the cheese and gently press down.
- In a bowl, mix the melted butter, Dijon mustard, garlic powder, dried parsley, and fine sea salt.
- Brush the topping mixture over the assembled rolls and cover with aluminum foil.
- Bake covered for 15 minutes, then uncover and bake for an additional 8–10 minutes.
- Let the dish rest for about 5 minutes before slicing into portions.
Leave a Reply