
As I whisked together the creamy tang of sour cream and the sunny brightness of orange gelatin, I felt a wave of nostalgia wash over me. This Hawaiian Fruit Salad, a cherished staple at summer picnics and family potlucks, never fails to evoke smiles and spark memories. It’s a simple yet delightful treat that’s perfect for anyone eager to turn canned fruits into a refreshing dessert. Not only is it a breeze to whip up, but it also brings together a colorful array of flavors and textures that can please even the pickiest eaters. Whether you’re feeding a crowd or just craving a taste of sunshine, this salad promises a winning combination of sweetness and creaminess. So, are you ready to bring a little tropical joy to your kitchen?
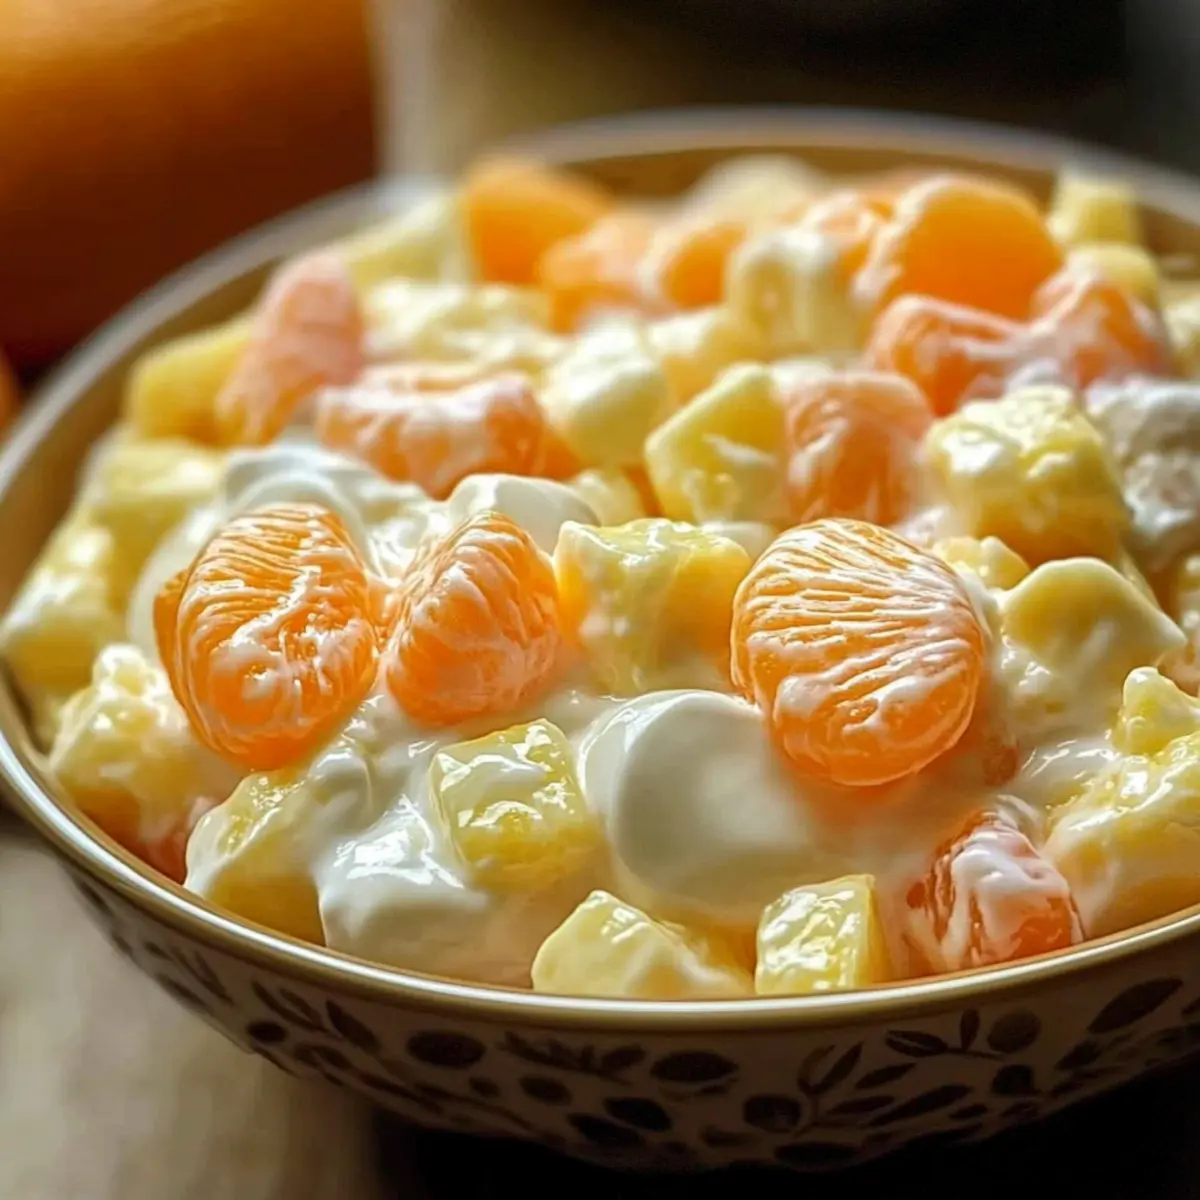
Why Is This Hawaiian Fruit Salad a Must-Try?
Simplicity: This recipe is incredibly easy, making it perfect for novice cooks or busy hosts looking for a quick dessert.
Colorful Appeal: The vibrant mix of fruits creates a stunning visual display, making it an eye-catching addition to any potluck or family gathering.
Crowd-Pleaser: With its creamy texture and sweet flavors, this salad has broad appeal, catering to all ages and tastes.
Versatile: You can easily customize it by swapping fruits or adding toppings, like shredded coconut, to cater to your preferences.
Time-Saving: Utilizing canned fruits means less prep time, allowing you to spend more time with your loved ones and less in the kitchen.
If you’re looking for more delicious side options, try out my Mac Pasta Salad or serve this alongside my refreshing Apple Feta Salad for a well-rounded spread!
Hawaiian Fruit Salad Ingredients
• Get ready to whip up this vibrant tropical treat!
For the Base
- Fruit Cocktail (30 oz can in juice) – Offers a sweet and fruity base; opt for juice-packed over syrup to keep it lighter.
- Pineapple Chunks (20 oz can in juice) – Infuses a tropical burst of sweetness; remember to drain well for best texture.
- Mandarin Orange Slices (8 oz can) – Adds a punch of tartness; perfect for balancing the salad’s sweetness.
For the Creamy Mixture
- Sour Cream (24 oz container) – Provides a creamy tang that enhances flavor; can easily be substituted with Cool Whip for a sweeter profile.
- Orange Flavored Gelatin (1 box) – Binds the ingredients together while adding a delightful orange twist.
Optional Add-ins
- Mini Marshmallows (10 oz bag) – Imparts a soft, fluffy texture; omit for a lower-sugar option.
- Shredded Coconut – For a tropical flair, mix in or sprinkle on top before serving.
Dive into making this delicious Hawaiian Fruit Salad, and bring a slice of the tropics to your next gathering!
Step‑by‑Step Instructions for Hawaiian Fruit Salad
Step 1: Drain the Fruits
Begin by draining all canned fruits using a colander. Allow them to sit for about 4 hours to ensure they dry properly and avoid a soupy texture in your Hawaiian Fruit Salad. Place the colander in the sink or over a bowl to catch any excess juice, which will help maintain the salad’s delightful consistency.
Step 2: Prepare the Dressing
In a mixing bowl, combine 24 ounces of sour cream with one box of orange gelatin. Using a whisk or a spatula, stir until the mixture is completely smooth and well combined, with no lumps remaining. This creamy dressing will help bind the fruits together, elevating the flavors of your Hawaiian Fruit Salad and providing a rich texture.
Step 3: Mix in the Fruits and Marshmallows
Once the fruits have dried, add the drained fruit cocktail, pineapple chunks, and mandarin orange slices to the sour cream and gelatin mixture. If you’re using mini marshmallows, gently fold them in at this stage as well. Stir everything together carefully, ensuring each fruit piece is coated in the creamy dressing without breaking them apart.
Step 4: Chill the Salad
Transfer the mixture to a large serving bowl or a storage container and cover it with plastic wrap or a lid. Refrigerate the Hawaiian Fruit Salad for at least 1 hour to allow the flavors to meld. For the best result, consider chilling it for 4 hours or even overnight, as this will give a more robust taste and a perfect texture.
Step 5: Serve and Enjoy
Before serving, take the salad out of the refrigerator and give it a gentle stir to redistribute the creamy dressing. Make sure it’s served chilled, as this enhances the refreshing flavors and makes it the perfect dessert for potlucks or family gatherings. Enjoy your colorful and delicious Hawaiian Fruit Salad!
Make Ahead Options
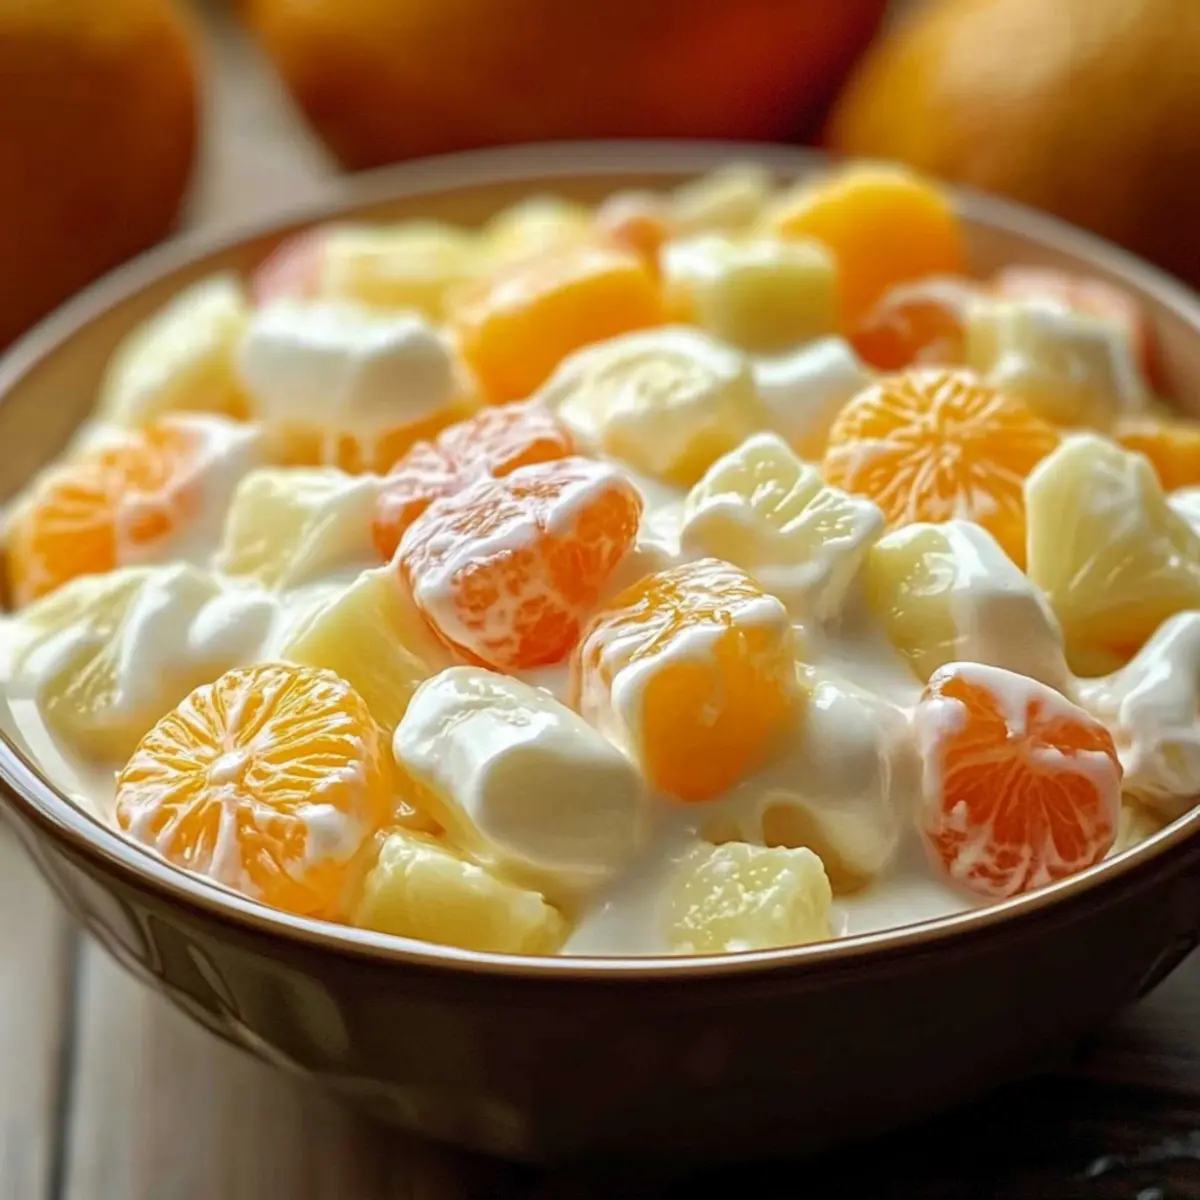
These Hawaiian Fruit Salad preparations are ideal for busy home cooks looking to savor more quality time with family! You can drain your fruits and mix the creamy sour cream and orange gelatin dressing up to 24 hours ahead of time. Store the prepared salad in an airtight container in the refrigerator to maintain its freshness. When you’re ready to serve, simply fold in any mini marshmallows (if using) and give the salad a gentle stir. Allow it to chill for an additional hour before serving for the best flavor. This plan ensures your salad is just as delicious and vibrant, helping to elevate your potluck or gathering with minimal day-of effort!
Hawaiian Fruit Salad Variations
Feel free to get creative with your Hawaiian Fruit Salad and make it your own with these fun twists!
- Yogurt Swap: Replace sour cream with vanilla yogurt for a lighter, tangy twist. It adds a pleasant creaminess while lowering fat content.
- Tropical Fruit Mix: Switch out the fruit cocktail for a tropical fruit mix to intensify the island vibes. Include papaya or mango for a delightful change!
- Nutty Crunch: Add a handful of toasted almonds or walnuts for a crunchy contrast. The nutty flavor beautifully complements the sweetness of the fruit.
- Shredded Coconut: Mix in shredded coconut for a more authentic Hawaiian flair or sprinkle on top for a gorgeous presentation. It adds a charming tropical touch.
- Heat It Up: Incorporate a pinch of cayenne pepper to give your salad a surprising kick! Just a little will enhance the sweetness with a subtle heat.
- Berry Bliss: Fold in some blueberries or strawberries for a burst of flavor and lovely color. They add freshness and tanginess to the mix!
- Grape Addition: Toss in some halved grapes for extra sweetness and a vibrant pop of color. They’re juicy and delightful alongside the other fruits.
- Sugar-Free Substitute: Use sugar-free gelatin and a low-calorie whipped topping for a healthier version without sacrificing taste.
For more delicious side options, serve this Hawaiian Fruit Salad alongside my festive Egg Macaroni Salad to round out your meal. The possibilities are endless—let your imagination run wild in the kitchen!
How to Store and Freeze Hawaiian Fruit Salad
Fridge: Keep your Hawaiian Fruit Salad in an airtight container in the refrigerator for up to 3 days. The texture may change slightly as it sits, but it will still taste delightful.
Freezer: For longer storage, you can freeze the salad, but be aware that the creamy texture may become grainy upon thawing. Store in a freezer-safe container for up to 1 month.
Thawing: To thaw frozen Hawaiian Fruit Salad, transfer it to the fridge overnight before serving. Stir well before serving to redistribute the ingredients.
Serving Tips: If the salad seems a bit watery after thawing, add a spoonful of extra sour cream to help restore its creamy consistency.
Expert Tips for Hawaiian Fruit Salad
-
Proper Draining: Ensure all canned fruits are thoroughly drained before mixing. This prevents a soupy Hawaiian Fruit Salad that could ruin its delightful texture.
-
Chill Quickly: If you’re short on time, consider chilling the fruit in the colander while it drains. This speeds up the drying process without sacrificing flavor.
-
Texture Tweaks: For added crunch, sprinkle in some toasted nuts or seeds. This can elevate the texture of your Hawaiian Fruit Salad and introduce interesting flavors.
-
Flavor Variations: Don’t hesitate to experiment with different flavors of gelatin or swap sour cream for yogurt to create your own twist on this classic salad.
-
Garnish Ideas: Enhance the presentation by topping with shredded coconut or a sprinkle of crushed nuts before serving, bringing an extra tropical touch to your dish.
What to Serve with Hawaiian Fruit Salad
Elevate your meal with perfectly complementary flavors and textures alongside the refreshing sweetness of tropical goodness.
-
Grilled Chicken Skewers: The savory, smoky flavor of grilled chicken enhances the fruity, creamy salad, making for a delightful contrast. Perfect for barbecues!
-
Coleslaw: This crunchy, tangy side is an excellent counterpoint to the sweetness of Hawaiian Fruit Salad and adds a refreshing crunch to your meal.
-
Pineapple Rice: Infuse your meal with tropical flair by pairing the salad with fluffy pineapple rice, which balances the sweetness and adds a unique texture.
-
BBQ Ribs: The rich, savory essence of BBQ ribs creates a harmonious contrast to the light and sweet salad, making for a memorable gathering.
-
Tropical Smoothie: Pair your salad with a drink that mirrors its flavors. A pineapple-mango smoothie will replicate those island vibes perfectly!
-
Coconut Macaroons: These sweet treats echo the tropical theme and provide a delightful chewy texture, rounding out a delightful dessert offering.
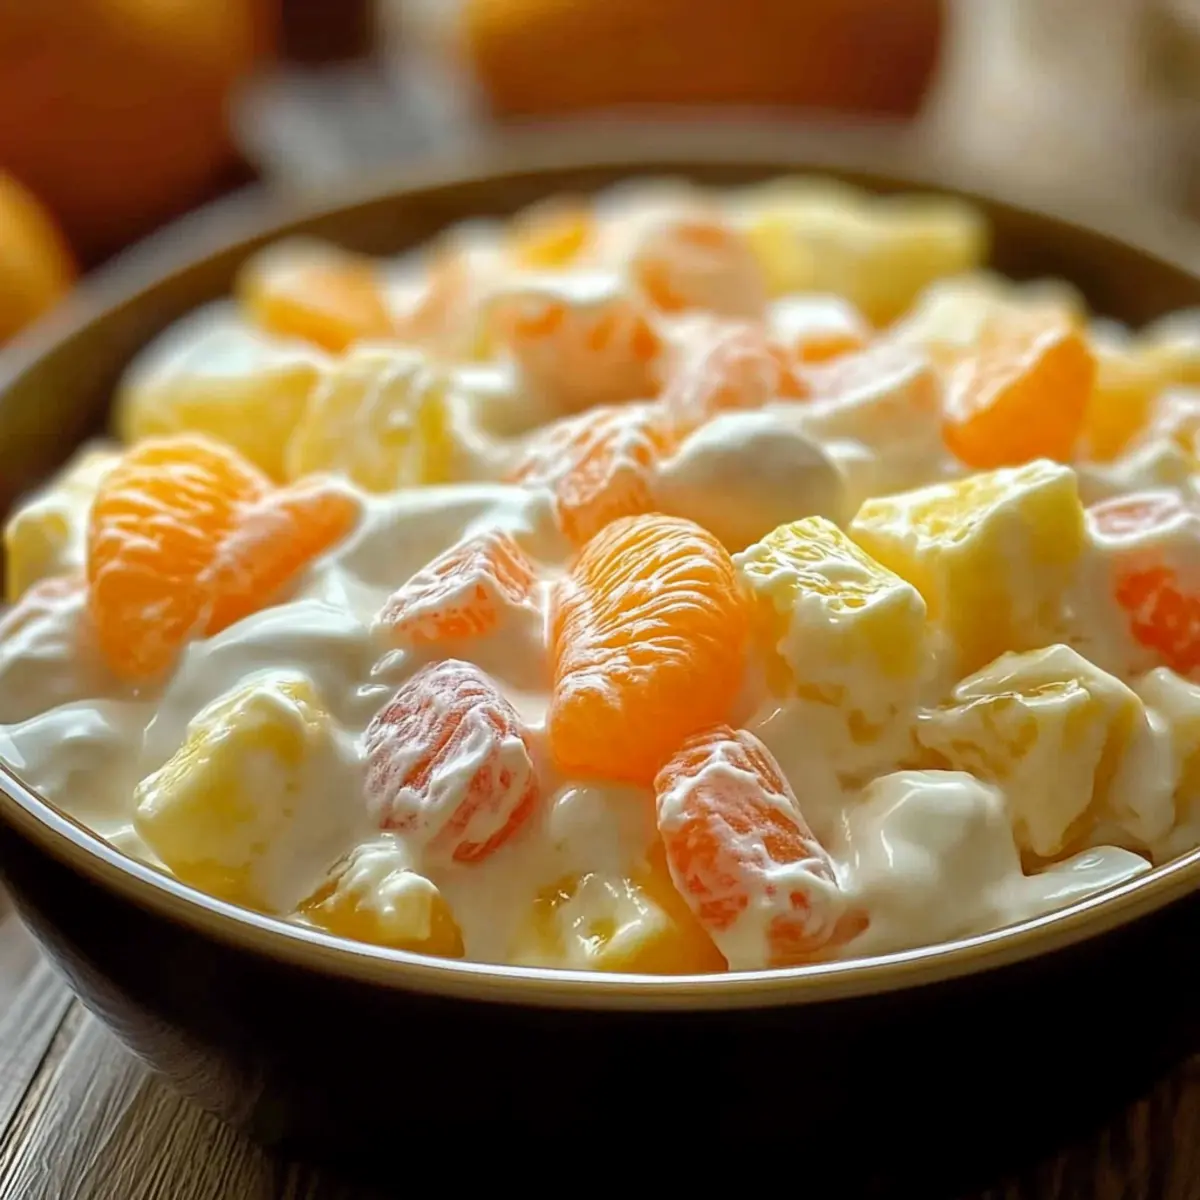
Hawaiian Fruit Salad Recipe FAQs
How do I select the best canned fruits?
Absolutely! When choosing canned fruits for this Hawaiian Fruit Salad, look for those packed in juice rather than syrup to reduce added sugars. Check for cans without dents or bulges, and always verify expiration dates for maximum freshness. The fruits should appear vibrant and plump, with no dark spots or unusual odors.
What is the best way to store Hawaiian Fruit Salad?
You can store your Hawaiian Fruit Salad in an airtight container in the refrigerator for up to 3 days. However, I recommend consuming it within 2 days for optimal texture and flavor. The longer it sits, the more the fruits can release moisture, which might affect the creamy consistency. Always give it a gentle stir before serving!
Can I freeze Hawaiian Fruit Salad?
Yes, you can freeze Hawaiian Fruit Salad, but be prepared for a slight change in texture after thawing. To freeze it, place the salad in a freezer-safe container, ensuring it’s sealed tightly, and it’ll keep for up to 1 month. When you’re ready to enjoy it again, transfer it to the fridge to thaw overnight, and stir well before serving. If it looks a bit watery, adding a spoonful of extra sour cream can help restore its creaminess.
What should I do if my salad turns out soupy?
If your Hawaiian Fruit Salad turns out too soupy, it likely means that the fruits weren’t drained sufficiently. To fix this, try adding a bit more sour cream or gelatin powder mixed with a tiny amount of water. For next time, make sure to drain and let the fruits dry for a good 4 hours before mixing everything together. This helps immensely in avoiding excess moisture!
Is this Hawaiian Fruit Salad allergy-friendly?
Very! This recipe is versatile and can accommodate various dietary preferences. However, be aware of any fruit allergies your guests may have. For a dairy-free version, substitute the sour cream with a non-dairy yogurt or whipped topping. Additionally, if you’re avoiding marshmallows, consider using toasted coconut flakes for a fun and crunchy alternative!
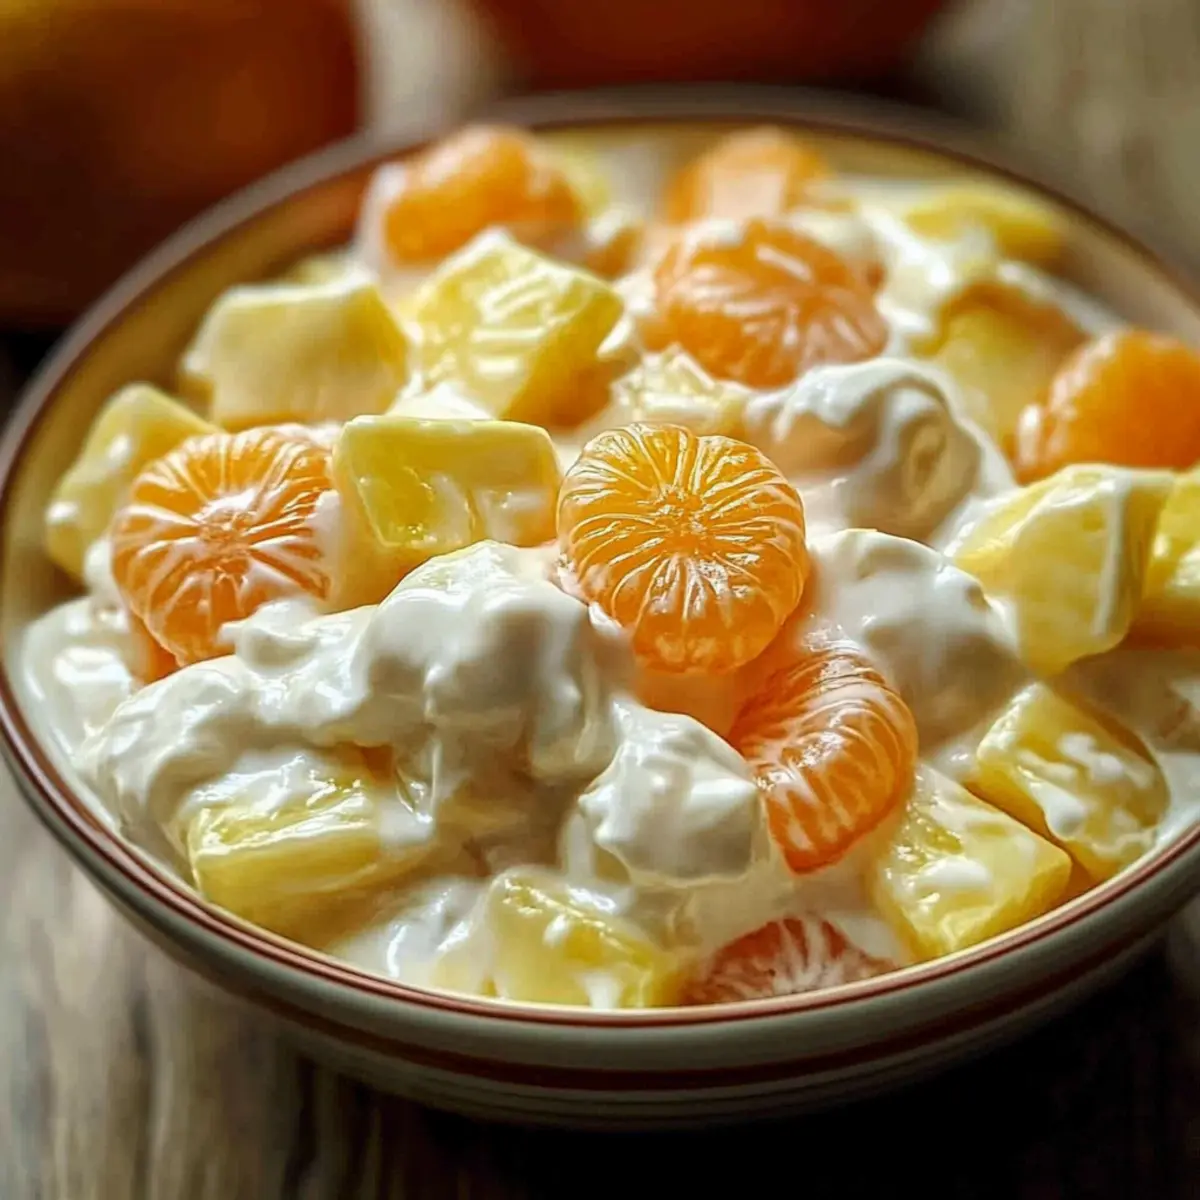
Refreshing Hawaiian Fruit Salad that Everyone Will Love
Ingredients
Equipment
Method
- Drain all canned fruits using a colander. Allow to sit for about 4 hours.
- Combine sour cream and orange gelatin in a mixing bowl and whisk until smooth.
- Once fruits have dried, add to sour cream mixture and fold in marshmallows if using.
- Transfer to a serving bowl, cover, and refrigerate for at least 1 hour.
- Before serving, stir gently and serve chilled.
Leave a Reply