
As I rolled out the pizza dough, the sizzling scent of smoky BBQ filled the kitchen, instantly transporting me to a backyard gathering. This Hawaiian BBQ Pizza is my go-to for quick weeknight dinners or casual get-togethers, thanks to its effortless preparation—and let’s be honest, who can resist that sweet pineapple combined with crispy bacon and savory ham? In just 30 minutes, you can savor a delightful blend of flavors topped with gooey mozzarella, making this dish a sure crowd-pleaser. Plus, it’s an easy way to embrace a little tropical flair right at home. Are you ready to whip up this mouthwatering twist on pizza?
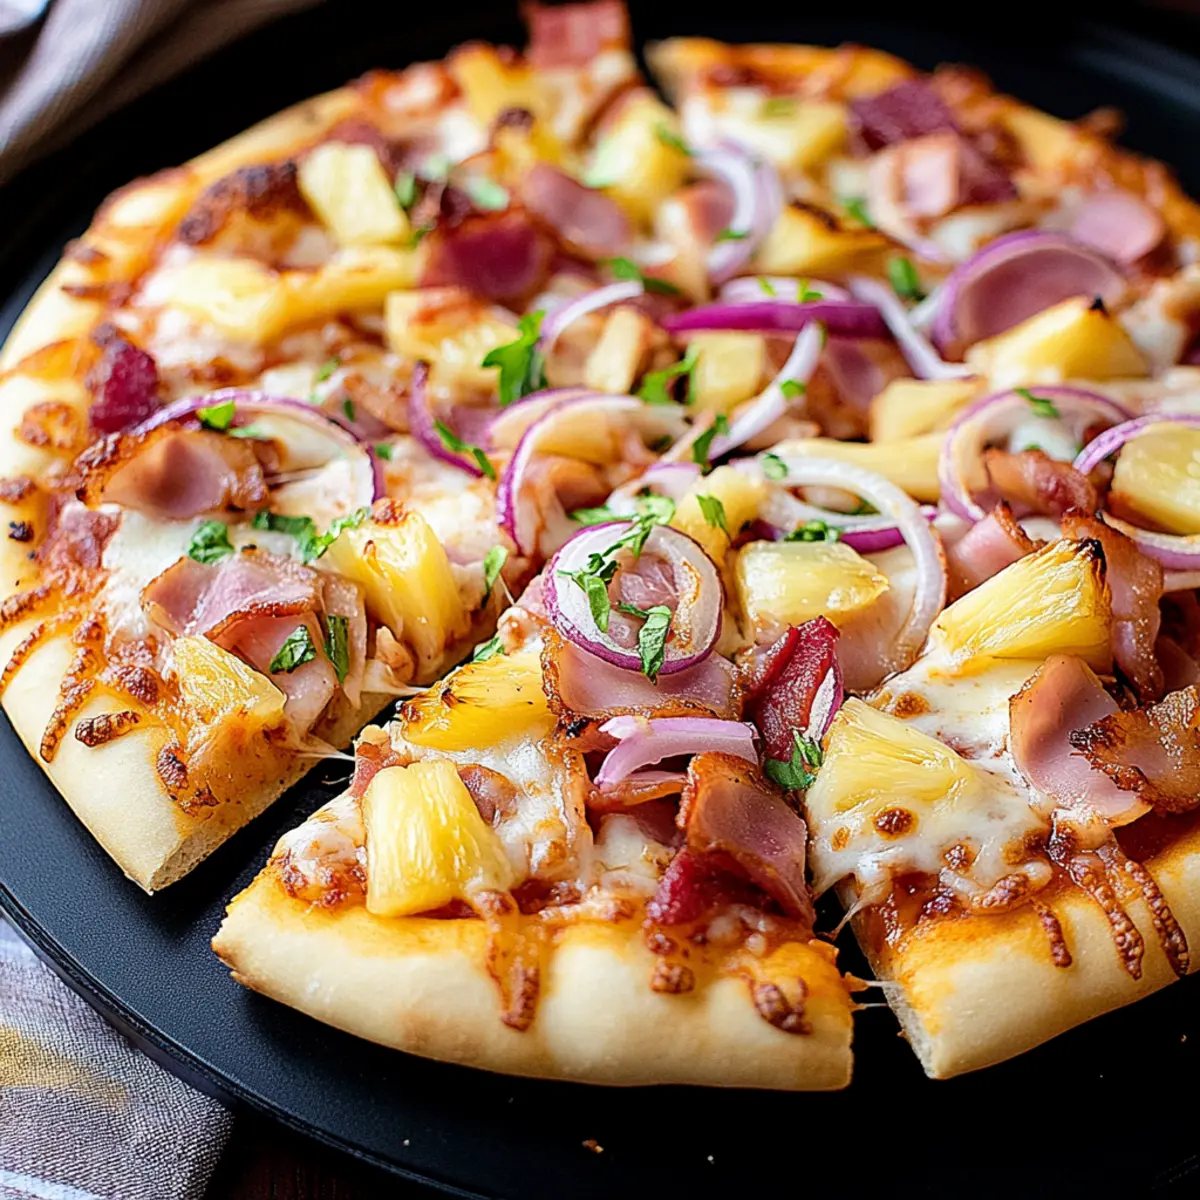
Why is Hawaiian BBQ Pizza so beloved?
Flavorful Fusion: This pizza combines the smoky richness of BBQ sauce, sweet bursts of pineapple, and crispy bacon for an unforgettable taste experience.
Quick to Make: Ready in just 30 minutes, it’s perfect for busy nights or spontaneous gatherings; no need to order takeout!
Endless Customization: Try different cheeses or add spicy toppings to cater to your crowd’s preferences while keeping that delicious BBQ essence intact.
Crowd-Pleasing Delight: Whether for family dinners or friendly get-togethers, Hawaiian BBQ Pizza is a guaranteed showstopper, loved by kids and adults alike!
For even more deliciousness, make sure to check out other fun variations like BBQ Chicken Pizza or try serving it alongside a light salad for a complete meal!
Hawaiian BBQ Pizza Ingredients
• Get ready to create a flavor-packed delight!
For the Crust
- Pizza Dough – Use store-bought for convenience or homemade for a personalized touch.
- Olive Oil – Brush before baking to enhance the crispiness of your crust.
For the Toppings
- BBQ Sauce – Provides a deliciously tangy and smoky flavor; substitute with homemade for extra richness.
- Mozzarella Cheese – Melts beautifully for a creamy texture; gouda makes a fantastic smoky alternative.
- Ham – Choose cubed ham for savory bites; smoked chicken offers a leaner option.
- Cooked Bacon – Adds that irresistible crispiness and a touch of saltiness.
- Pineapple Tidbits – Sweetness comes from these juicy bites, and smaller pieces integrate better on your pizza.
- Red Onion – Add crunch and a sharp taste; adjust the amount based on your preference.
- Cilantro – Freshly chopped for a burst of flavor once your pizza is out of the oven.
- Red Pepper Flakes – Add a pinch for optional heat; adjust according to your taste for the perfect balance.
Prepare to enjoy the zest of Hawaiian BBQ Pizza, with its delightful medley of flavors taking center stage!
Step‑by‑Step Instructions for Hawaiian BBQ Pizza
Step 1: Prepare the Pizza Dough
Roll out your pizza dough into a 14-inch circle on a floured surface. Carefully transfer it to a parchment-lined pizza pan, ensuring the edges are slightly elevated to form a crust that holds all the delicious toppings. This step will set the foundation for your Hawaiian BBQ Pizza.
Step 2: Preheat the Oven
Set your oven to 450°F (232°C) to achieve that crispy, golden crust. While the oven heats up, take a moment to gather your ingredients and prepare for assembling the pizza. This preheating is crucial for ensuring even baking and that perfect pizza texture.
Step 3: Pre-Bake the Crust
Brush the crust with olive oil and dock the surface with a fork to prevent bubbling. Bake it in the preheated oven for about 5–7 minutes until it feels slightly firm but not fully cooked. This pre-baking will give your Hawaiian BBQ Pizza a crispier base when fully assembled and baked.
Step 4: Add BBQ Sauce and Cheese
Spread a generous layer of BBQ sauce over the crust, making sure to cover it evenly. Sprinkle half of the mozzarella cheese on top, allowing it to melt and weave through the sauce, enhancing your pizza’s delightful flavor profile with that signature smoky sweetness.
Step 5: Layer the Toppings
Evenly distribute the cubed ham, crispy bacon, and sweet pineapple tidbits over the BBQ sauce and cheese. Top it off with the remaining mozzarella and scatter the red onion pieces for an added crunch. Ensure the toppings are balanced, so each bite of your Hawaiian BBQ Pizza bursts with taste.
Step 6: Bake the Pizza
Carefully place the assembled pizza back into the oven and bake for an additional 7–10 minutes. Keep an eye on it until the crust is golden brown and the cheese is bubbly and starting to brown. This is the moment when your Hawaiian BBQ Pizza transforms into a mouthwatering feast.
Step 7: Cool and Garnish
Once baked, remove the pizza from the oven and let it cool for about 5 minutes. This cooling period makes slicing easier and allows the toppings to settle. Finish by sprinkling freshly chopped cilantro and a dash of red pepper flakes for that extra kick, creating a beautifully vibrant Hawaiian BBQ Pizza ready to serve.
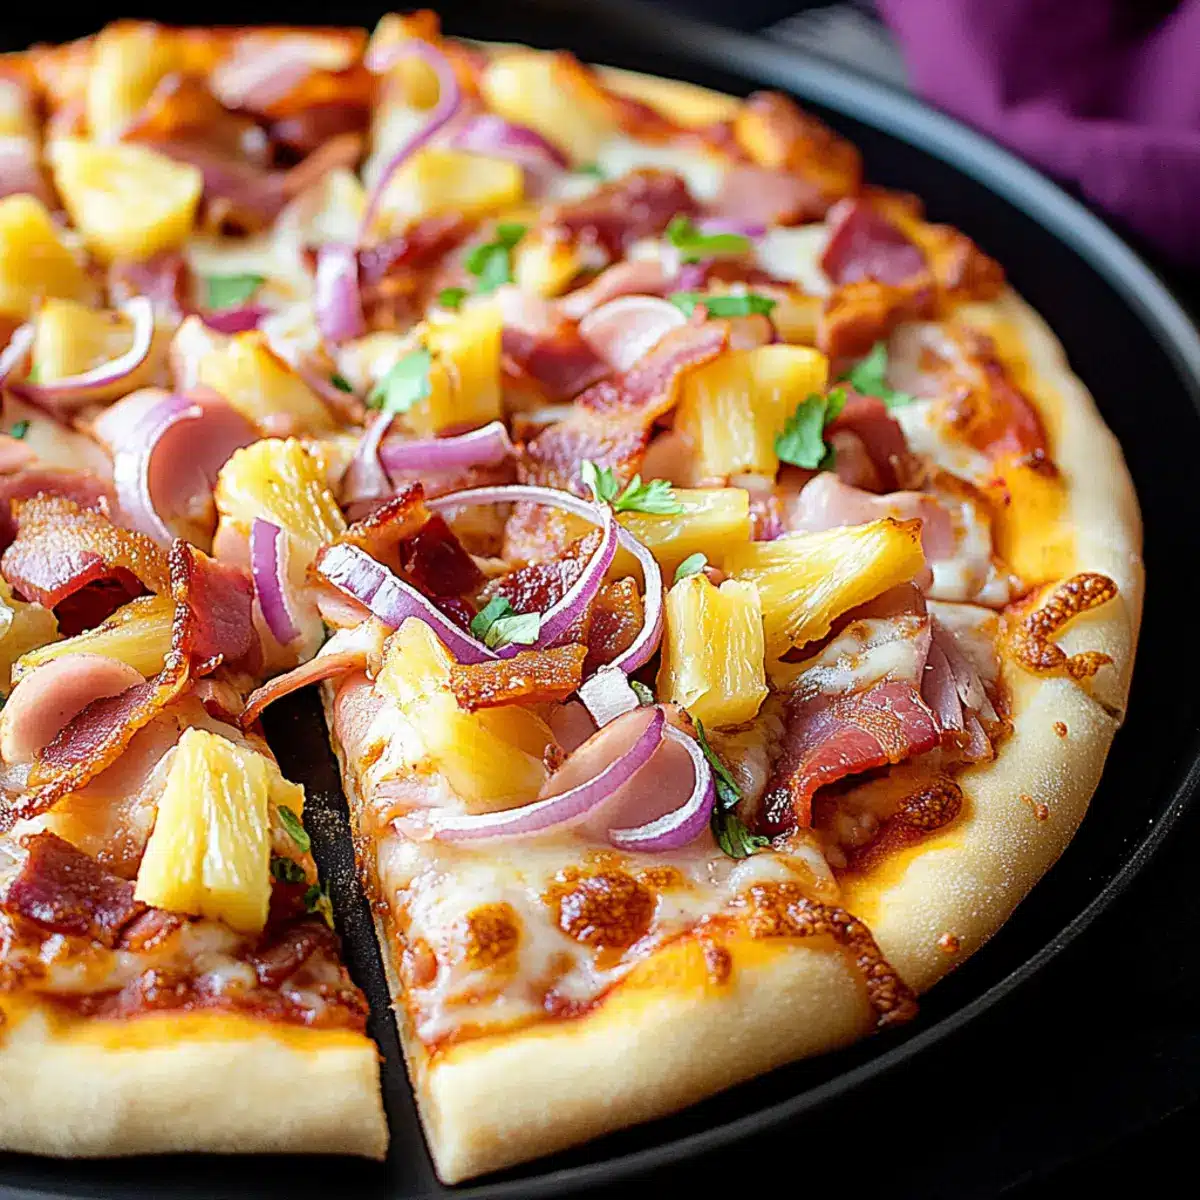
Hawaiian BBQ Pizza Variations & Substitutions
Feel free to make this Hawaiian BBQ Pizza your own by exploring these exciting variations that add a touch of personalization to each slice!
-
Spicy BBQ Sauce: Swap the traditional BBQ sauce for a spicy version to ignite your taste buds. This will elevate the dish with an inviting warmth that truly wakes up the palate!
-
Cheese Blends: Experiment with a mix of cheeses, like gouda and fontina, for added creaminess and complexity. These swapping choices create depth in flavors that complement the sweet toppings perfectly.
-
Protein Boost: Substitute with seasoned grilled chicken or even pulled pork to amp up the protein. Adding in tender chicken adds a hearty twist, making every bite even more satisfying!
-
Veggie Delight: For a veggie-packed twist, incorporate bell peppers and mushrooms. They add color, crunch, and nutrition, transforming your pizza into a feast of fresh ingredients!
-
Cauliflower Crust: Looking for a healthier touch? Use a cauliflower crust instead of traditional pizza dough. This gluten-free option brings in a new texture while keeping that delightful Hawaiian spirit intact.
-
Pineapple Alternatives: Opt for mango chunks or peach slices instead of pineapple for a tropical twist. This unexpected change keeps things refreshing and showcases the versatility of fruit on pizza.
-
Herbal Finish: Try using fresh basil instead of cilantro for an aromatic finish. This herb swap will infuse your pizza with a delightful fragrance, creating a lovely contrast to the bold BBQ flavors!
For even more tasty combinations, think about serving your Hawaiian BBQ Pizza with a light side salad or perhaps some mouthwatering Garlic Bread! Enjoy crafting your unique pizza experience!
Tips for the Best Hawaiian BBQ Pizza
- Crust Care: Avoid a soggy base by not overloading toppings; keep it balanced for the best Hawaiian BBQ Pizza experience.
- Crust Crunch: For extra crispiness, pre-bake the dough a couple of minutes longer before adding your toppings.
- Flavor Tip: Use high-quality BBQ sauce to elevate the taste; homemade sauce can add a personal touch and richer flavor.
- Cheese Choices: Experiment with different cheese combinations like gouda and cheddar; they can bring unique flavors to your Hawaiian BBQ Pizza.
- Fresh Ingredients: Fresh pineapple and herbs make a significant difference in flavor; try to use them instead of canned options for the best results.
- Storage Secrets: Store leftover pizza in an airtight container in the fridge for up to 3 days, or freeze for longer shelf life!
How to Store and Freeze Hawaiian BBQ Pizza
Fridge: Store leftover Hawaiian BBQ Pizza in an airtight container for up to 3 days. This helps maintain its freshness and texture.
Freezer: For longer storage, freeze the pizza tightly wrapped in plastic wrap and aluminum foil for up to 2 months. This preserves its delicious flavors.
Reheating: To enjoy your pizza again, reheat it in the oven at 375°F (190°C) for 10–15 minutes, or until heated through for that perfect, crispy crust.
What to Serve with Hawaiian BBQ Pizza
As you slice into that perfectly crispy crust, the possibilities for sides to elevate your meal are endless!
- Light Garden Salad: A freshness of crunchy greens and vibrant veggies balances the richness of the pizza, offering a refreshing contrast.
- Garlic Bread: The buttery, garlicky flavor of this side pairs beautifully with the sweet and smoky notes of Hawaiian BBQ Pizza, creating a comfort-food classic.
- Coleslaw: Creamy or vinegar-based, the crunchiness and tang of coleslaw add an exciting texture and flavor contrast to the dish.
- Grilled Pineapple: Enhance the tropical feel with warm, caramelized pineapple slices that echo the sweet notes of pizza while adding a delightful smokiness.
- Sweet Potato Fries: Their natural sweetness complements the savory elements of the pizza while offering a fun crunch with each bite.
- Fruit Smoothie: A light, fruity drink can cleanse the palate, and the icy sweetness makes a delightful match for the pizza’s warm flavors.
- Beer or Cider: Pairing a cold, crisp beer or a fruity cider with your pizza can elevate your dining experience, balancing the flavors effortlessly.
- Chocolate Chip Cookies: For dessert, warm cookies provide a sweet end to your meal, creating that coveted sweet-and-savory balance.
Enjoy crafting a memorable meal around your Hawaiian BBQ Pizza with these delightful pairings!
Make Ahead Options
These Hawaiian BBQ Pizza components are perfect for meal prep enthusiasts! You can prepare the pizza dough up to 24 hours in advance; simply roll it out, place it on the pizza pan, and brush it with olive oil before wrapping it tightly in plastic wrap or storing it in an airtight container in the fridge. You can also chop your toppings—like ham, bacon, and pineapple—up to 3 days ahead, just be sure to refrigerate them in sealed containers to maintain freshness. When you’re ready to serve, spread the BBQ sauce and assemble your pizza as instructed, then bake it as normal for a flavorful, homemade feast that tastes just as delicious as freshly made!
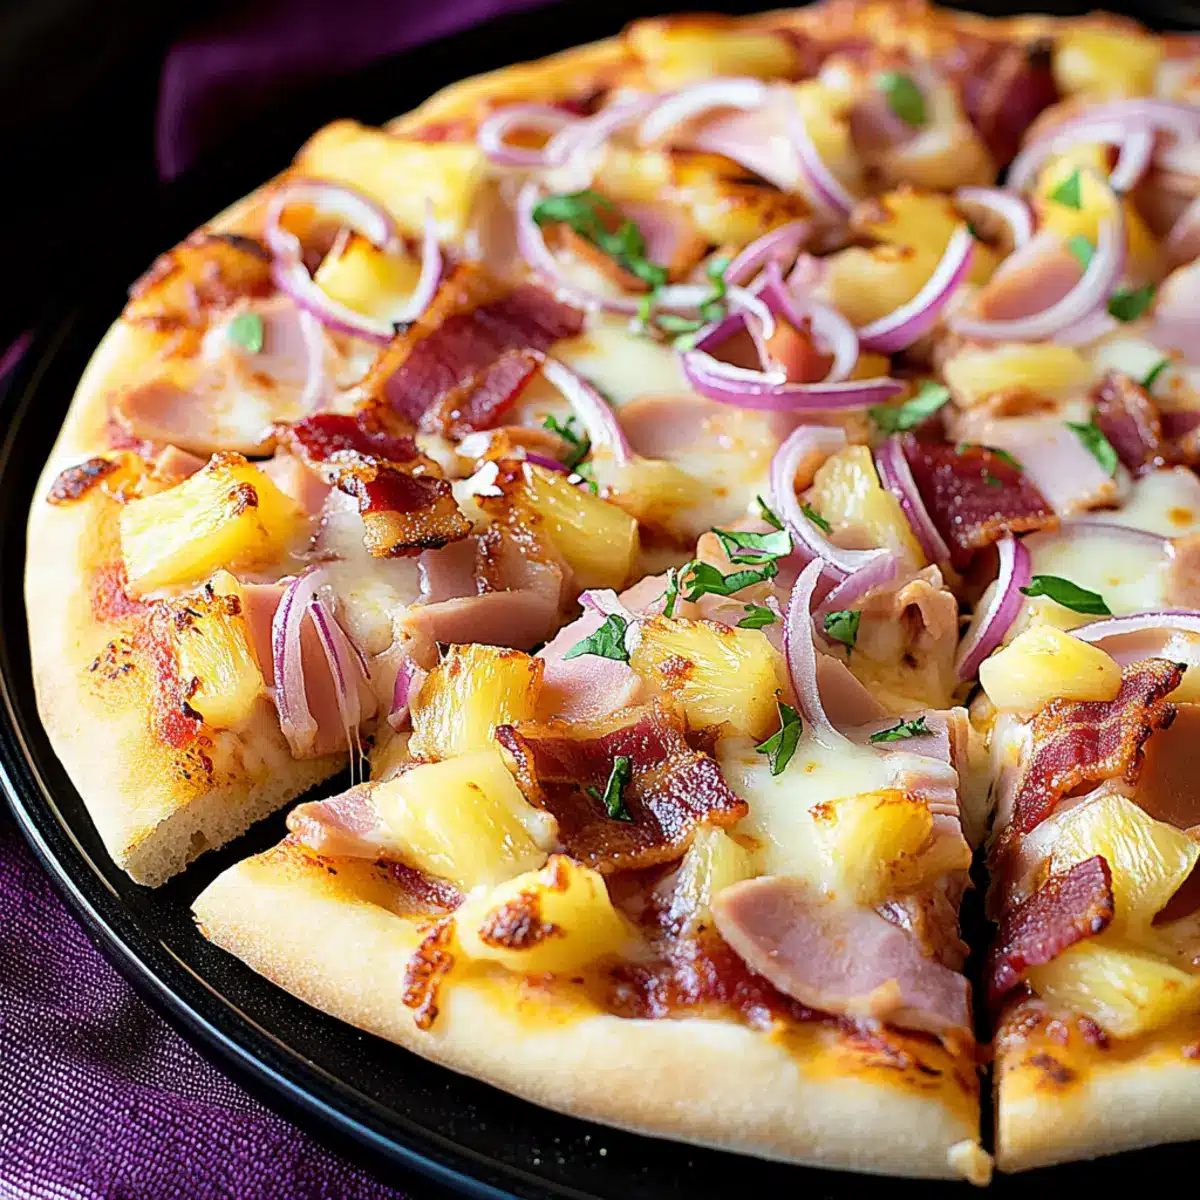
Hawaiian BBQ Pizza Recipe FAQs
How do I choose ripe pineapple for my pizza?
Absolutely! When selecting pineapple, look for a fruit that has a sweet, fragrant aroma, with a firm outer skin and no dark spots. A ripe pineapple will yield slightly to pressure but should not be overly soft. If you choose canned pineapple, opt for chunks in juice rather than syrup for a healthier, less sweet option!
What’s the best way to store leftover Hawaiian BBQ Pizza?
Very! Allow your pizza to cool completely, then wrap it tightly in plastic wrap or aluminum foil, or place it in an airtight container. Refrigerate for up to 3 days. When you’re ready to enjoy it again, simply reheat in the oven for the best texture!
Can I freeze Hawaiian BBQ Pizza?
Absolutely! To freeze, wrap individual slices tightly in plastic wrap and then in aluminum foil. This prevents freezer burn and keeps the flavor. You can freeze it for up to 2 months. To reheat, bake in a preheated oven at 375°F (190°C) for 10–15 minutes or until heated through.
What should I do if my pizza dough is too sticky?
Often, if your dough feels too sticky, it simply needs a little more flour. Sprinkle flour on your work surface and on the dough itself, and gently knead it in until the dough feels elastic but not overly dry. If you’re rolling it out, be sure to use flour on your pin as well to avoid sticking!
Are there any allergies I should consider with this recipe?
Yes! If you’re cooking for someone with dietary restrictions, be mindful of the ingredients. Ham and bacon are common allergens, so you can substitute these with cooked chicken or a plant-based protein. Additionally, if someone is gluten-sensitive, you can look for gluten-free pizza dough options available in stores!
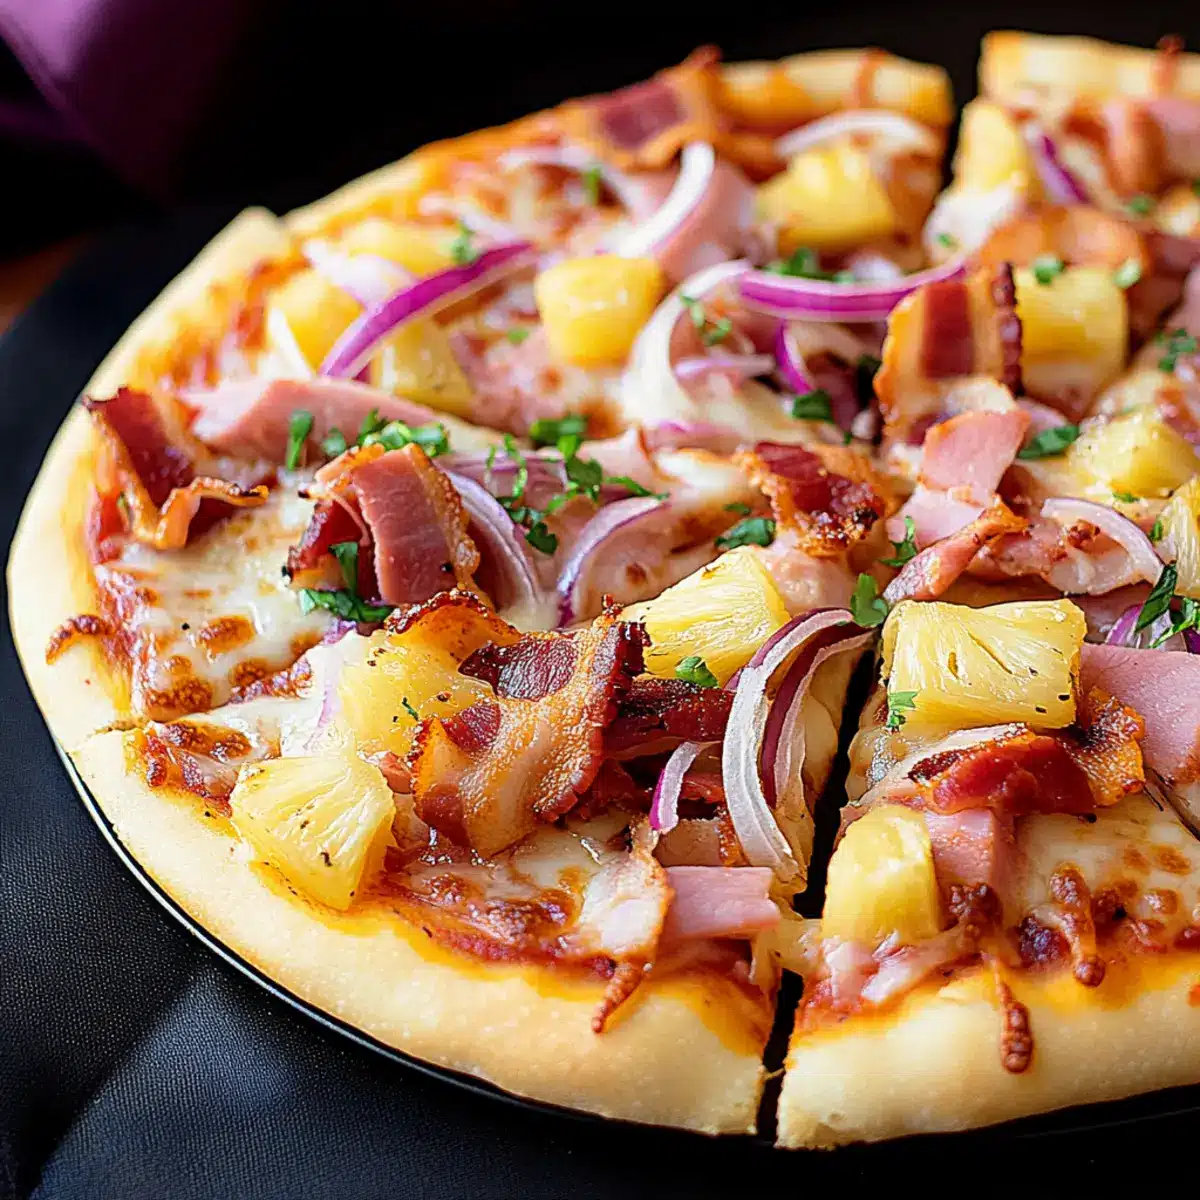
Hawaiian BBQ Pizza: Your New Favorite Homemade Delight
Ingredients
Equipment
Method
- Roll out your pizza dough into a 14-inch circle on a floured surface.
- Set your oven to 450°F (232°C) to achieve that crispy, golden crust.
- Brush the crust with olive oil and dock the surface with a fork.
- Spread a generous layer of BBQ sauce over the crust.
- Evenly distribute the cubed ham, crispy bacon, and sweet pineapple tidbits over the BBQ sauce and cheese.
- Carefully place the assembled pizza back into the oven and bake for an additional 7–10 minutes.
- Once baked, remove the pizza from the oven and let it cool for about 5 minutes.
Leave a Reply