
The aroma of garlic and fresh herbs filled my kitchen, transporting me to a sun-drenched Mediterranean market. Today, I’m excited to share my version of Greek Style Loaded Hummus, a dish that brings the essence of homemade comfort to your table. This vibrant dip is not only a breeze to whip up but also a crowd-pleaser that caters to various tastes, making it perfect for gatherings or a simple snack. With its creamy texture and delightful toppings, you’ll savor every bite while nourishing your body with wholesome ingredients. Plus, it’s a fantastic way to incorporate more plant-based goodness into your diet without sacrificing flavor. Ready to elevate your hummus game? Let’s dive in!
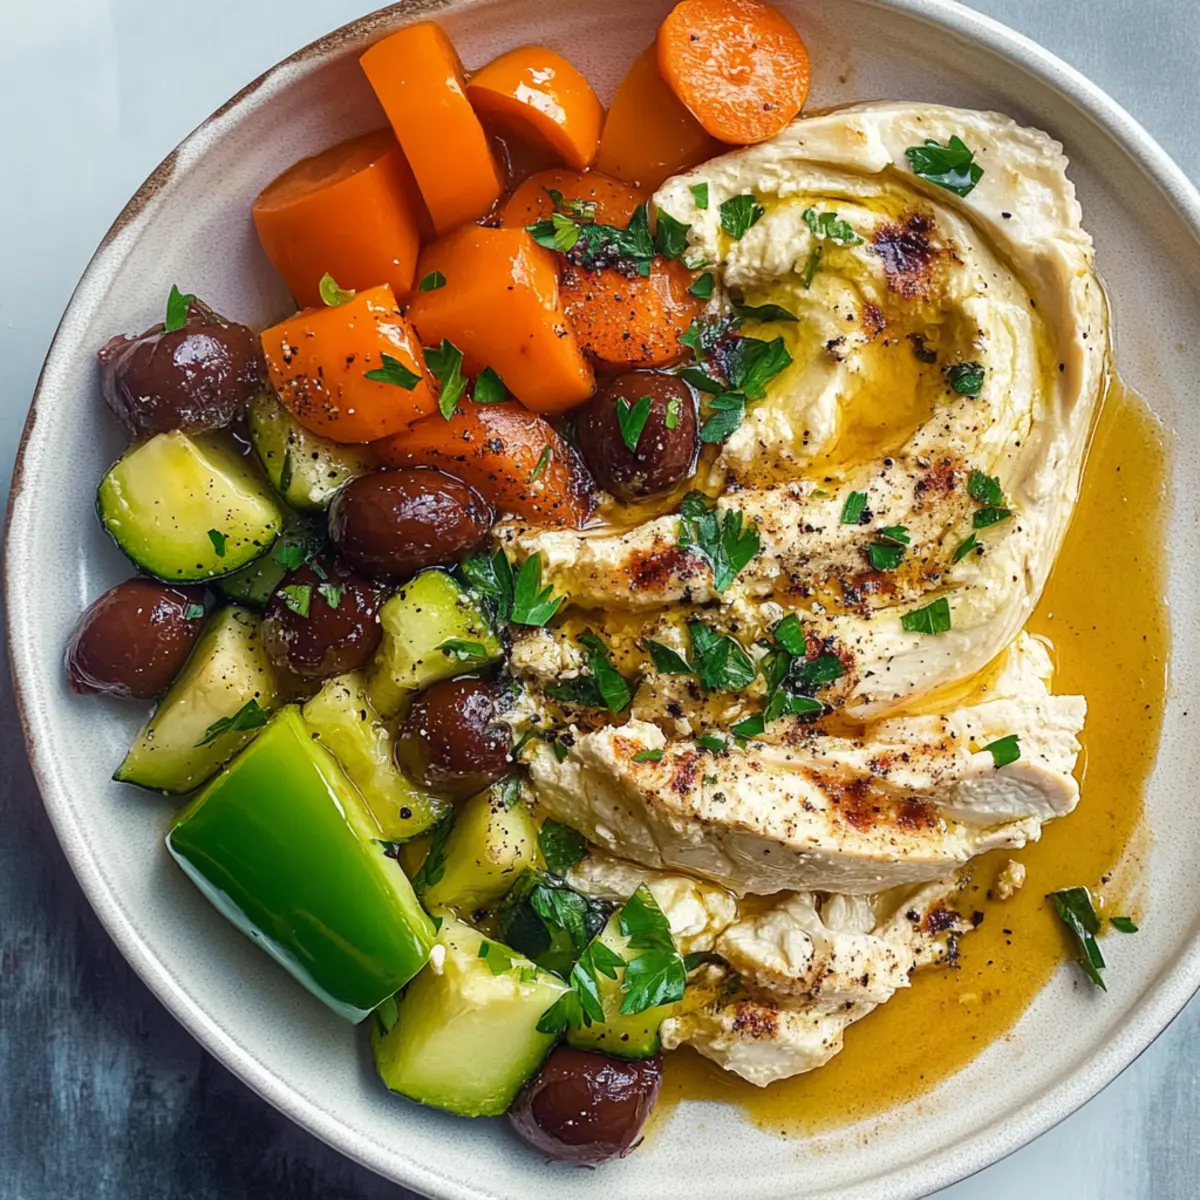
Why is Greek Style Loaded Hummus a Must-Try?
Flavor Explosion: The rich combination of garlic, lemon, and fresh herbs creates a Mediterranean experience that delights the taste buds.
Easy to Make: With just a few simple ingredients, you can whip this up in no time, making it perfect for busy weekdays or surprise guests.
Healthy & Wholesome: Packed with nutritious ingredients, this hummus is a great way to enjoy delicious plant-based nutrition.
Crowd-Pleaser: Whether at a party or a cozy family dinner, this vibrant dip is sure to impress. For a little extra flair, pair it with Street Style Thai options for a delightful fusion experience.
Versatility: Serve it as a dip, spread, or even a topping for salads; the options are endless! Dive into a dish that redefines comfort food while keeping it nourishing and delicious.
Greek Style Loaded Hummus Ingredients
For the Hummus Base
• Canned Chickpeas – a convenient source of protein and fiber that forms the creamy base.
• Tahini – adds a nutty flavor and smooth texture; opt for a high-quality, fresh tahini for the best taste.
• Garlic – infuses the hummus with a bold, zesty flavor; adjust according to your preference for a garlicky kick.
• Lemon Juice – brightens the dish with acidity, enhancing all the other flavors; fresh-squeezed is best!
• Olive Oil – adds richness and depth; drizzle a bit on top for garnishing your Greek Style Loaded Hummus.
For the Toppings
• Chopped Fresh Herbs (e.g., parsley, dill) – brings freshness and color, enhancing the Mediterranean flair; feel free to mix them up!
• Chopped Tomatoes – adds a juicy, sweet element; use ripe tomatoes for the best taste.
• Feta Cheese – crumbles of this tangy cheese take the flavor to the next level; omit for a vegan version if desired.
• Olives (e.g., kalamata) – provides a salty, briny contrast; add whole or sliced for extra texture.
• Pine Nuts – lightly toasted for a crunchy topping; they add a delightful nutty flavor.
Enjoy these ingredients as you create your own delicious Greek Style Loaded Hummus, perfect for dipping or spreading!
Step‑by‑Step Instructions for Greek Style Loaded Hummus
Step 1: Prepare the Chickpeas
Start by rinsing and draining one can of chickpeas to remove excess sodium. For a creamier Greek Style Loaded Hummus, consider peeling the chickpeas; this may take a bit more time but enhances the texture. Set them aside while you gather the rest of your ingredients.
Step 2: Blend the Base
In a food processor, combine the prepared chickpeas, ¼ cup of tahini, two cloves of garlic, and the juice of one large lemon. Blend the mixture on high speed until smooth, scraping down the sides as needed. Add a couple of tablespoons of olive oil to increase creaminess, blending until everything is well combined and velvety, which should take about 1-2 minutes.
Step 3: Adjust for Taste
Taste your hummus and adjust the flavors to your liking. If you want more acidity, add a splash of lemon juice; for additional creaminess, include another drizzle of olive oil. Blend again for another 30 seconds until your Greek Style Loaded Hummus reaches your desired flavor profile and thickness.
Step 4: Plate and Garnish
Transfer the hummus into a shallow serving bowl, creating a small well in the center. Drizzle a little more olive oil into the well for a rich touch and a beautiful presentation. Use the back of a spoon to create swirls on top, making room for the toppings you’ll add next.
Step 5: Add the Toppings
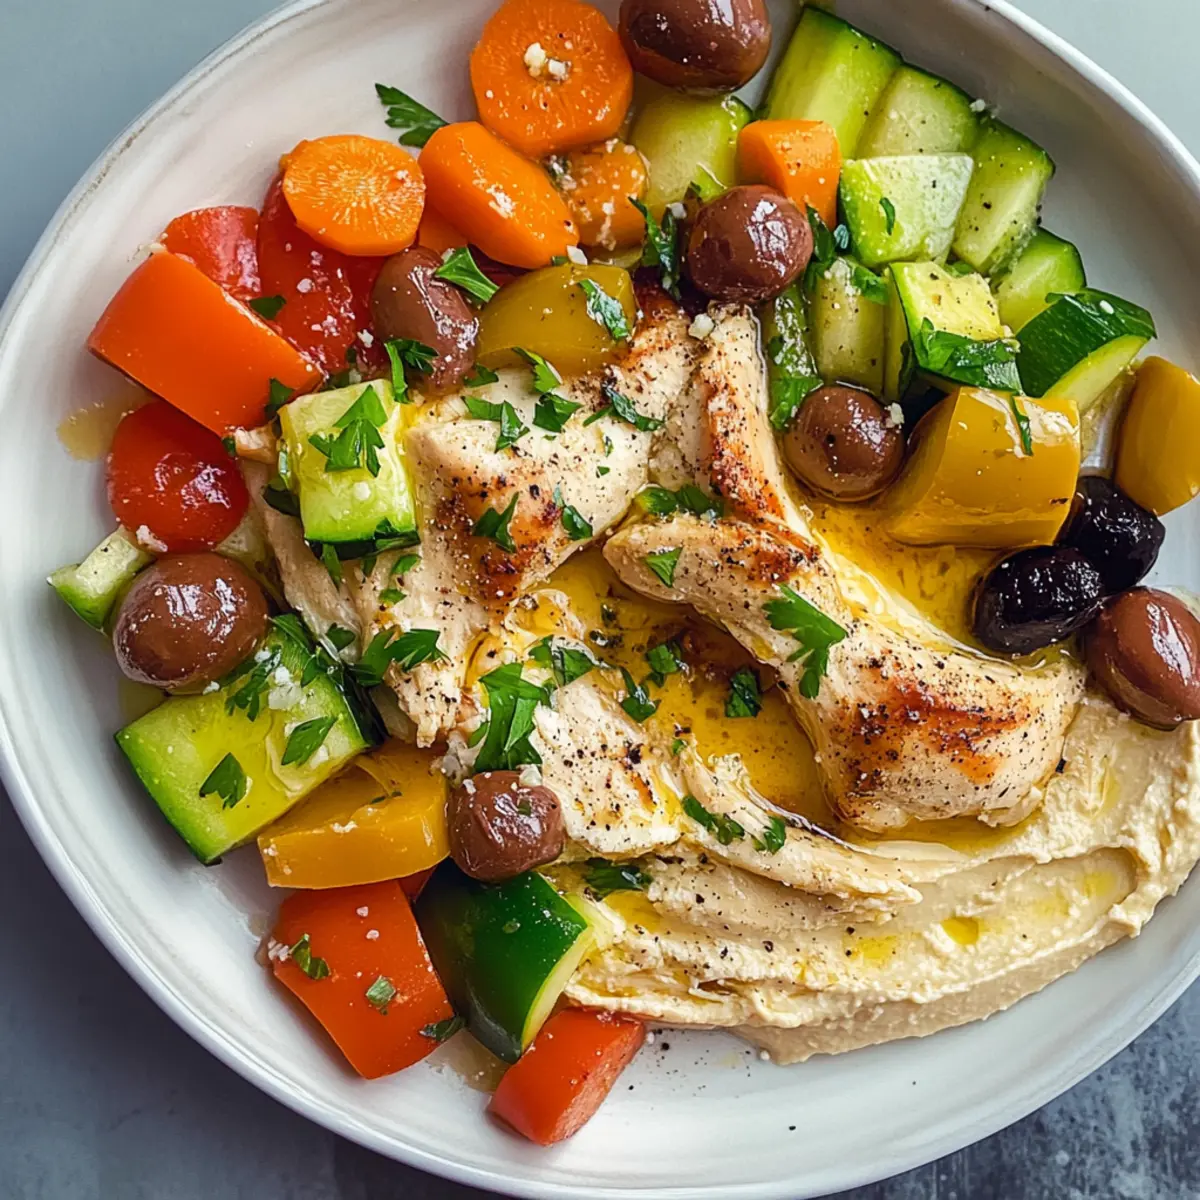
Generously sprinkle the chopped fresh herbs, diced tomatoes, and crumbled feta cheese over the hummus. If you love olives, scatter some kalamata olives or any of your favorite varieties on top for a briny contrast. Lastly, finish off with toasted pine nuts for a delightful crunch that complements the smoothness of the hummus.
Step 6: Serve with Style
Serve your Greek Style Loaded Hummus alongside warm pita bread, vegetable sticks, or your favorite crackers. For storage, cover the bowl and refrigerate for up to three days, though the vibrant flavors are best enjoyed fresh. Enjoy sharing this delightful dip with family and friends!
Helpful Tricks for Greek Style Loaded Hummus
- Chickpea Prep: Rinse and drain your chickpeas to reduce sodium and improve flavor. Peeling them may take extra time but enhances creaminess and texture.
- Blending Tips: When blending, scrape down the sides of the food processor to ensure a smooth consistency. Adjust olive oil for creaminess to your preference.
- Taste Testing: Always taste your hummus before serving. Feel free to add more lemon juice for acidity or olive oil for a richer texture—get it just right!
- Garnish Creatively: Use a variety of fresh herbs like parsley or dill for vibrant colors. Don’t forget the olives and pine nuts—they add great contrast and crunch!
- Serving Suggestions: Pair with warm pita or fresh veggies for dipping. Greek Style Loaded Hummus is also an excellent spread for wraps or sandwiches.
Make Ahead Options
Greek Style Loaded Hummus is perfect for meal prep enthusiasts! You can prepare the hummus base up to 3 days in advance by blending chickpeas, tahini, garlic, lemon juice, and olive oil, then storing it in an airtight container in the refrigerator. For the best quality, drizzle a little olive oil on top to prevent it from drying out. You can chop the fresh toppings—herbs, tomatoes, and feta cheese—up to 24 hours ahead of time; just keep them refrigerated in separate containers. When you’re ready to serve, simply combine the hummus with the toppings and enjoy restaurant-quality flavors with minimal effort—perfect for busy weeknights!
How to Store and Freeze Greek Style Loaded Hummus
Fridge: Keep your Greek Style Loaded Hummus covered in an airtight container in the fridge for up to 3 days. The flavors tend to deepen, making it even more delightful!
Freezer: If you want to store it longer, freeze the hummus in an airtight container for up to 3 months. To defrost, transfer it to the fridge overnight and give it a good stir before serving.
Reheating: While hummus is best enjoyed cold, if you prefer it warm, gently microwave it in short bursts, stirring in between. Avoid overheating, as it may change the texture.
Toppings Storage: For the best taste and texture, store toppings like chopped herbs and tomatoes separately in the fridge, adding them just before serving to keep the hummus fresh and vibrant.
What to Serve with Greek Style Loaded Hummus
Experience a medley of flavors that perfectly complements the creamy richness of your delightful dip.
- Warm Pita Bread: Soft and fluffy, pita makes the perfect vessel for scooping up your hummus, enhancing the Mediterranean experience.
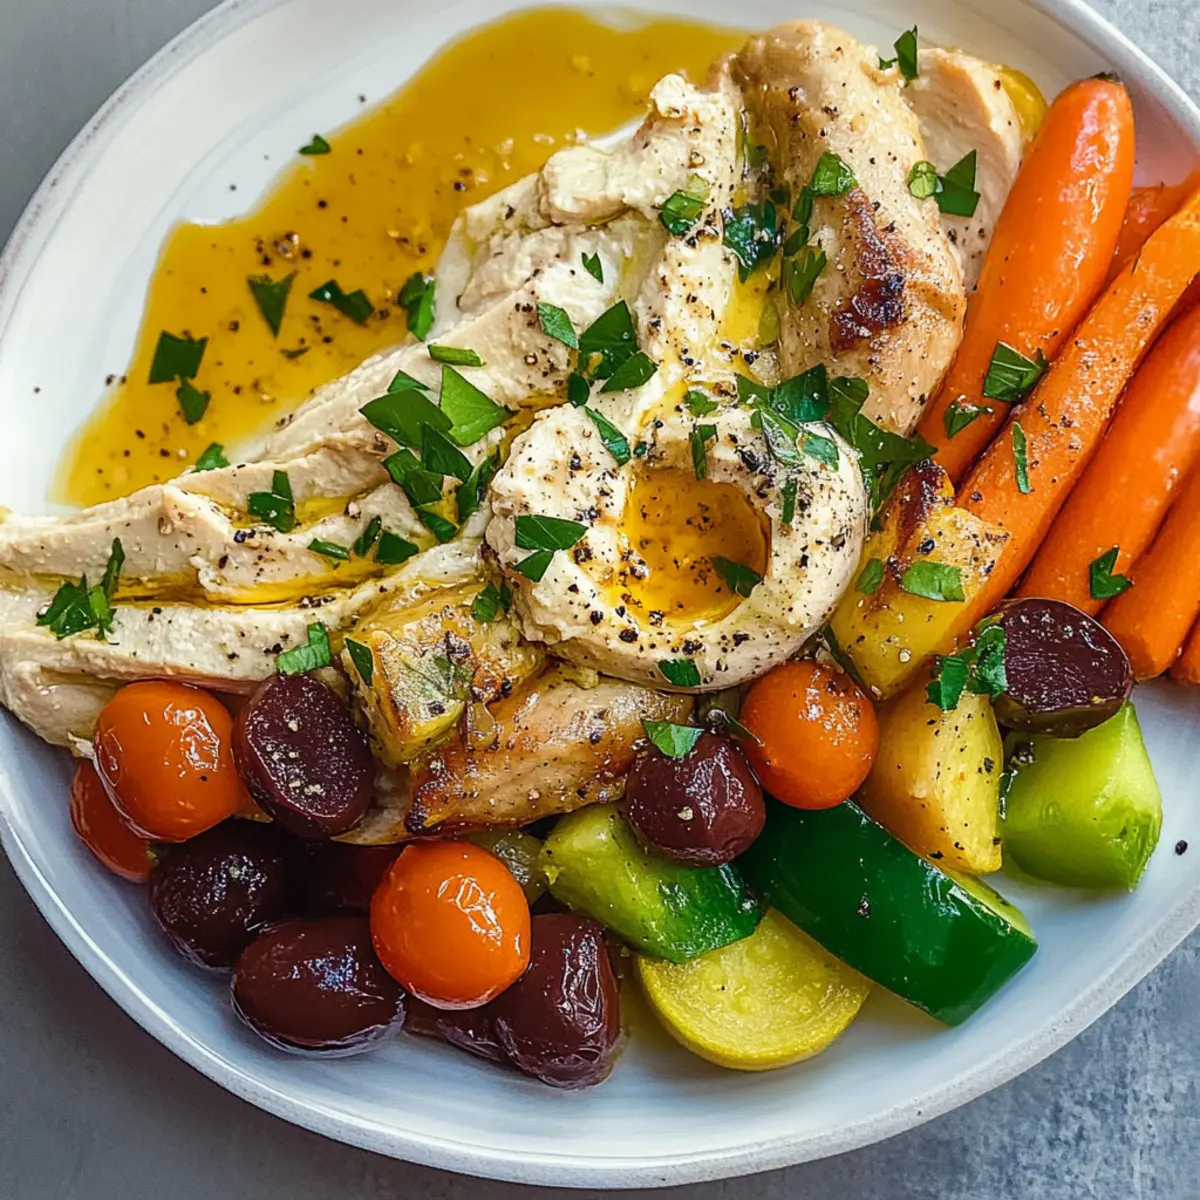
- Vegetable Sticks: Crisp carrots, cucumbers, and bell peppers bring a refreshing crunch while adding healthy, vibrant colors to your spread.
- Olive Tapenade: This savory blend of olives adds a tangy depth that pairs beautifully with the creamy texture of hummus, creating a delightful flavor contrast.
- Stuffed Grape Leaves: With their tender leaves and fragrant rice filling, they echo the Mediterranean theme, offering a delightful bite that complements the hummus nicely.
- Chickpea Salad: A light and zesty salad of chickpeas, tomatoes, and herbs enhances the dish’s plant-based appeal while offering a wholesome, refreshing balance.
- Sparkling Lemonade: This refreshing drink is a playful contrast to the savory hummus, making each bite a little celebration for your taste buds.
- Baklava Bites: Sweet, nutty, and flaky, these treats provide a delightful end to your meal, balancing the savory elements of the spread perfectly.
Greek Style Loaded Hummus Variations
Feel free to experiment with these fun twists that will make your Greek Style Loaded Hummus even more delicious!
-
Dairy-Free: Omit feta cheese and use a plant-based yogurt for a creamy alternative while still packing in flavor.
-
Spicy Kick: Add a pinch of cayenne pepper or red pepper flakes to the hummus base for a zesty heat that enhances every bite.
-
Flavorful Infusion: Blend in roasted red peppers or sun-dried tomatoes for added depth; their sweetness beautifully complements the hummus.
-
Nutty Twist: Substitute pine nuts with toasted almonds or walnuts for a different crunch, giving your hummus a delightful surprise.
-
Herb Variations: Experiment with fresh herbs like basil or cilantro instead of parsley or dill; each will give a unique aroma and flavor lift.
-
Zesty Citron: Swap lemon juice for lime juice for a refreshing twist, enhancing the overall brightness of your hummus.
-
Roasted Garlic: For a sweeter, mellower taste, roast your garlic before adding it to the mixture; this will create a smooth, caramelized flavor profile.
-
Mediterranean Delight: Top with a medley of diced cucumbers and roasted eggplant; these add texture and a fresh taste, reminiscent of a vibrant Mediterranean platter.
Each variation can help rejuvenate your meals, so mix and match based on what you have at home. If you’re feeling adventurous, consider serving it alongside a dish from the Street Style Thai collection for a delightful contrast!
Greek Style Loaded Hummus Recipe FAQs
How do I choose ripe ingredients for this recipe?
Absolutely! For the best results, select fresh ingredients. Look for ripe tomatoes that feel heavy and firm to the touch. Fresh herbs should have vibrant green leaves without any wilting. When picking garlic, choose bulbs that are tight and firm. For the chickpeas, a can works fine—just ensure it’s labeled BPA-free.
How should I store Greek Style Loaded Hummus?
Very! To keep your Greek Style Loaded Hummus fresh, store it in an airtight container in the fridge, where it can last for up to 3 days. Cover the surface with a thin layer of olive oil to help preserve its flavor and texture.
Can I freeze Greek Style Loaded Hummus?
Absolutely! If you want to keep your hummus for longer, you can freeze it in an airtight container for up to 3 months. To thaw, transfer it to the fridge overnight. Once defrosted, give it a good stir to restore creaminess, and feel free to add a splash of olive oil if it looks a bit dry.
What if my hummus turns out too thick?
No worries at all! If your hummus ends up thicker than you like, simply add a tablespoon of water or extra olive oil and blend again until you reach your desired consistency. It’s all about finding that perfect balance to suit your taste!
Are there any dietary considerations I should keep in mind?
Definitely! The Greek Style Loaded Hummus contains chickpeas, tahini (sesame seed paste), and dairy (feta cheese). If you’re serving it to guests with allergies, be sure to ask about those. You can easily make this recipe vegan by omitting the feta and ensuring your tahini is nut-free.
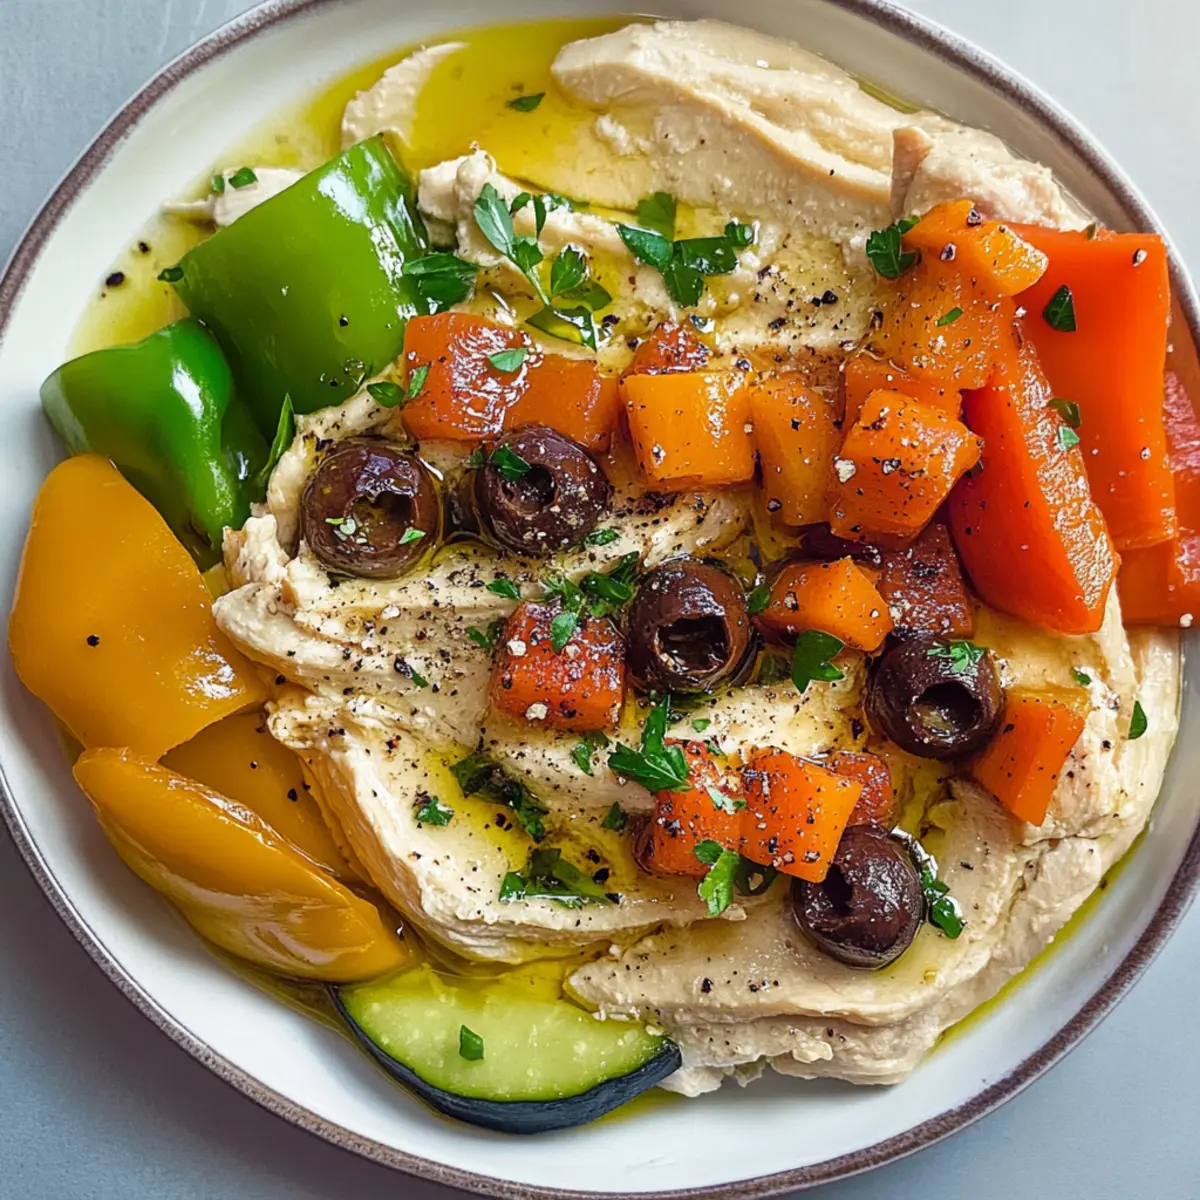
Greek Style Loaded Hummus: A Flavor Explosion in Every Bite
Ingredients
Equipment
Method
- Start by rinsing and draining one can of chickpeas to remove excess sodium.
- In a food processor, combine the prepared chickpeas, tahini, garlic, and lemon juice. Blend until smooth.
- Add olive oil to the mixture and blend again until velvety.
- Taste your hummus and adjust for flavor as needed.
- Transfer the hummus into a serving bowl and drizzle with olive oil for presentation.
- Sprinkle toppings: fresh herbs, diced tomatoes, feta, olives, and pine nuts.
- Serve alongside warm pita bread or vegetable sticks.
Leave a Reply