
As I rifled through my pantry on a warm summer afternoon, I stumbled upon a trio of ingredients that sparked an idea. What if I could transform those humble staples into something utterly delightful? Enter my Healthy Chocolate Peanut Butter Buster Bars—a guilt-free twist on the classic dessert that satisfies cravings while keeping your health goals intact. With just three simple ingredients, these bars are not only quick to whip up, but they’re also protein-packed and perfect for satisfying your sweet tooth without the fast-food guilt. The creamy, dreamy goodness of these no-bake treats will have you wondering why you ever reached for drive-thru desserts in the first place. Ready to indulge without compromise? Let’s dive into the recipe!
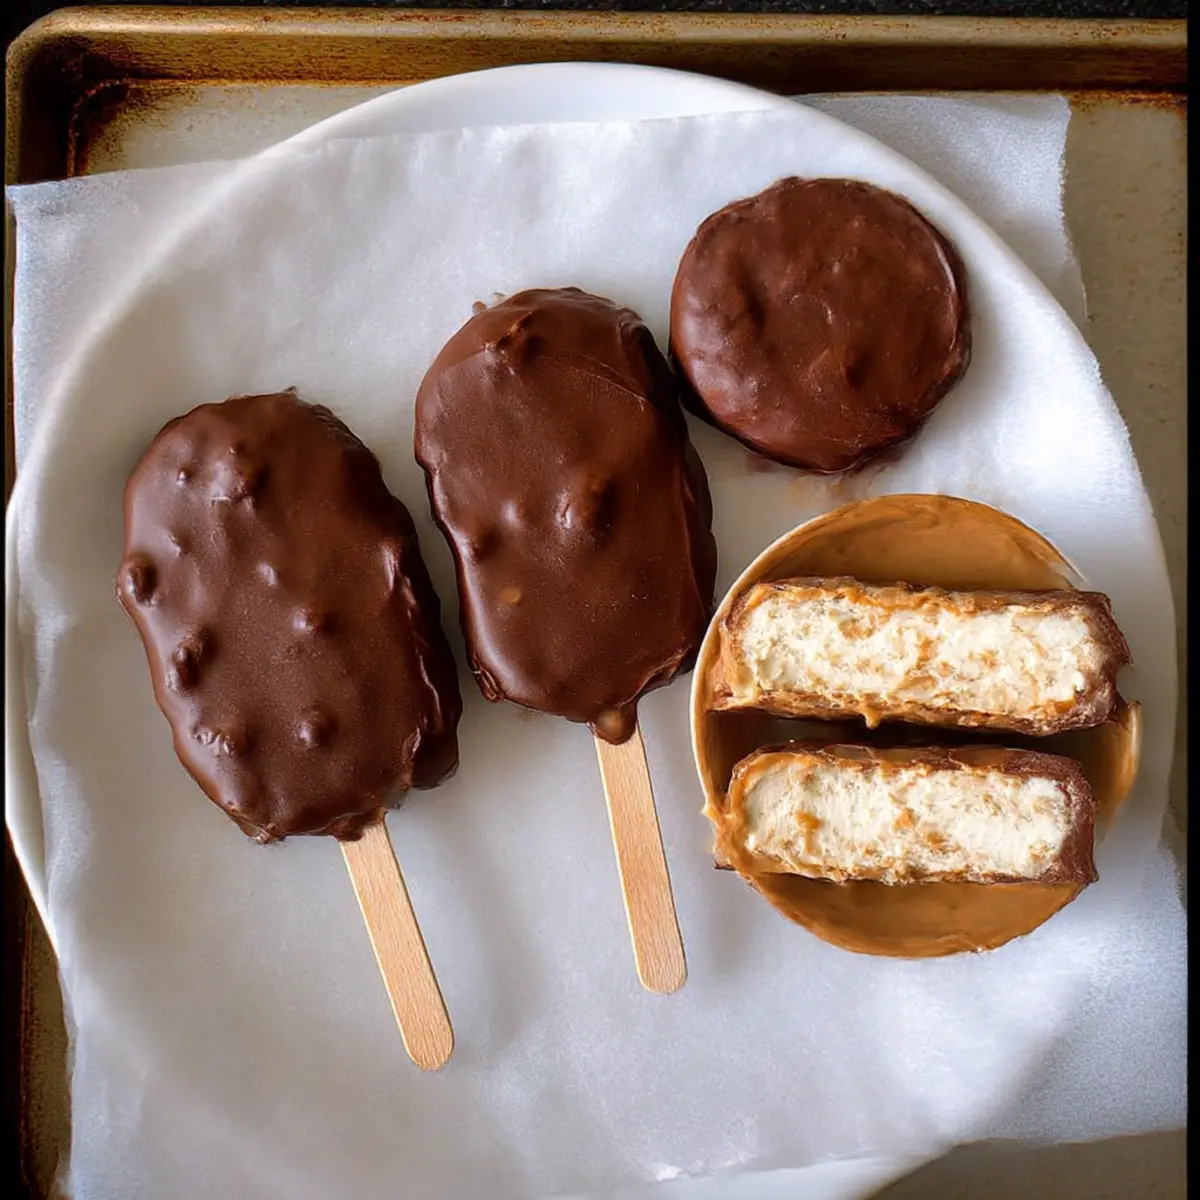
Why are these Buster Bars a must-try?
Health-Conscious Indulgence: These bars bring together your favorite flavors without the guilt, clocking in at only 200 calories each!
Minimal Ingredients: With just three simple components, you can whip up these delightful treats in no time, making them a perfect choice for quick cravings.
Customizable for Everyone: Whether you’re vegan, keto, or have specific allergies, these bars can easily adapt to suit your dietary needs—just swap out the peanut butter or use a different sweetener!
Protein-Packed Delight: Each bar boasts over 15 grams of protein, providing a satisfying treat that fuels your day, making them ideal for post-workout recovery.
No-Bake Convenience: Skip the oven and enjoy the effortless process; just mix, freeze, and indulge!
Perfect for Sharing: These Buster Bars are a crowd-pleaser, whether as a summer snack or a fun dessert for get-togethers—your friends and family will love them!
If you’re craving something fruity, consider checking out my Lemon Crumb Bars for a bright flavor twist alongside your Buster Bars!
Buster Bars Ingredients
For the Bars
• Yogurt – Provides creaminess and a dairy base; substitute with vanilla ice cream or vegan yogurt for a dairy-free option.
• Peanut Butter – Adds protein and delightful flavor; you can use almond butter, cashew butter, sunflower seed butter, or low-carb macadamia nut butter for allergies.
• Sweetener – Balances the flavor of unsweetened yogurt; options include sugar, coconut sugar, maple syrup, honey, or sugar-free alternatives based on your preference.
For the Chocolate Coating
• Chocolate Chips – Forms the delicious chocolate coating; opt for dairy-free chocolate chips to keep it vegan.
• Coconut Oil – Optional but helps achieve a smoother chocolate coating when melted.
Optional Toppings
• Peanuts – Adds crunch and flavor; sprinkle them on top of the bars for an extra texture kick!
With just these few ingredients, you can create Buster Bars that delight your taste buds while keeping the guilt at bay. Dive into homemade goodness that will leave you and your loved ones asking for more!
Step‑by‑Step Instructions for Healthy Chocolate Peanut Butter Buster Bars
Step 1: Mix the Base
In a mixing bowl, combine your yogurt, peanut butter, and sweetener. Use a whisk or hand mixer to blend these three ingredients until the mixture is smooth and creamy, with no lumps remaining. This should take about 2-3 minutes. You’ll know it’s ready when the consistency is velvety and well combined.
Step 2: Add Texture (Optional)
If you’re looking to enhance your Buster Bars, stir in mini chocolate chips at this stage for added texture and sweetness. Gently fold them into the yogurt-peanut butter blend until evenly distributed. This step is optional but will make each bite a delightful surprise!
Step 3: Shape the Bars
Using a spoon, drop dollops of the mixture onto a parchment-lined tray, spacing them apart. Make sure to press a popsicle stick or small spoon into each dollop for easy handling later. Smooth down the tops if needed, ensuring they have a uniform look. This process should take about 5-7 minutes.
Step 4: Add Crunch (Optional)
For an extra crunch, consider sprinkling some chopped peanuts over the top of each bar at this point. This adds an enjoyable texture to your Healthy Buster Bars. Once finished, place the tray in the freezer and let the bars freeze until firm, which typically takes about 2-3 hours.
Step 5: Melt the Chocolate
While the bars are freezing, melt your chocolate chips in a microwave-safe bowl. Heat them in 30-second intervals, stirring in between, until fully melted and smooth. If you’re using coconut oil, stir it in to give your chocolate layer an extra shine and fluidity. This should take around 1-2 minutes.
Step 6: Coat the Bars
Once the bars are firm, carefully dip each frozen bar into the melted chocolate mixture, ensuring they are fully coated. Lift them out with the popsicle stick and let excess chocolate drip off before placing them back onto the parchment-lined tray. Work quickly to maintain the bars’ frozen state.
Step 7: Set the Chocolate
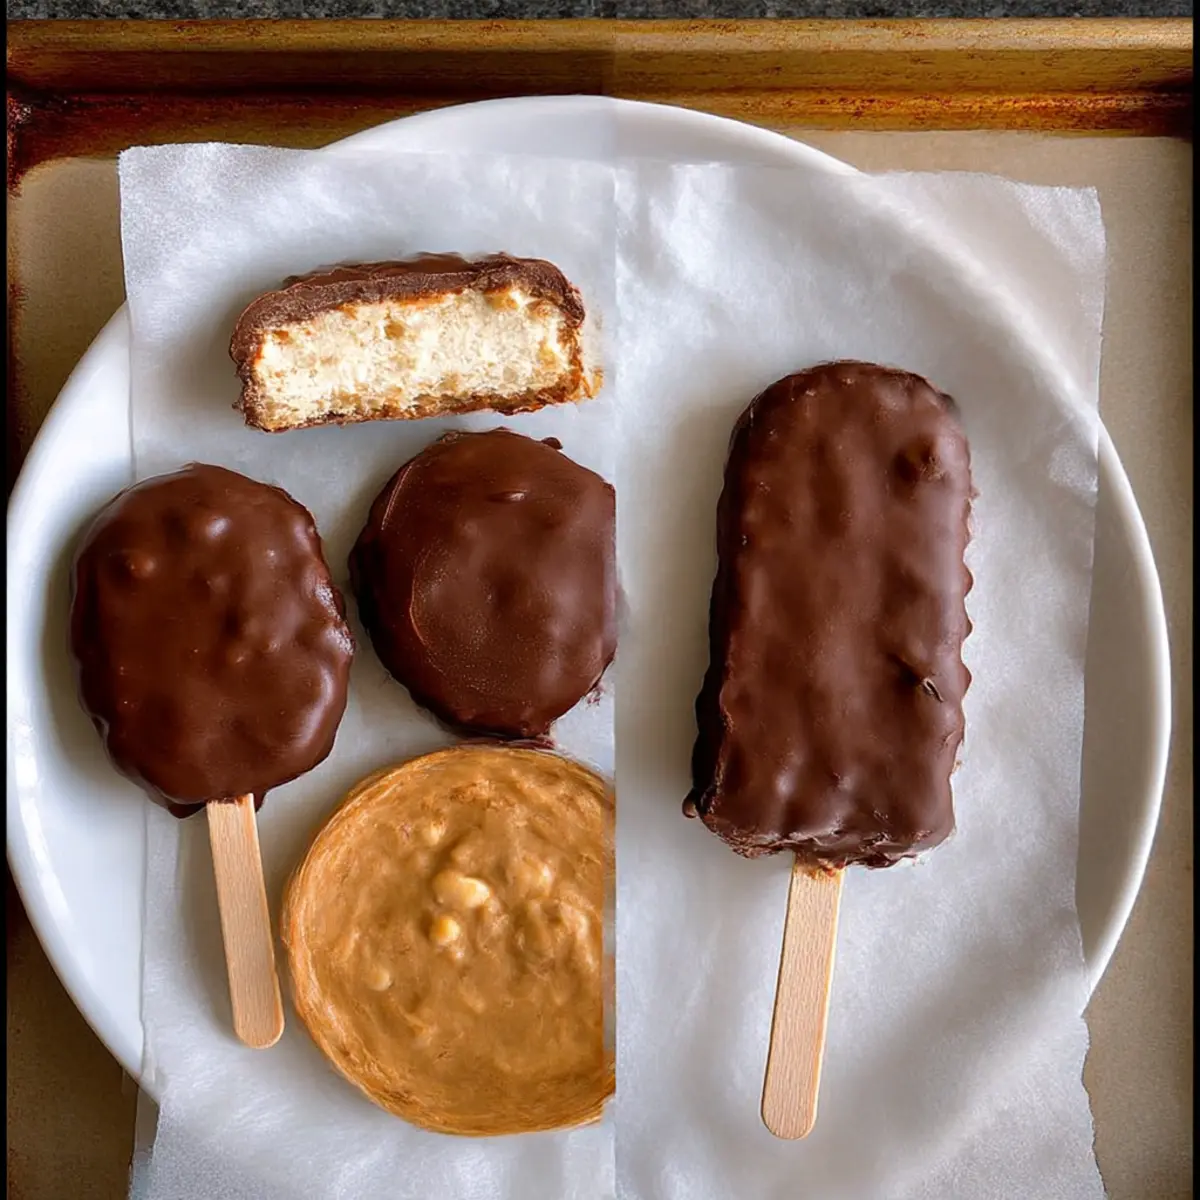
After dipping, return the tray to the freezer to allow the chocolate coating to set completely. This usually takes about 15-30 minutes. You’ll know they’re ready when the chocolate is firm to the touch, creating a satisfying crunchy shell around your creamy Buster Bars.
Step 8: Serve and Enjoy
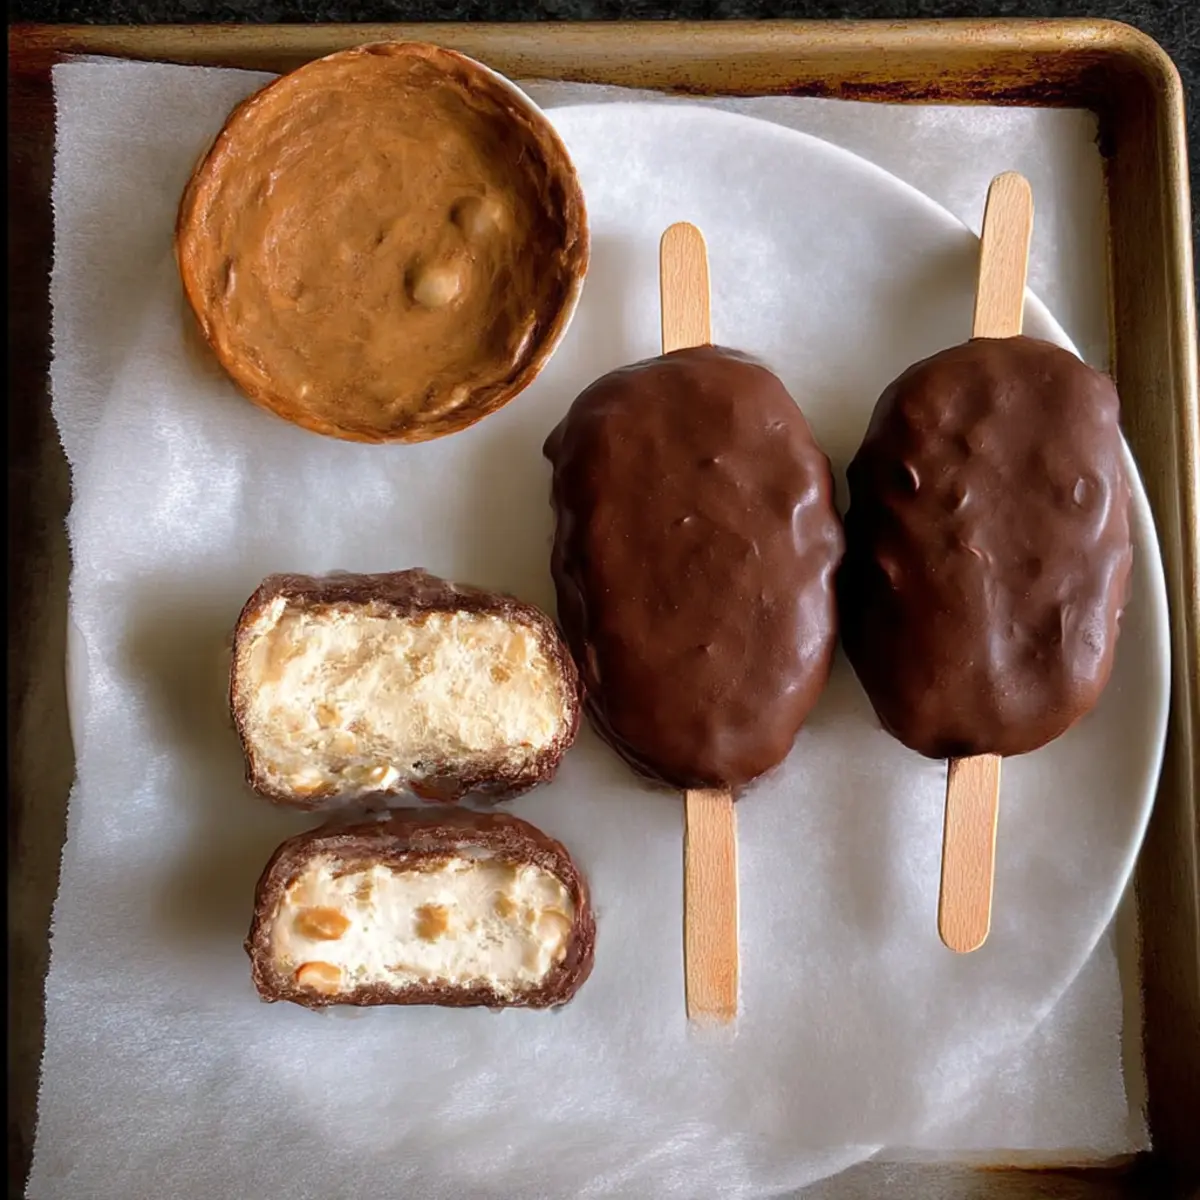
Once the chocolate is set, your Healthy Chocolate Peanut Butter Buster Bars are ready to be enjoyed! Carefully remove them from the tray and serve cold for the best experience. They make a perfect treat for a hot day or a quick snack, offering a delicious blend of flavors and textures that everyone will love!
What to Serve with Healthy Chocolate Peanut Butter Buster Bars
Dive into your next favorite meal by pairing these delightful bars with just the right accompaniments!
-
Fresh Fruit Salad: A vibrant medley of seasonal fruits brings a refreshing contrast to the creamy bars, adding zest to every bite.
-
Greek Yogurt Parfait: Layered with granola and berries, this light and nutritious side complements the bars beautifully while enhancing the protein content.
-
Nutty Granola: A sprinkle of crunchy granola elevates the bars by adding texture and satisfying that delightful crunch we all love.
-
Chocolate Almond Milk: A chilled glass of this creamy beverage not only quenches your thirst but also enhances the chocolate experience, making each mouthful merrier.
-
Coconut Whipped Cream: A dollop of silky whipped cream adds a sweet, airy contrast, turning your treat into an indulgent dessert.
-
Chilled Matcha Green Tea: Refreshing and delightful, this drink balances the sweetness of the bars while providing a gentle caffeine boost and rich antioxidants.
-
Peanut Butter Cookie Crumbles: For an extra peanutty experience, crumble a few cookies over the bars to intensify their flavors and add delightful texture.
-
Chocolate-Dipped Strawberries: The combination of fresh strawberries and chocolate echoes the flavors of the bars while adding a fresh, fruity twist.
-
Minty Iced Tea: A glass of iced tea infused with fresh mint refreshes the palate, making it a great companion for these decadent treats.
Buster Bars Variations & Substitutions
Feel free to get creative and customize your Buster Bars with these fun variations that will tickle your taste buds!
-
Nut-Free: Substitute peanut butter with sunflower seed butter to make these bars safe for nut allergies while keeping them deliciously creamy.
-
Vegan: Swap yogurt for coconut yogurt and use dairy-free chocolate chips to keep everything plant-based, ensuring a guilt-free indulgence for everyone.
-
Keto-Friendly: Use a sugar-free sweetener like erythritol or monk fruit to cut down on carbs while still enjoying a sweet treat.
-
Flavor Boost: Add a splash of vanilla extract or a pinch of sea salt to the yogurt mixture for a flavor surprise that enhances the rich taste.
-
Fruity Delight: Mix in some chopped strawberries or blueberries to the base before freezing for a fresh, fruity twist that adds a pop of color and taste.
-
Syrup Swaps: Instead of honey, try using agave syrup for a vegan alternative that keeps the sweetness just right.
-
Crunchy Coating: Incorporate crushed nuts or granola into your chocolate mixture before dipping for a delightful crunch on each bite.
If you’re looking for a refreshing dessert, don’t forget to check out my Lemon Crumb Bars for a bright, zesty option to serve alongside your Buster Bars!
Expert Tips for Delicious Buster Bars
Creamy Consistency: Make sure your yogurt and peanut butter are at room temperature. This helps achieve a smoother blend, ensuring your Buster Bars turn out delicious!
Chill Time Matters: Don’t rush the freezing process; let the bars freeze completely for 2-3 hours. This prevents messy coatings and maintains their structure during chocolate dipping.
Proper Chocolate Melting: Melt your chocolate on low heat to avoid burning. Stir frequently for a silky coating. A smooth chocolate shell is key to a perfect Buster Bar!
Mix-In Magic: Feel free to get creative with mix-ins. Incorporate mini chocolate chips or nuts into the base for extra flavor and crunch, but don’t overdo it—keep the balance!
Storage Savvy: Wrap any leftover bars individually in parchment paper before freezing. This makes for easy snacking and ensures they stay fresh for longer between bites!
Taste Test Sweeteners: Each yogurt type varies in sweetness; taste your mixture and adjust the sweetener accordingly to achieve your perfect balance in these Buster Bars!
Storage Tips for Buster Bars
Fridge: Store these Healthy Chocolate Peanut Butter Buster Bars in an airtight container in the fridge for up to 3 days for a quick, chilled snack.
Freezer: For longer storage, keep the bars in the freezer, where they can last for up to a month. Individually wrap each bar in parchment paper for easy access and to prevent freezer burn.
Reheating: These bars are best enjoyed straight from the freezer; there’s no need to thaw! Just remove one and dive right in for a perfectly satisfying treat anytime.
Serving Suggestion: If you prefer a softer treat, allow the Buster Bars to sit at room temperature for a couple of minutes before digging in, enhancing their creamy texture!
Make Ahead Options
These Healthy Chocolate Peanut Butter Buster Bars are ideal for meal prep aficionados! You can prepare the yogurt, peanut butter, and sweetener mixture up to 24 hours in advance, storing it covered in the refrigerator to maintain its creamy texture. Additionally, the bars can be shaped and frozen up to 3 days ahead. Just ensure they are fully set before dipping in chocolate to preserve that delightful crunch. When you’re ready to indulge, simply melt the chocolate, dip each frozen bar, and return to the freezer until the coating hardens. With these tips, enjoy a delicious, guilt-free treat with minimal last-minute effort!
Healthy Chocolate Peanut Butter Buster Bars Recipe FAQs
What type of yogurt should I use?
You can use any type of yogurt you prefer, but for a creamy texture, I recommend a full-fat yogurt or Greek yogurt. If you want a dairy-free option, vegan yogurt works wonderfully as a substitute!
How long do the Buster Bars last in the freezer?
These delicious Buster Bars can last for up to a month in the freezer. For best results, individually wrap each bar in parchment paper or store them in an airtight container to avoid freezer burn and maintain freshness.
Can I freeze the bars? How do I do it?
Absolutely! To freeze, follow these simple steps: After assembling the bars, allow them to freeze for 2-3 hours or until completely firm. Then, remove from the tray and wrap each bar in parchment paper. Place them in a plastic freezer-safe bag or airtight container before returning them to the freezer. They will keep their delightful flavor and texture for about a month!
What if the chocolate coating is too thick?
If your chocolate coating turns out too thick, it’s easy to remedy! Simply melt a little more coconut oil into your chocolate until you achieve a smooth and fluid consistency. This will help create a more even coating. Remember, dipping the frozen bars quickly is key to maintaining their shape!
Are these bars suitable for pets or have any common allergens?
While these Buster Bars are delicious for humans, they contain peanut butter, which isn’t suitable for pets. If you have a nut allergy, consider substituting the peanut butter with sunflower seed butter or another seed-based alternative. Always ensure that any ingredient substitutions or replacements align with dietary needs to keep everyone safe.
Can I add different flavors to the bars?
Very much! You can experiment by adding extracts like vanilla or almond to your yogurt and peanut butter mix for a delightful twist. Moreover, incorporating fruits like strawberries or bananas will not only enhance flavors but also add nutritional benefits to your Healthy Buster Bars. Enjoy the creativity!
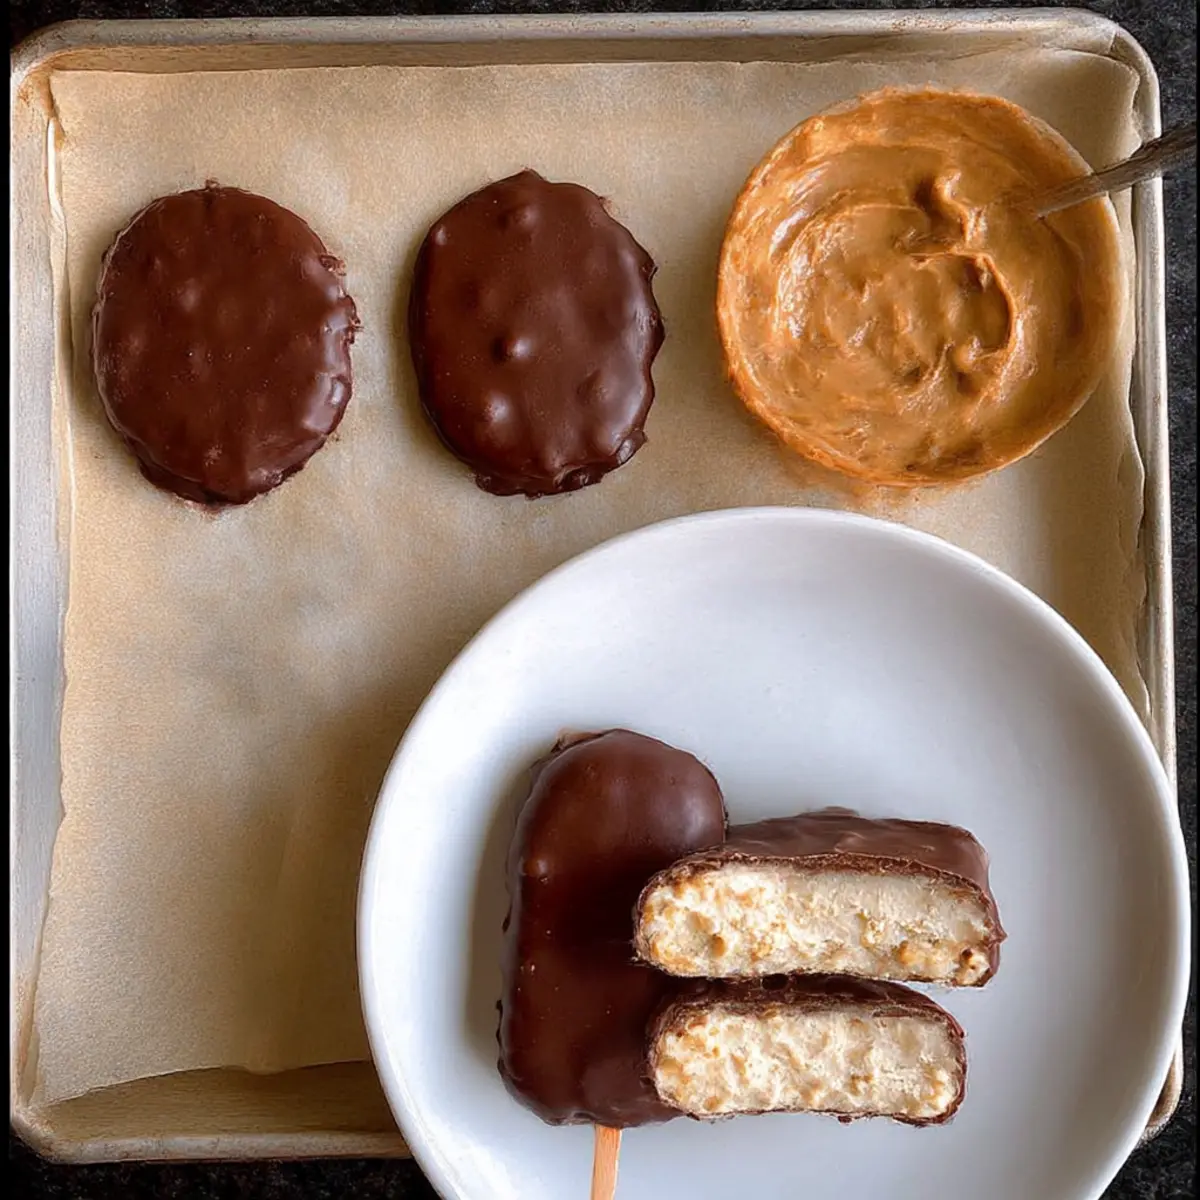
Healthy Buster Bars That Will Wow Your Sweet Tooth
Ingredients
Equipment
Method
- In a mixing bowl, combine yogurt, peanut butter, and sweetener until smooth and creamy.
- Optional: Stir in mini chocolate chips for added texture.
- Drop dollops of the mixture onto a parchment-lined tray and press in popsicle sticks.
- Optional: Sprinkle chopped peanuts on top before freezing.
- Melt chocolate chips and coconut oil in a microwave-safe bowl until smooth.
- Dip each bar in melted chocolate and let excess drip off.
- Return to freezer until chocolate is set.
- Serve cold and enjoy!
Leave a Reply