
“Did you hear that? The faint sizzle of ground pork and bursts of fresh ginger wafting through the kitchen can only mean one thing: it’s time for a delicious culinary adventure! This Deconstructed Potsticker Noodle Bowl embraces the comforting flavors of classic dumplings in a vibrant and satisfying dish that comes together in under 30 minutes. Not only is this recipe quick and easy, but it’s also highly adaptable—swap out proteins or vegetables based on what’s in your fridge. It’s a fun, family-friendly meal that both kids and adults will adore, offering a new spin on a beloved favorite. Ready to dive into this hearty bowl of goodness? Let’s get started!”
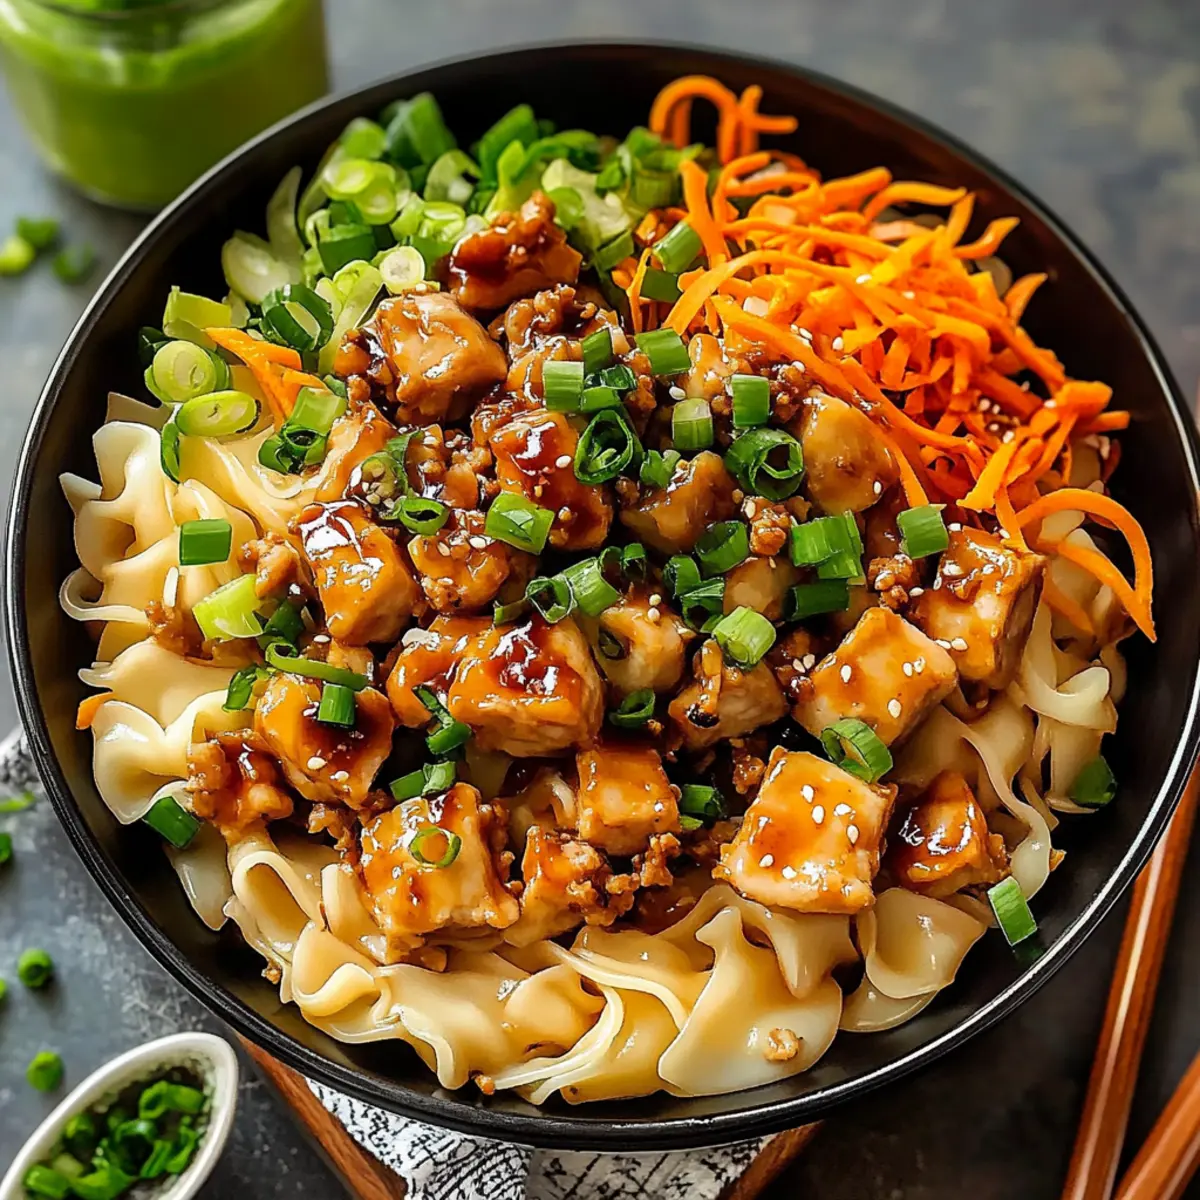
Why is this recipe a game-changer?
Quick Preparation: This meal comes together in under 30 minutes, making it perfect for busy weeknights.
Flavor Explosion: The savory combination of ground pork, ginger, and garlic creates an irresistible aroma you won’t want to miss.
Customizable: Easily adapt to your pantry by swapping out proteins or veggies; try it with crunchy bell peppers or zoodles for a low-carb option!
Family-Friendly: Kids love it, and adults crave it—this dish is a sure way to get everyone excited for dinner.
Noodle Comfort: Enjoy the delightful texture of noodles alongside crisp veggies, creating a satisfying bowl you’ll return to again and again.
For more delicious family meals, check out my Dumpling Ramen Bake or indulge in some Banana Bread Brownies!
Deconstructed Potsticker Ingredients
For the Bowl
• Ground Pork – Main protein source; a hearty base for flavor.
• Sesame Oil – Adds depth and richness; can substitute with vegetable oil if needed.
• Minced Garlic – Provides aromatic flavor; fresh cloves yield the best results.
• Fresh Grated Ginger – Enhances flavor with warmth and spice; fresh is preferred over ground.
• Soy Sauce – Salty flavor base; use low-sodium soy sauce for a healthier option.
• Hoisin Sauce (optional) – Adds sweetness and complexity; mix soy sauce with honey if unavailable.
• Rice Vinegar – Offers acidity to balance flavors; can swap with apple cider vinegar if needed.
• Sriracha or Chili Paste (optional) – Adds heat; adjust based on your spice preferences.
For the Vegetables
• Shredded Cabbage (or coleslaw mix) – Provides crunch; any leafy greens work well too.
• Shredded Carrots – For sweetness and color; bell peppers or snap peas can be used instead.
• Green Onions – Fresh garnish that enhances flavor; regular onions can replace if necessary.
For the Noodles
• Noodles (rice or lo mein) – Forms the comforting base; substitute with zoodles for a low-carb version.
Optional Toppings
• Sesame Seeds – For a nutty flavor and crunch; sprinkle generously over the top.
• Extra Green Onions – Adds freshness and vibrancy; great for garnishing.
• Chili Flakes – For additional heat; use sparingly according to taste preferences.
Dive into this Deconstructed Potsticker Bowl and enjoy a delicious twist on a classic favorite!
Step‑by‑Step Instructions for Deconstructed Potsticker Noodle Bowl
Step 1: Cook Noodles
Begin by bringing a large pot of salted water to a boil over medium-high heat. Add your rice or lo mein noodles and cook according to package instructions, typically about 5-7 minutes, until they are tender but still chewy. Drain the noodles in a colander and set them aside, allowing them to cool slightly while you prepare the remaining ingredients.
Step 2: Cook Pork
In a large skillet, heat 1 tablespoon of sesame oil over medium-high heat. Once the oil is shimmering, add the ground pork, breaking it apart with a spatula. Cook for about 5-6 minutes until the pork is browned and no longer pink. Drain any excess fat from the skillet, ensuring a healthier base for your Deconstructed Potsticker Noodle Bowl.
Step 3: Add Aromatics
Reduce the heat to medium and stir in 2 minced garlic cloves and 1 tablespoon of fresh grated ginger into the skillet. Sauté for about 2-3 minutes until fragrant, stirring frequently to avoid burning, then add 2 tablespoons soy sauce, 1 tablespoon hoisin sauce, 1 tablespoon rice vinegar, and a drizzle of sriracha. Cook for another minute, allowing the flavors to meld beautifully.
Step 4: Incorporate Vegetables
Add 2 cups of shredded cabbage and 1 cup of shredded carrots to the skillet. Stir them in with the pork mixture and sauté for 3-4 minutes until the vegetables are tender yet still vibrant and crisp. Finally, fold in a handful of sliced green onions, letting their fresh flavor enhance the dish as it cooks for just another minute.
Step 5: Combine with Noodles
Once the vegetables have softened, it’s time to bring the noodles back into play. Add the cooked noodles to the skillet, tossing everything together gently for about 1-2 minutes. Ensure the noodles are well-coated in the tasty sauce and heated through, allowing the rich flavors of the Deconstructed Potsticker Noodle Bowl to infuse evenly.
Step 6: Serve and Garnish
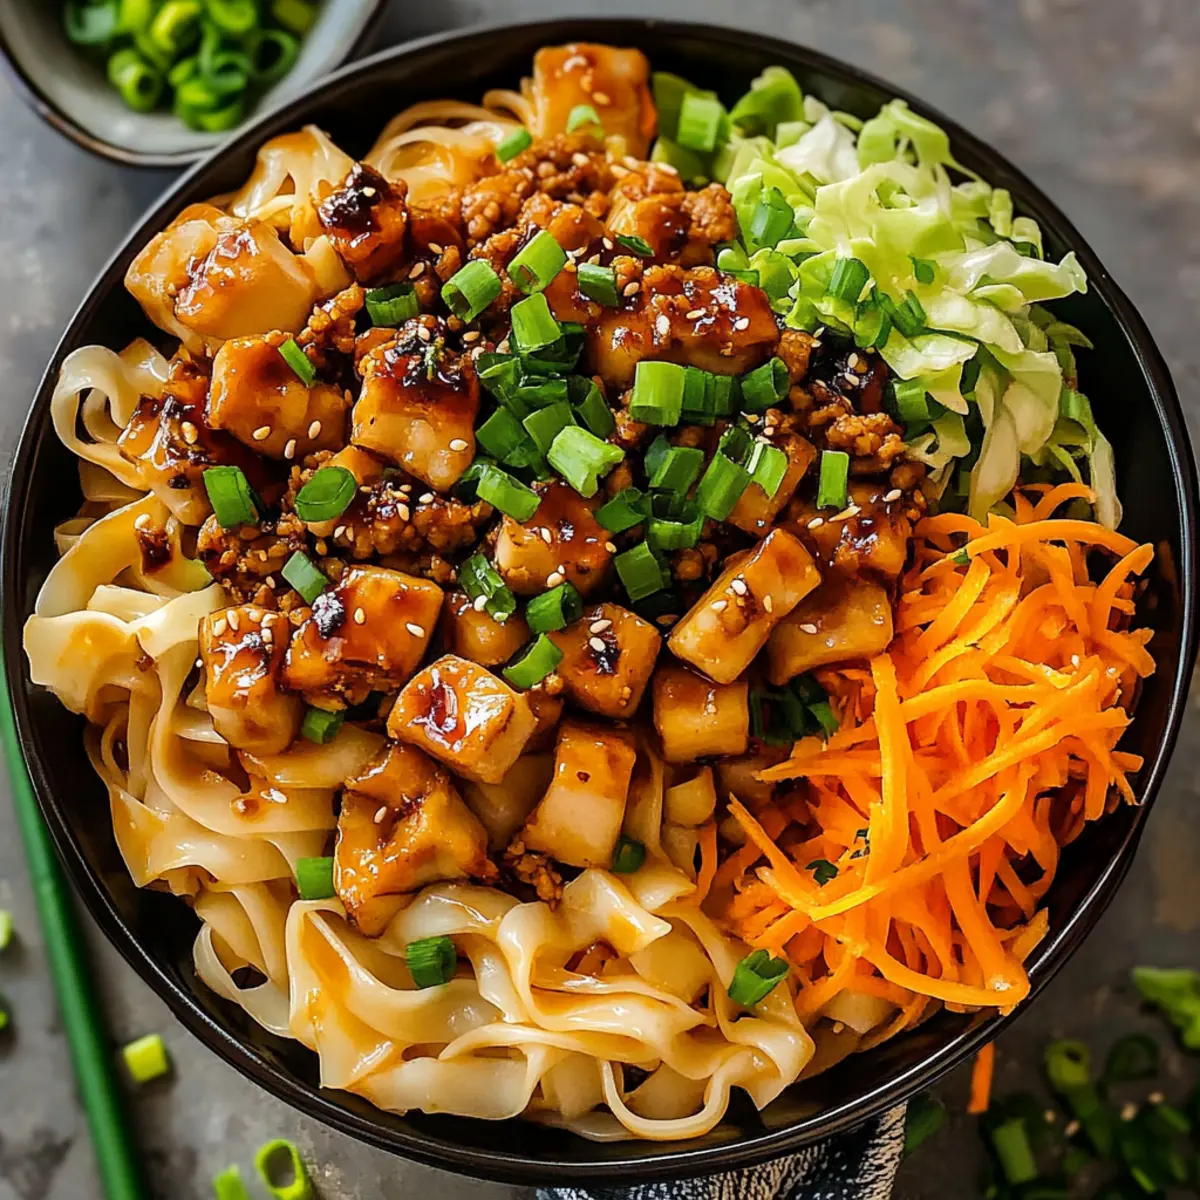
Transfer the flavorful mixture to serving bowls while still piping hot, and make it visually appealing by topping with sesame seeds, extra sliced green onions, and a sprinkle of chili flakes if desired. This vibrant presentation not only looks inviting but complements the delicious taste, ready to be enjoyed by all.
Make Ahead Options
These Easy 4-Ingredient Banana Mochi are perfect for busy home cooks looking to save time! You can prepare the mochi dough up to 24 hours ahead—simply follow the microwave steps and let it cool. After that, cut the mochi into pieces and wrap up your banana chunks. Keep the assembled mochi in an airtight container in the fridge for up to 3 days. To maintain their delightful chewy texture, make sure to dust generously with cornstarch to prevent sticking. When you’re ready to serve, you can enjoy them chilled straight from the fridge or microwave them for a few seconds to warm them up, ensuring they remain just as delicious!
What to Serve with Easy 4-Ingredient Banana Mochi
Indulging in these delightful Banana Mochi opens the door to a variety of tantalizing flavors and textures that perfectly complement this chewy treat.
-
Creamy Vanilla Ice Cream: This classic pairing creates a heavenly contrast; the cold, creamy ice cream enhances the warmth and chewiness of mochi.
-
Fresh Berries: A mix of strawberries, blueberries, or raspberries adds a refreshing tartness and vibrant color, balancing the sweetness of the mochi beautifully.
-
Mango Purée: A silky mango purée drizzled over mochi gives a tropical flair, elevating your dessert experience with vibrant flavors.
-
Chocolate Drizzle: A warm, rich chocolate sauce drizzled over the mochi introduces a luscious element, making each bite a decadent delight.
-
Coconut Whipped Cream: The lightness and sweetness of coconut whipped cream adds a delightful, tropical note that complements the banana perfectly.
-
Matcha Green Tea: A warm cup of matcha green tea works harmoniously, providing an earthy counterpoint to the sweet Banana Mochi.
-
Toasted Nuts: Sprinkle some crushed almonds or hazelnuts on top to introduce a crunchy texture, adding sophistication and a nutty flavor that meshes well with the mochi.
-
Caramel Sauce: Drizzling caramel sauce provides an alluring sweetness and a luxurious touch, making each bite utterly irresistible.
-
Iced Herbal Tea: Refresh yourself with a glass of iced herbal tea, which gently cools and cleanses the palate between bites of the mochi.
Tips for the Best Banana Mochi
-
Choose Ripe Bananas: Use ripe bananas that are yellow with minimal green. This ensures maximum sweetness and flavor in your Banana Mochi.
-
Use Glutinous Rice Flour: Make sure to use glutinous rice flour (Mochiko flour). Other types of flour won’t provide the chewy texture that defines good mochi.
-
Watch the Cooking Time: Heat the mochi mixture carefully in the microwave; overcooking can make it tough. Aim for a thick, translucent consistency for the best results.
-
Dusting is Key: Don’t skip the cornstarch dusting! This prevents sticking and helps achieve a smooth outer texture on your mochi.
-
Experiment with Fillings: Don’t be afraid to get creative. Try other fruits or sweet fillings like chocolate to give your Banana Mochi a unique twist.
-
Chill for Texture: After shaping, refrigerate for an hour to enhance the chewiness of the Banana Mochi, making it a refreshing treat!
Banana Mochi Recipe Variations
Looking to add a personal touch to your banana mochi? Get inspired by these delightful twists!
-
Fruit Swap: Substitute bananas with ripe peaches or strawberries for a fresh and fruity burst. Experimenting with different fruits can evoke exciting flavors. The mochi will adapt well!
-
Chocolate Delight: Add mini chocolate chips to the mochi dough for a rich, decadent treat. The chocolate melting inside brings a heavenly surprise with every bite.
-
Nut Butter Love: Fill the mochi with creamy peanut butter or almond butter instead of banana for a nutty flavor explosion. It’s a perfect option for those craving a more indulgent snack.
-
Coconut Twist: Mix in shredded coconut to the dough for a tropical flair. This adds texture and a refreshing coconut flavor that pairs beautifully with the mochi’s chewiness.
-
Savory Surprise: Try adding a pinch of salt and wrap the mochi around savory fillings like a sweet potato mash or sesame filling. This unique approach can redefine your dessert game!
-
Colorful Variations: Infuse the dough with food coloring or matcha powder for a vibrant appearance and subtle flavor enhancement. It’s a visual feast that will impress your guests.
-
Chilled Option: Freeze the mochi before wrapping them around the filling for a refreshing summer snack. Chewy, icy treats are perfect on hot days!
For more delicious food adventures, don’t miss out on my scrumptious Biscoff Banana Pudding or treat yourself to Chocolate Espresso Banana goodness!
How to Store and Freeze Banana Mochi
Airtight Container: Store Banana Mochi in an airtight container in the refrigerator for up to 3 days to keep them fresh and chewy.
Freezing: For longer storage, wrap individual pieces in plastic wrap and place them in a freezer-safe bag. Frozen mochi can last up to 2 months.
Thawing: To enjoy frozen mochi, simply let them thaw in the refrigerator overnight or at room temperature for about 1-2 hours.
Reheating: If you prefer warm mochi, microwave for 10-15 seconds to refresh their chewy goodness before serving.
Banana Mochi Recipe FAQs
What type of bananas should I use for the best Banana Mochi?
Using ripe bananas is key! Look for bananas that are mostly yellow with minimal green and just a few bruises for optimal sweetness and creaminess in your mochi. Overripe bananas may yield a stronger flavor, while under-ripe bananas can result in a firmer, less sweet filling.
How do I store Banana Mochi?
Absolutely! Store your Banana Mochi in an airtight container in the refrigerator for up to 3 days. This keeps them fresh and chewy. If you wish to enjoy them later, freezing is an excellent option!
Can I freeze Banana Mochi, and how?
Yes, you can! To freeze, wrap individual pieces of mochi in plastic wrap and place them in a freezer-safe bag. They can stay in the freezer for up to 2 months. When you’re ready to enjoy them, thaw in the refrigerator overnight or at room temperature for about 1-2 hours.
What if my mochi mixture turns out too tough?
If you find your mochi too tough, it could be due to overcooking it in the microwave. For a perfect texture, heat in short increments—microwave for 1 minute, stir, and repeat twice more, checking for that thick, translucent finish. If you still encounter issues, adding a tablespoon of water to the mixture can help loosen it up a bit before re-microwaving.
Are there any dietary considerations for Banana Mochi, like allergies?
Yes, while this Banana Mochi recipe is naturally gluten-free due to the use of glutinous rice flour, those with gluten sensitivities should ensure that all components, including any additional ingredients, are certified gluten-free. Also, please note that this recipe contains sugar; honey or agave can be used as alternatives for those watching their sugar intake. Always check for fruit allergies if you’re adding different fillings.
Can I customize the filling in my Banana Mochi?
Very much so! I often experiment with different fillings for some added fun. You can swap out bananas for other fruits like peaches or strawberries, or even try fillings like chocolate or peanut butter for a delightful twist on the traditional mochi experience!
Easy & Delicious Banana Mochi Recipe You'll Love
Ingredients
Equipment
Method
- In a mixing bowl, mash the ripe bananas until smooth.
- Add glutinous rice flour and sugar to the mashed bananas; mix until well combined.
- Gradually add water to achieve a thick but pourable consistency.
- Transfer the mixture to a microwave-safe dish and cover loosely.
- Microwave on high for 2-3 minutes, stirring halfway, until the mixture becomes translucent.
- Dust your hands and surface with cornstarch, scoop the mochi mixture and shape into small balls or discs.
- Refrigerate the shaped mochi for at least 1 hour before serving.
Leave a Reply