
The sizzling sound of bacon wrapping around savory beef is a melody that resonates with anyone who adores cooking. Enter the world of Bacon Cheeseburger Bombs, where your favorite burger flavors get a crispy makeover. These delightful bites offer not only an explosion of taste but also a quick and easy option for weeknight dinners or spontaneous gatherings. Each bomb blends juicy beef and melty cheese, enveloped in a satisfying layer of golden bacon. Plus, they can easily be tailored to fit leaner diets with a few simple swaps. As the tantalizing aroma fills your kitchen, you’ll find it hard to resist the urge to dive in—even before they hit the table! Are you ready to impress your friends and family with this amazing twist on a classic?
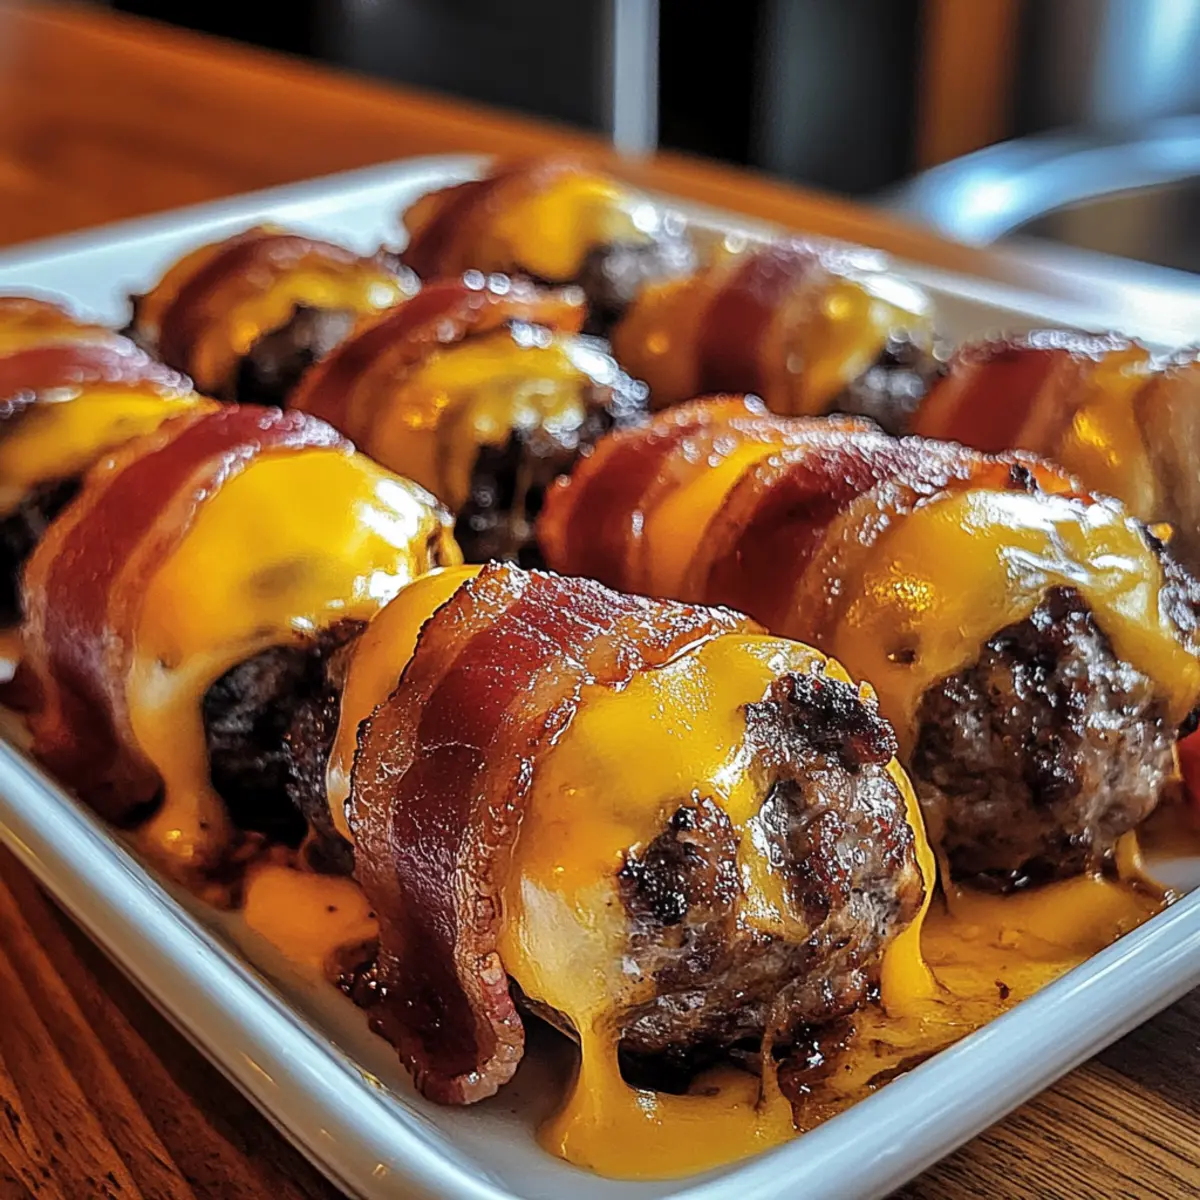
Why Are These Bombs So Incredible?
Flavor Explosion: Each bite of these Bacon Cheeseburger Bombs is a heavenly blend of savory beef, creamy melted cheese, and the irresistible crunch of bacon. Your taste buds will celebrate!
Quick & Easy: With just a few simple steps and minimal prep time, you can whip these up in no time, making them perfect for busy weeknights or last-minute gatherings. No culinary skills required!
Customizable: Feel free to switch up the cheese, incorporate spicy jalapeños, or even experiment with gourmet toppings. Make it your own!
Crowd-Pleaser: These bite-sized treats are sure to impress family and friends, making them a go-to option for parties and get-togethers. Everyone will be asking for the recipe!
Leftover Lovability: If you have any leftovers (which is rare!), they store well in the fridge and can be reheated for a delicious snack. Win-win!
If you’re in the mood for more yummy variations, consider trying our Parmesan Cheeseburger Bombs for another delicious twist!
Bacon Cheeseburger Bombs Ingredients
For the Filling
- Ground Beef – Use leaner beef if you want to reduce fat content without sacrificing flavor.
- Shredded Cheese – Opt for cheddar, mozzarella, or provolone for that melty goodness.
- Parmesan Cheese – Adds a salty depth that perfectly complements the other flavors.
- Onion – Finely chop or caramelize for extra sweetness; it’s a flavor enhancer!
- Garlic – Fresh garlic is best, but garlic powder works in a pinch for added aroma.
- Egg – Acts as a binder; substitute with a flax egg or applesauce for a vegan twist.
- Breadcrumbs – Whole wheat breadcrumbs can add a healthier touch to the mixture.
- Salt and Pepper – Essential seasonings to enhance the overall flavor profile.
For the Wrapping
- Bacon – Use traditional bacon for a crispy outer layer; turkey bacon is a great lighter alternative.
These Bacon Cheeseburger Bombs are easy to make and delicious, promising delightful bites packed with your favorite classic flavors!
Step‑by‑Step Instructions for Bacon Cheeseburger Bombs
Step 1: Preheat the Oven
Begin by preheating your oven to 400°F (200°C). As the oven warms up, line a large baking sheet with parchment paper. This step is essential to prevent the bacon cheeseburger bombs from sticking and ensures easy cleanup after baking.
Step 2: Mix the Filling
In a large mixing bowl, combine the ground beef with shredded cheese, Parmesan cheese, finely chopped onion, minced garlic, egg, breadcrumbs, salt, and pepper. Gently mix all the ingredients until just combined, taking care not to overmix to maintain tenderness. Set your filling aside while you prepare to shape the bombs.
Step 3: Shape the Bombs
Divide the mixture into 12 equal portions and, using your hands, shape each portion into a ball, ensuring they are compact. This is where the magic of the Bacon Cheeseburger Bombs starts to take form! Make sure each ball is uniformly sized for even cooking.
Step 4: Wrap with Bacon
Take a slice of bacon and carefully wrap it around each meatball, tucking the ends underneath to secure it. If necessary, you can use a toothpick to hold the bacon in place. This crispy bacon layer will envelop the juicy filling, creating a delicious outer layer.
Step 5: Arrange for Baking
Place the wrapped bombs on your prepared baking sheet, ensuring there is enough space between each bomb for air circulation. This will help the bacon crisp up beautifully. Once arranged, it’s time for the oven magic to happen!
Step 6: Bake to Perfection
Transfer the baking sheet to your preheated oven and bake the bacon cheeseburger bombs for 15–20 minutes. Keep an eye on them, and look for the bacon to turn crispy and golden brown, while the inside reaches a juicy perfection. The aroma will be irresistible!
Step 7: Serve and Enjoy
Once the bombs are done baking, remove them from the oven and let them cool for a few moments. Serve the warm bacon cheeseburger bombs hot, alongside your favorite dipping sauces like ketchup, mustard, or barbecue sauce for that extra zing. Dive into these delightful bites!
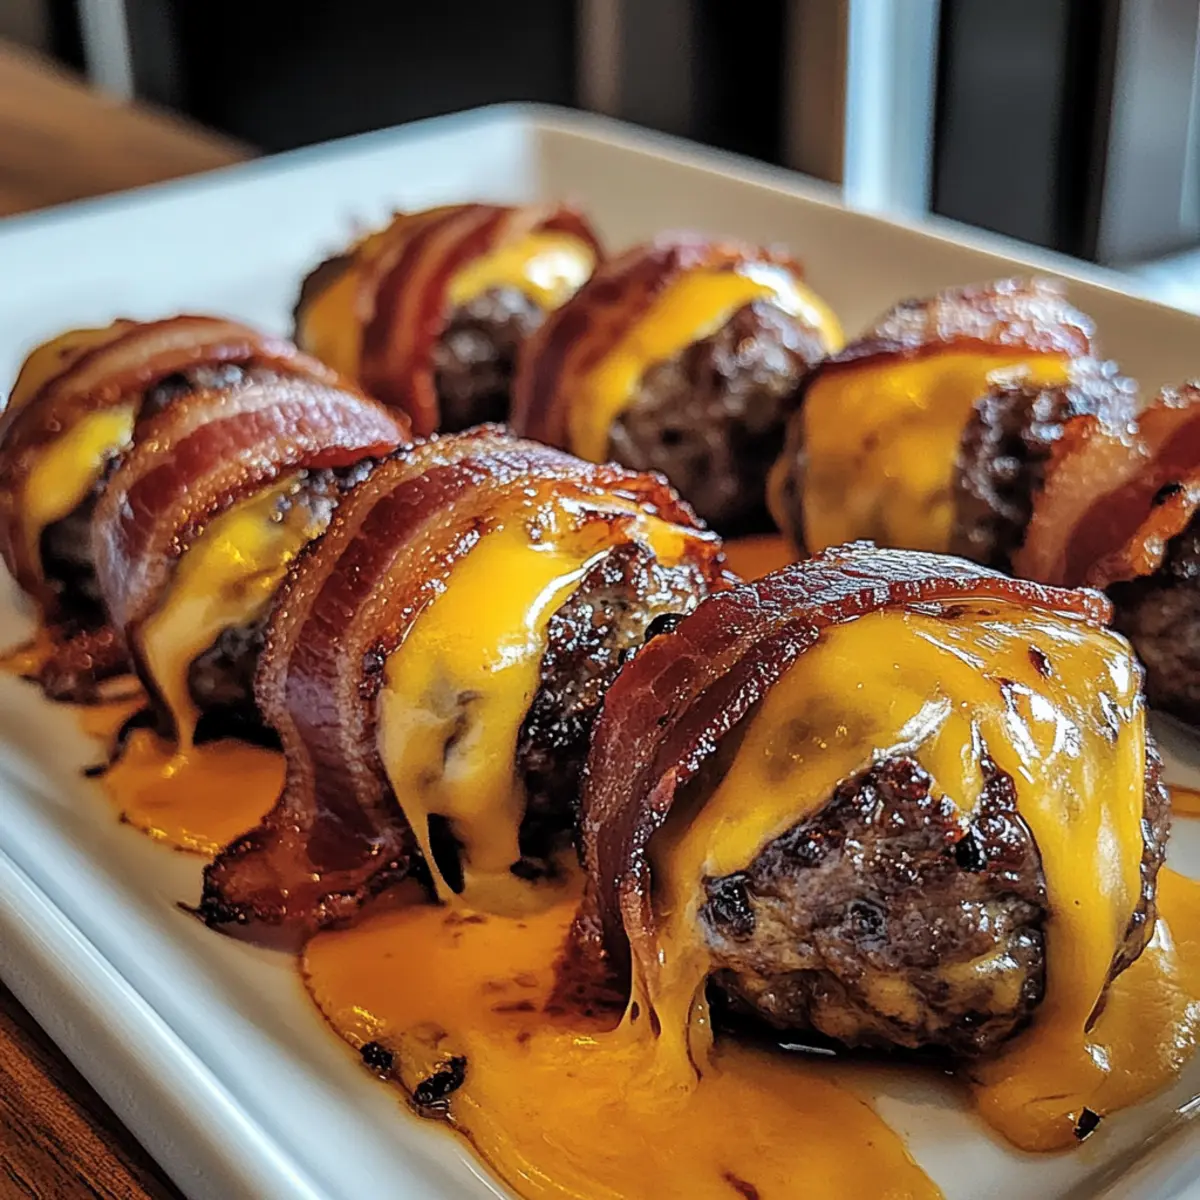
Expert Tips for Bacon Cheeseburger Bombs
-
Even Spacing: Ensure ample space between each bomb on the baking sheet to allow even cooking and crispiness without sticking together.
-
Don’t Overmix: Mix your filling ingredients just until combined to keep the meat tender. Overmixing can lead to a tough texture in the Bacon Cheeseburger Bombs.
-
Pre-Cook Hard Veggies: If adding vegetables like diced peppers, pre-cook them to soften before mixing. This will enhance their flavor and prevent extra moisture.
-
Healthier Swaps: Use lean beef and consider reducing the cheese to create a lighter version of these delicious bombs that still pack a flavor punch.
-
Make Ahead: Prepare the filling in advance, store it in the fridge, and wrap with bacon just before baking to save time and make weeknight cooking a breeze.
What to Serve with Bacon Cheeseburger Bombs
Transform your Bacon Cheeseburger Bombs into a complete meal with delicious sides that enhance every bite.
-
Crispy French Fries: A classic pairing! Their salty, crunchy texture complements the savory, cheesy bombs perfectly.
-
Coleslaw Salad: Refreshing and tangy, coleslaw adds a crunchy balance to the richness of the bombs, making each bite delightful.
-
Sweet Potato Wedges: Their natural sweetness and crispy edges provide a wonderful contrast to the savory flavors of the bombs.
-
Garlic Butter Rice: Fluffy rice infused with garlic adds a comforting element to the meal, soaking up flavors beautifully.
-
Pickle Chips: The tangy crunch of pickle chips not only heightens the burger flavor but also cuts through the richness of the bacon.
-
BBQ Sauce: A zesty dip elevates each bomb, adding a sweet and smoky note to the delicious explosion of tastes.
-
Caesar Salad: Crisp romaine and creamy dressing provide a cool contrast while contributing a hearty freshness to the meal.
-
Beer or Wine: Pair with a cold lager or a robust red wine to enhance the flavor experience and elegance of your gathering.
-
Chocolate Chip Cookies: End the feast with some warm cookies for a sweet finish that everyone will love.
Make Ahead Options
Preparing Bacon Cheeseburger Bombs in advance is a fantastic way to save time on busy weeknights! You can mix the filling and shape the bombs up to 24 hours ahead of time. Just cover them tightly with plastic wrap and refrigerate. This keeps the flavors melding and ensures the bombs are just as delicious when baked. When you’re ready to enjoy, simply wrap each meatball with bacon and bake as directed, adding a few extra minutes if baking straight from the fridge. For longer storage, you can freeze the uncooked bombs for up to 3 months—just pop them in the oven without thawing. Enjoy effortless, restaurant-quality bites with minimal fuss!
Storage Tips for Bacon Cheeseburger Bombs
Fridge: Store leftover Bacon Cheeseburger Bombs in an airtight container for up to 3 days to maintain their flavor and texture.
Freezer: Place cooled bombs in a single layer on a baking sheet and freeze until solid. Transfer to a sealed freezer bag for up to 3 months.
Reheating: For best results, reheat in the oven at 350°F (175°C) for 10–15 minutes until warmed through and crispy. Avoid microwaving to prevent sogginess.
Make-Ahead: Prepare the filling and shape the bombs ahead of time. Keep them refrigerated until you’re ready to wrap them in bacon and bake.
Bacon Cheeseburger Bombs Variations
Feel free to get creative with these Bacon Cheeseburger Bombs and make them your own!
-
Spicy Twist: Incorporate diced jalapeños into the meat mixture for an extra kick of heat. Your guests will love the surprise of spice tucked inside!
-
Cheese Variety: Swap in Gouda or feta for a unique flavor twist. Different cheeses can bring delightful depth to your filling, making each bite more intriguing.
-
Umami Boost: Add sautéed mushrooms to the filling for an earthy flavor that complements the beef nicely. This addition creates a beautifully savory juxtaposition with the crispy bacon.
-
Sweet Surprise: Try mixing in caramelized onions for a touch of sweetness. The contrast between sweet and savory takes these bombs to the next level!
-
Healthier Option: Choose ground turkey or chicken instead of beef for a lighter version or even use black beans for a plant-based alternative. They’ll still be delicious without all the fat!
-
Zesty Flavor: Experiment with BBQ sauce in your meat mixture for a tangy flavor. This will give your bombs an extra layer of richness that pairs perfectly with the smokiness of the bacon.
-
Textural Twist: Mix in crispy bacon bits inside the beef mixture for an added crunch. It’s like a double bacon delight that no one can resist!
-
Play with Heat: Use smoked paprika or cayenne pepper to increase the heat level according to your preference. Just a sprinkle can turn the flavor profile into a new thrilling experience!
For even more delightful ideas, consider switching things up with our amazing Buffalo Chicken Bacon or treat yourself to a sweet finish with our delicious Candy Cheesecake Bombs. Enjoy your kitchen adventure!
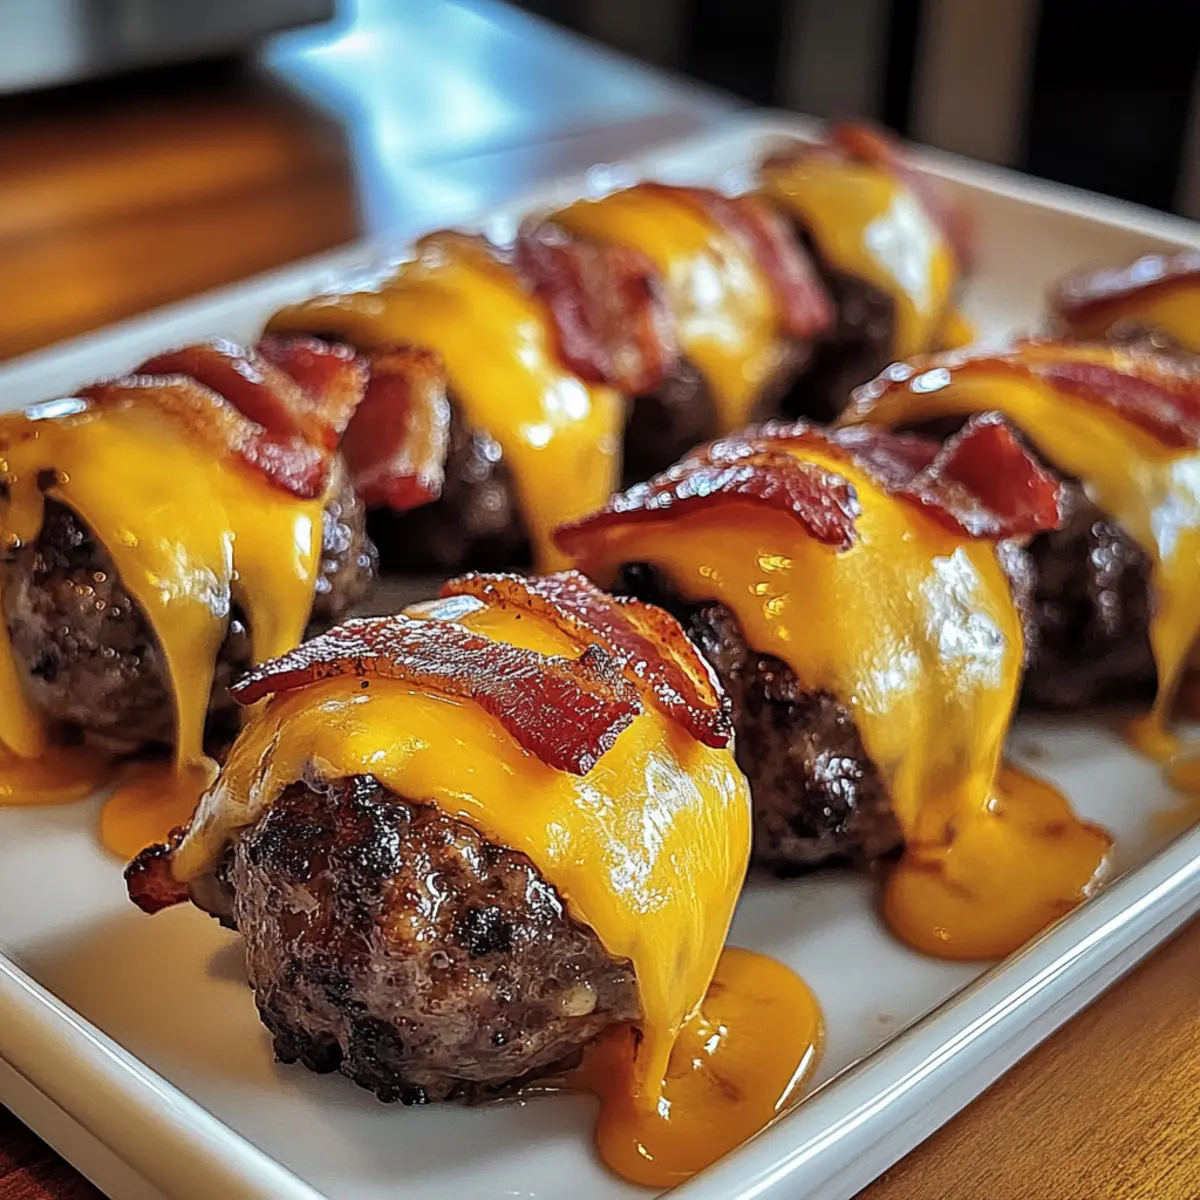
Bacon Cheeseburger Bombs Recipe FAQs
What kind of ground beef should I use for the filling?
Absolutely! You can use any ground beef, but I recommend opting for leaner cuts like 85% or 90% lean ground beef to reduce the fat content while still keeping those rich flavors intact. If you’re looking for an even healthier option, consider using ground turkey or chicken, which are lighter yet still delicious in this recipe.
How should I store leftover Bacon Cheeseburger Bombs?
After enjoying your tasty Bacon Cheeseburger Bombs, store any leftovers in an airtight container in the refrigerator for up to 3 days. Make sure they’re fully cooled before sealing them. This helps maintain their delicious flavor and the scrumptious textures you’ve worked hard to create!
Can I freeze Bacon Cheeseburger Bombs?
Yes, you can easily freeze these delicious bites! Once they’ve cooled completely, arrange them in a single layer on a baking sheet and place them in the freezer until solid. Then, transfer the frozen bombs to a sealed freezer bag, labeling them with the date, and they can be stored for up to 3 months. When you’re ready to enjoy, simply reheat them in the oven until hot!
What should I do if my bacon isn’t crispy?
To ensure your bacon gets crispy, make sure to space the bombs well on the baking sheet before putting them in the oven. If you notice they’re not crisping up as desired, consider cooking them a bit longer, checking regularly to avoid burning. Pro tip: Broil them for a minute or two at the end of baking to give them that beautiful, golden crunch!
Are there any dietary considerations for Bacon Cheeseburger Bombs?
Certainly! If you or your guests have dietary restrictions, you can easily adapt this recipe. Use turkey bacon for a lower-fat option, or substitute the beef with a plant-based protein like lentils or black beans for a vegetarian version. Also, keep in mind any allergies to ingredients like eggs or dairy, and consider using alternatives like flax eggs or plant-based cheese.
Is there a way to prepare these bombs ahead of time?
Very! To save time on a busy day, you can prepare the filling a day in advance. Combine all the ingredients as instructed, then store the mixture in the refrigerator. When you’re ready to cook, just wrap with bacon and bake as directed! This ensures fresh, hot Bacon Cheeseburger Bombs with minimal last-minute effort.

Bacon Cheeseburger Bombs That Will Wow Your Taste Buds
Ingredients
Equipment
Method
- Preheat the oven to 400°F (200°C) and line a baking sheet with parchment paper.
- In a large bowl, combine ground beef, shredded cheese, Parmesan cheese, onion, garlic, egg, breadcrumbs, salt, and pepper.
- Divide the mixture into 12 portions and shape each into a ball.
- Wrap each meatball with a slice of bacon, tucking the ends underneath.
- Place the wrapped bombs on the baking sheet, ensuring space between each.
- Bake for 15-20 minutes until the bacon is crispy and golden.
- Let cool slightly before serving with dipping sauces like ketchup or mustard.
Leave a Reply