
As I stood in my kitchen on a sun-drenched afternoon, the vibrant aroma of vanilla filled the air, instantly transporting me to a world of sweet indulgence. This is precisely when I knew it was the perfect moment to whip up some Vanilla Vegan Ice Cream. With just three simple ingredients, this creamy delight is a game changer for anyone seeking a guilt-free treat—especially if you’re on a vegan or paleo journey. Not only is it quick to make, but it also offers a luscious texture that rivals any store-bought version. Plus, it’s completely dairy-free, making it a fantastic option for those avoiding animal products. Ready to take your dessert game to new heights? Let’s dive into creating this scrumptious summer staple that’s sure to impress!
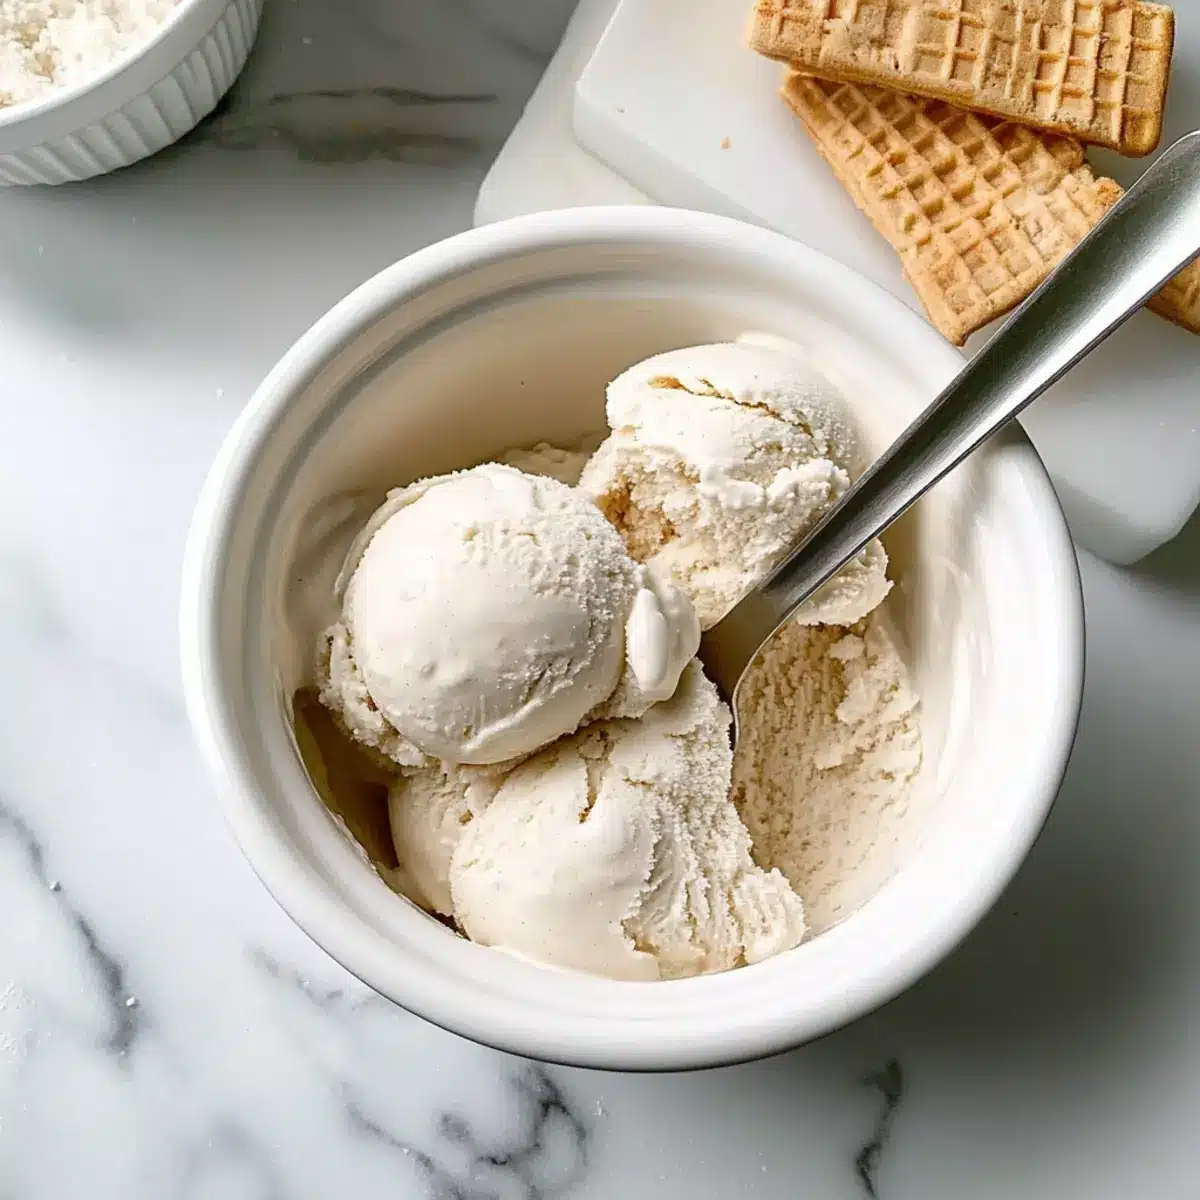
Why is This Vegan Ice Cream a Must-Try?
Simplicity at its finest: With only three ingredients, this recipe is perfect for busy home cooks looking to create a delightful treat without hassle.
Guilt-Free Indulgence: Enjoy the creamy, rich flavor without the dairy or refined sugar—ideal for those following vegan, paleo, or gluten-free diets.
Crowd-Pleaser: This Vanilla Vegan Ice Cream is sure to win over family and friends at gatherings, alongside brownies or fresh fruit.
Versatile Treat: Customize your ice cream experience by adding different extracts or toppings, giving you endless flavor possibilities.
Make-Ahead Convenience: Prepping ahead of time means you can enjoy this delicious dessert whenever a craving strikes. Check out my recipes for Strawberry Cream Cheese and Vanilla Raspberry Iced for more flavorful inspiration!
Vanilla Vegan Ice Cream Ingredients
• For the Ice Cream Base
- Coconut Milk – Use full-fat coconut milk for a creamy texture that’s perfect for your Vanilla Vegan Ice Cream.
- Pure Maple Syrup – This natural sweetener keeps your ice cream deliciously smooth and gives it just the right amount of sweetness.
- Vanilla Extract – A key ingredient that infuses your ice cream with an exquisite vanilla flavor, enhancing the overall creaminess.
- Sea Salt (optional) – A pinch helps to balance the sweetness; feel free to adjust to your taste or leave it out if preferred.
Step‑by‑Step Instructions for Vanilla Vegan Ice Cream
Step 1: Prep the Ice Cream Maker
Begin by freezing the inner bowl of your ice cream maker for at least 24 hours. This step is crucial as it ensures that your Vanilla Vegan Ice Cream freezes properly during the churning process. Make sure the bowl is securely placed in the freezer, positioning it away from the door to maintain its chill.
Step 2: Blend Ingredients
In a blender, combine the full-fat coconut milk, pure maple syrup, vanilla extract, and a pinch of sea salt if desired. Blend the mixture on high for about 1 minute until the ingredients are completely smooth and well incorporated. The creamy texture at this stage will set the foundation for your delightful ice cream.
Step 3: Churn the Ice Cream
Once the ice cream maker’s bowl is fully frozen, remove it from the freezer and set it on the base unit. Turn on the machine, then gradually pour the blended mixture into the bowl. Churn for about 20 minutes or until the ice cream reaches a soft-serve consistency, typically indicated by a thicker texture and increased volume.
Step 4: Serve or Freeze
At this stage, your freshly churned Vanilla Vegan Ice Cream can be enjoyed as a soft serve! If you prefer a firmer consistency, transfer the ice cream into an airtight container. Freeze for an additional 2-3 hours, monitoring the texture—when it’s ready, allow a couple of minutes to defrost before scooping for the perfect creamy delight.
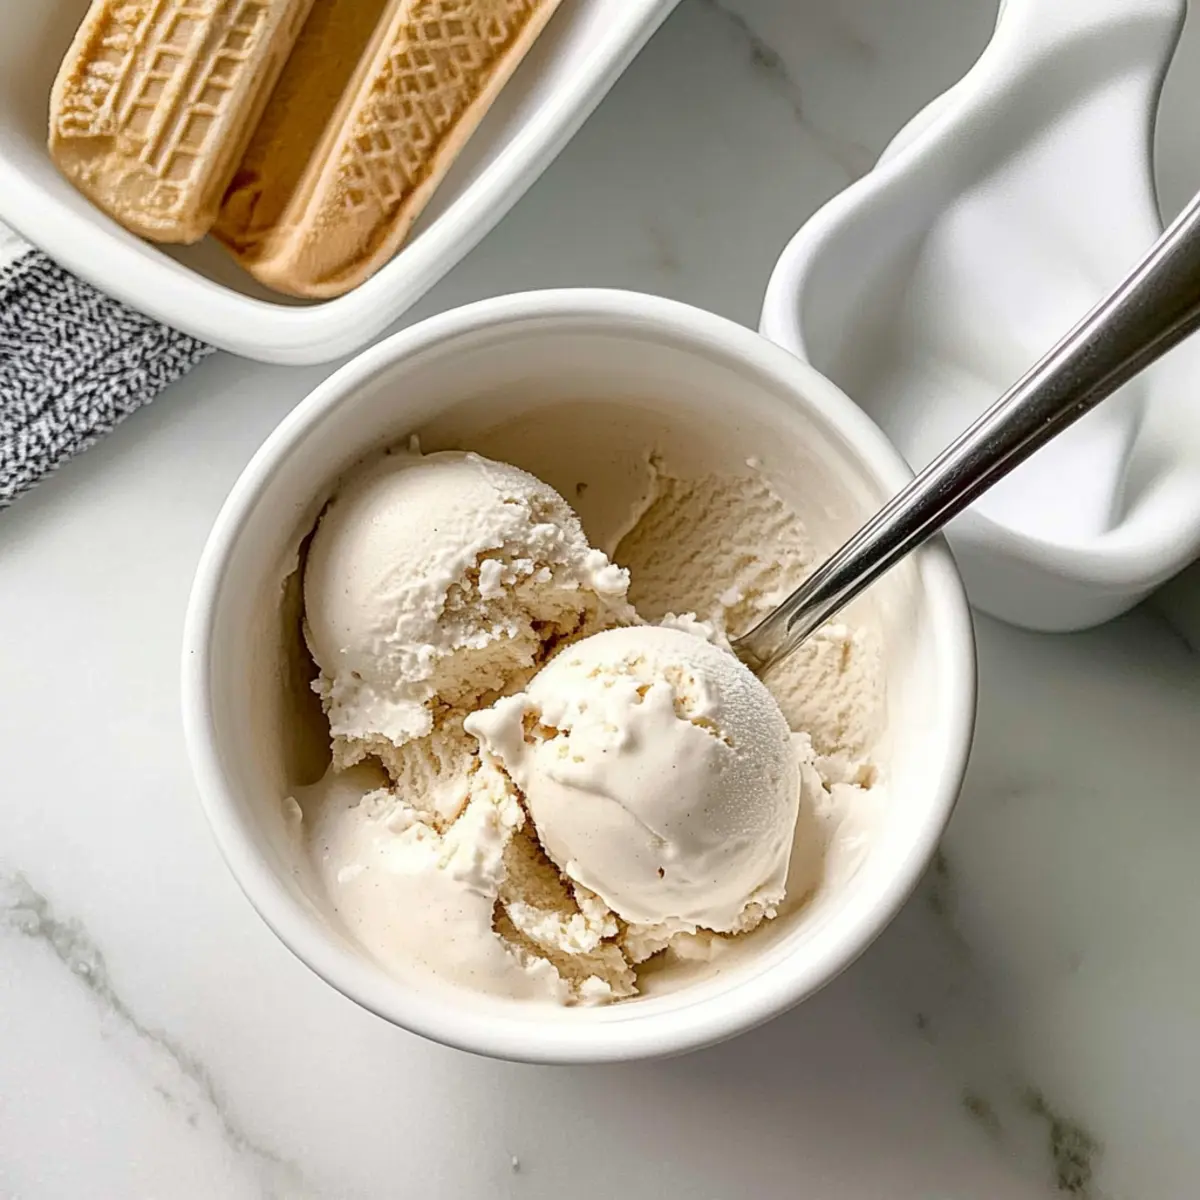
Vanilla Vegan Ice Cream Variations & Substitutions
Feel free to get creative with this recipe and make it your own—your taste buds will thank you!
- Non-Vegan Twist: Substitute coconut milk with 3 + 1/3 cups of half and half for a delicious, creamy version.
- Natural Sweetener: Use raw honey in place of maple syrup for a different taste and added health benefits—it’s a lovely change!
- Flavored Extracts: Experiment with extracts like almond or hazelnut for a unique twist; a dash can turn this classic into something extraordinary.
- Coconut-Free Option: If you’re looking to skip the coconut, opt for cashew cream made from soaked cashews blended with water for a rich base.
- Fruity Delight: Blend in frozen fruits like strawberries or bananas for a refreshing, fruity version—this not only adds flavor but a vibrant color and added nutrition.
- Chocolate Lovers: Adding cocoa powder will turn your vanilla concoction into a luscious chocolate ice cream—perfect for chocolate enthusiasts!
- Savory Touch: Try including a hint of sea salt caramel by swirling in some vegan caramel sauce before freezing for a delightful contrast.
- Kick of Heat: For those who love a spicy kick, add a pinch of cayenne pepper or a dash of chili powder to the mix—this surprising twist can create an exciting flavor experience.
Whichever variation you choose, your Vanilla Vegan Ice Cream will surely be a delightful treat! If you’re looking for more inspiration, consider checking out my recipes for Vanilla Chai Shortbread or Raspberry Vanilla Cream for additional flavor ideas.
How to Store and Freeze Vanilla Vegan Ice Cream
-
Fridge: Enjoy your Vanilla Vegan Ice Cream fresh for up to 3 days in the fridge; but note that it might lose its creamy texture.
-
Freezer: For longer storage, transfer the ice cream to an airtight container and freeze for up to 2 weeks. For optimal freshness, cover the top with parchment paper before sealing.
-
Reheating: If the ice cream becomes too hard, let it sit at room temperature for about 5 minutes before scooping. This helps regain its luscious, creamy texture.
-
Serving Tip: For best results, consume the ice cream within the first week after making it for peak flavor and texture!
What to Serve with 3-Ingredient Creamy Vegan Vanilla Ice Cream
As you savor your homemade delight, imagine the perfect accompaniments that transform this dish into a memorable meal experience.
-
Fresh Berries: The tartness of strawberries, blueberries, or raspberries contrasts beautifully with the creamy sweetness of the ice cream, adding a delightful burst of flavor. A mixed berry medley elevates every scoop to new heights of freshness.
-
Warm Brownies: A rich, fudgy brownie paired with your vanilla vegan ice cream creates an irresistible hot-and-cold pairing that everyone will love. The combination is decadent and satisfying, making it a perfect dessert for gatherings.
-
Chocolaty Drizzle: A warm chocolate sauce drizzled over the ice cream adds a touch of luxuriousness, enhancing the dessert with a rich, velvety texture. This simple addition transforms a basic scoop into a café-worthy treat.
-
Crunchy Nuts: A sprinkle of toasted almonds or walnuts introduces a satisfying crunch, balancing the creamy decadence of the ice cream. The nutty flavor pairs well, providing a delightful contrast of textures.
-
Caramel Sauce: A drizzle of homemade or store-bought caramel sauce accentuates the flavors of your vanilla vegan ice cream. Its rich sweetness balances out the creamy base, offering a dessert experience that feels indulgent yet guilt-free.
-
Coconut Macaroons: These sweet and chewy cookies echo the flavors in the ice cream, while their chewy texture offers a delightful bite alongside your frozen treat. The coconut adds extra flavor depth that complements your dessert beautifully.
-
Minted Water: For a refreshing beverage, serve your dessert with mint-infused water. It cleanses the palate, ensuring every spoonful is as delightful as the last, while also adding a classy touch to your meal.
-
Lemon Sorbet: As a light, tangy alternative, lemon sorbet serves as a perfect palate cleanser between bites. Its zesty flavor adds brightness and enhances the overall dessert experience without weighing it down.
Expert Tips for Vanilla Vegan Ice Cream
-
Use Quality Ingredients: Choose premium full-fat coconut milk to achieve that luscious creaminess that makes this Vanilla Vegan Ice Cream delightful.
-
Chill the Bowl: Make sure your ice cream maker’s bowl is frozen solid for at least 24 hours to ensure the best texture and consistency during churning.
-
Blend Smoothly: Blend your ingredients thoroughly to avoid lumps—smooth mixtures lead to a silky final product that melts in your mouth!
-
Customize Your Flavor: Feel free to experiment with different extracts like almond or hazelnut for a unique twist on your Vanilla Vegan Ice Cream.
-
Timing Matters: If freezing the ice cream, let it sit out for a few minutes before scooping; this softens it enough for easy serving without sacrificing texture.
Make Ahead Options
These Vanilla Vegan Ice Cream treats are perfect for busy home cooks looking to simplify their meal prep! You can blend the ice cream mixture (coconut milk, maple syrup, and vanilla extract) up to 24 hours in advance and store it in the refrigerator. This not only saves time but also allows the flavors to meld beautifully. When you’re ready to churn the ice cream, simply remove the mixture from the fridge, pour it into your pre-frozen ice cream maker bowl, and churn for about 20 minutes until it’s creamy. For optimal quality, ensure your bowl is frozen thoroughly (positioned away from the freezer door) and store any leftovers in an airtight container for up to 3 days in the freezer—just remember to let it sit at room temperature for a few minutes before scooping for that perfect creamy delight!
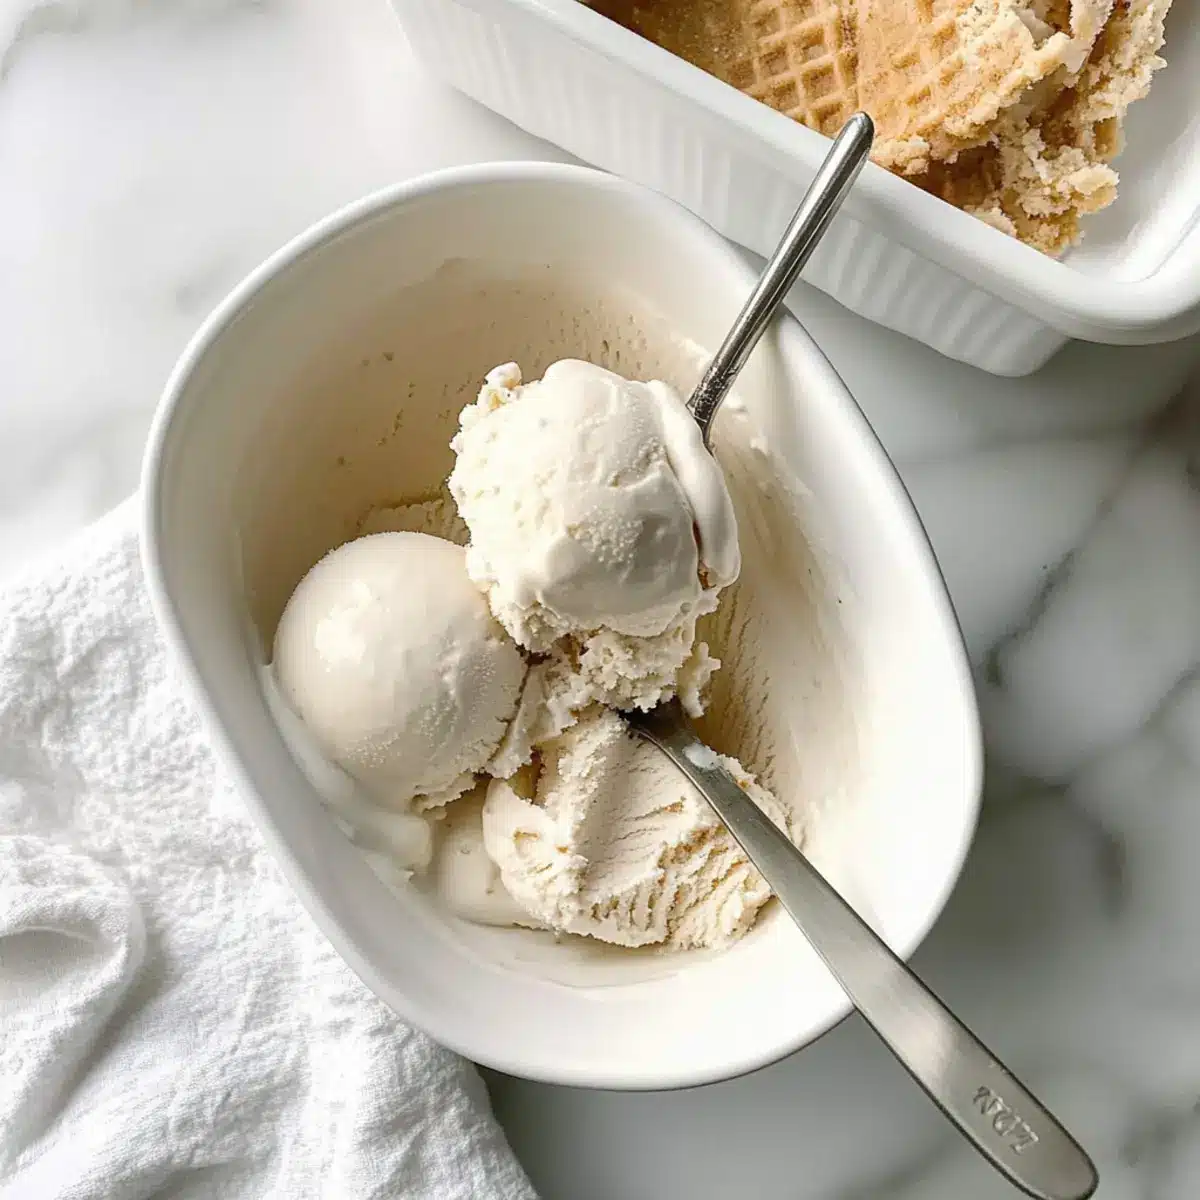
Vanilla Vegan Ice Cream Recipe FAQs
How do I choose the right coconut milk for this recipe?
Absolutely! For the best results, select full-fat coconut milk from a can, as it provides a rich and creamy texture. I often recommend brands like Thai Kitchen or Aroy-D, which are known for their quality and smoothness. Avoid using low-fat or light coconut milk, as they may lead to a grainy consistency in your ice cream.
How long can I store Vanilla Vegan Ice Cream in the freezer?
Very well! Once made, your Vanilla Vegan Ice Cream can be stored in the freezer for up to 2 weeks in an airtight container. For optimal freshness and to prevent ice crystals from forming, cover the surface with parchment paper before sealing the lid tightly.
Can I freeze this ice cream for a longer duration?
Definitely! You can freeze your Vanilla Vegan Ice Cream for up to 3 months. Just ensure it’s in an airtight container, and consider labeling it with the date so that you can enjoy it at its best within the suggested time frame. When you’re ready to indulge, let it sit out for about 5-10 minutes at room temperature to soften before scooping.
What should I do if my ice cream is too hard after freezing?
No worries! If your Vanilla Vegan Ice Cream becomes too firm, allow it to sit at room temperature for about 5 minutes. This brief thaw period will soften it to the perfect scoopable consistency. You can also transfer it to the fridge for a short time if you’re looking for a quicker fix.
Is this ice cream safe for those with allergies?
Yes! This recipe is designed to be free from dairy, nuts, and soy, making it suitable for many dietary needs. However, always check ingredient labels to ensure there are no cross-contaminations, especially if you’re serving people with allergies. For those with tree nut allergies, consider substituting with a suitable non-dairy milk, like oat milk, if desired.
Can this recipe be made without an ice cream maker?
Absolutely! If you don’t have an ice cream maker, simply pour the blended mixture into a freezer-safe container. Stir every 30 minutes for the first 2-3 hours to help incorporate air and achieve a creamier texture. After that, let it freeze undisturbed until solid, usually about 4-6 hours. Enjoy your homemade Vanilla Vegan Ice Cream!
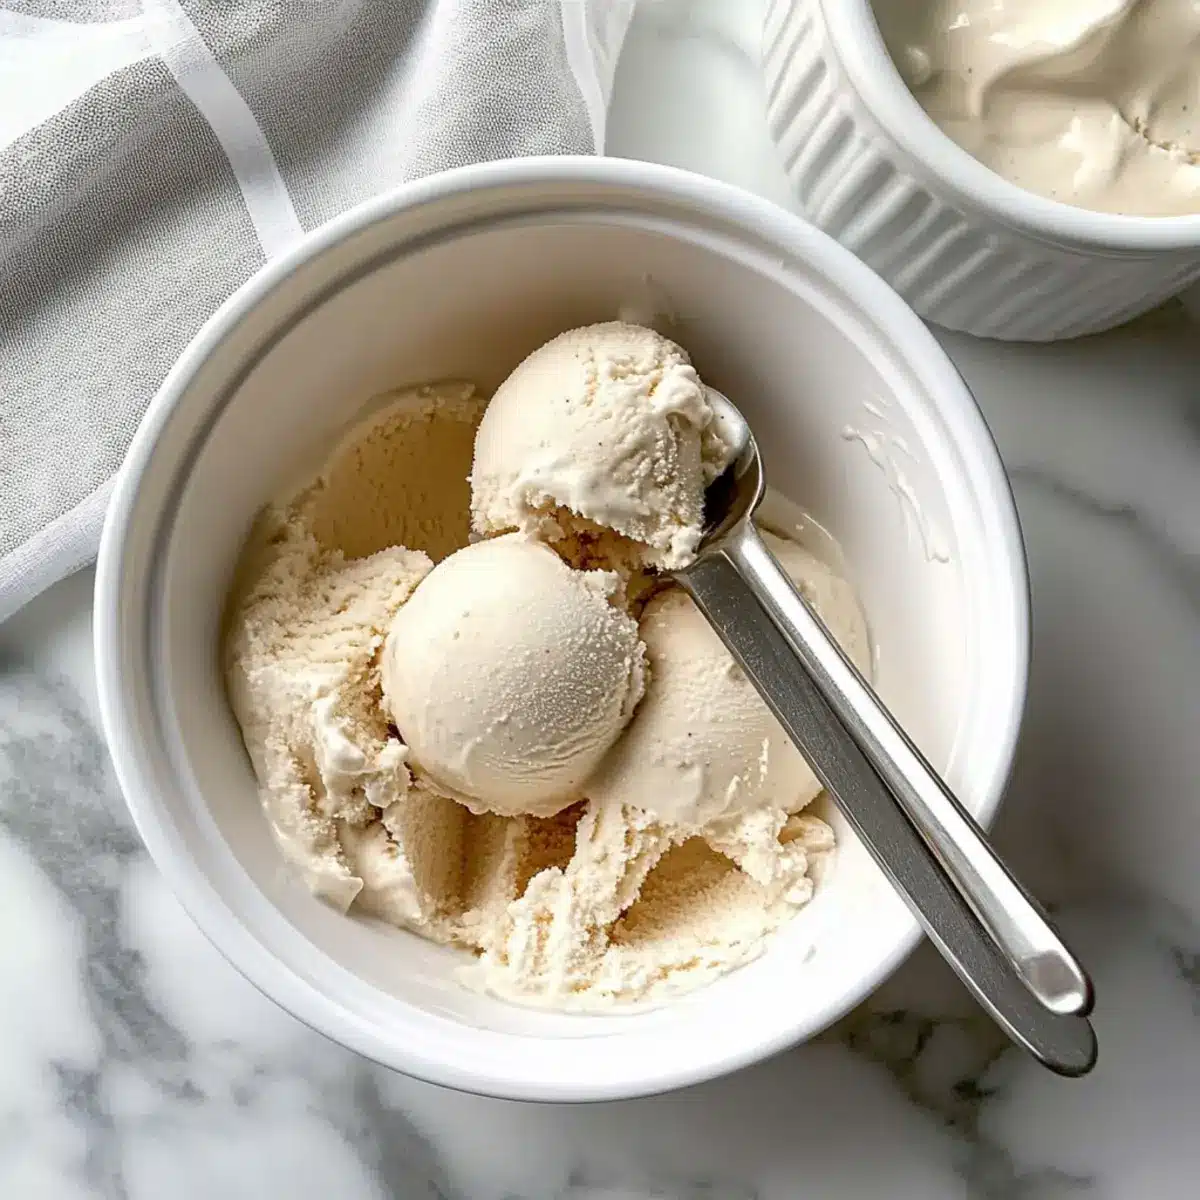
Creamy Vanilla Vegan Ice Cream That's Guilt-Free Indulgence
Ingredients
Equipment
Method
- Begin by freezing the inner bowl of your ice cream maker for at least 24 hours.
- In a blender, combine full-fat coconut milk, pure maple syrup, vanilla extract, and a pinch of sea salt if desired. Blend on high for about 1 minute until smooth.
- Once the bowl is frozen, pour the blended mixture into the ice cream maker. Churn for about 20 minutes until it reaches soft-serve consistency.
- Serve immediately for a soft texture or transfer to an airtight container and freeze for 2-3 hours for a firmer texture.
Leave a Reply