
On a sunny afternoon, there’s nothing quite like the moment when that first scoop of homemade vanilla ice cream hits your taste buds. This delightful treat is not just a dessert; it’s an experience that whiskers us back to carefree summer days spent with family and friends. Made from scratch, this no-cook Vanilla Ice Cream recipe celebrates the beauty of simplicity—whipping it up takes mere minutes, and the creamy, rich flavor will leave everyone asking for seconds. Plus, it’s incredibly versatile; feel free to jazz it up with your favorite mix-ins like fresh fruits or chocolate morsels. Are you ready to indulge in this nostalgic delight? Let’s dive into making your very own frozen masterpiece!
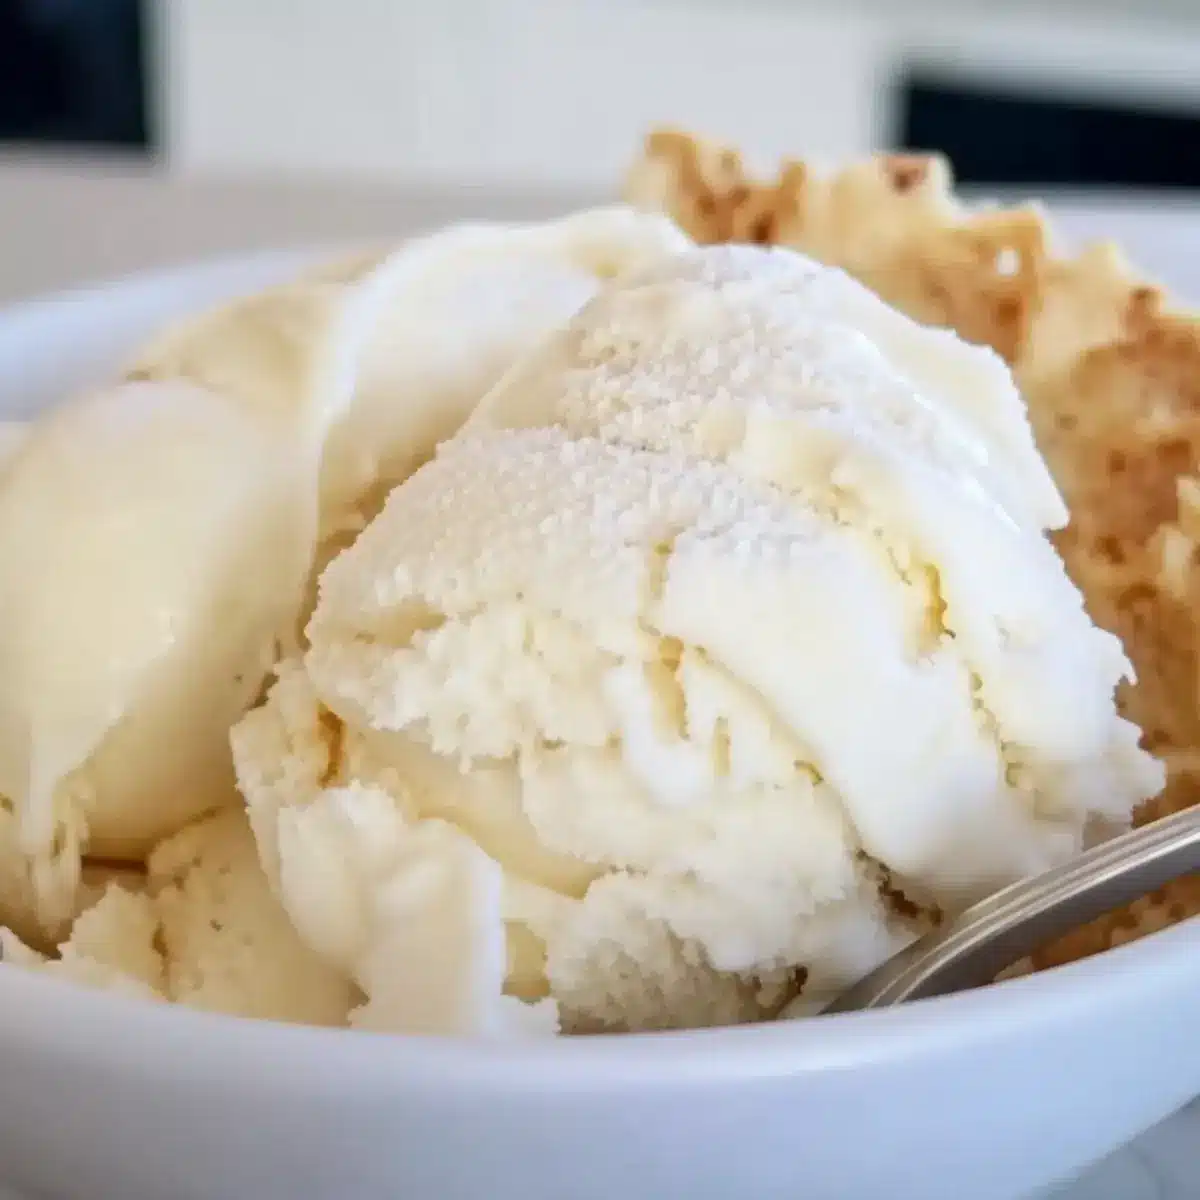
Why is Homemade Vanilla Ice Cream Special?
Simplicity: This no-cook recipe requires minimal effort, allowing you to whip it up in just minutes!
Versatility: Feel free to customize with fresh fruits or chocolate chunks for a unique twist.
Rich Flavor: The combination of heavy cream and pure vanilla extract creates a luxurious taste experience that rivals any store-bought option.
Crowd-Pleaser: Perfect for summer gatherings, it’s a treat loved by both kids and adults alike! Enjoy it alone or paired with warm brownies or pies, and let the compliments roll in.
Make-Ahead Magic: Prep a day in advance for easy entertainment—less stress, more fun!
Ingredients for Vanilla Ice Cream
• • Dive into this creamy delight!
For the Ice Cream Base
- Heavy Cream – Provides richness and creaminess; substitute with half-and-half for a lighter version.
- Whole Milk – Acts as a base for the ice cream, adding creaminess; skim milk can work for a lower-fat alternative.
- Salt – Enhances flavor; reduce or omit if watching sodium intake.
- Sugar – Sweetens the ice cream; consider natural sweeteners like honey or agave syrup for a healthier option.
- Vanilla Extract – Adds classic vanilla flavor; use vanilla paste for an even richer taste.
For Optional Mix-Ins
- Chocolate Chips – Add for a delightful chocolate twist to your vanilla ice cream!
- Fresh Fruits – Fold in crushed fruits like strawberries or blueberries for a refreshing burst of flavor.
- Nuts – Incorporate chopped nuts for added texture and a nutty taste sensation.
Step‑by‑Step Instructions for Vanilla Ice Cream
Step 1: Mix Ingredients
In a large mixing bowl, combine 2 cups of heavy cream, 1 cup of whole milk, 3/4 cup of sugar, a pinch of salt, and 2 teaspoons of vanilla extract. Use a whisk to blend everything together until the sugar is fully dissolved and the mixture is smooth and creamy. This blend will serve as the delightful base for your homemade vanilla ice cream.
Step 2: Pour Mixture
Once the ingredients are well combined, pour the mixture into your ice cream maker’s container. Ensure that the container is properly set up and placed inside the machine. This step is crucial for achieving that perfectly creamy texture in the vanilla ice cream you’re preparing.
Step 3: Churn
Follow the instructions of your ice cream maker and churn the mixture for about 20-25 minutes. Keep an eye on it as it thickens to a soft-serve consistency; it should look fluffy and hold its shape when scooped. This process helps incorporate air, making your homemade vanilla ice cream light and creamy.
Step 4: Freeze
After churning, transfer the ice cream to a lidded container. To achieve a firmer scoop, freeze the ice cream for at least 2 hours. If you prefer a softer texture, you can serve it immediately after churning. Remember, a bit of patience in the freezer will result in that satisfying scoop you desire.
Step 5: Serve
When ready to indulge, scoop your homemade vanilla ice cream into bowls or cones. Add any optional toppings or mix-ins you love, such as fresh fruit or chocolate chips, for an extra burst of flavor. Each scoop should be silky and ripe for the perfect summer treat, bringing smiles to everyone around.
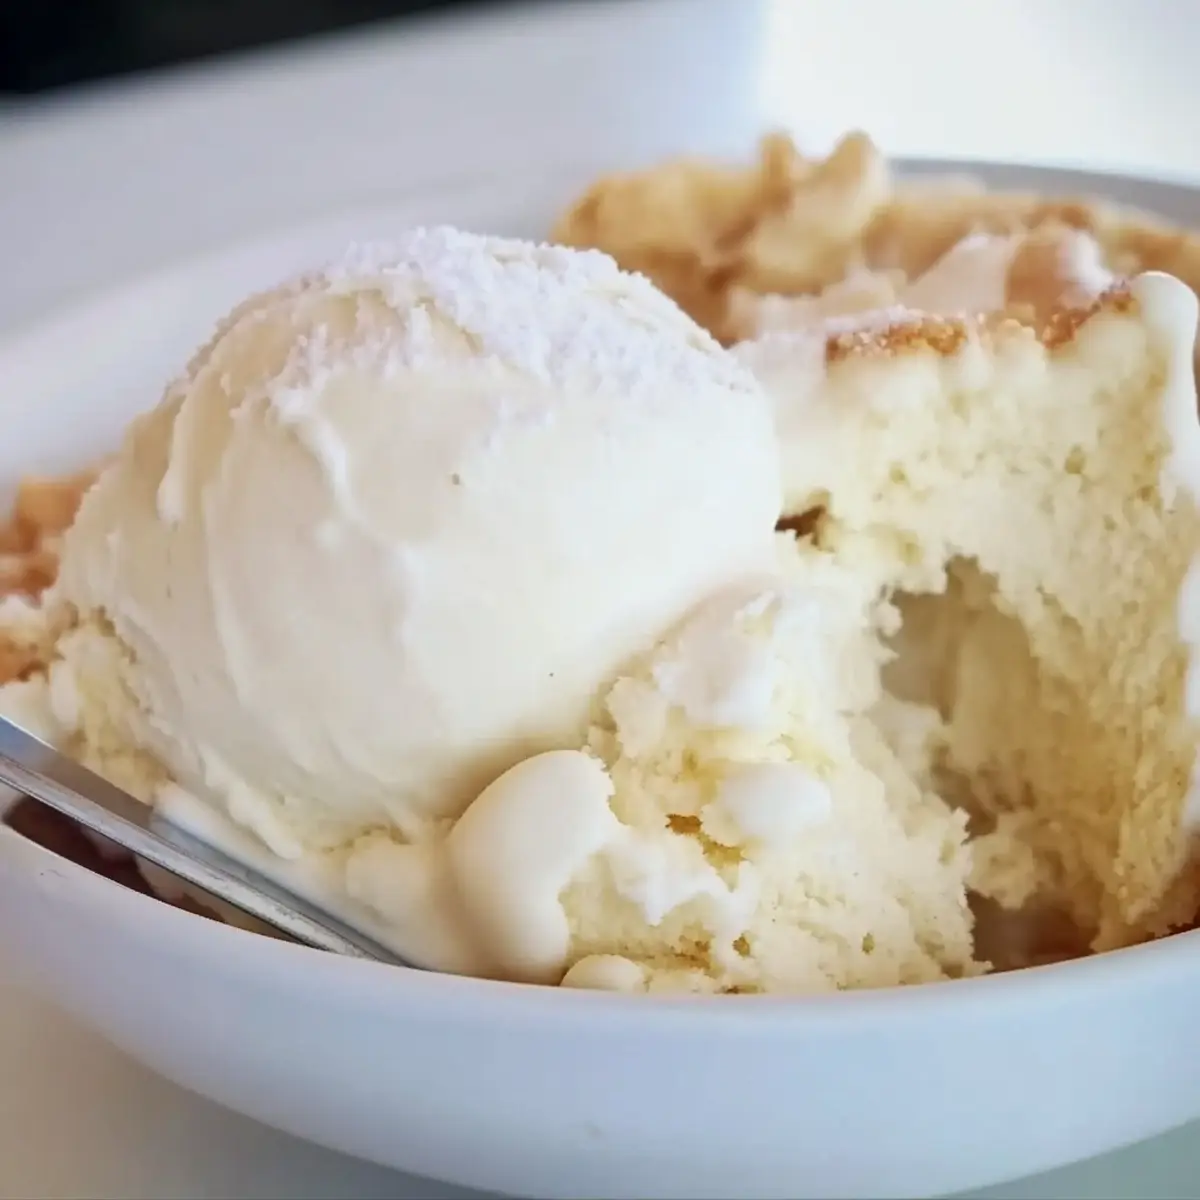
What to Serve with Homemade Vanilla Ice Cream
There’s nothing quite like the joy of crafting the perfect dessert to complement a scoop of creamy vanilla ice cream.
- Warm Brownies: Indulge in fudgy brownies paired with cold ice cream for a delightful contrast; the chocolate richness lifts the sweet vanilla notes.
- Fresh Berries: Serve with strawberries or raspberries for a refreshing touch; the tartness of berries enhances the sweetness of the ice cream.
- Chocolate Sauce: Drizzle warm chocolate sauce for an extra decadent experience; it adds a rich, gooey texture that’s utterly irresistible.
- Apple Pie: Pair with a warm slice of apple pie; the buttery crust and spiced apples create a classic combination that feels like a warm hug.
- Waffle Cones: Serve scoops in crispy waffle cones for added crunch; the sweet, buttery flavor of the cone complements the creaminess beautifully.
- Coconut Flakes: Sprinkle toasted coconut over the top for a tropical twist; the nutty aroma and texture elevate the vanilla flavor to new heights.
- Mint Leaves: Garnish with fresh mint leaves to add a pop of color and a refreshing hint; their earthy flavor pairs wonderfully with creamy desserts.
- Cold Brew Coffee: Enjoy with a glass of cold brew coffee; the slight bitterness of the coffee balances the sweetness, creating a delightful flavor duo.
Expert Tips for Making Vanilla Ice Cream
- Chill Ingredients: Keep your heavy cream, milk, and mix-ins chilled before combining for maximum creaminess.
- Don’t Over-Churn: Monitor your ice cream as it churns; over-churning can cause it to become icy instead of creamy.
- Mix-ins Timing: Add optional mix-ins during the last 5 minutes of churning for the best distribution throughout your vanilla ice cream.
- Storage Matters: Store your ice cream in an airtight container to prevent ice crystals from forming and maintain its luscious texture.
- Taste Test: Adjust sweetness to your liking—what’s perfect for one may be too sweet for another, so tailor it to your family’s taste!
Make Ahead Options
These creamy vanilla ice cream delights are perfect for busy home cooks looking to save time! You can prepare the vanilla ice cream mixture up to 24 hours in advance by simply whisking together your heavy cream, whole milk, sugar, salt, and vanilla extract, then refrigerating it overnight. This allows the flavors to meld beautifully. When you’re ready to serve, churn the mixture according to your ice cream maker’s instructions, and then freeze it in an airtight container. For the best texture, let it freeze for at least 2 hours before serving. This way, you’ll have delicious, homemade vanilla ice cream ready whenever you need a sweet treat!
How to Store and Freeze Vanilla Ice Cream
Airtight Container: Store your homemade vanilla ice cream in an airtight container to keep it fresh and creamy. This prevents ice crystal formation and preserves its rich texture.
Freezer: It’s best consumed within a week for optimal freshness. However, your vanilla ice cream can remain delicious in the freezer for up to 2 weeks—just remember to seal it tightly!
Reheating: If your ice cream is too hard after freezing, let it sit at room temperature for about 5-10 minutes before scooping. This will soften it for easier serving.
Mix-ins: If you’ve added in fresh fruits or other mix-ins, it’s ideal to consume the ice cream within a few days to enjoy the best flavor and texture!
Vanilla Ice Cream Variations & Substitutions
Embrace your creativity and explore delightful twists on this classic vanilla ice cream recipe!
- Dairy-Free: Swap heavy cream and whole milk with coconut milk for a rich, dairy-free alternative that brings a tropical flair.
- Sugar-Free: Use a natural sweetener like stevia or a sugar substitute to reduce calories without sacrificing sweetness.
- Nutty Flavor: Stir in a favorite nut butter such as almond or peanut for a creamier texture and a delicious nutty flavor. A little bit goes a long way!
- Chocolate Lovers: Add 1 cup of chocolate chips or chopped chocolate chunks during the last few minutes of churning for a decadent chocolate twist.
- Fruit Blast: Fold in a cup of crushed fresh fruits like strawberries or mangoes just before freezing for a burst of natural sweetness. Fresh and fabulous!
- Coffee Kick: Incorporate a tablespoon or two of instant coffee granules or espresso powder into the base for a delightful coffee-flavored ice cream. Perfect for the adults!
- Minty Fresh: Add a few drops of peppermint extract to the base mixture for a refreshing mint-flavored ice cream that pairs beautifully with brownies or hot fudge.
- Spiced Up: Experiment with warm spices such as cinnamon or nutmeg for a unique flavor profile, reminiscent of cozy desserts. Just a pinch can infuse warmth into your treat!
Feel free to take inspiration from these variations, and don’t forget to try pairing your vanilla ice cream with fresh fruits like strawberries or check out other delightful recipes like Strawberry Cream Cheese Muffins and Vanilla Chai Shortbread for a perfect dessert experience!
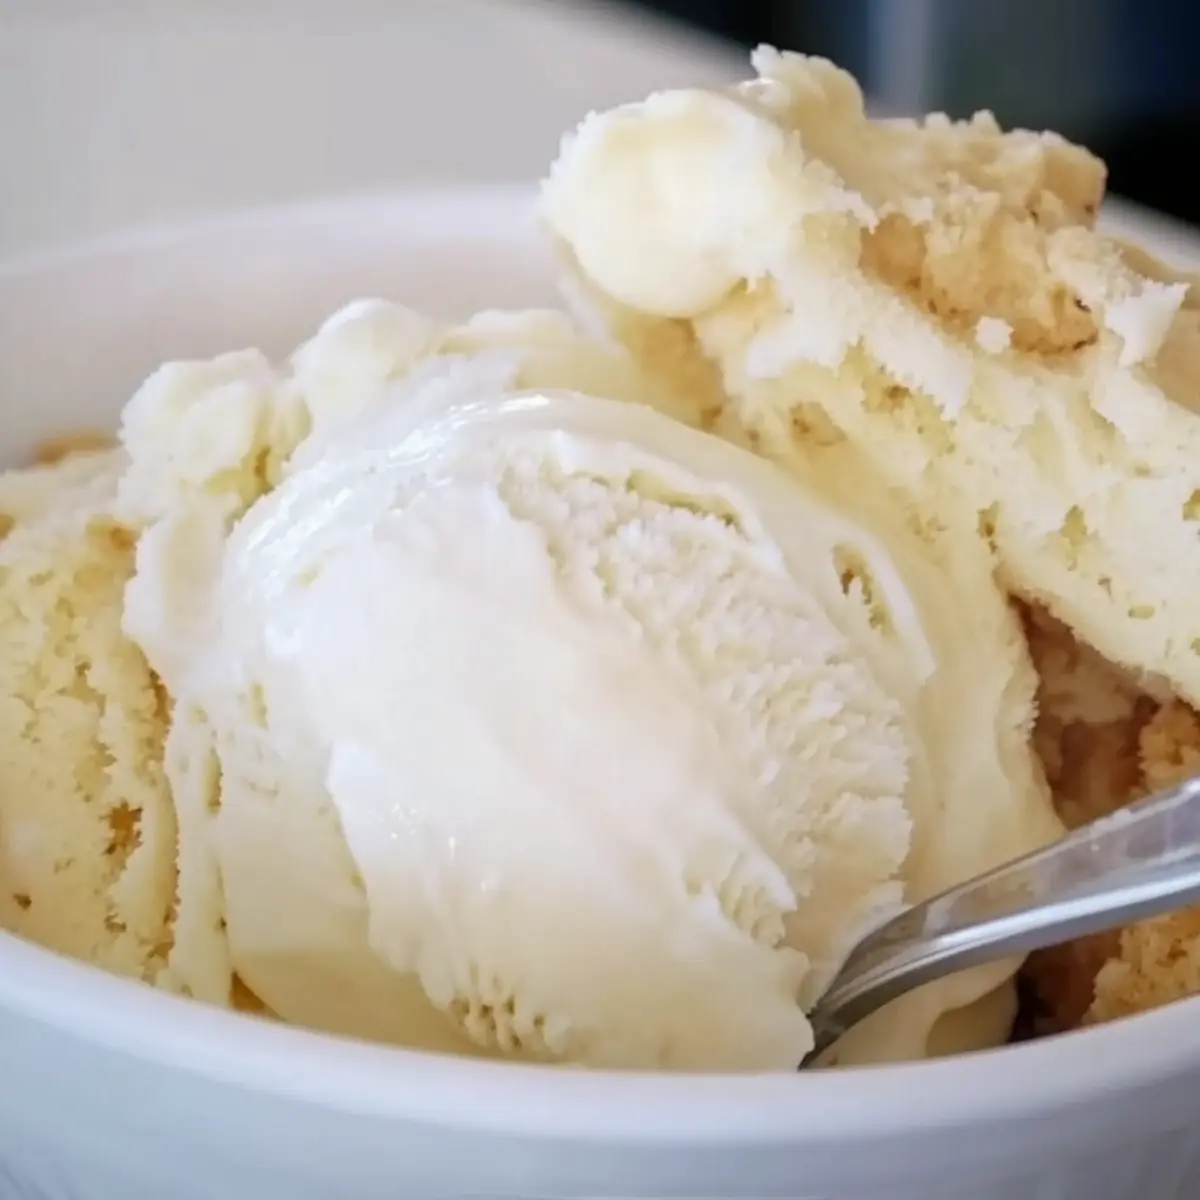
Homemade Vanilla Ice Cream Recipe FAQs
What type of cream should I use for the best flavor?
I highly recommend using heavy cream because it provides the ultimate richness and creaminess in your homemade vanilla ice cream. However, if you’re looking for a lighter option, half-and-half can work as a substitute while still giving you great flavor.
How should I store my homemade vanilla ice cream?
To keep your ice cream fresh and creamy, always store it in an airtight container in the freezer. This way, you can savor your treat for up to 2 weeks, but I suggest enjoying it within a week for the best taste and texture. Remember to seal it tightly to prevent ice crystals from forming!
Can I freeze the vanilla ice cream for later?
Absolutely! After you’ve churned the ice cream, transfer it to a lidded container and freeze it for at least 2 hours for a firmer scoop. If you want to store it for longer, it can last in the freezer for up to 2 months; just ensure it’s well-sealed to maintain quality.
What if my homemade ice cream is too soft?
If your ice cream turns out too soft after churning, it could be that the mixture wasn’t chilled enough beforehand or that it was under-churned. You can simply put it back in the freezer for another hour or so. If using a manual ice cream maker, ensure that there’s enough ice and salt in the machine, as insufficient chilling will lead to a softer consistency.
Is this recipe safe for people with allergies?
This homemade vanilla ice cream contains dairy and sugar, so it’s not suitable for those who are lactose intolerant or allergic to dairy. However, you can consider using non-dairy milk alternatives like almond or coconut milk and replace the cream with coconut cream for a dairy-free version. Just note that the texture and flavor may vary slightly!
Can I add my favorite mix-ins? When’s the best time to include them?
Yes, definitely! You can add mix-ins like chocolate chips, crushed fruits, or nuts to your ice cream. For the best results, fold in any mix-ins during the last 5 minutes of churning. This allows them to be evenly distributed without clumping or getting too hard when frozen. Enjoy getting creative!
Happy ice cream making!
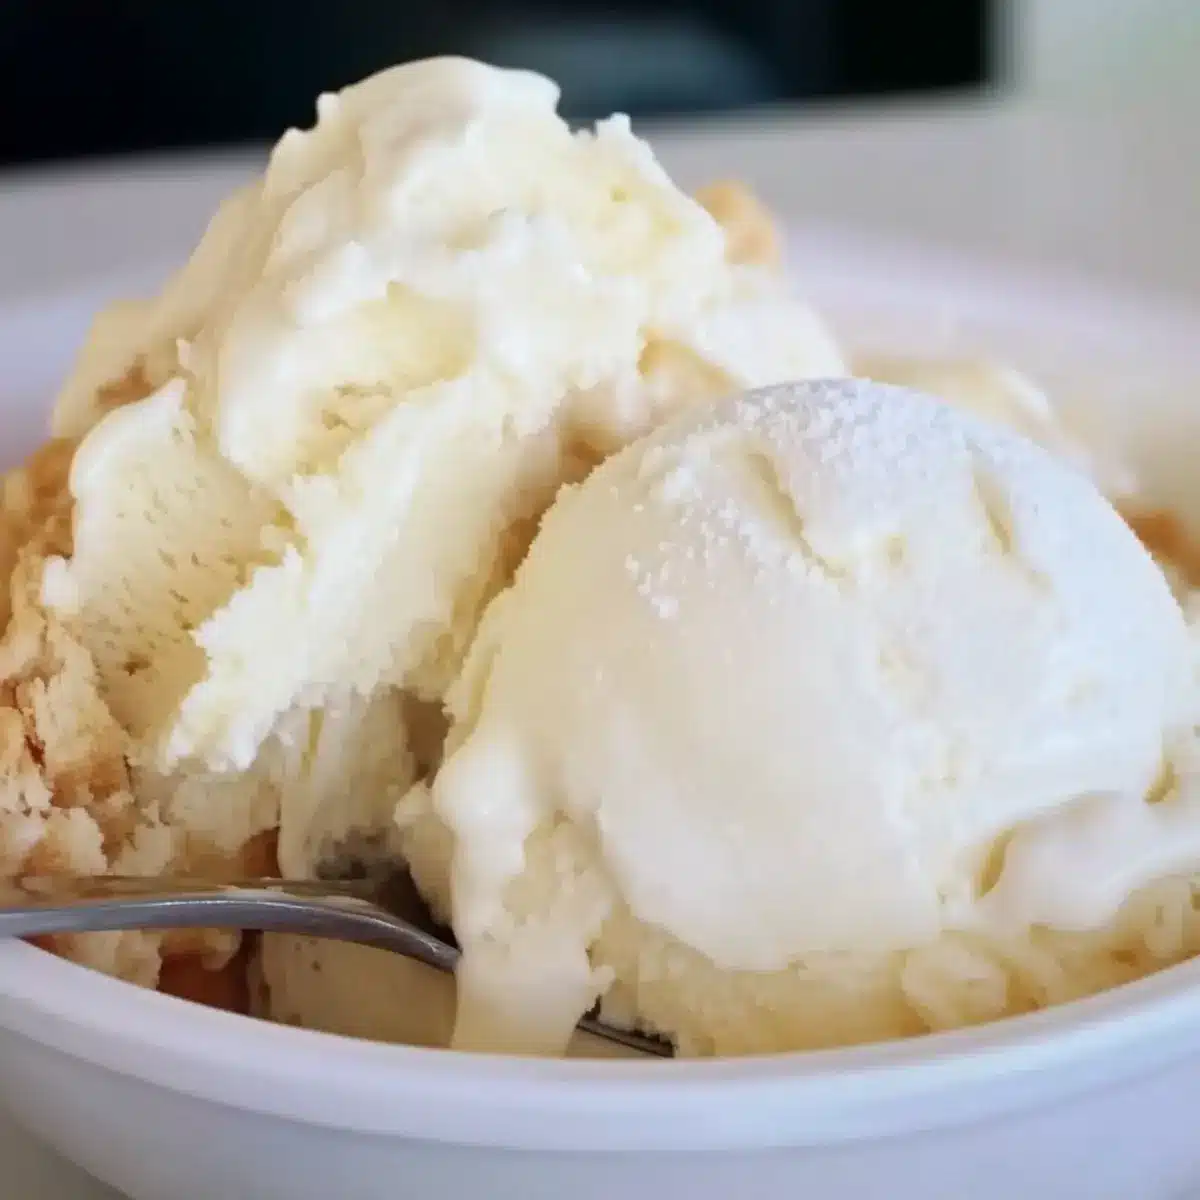
Creamy Vanilla Ice Cream Made Easy for Sweet Summer Treats
Ingredients
Equipment
Method
- In a large mixing bowl, combine 2 cups of heavy cream, 1 cup of whole milk, 3/4 cup of sugar, a pinch of salt, and 2 teaspoons of vanilla extract. Use a whisk to blend everything together until smooth.
- Pour the mixture into your ice cream maker’s container and set it up properly.
- Churn the mixture in the ice cream maker for about 20-25 minutes until it thickens to a soft-serve consistency.
- Transfer the ice cream to a lidded container and freeze for at least 2 hours for a firmer scoop.
- Scoop the homemade vanilla ice cream into bowls or cones and add any optional toppings.
Leave a Reply