
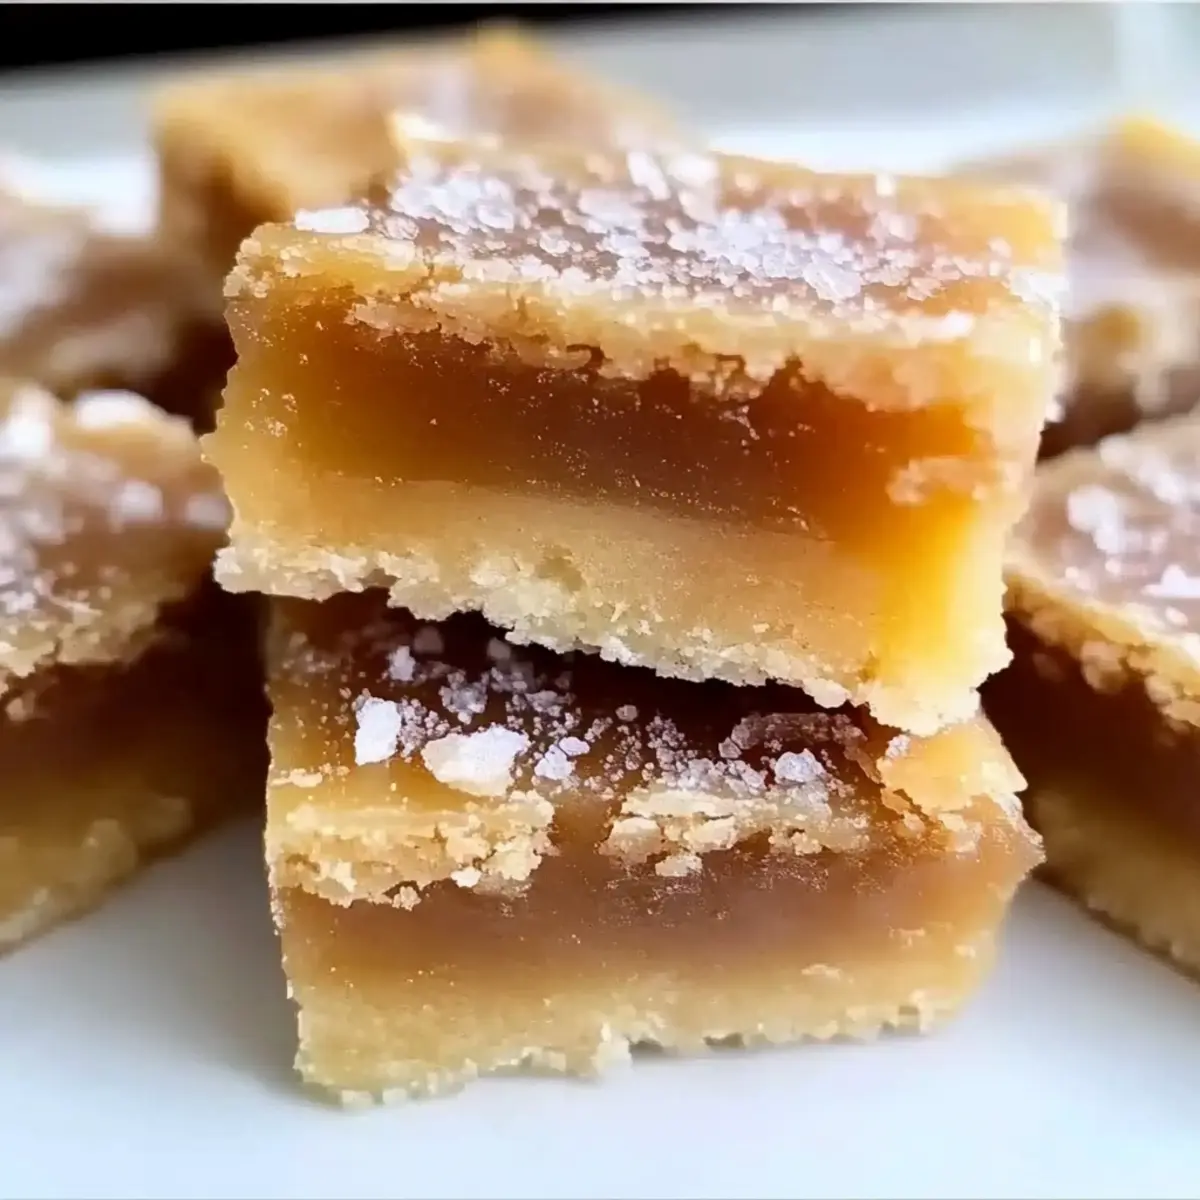
The sweet, enticing aroma wafting through my kitchen often ignites a flood of warm memories, but nothing brings back the joy of baking quite like crafting Salted Caramel Butter Bars. These delightful dessert bars are a wonderful celebration of texture, effortlessly combining a buttery shortbread crust with a creamy, rich caramel filling and a sprinkle of flaky sea salt to elevate every bite. As an added bonus, they’re incredibly easy to whip up, making them the perfect treat for a spontaneous get-together or a cozy night in. Plus, with a gluten-free option available, they’re a crowd-pleaser for everyone at your table. Are you ready to indulge in these irresistible bars?
Why are Salted Caramel Butter Bars irresistible?
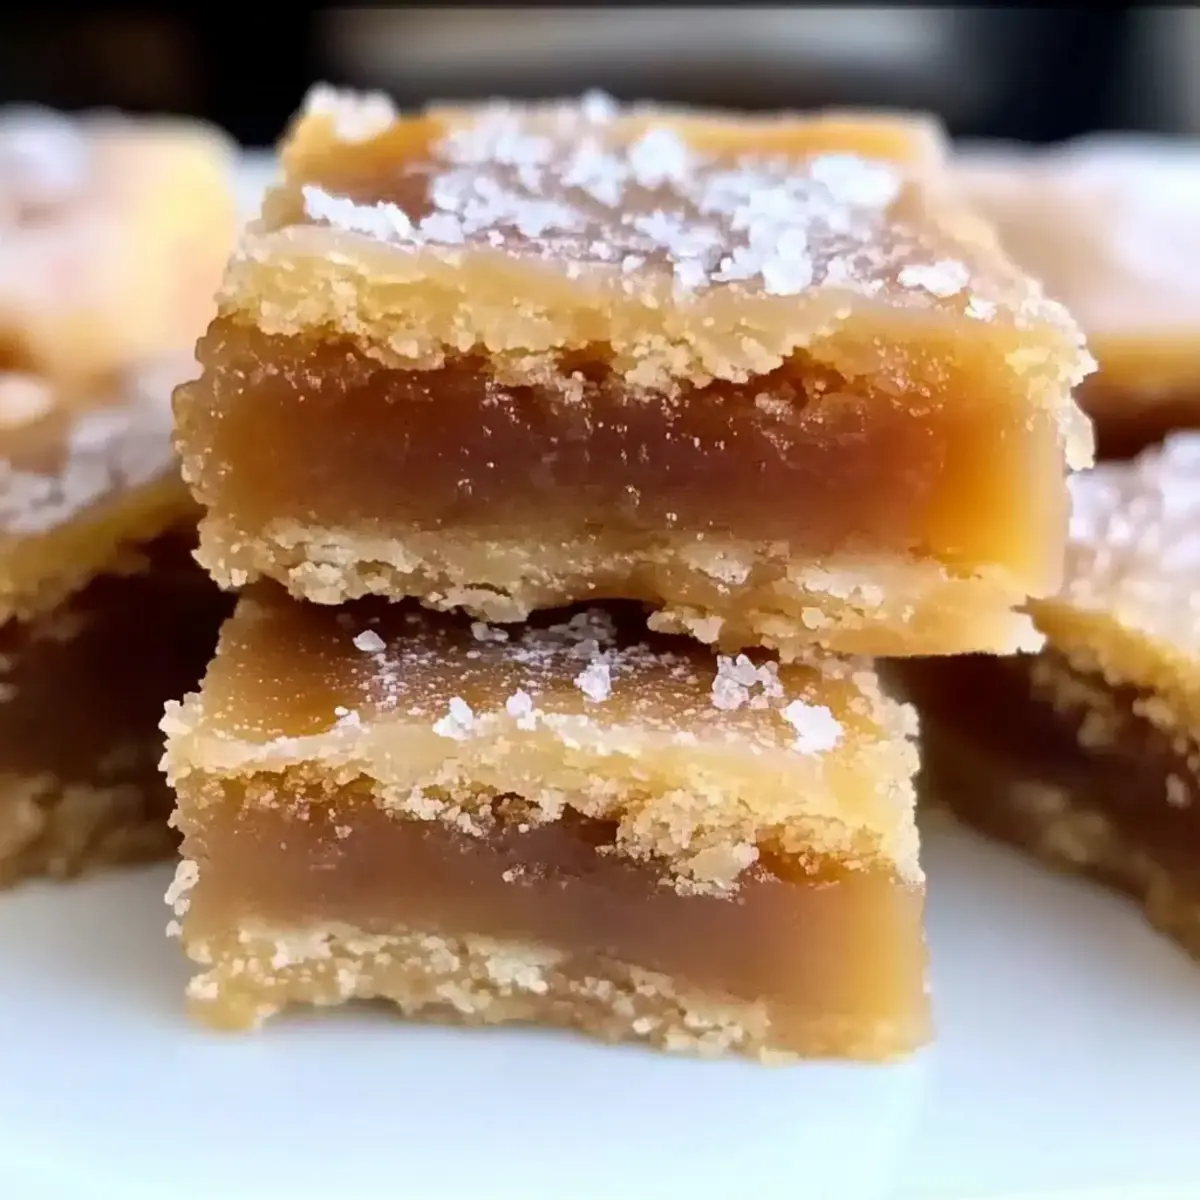
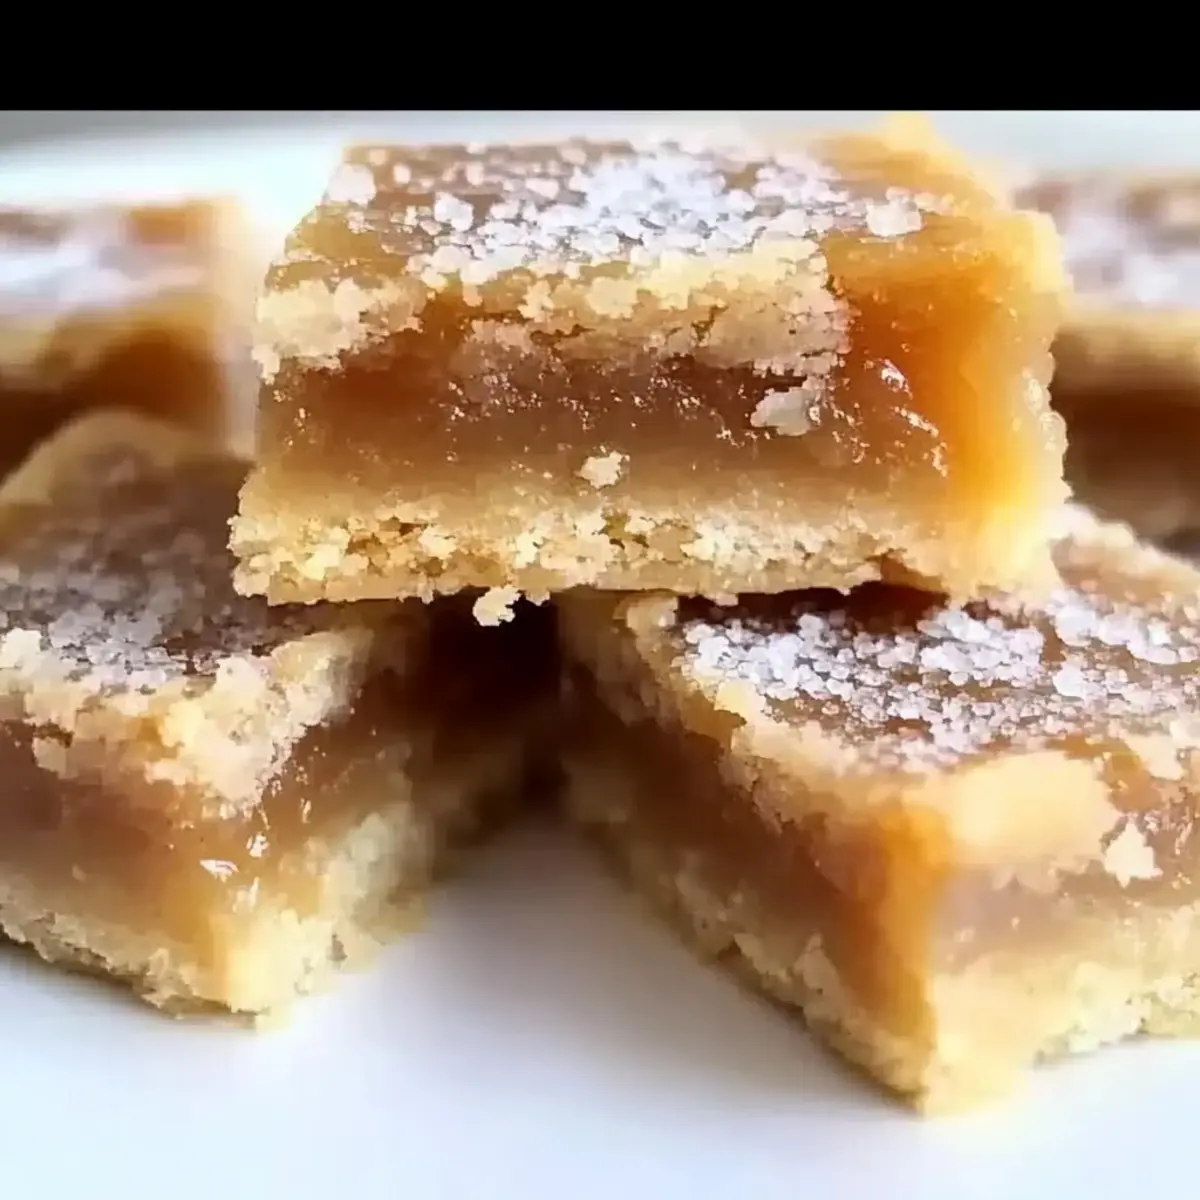
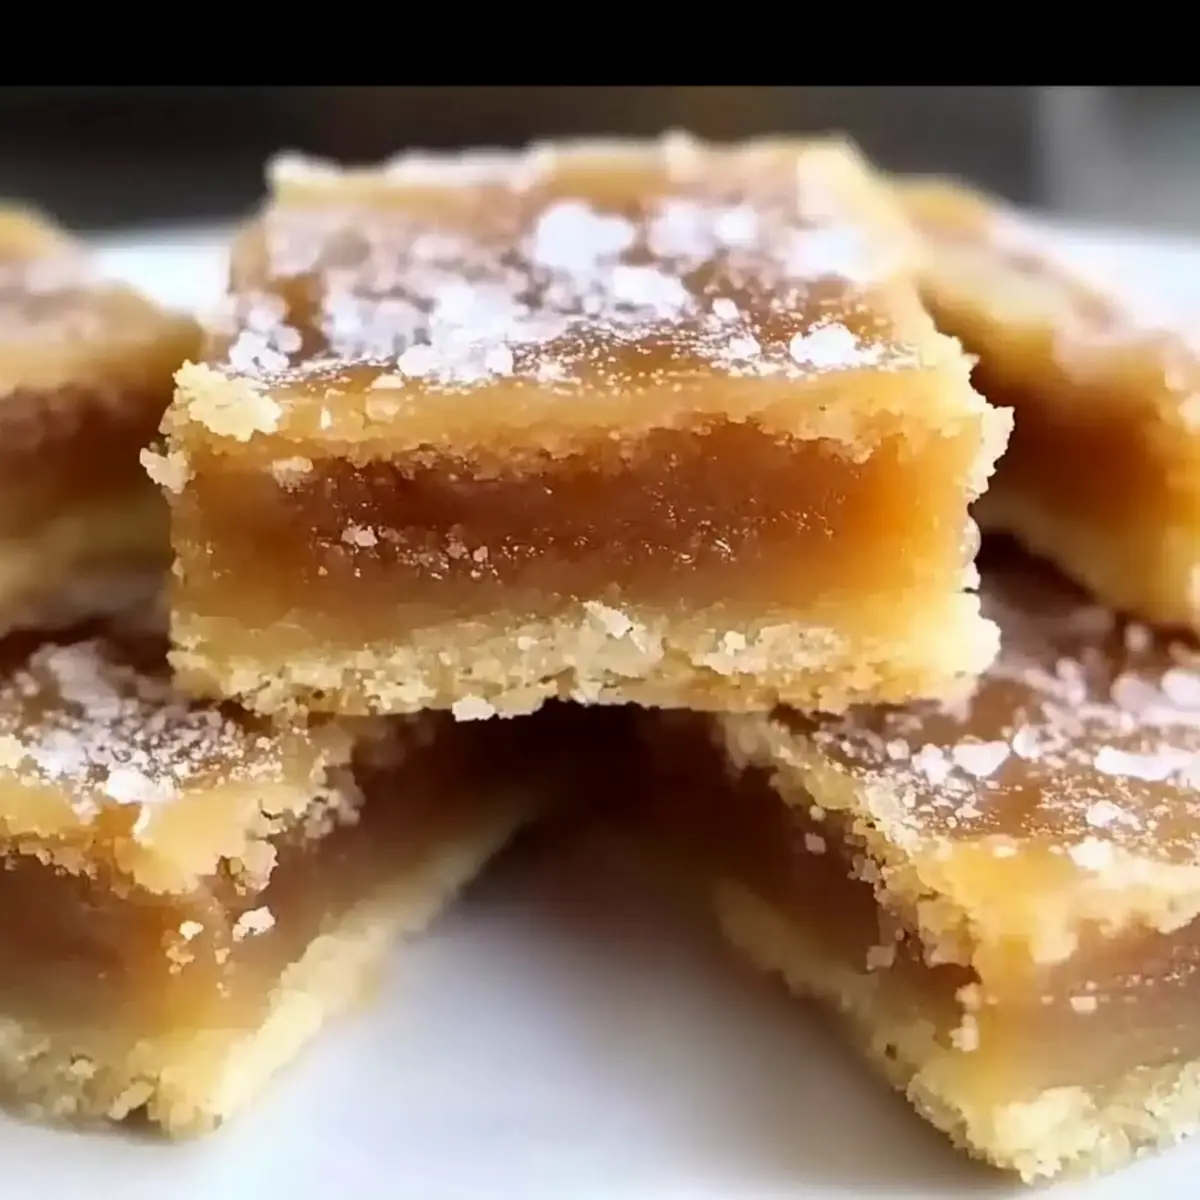
Heavenly Fusion: These bars blend buttery richness of the shortbread crust with a gooey caramel center, giving each bite a melt-in-your-mouth quality that will leave you craving more.
Quick and Easy: With just a few basic ingredients and simple steps, you’ll have these divine bars baked in under an hour, ready to impress friends and family.
Gluten-Free Option: No one will feel left out! Use a gluten-free flour blend for a delightful treat that everyone can enjoy, sparking joy in every bite.
Versatile Serving: Pair them with a scoop of vanilla ice cream or serve as the centerpiece of your next gathering—the crowd appeal is undeniable!
Storage Wonder: Not only are they delicious, but they also keep well, staying fresh for days, which makes them perfect for meal prep or last-minute dessert cravings. Enjoy these Philadelphia Cheesecake Bars or Lemon Crumb Bars for additional sweet inspiration!
Salted Caramel Butter Bars Ingredients
• Prepare to create your own dreamy dessert!
For the Crust
• Butter – Use room temperature for the best mixing results.
• Granulated Sugar – Adds sweetness and is crucial for texture; no substitutions recommended.
• Powdered Sugar – Enhances sweetness while giving a fine texture; can be swapped with more granulated sugar if desired.
• All-Purpose Flour – Forms the base of the crust; use a gluten-free blend for a gluten-free option.
For the Caramel Filling
• Caramel Candies – The crucial star of the recipe; gives that chewy, irresistible filling.
• Heavy Cream – Aids in melting the caramel smoothly; can substitute with milk, but the texture will vary.
• Vanilla Extract – Adds depth and warmth; feel free to omit if you’re in a pinch.
• Flaky Sea Salt – A must for balancing sweetness; this ingredient enhances each glorious bite of your Salted Caramel Butter Bars!
Step‑by‑Step Instructions for Salted Caramel Butter Bars
Step 1: Preheat the Oven and Prepare the Pan
Begin by preheating your oven to 325°F (165°C). While that warms up, take a 9×13-inch baking pan and line it with parchment paper, allowing some overhang for easy removal later. This step ensures your Salted Caramel Butter Bars don’t stick to the pan, making clean-up a breeze!
Step 2: Mix the Buttery Crust
In a mixing bowl, combine softened butter, granulated sugar, and powdered sugar. Use an electric mixer on medium speed to beat the mixture until it becomes light and fluffy, about 3 to 5 minutes. When the mixture looks pale and airy, add in the vanilla extract and mix until fully incorporated to add that delightful flavor to your crust.
Step 3: Form the Crust Dough
Next, gradually add the all-purpose flour to the buttery mixture. Mix on low speed until a thick, cohesive dough forms, which should take around 2 to 3 minutes. Reserve about ½ to ⅓ of the dough for topping later. With the remaining dough, press it evenly into the base of the lined pan, ensuring it forms a solid crust for the Salted Caramel Butter Bars.
Step 4: Bake the Crust
Place the pan in the preheated oven and bake the crust for 20 minutes. Keep an eye on it as it bakes—it should turn lightly golden around the edges. This step sets the foundation for your bars, allowing the buttery goodness to shine through, so you want it to be just perfect!
Step 5: Melt the Caramel Filling
While the crust is baking, grab a microwave-safe bowl or a small saucepan over low heat to melt the caramel candies. Combine the caramel with heavy cream, stirring constantly until melted and smooth, which should take about 2 to 4 minutes. Avoid scorching the mixture to maintain that luscious texture for your filling.
Step 6: Assemble the Bars
Once your crust is baked and slightly cooled, pour the creamy caramel filling evenly over the crust. Be careful to spread it to cover every inch! After that, sprinkle a generous amount of flaky sea salt over the caramel to enhance all the flavors beautifully—this touch is essential for your Salted Caramel Butter Bars.
Step 7: Crumble the Reserved Dough
Take the reserved dough and crumble it over the caramel filling without pressing down. This will create a lovely, crumbly topping that contrasts beautifully with the rich filling. Make sure to cover the caramel evenly so every bite of your bars is decadently delicious.
Step 8: Final Bake
Return the baking pan to the oven and bake the Salted Caramel Butter Bars for an additional 25-30 minutes. The topping should be set and lightly golden when finished. Keep a close watch—you want it just firm, not overbaked, to ensure the perfect texture for later!
Step 9: Cool and Slice
Once baked, remove the pan from the oven and allow it to cool completely on a wire rack. For cleaner slices, consider chilling it in the fridge for about an hour. This helps the caramel firm up and makes slicing into those luscious bars much easier, giving you picture-perfect squares to serve.
Helpful Tricks for Salted Caramel Butter Bars
Room Temperature Butter: Ensure your butter is at room temperature for optimal mixing. Cold butter can lead to an uneven texture in your Salted Caramel Butter Bars.
Avoid Overbaking: Keep an eye on your crust! It should be lightly golden and not dark brown, as overbaking can lead to a dry texture.
Smooth Melting: Stir the caramel consistently as you melt it to prevent scorching. If it burns, the taste will change, and the filling won’t be as delightful.
Chill for Clean Cuts: For perfectly shaped bars, refrigerate the baked dessert for an hour before slicing. This helps solidify the caramel, making it easier to cut without it oozing.
Essential Sea Salt: Don’t skip on flaky sea salt! It amplifies the sweetness and richness of the caramel, creating a balanced flavor that makes these bars truly irresistible.
Make Ahead Options
These Salted Caramel Butter Bars are perfect for busy home cooks looking to save time while still delivering a delicious treat! You can prepare the crust up to 24 hours in advance—simply bake it as directed, then let it cool completely. Store it tightly wrapped at room temperature to maintain its buttery texture. The caramel filling can also be made ahead; refrigerate it for up to 3 days. When you’re ready to serve, layer the caramel over the crust and crumble the reserved dough on top, then bake as instructed. This method ensures that your bars are just as gooey and tempting, with minimal last-minute effort!
What to Serve with Salted Caramel Butter Bars
When it comes to a delightful meal, pairing these decadent bars with complementary flavors can elevate your dessert experience.
-
Vanilla Ice Cream: The cool, creamy texture creates a satisfying contrast, embracing the warmth of the gooey caramel.
-
Chocolate Sauce: Drizzling rich chocolate over your bars adds an extra layer of indulgence that chocolate lovers will adore.
-
Fresh Berries: Juicy raspberries or strawberries provide a tangy brightness that balances the sweetness, enhancing your tasting adventure.
-
Whipped Cream: A dollop of freshly whipped cream offers a light and airy finish, making the overall dessert feel luxurious.
-
Coffee or Espresso: Serving with a robust cup of coffee allows the flavors of the butter bars to shine, grounding the sweetness with its rich bitterness.
-
Nutty Toppings: Add chopped pecans or walnuts for a delightful crunch that complements the soft, buttery texture of the bars. Each bite becomes a medley of flavors that’s truly satisfying.
Indulge in these pairings for a sweet finale that transforms your dessert into an unforgettable occasion!
Salted Caramel Butter Bars Customizations
Embrace your culinary creativity by customizing these delightful bars to suit your taste buds and dietary needs!
- Gluten-Free: Swap all-purpose flour with a gluten-free flour blend for everyone to enjoy. They’re so delicious that no one will notice the difference!
- Nutty Base: Use almond flour instead of all-purpose for a delightful nuttiness in the crust. This adds a rich flavor that will surprise your guests.
- Chocolate Lovers: Mix in mini chocolate chips into the dough. The chocolate will melt and add a luscious layer of decadence with each bite.
- Flavor Boost: Infuse the caramel filling with a splash of bourbon or espresso for an unexpected flavor twist—this elevates the bars to new heights!
- Crunchy Texture: Add chopped nuts, such as pecans or walnuts, to the topping for an extra crunch. This will create a delightful contrast with the gooey caramel.
- Fruity Layer: Layer sliced bananas or fresh strawberries on top of the caramel before adding the crumb topping. This adds a fruity delight that enhances the bar’s overall appeal.
- Decadent Drizzle: Top the cooled bars with a drizzle of melted chocolate or a caramel sauce for a beautiful finishing touch. This will make them irresistibly tempting!
- Spicy Twist: Sprinkle a pinch of cayenne pepper or cayenne-infused sea salt on top for a surprising kick that balances the sweetness—don’t be afraid to spice things up!
For further sweet inspirations, don’t forget to check out these delicious Chocolate Peanut Butter and creamy No-Bake Peanut Butter Pie ideas!
How to Store and Freeze Salted Caramel Butter Bars
Room Temperature: Keep your Salted Caramel Butter Bars in an airtight container at room temperature for up to 3 days to maintain their fresh and gooey texture.
Fridge: For longer storage, place the bars in the refrigerator where they can stay fresh for up to a week. Make sure they’re in a sealed container to prevent any drying out.
Freezer: To freeze, wrap individual bars tightly in plastic wrap and place them in a freezer-safe bag or container. They can be frozen for up to 2 months; thaw them at room temperature for a delightful treat anytime.
Reheating: If you prefer them warm, reheat the frozen bars in the microwave for a few seconds before serving, allowing all that rich caramel flavor to shine beautifully!
Salted Caramel Butter Bars Recipe FAQs
What is the best way to select ripe ingredients for my Salted Caramel Butter Bars?
Absolutely! For the best results, always use fresh ingredients. Ensure your butter is at room temperature; this creates a creamy texture and blends well with sugars. Granulated sugar should always be dry and free from any lumps. The caramel candies should be fresh for the best melting consistency and flavor.
How should I store my Salted Caramel Butter Bars, and how long do they last?
I recommend storing your Salted Caramel Butter Bars in an airtight container at room temperature for up to 3 days. If you prefer a longer storage option, you can refrigerate them for up to a week, which helps maintain their gooey texture.
Can I freeze Salted Caramel Butter Bars? If so, how?
Absolutely! To freeze your delicious bars, wrap each one tightly in plastic wrap and place them in a freezer-safe container or bag. They can stay frozen for up to 2 months. When you’re ready to enjoy one, simply let it thaw at room temperature, or pop it in the microwave for a few seconds to warm it up, enhancing that gooey caramel goodness!
What should I do if my caramel filling doesn’t melt smoothly?
If your caramel filling isn’t melting smoothly, try reducing the heat or adding a splash more heavy cream while stirring constantly. It’s important not to let it scorch, as burnt caramel will affect the flavor. If you find it too thick, you can even add a tablespoon of water or milk to help with the melting process until you achieve that luscious, creamy texture.
Are there any dietary considerations to keep in mind with Salted Caramel Butter Bars?
Very! If you’re serving guests with dietary restrictions, you can easily make a gluten-free version by swapping all-purpose flour for a 1:1 gluten-free blend. Additionally, always check that the caramel candies are gluten-free as well, and consider if anyone has dairy or nut allergies when preparing your bars.
How long can I keep my Salted Caramel Butter Bars frozen?
You can keep your frozen Salted Caramel Butter Bars for up to 2 months! Be sure they are well-wrapped to avoid freezer burn. When you’re ready to enjoy, thaw them out at room temperature for about 30 minutes, or if you’re feeling a little impatient, warm them for a few seconds in the microwave to bring back that gooey goodness!
Heavenly Salted Caramel Butter Bars You'll Crave Again and Again
Ingredients
Equipment
Method
- Preheat your oven to 325°F (165°C) and line a 9x13-inch baking pan with parchment paper.
- In a mixing bowl, combine softened butter, granulated sugar, and powdered sugar and beat until light and fluffy, about 3 to 5 minutes.
- Gradually add the all-purpose flour to the mixture and mix until a thick, cohesive dough forms. Reserve about ½ to ⅓ of the dough for topping later.
- Press the remaining dough evenly into the base of the lined pan and bake for 20 minutes until lightly golden.
- Melt the caramel candies and heavy cream together in a microwave-safe bowl or saucepan, stirring until smooth, around 2 to 4 minutes.
- Pour the caramel filling over the baked crust, spreading evenly, and sprinkle with flaky sea salt.
- Crumble the reserved dough over the caramel filling evenly.
- Bake for an additional 25-30 minutes until the topping is set and lightly golden.
- Allow to cool completely on a wire rack before slicing.
Leave a Reply