
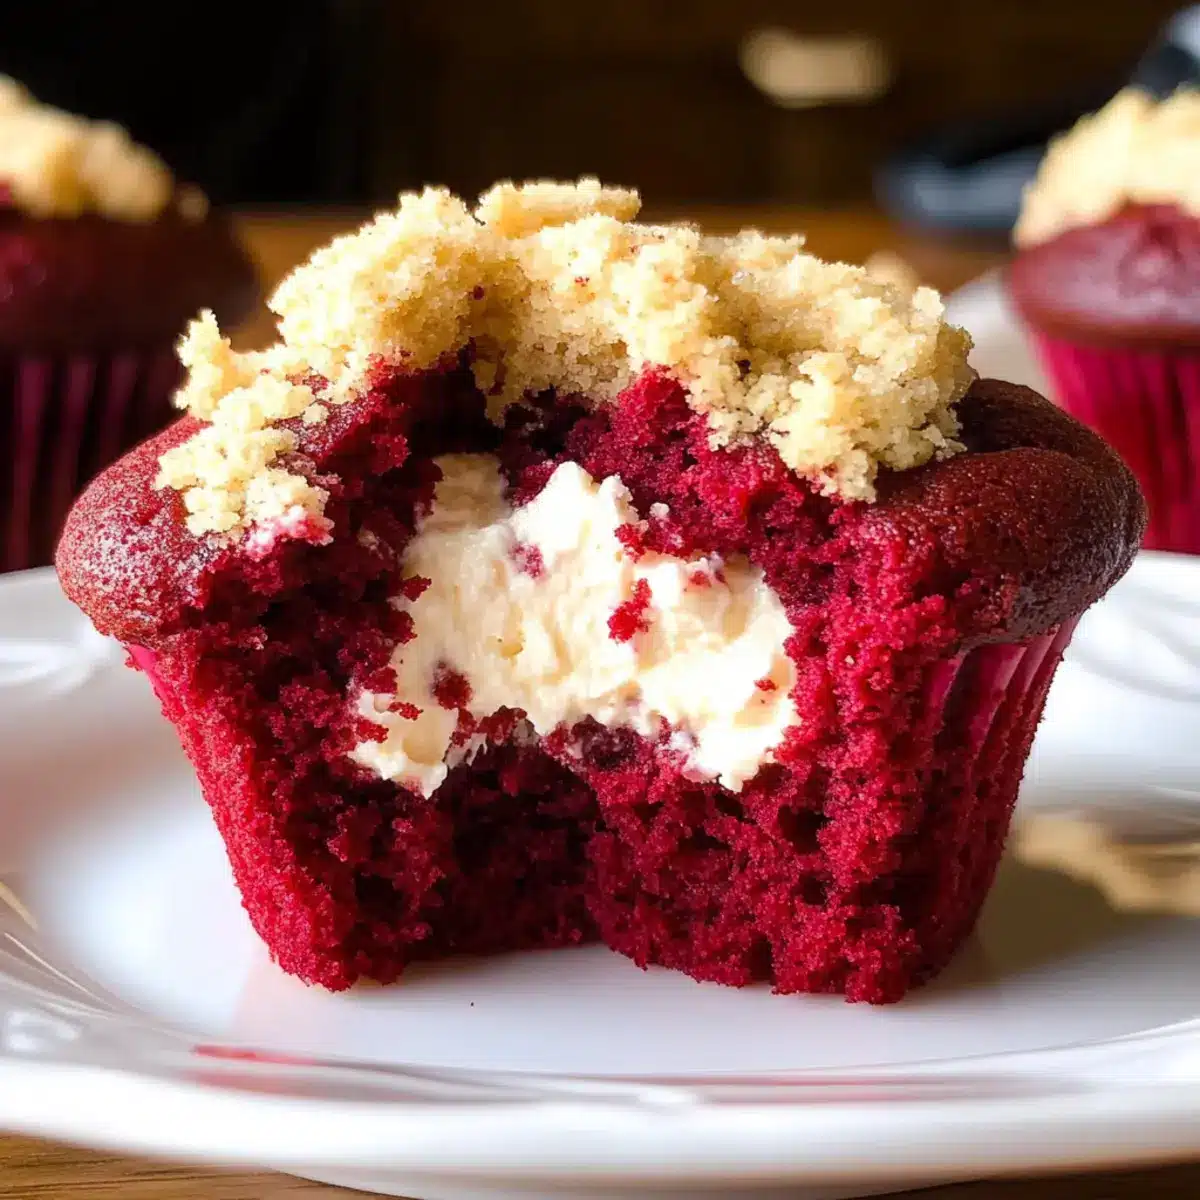
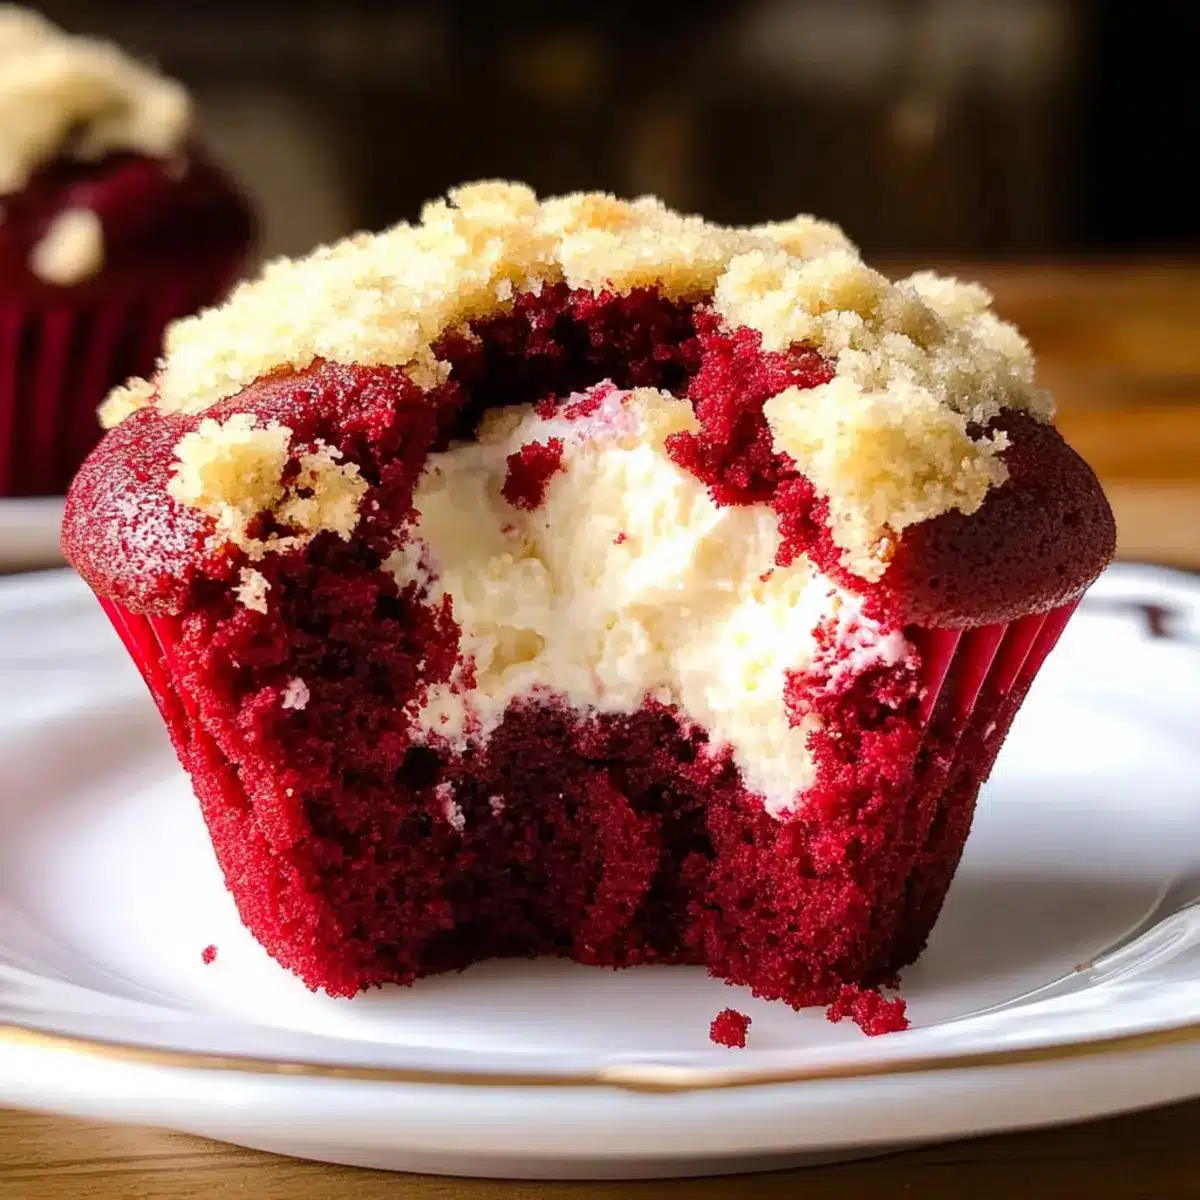
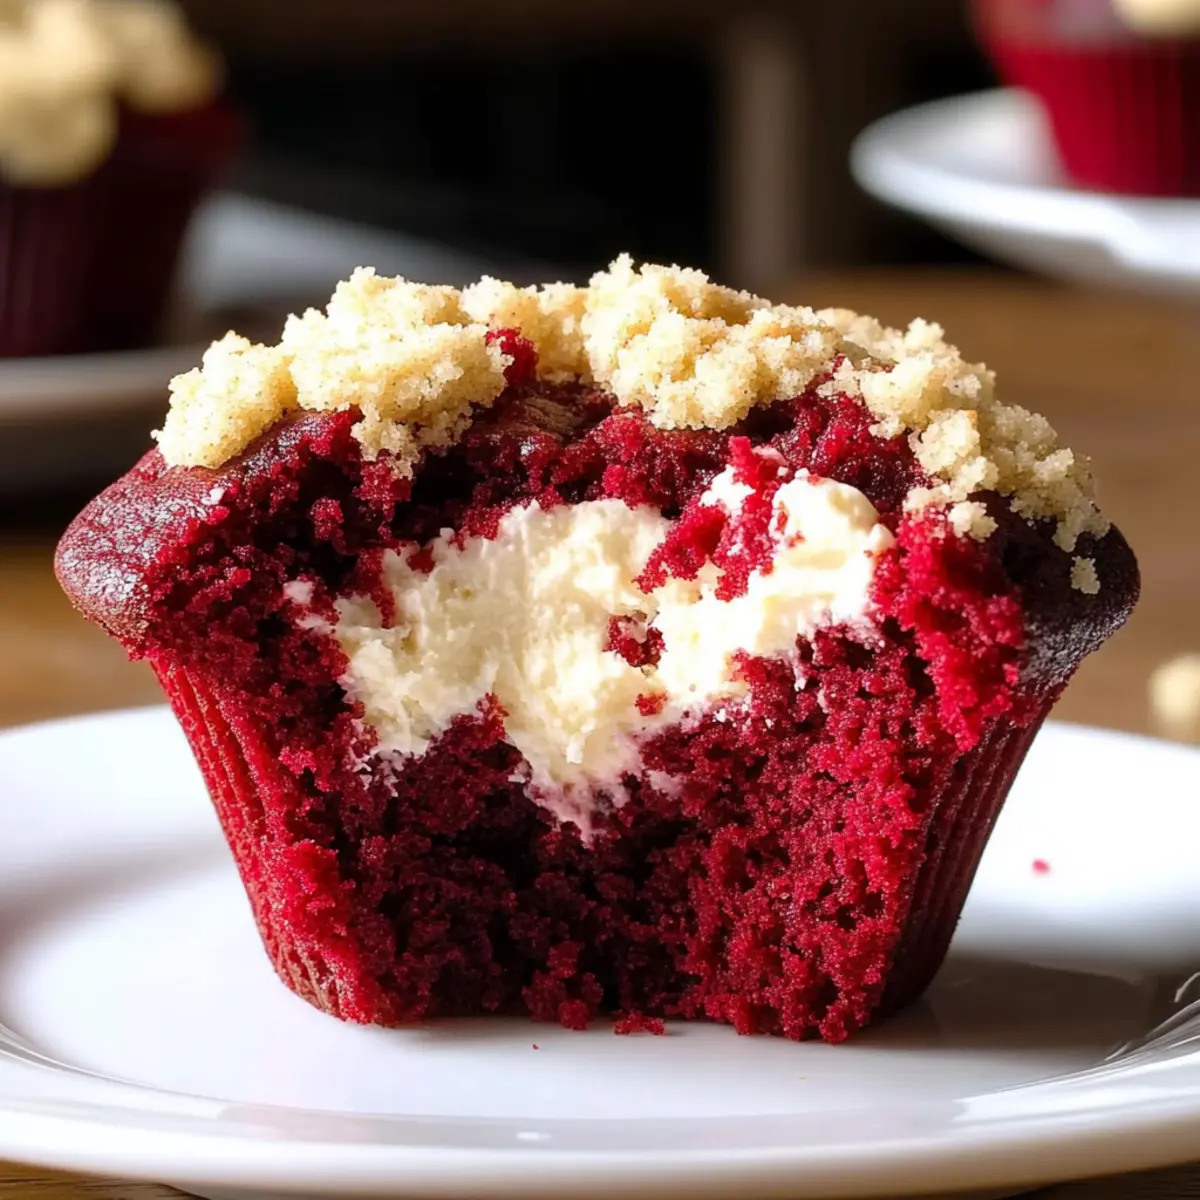
As the scent of freshly baked treats wafts through the kitchen, I can’t help but smile at the delightful surprise waiting inside these Creamy Red Velvet Muffins with a Crunchy Topping. The first bite reveals a soft, springy texture and a luscious cream cheese center, reminiscent of my favorite cheese danish. These muffins are not just another breakfast option; they’re an instant crowd-pleaser, perfect for brightening up any occasion, especially Valentine’s Day. Not only do they deliver a comforting twist on traditional muffin recipes, but their beautiful red hue also adds a festive touch to your table. So, who wouldn’t want to indulge in such a charming pastry? Are you ready to whip up a batch of these delightful muffins that are sure to impress?
What makes red velvet muffins special?
Delightful Surprise: Each muffin hides a creamy surprise that adds an element of excitement to your bite.
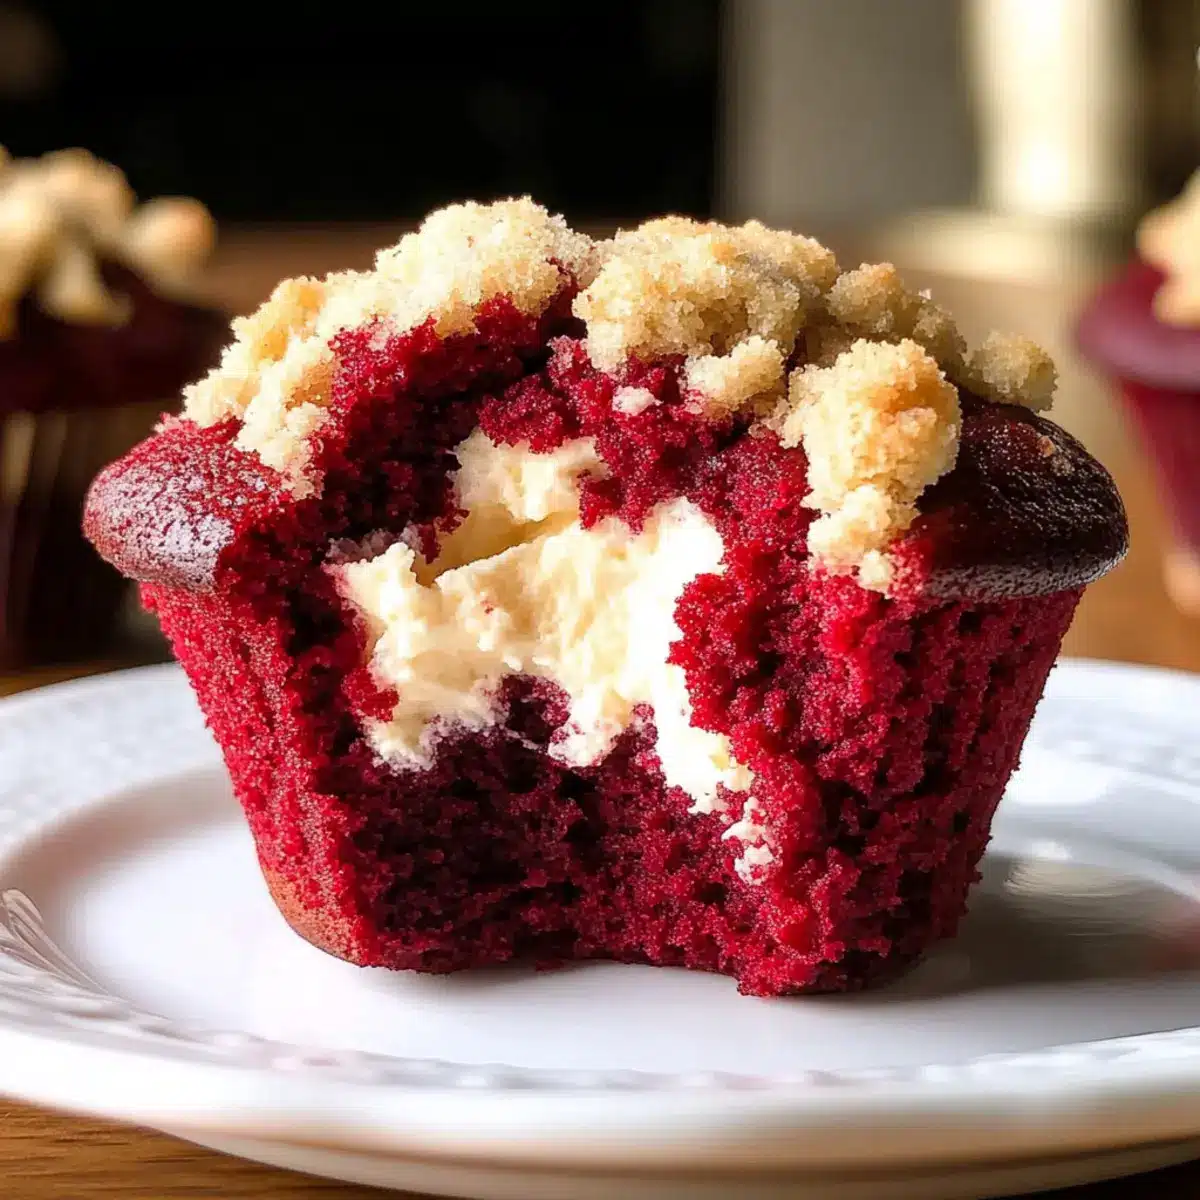
Perfectly Textured: With a soft, springy crumb and a crisp crumb topping, these muffins offer a tantalizing contrast.
Easy to Make: No complicated techniques here! This recipe is simple enough for novice bakers and quick enough for busy mornings.
Versatile Treat: Whether it’s Valentine’s Day or a cozy brunch, these muffins will surely elevate your table. Pair them with a lovely cup of coffee or even alongside some delicious Cream Cheese Muffins for a delightful treat!
Crowd-Pleasing: Expect smiles from friends and family; these muffins are both beautiful and delicious, making them a favorite for any gathering!
Red Velvet Muffin Ingredients
For the Cream Cheese Filling
• Cream Cheese – Provides a rich, creamy center; use full-fat for the best flavor.
• Egg Yolk – Adds richness and helps bind the filling together.
• Powdered Sugar – Sweetens and stabilizes for a smooth, luscious texture.
• Vanilla Extract – Enhances the flavor with a delightful aroma.
For the Muffin Batter
• Cake Flour – Essential for a light crumb; substitute with all-purpose flour mixed with cornstarch if needed.
• Granulated Sugar – Sweetens the muffin base perfectly.
• Salted Butter – Provides flavor and moisture; either salted or unsalted works well.
• Vegetable/Canola Oil – Keeps the muffins wonderfully moist.
• Brown Sugar – Adds depth of flavor and ensures moisture.
• Egg Whites – Contributes to the structure and lift of the muffins.
• Red Velvet Emulsion – Gives that classic red color and flavor; can be swapped with red food coloring if absent.
• Baking Powder & Baking Soda – Essential leavening agents that help the muffins rise beautifully.
• Unsweetened Cocoa Powder – Adds the signature subtle chocolate flavor of red velvet.
• Buttermilk – Contributes tanginess and moisture; always best at room temperature for mixing.
• Heavy Whipping Cream – Lightens the batter for a fluffy texture, enhancing the muffin experience.
For the Crumb Topping
• Cake Flour – Creates a light and tender crumb topping.
• Granulated Sugar – Sweetens and enhances the topping’s crunch.
• Softened Butter – Combines for a rich, buttery flavor; don’t skip this step!
• Pinch of Salt – Balances sweetness and enhances flavors beautifully.
You’re one step closer to making scrumptious red velvet muffins with cream cheese filling that will leave everyone enchanted!
Step‑by‑Step Instructions for Red Velvet Muffins with Cream Cheese Filling
Step 1: Prepare Cream Cheese Filling
In a mixing bowl, combine the cream cheese, egg yolk, powdered sugar, and vanilla extract. Use a hand mixer to blend until smooth and creamy, ensuring there are no lumps. Once ready, scoop dollops of the filling onto a parchment-lined tray and place it in the freezer for at least 30 minutes, so it firms up for easy handling during muffin assembly.
Step 2: Make Crumb Topping
In a medium bowl, combine the cake flour, granulated sugar, softened butter, and a pinch of salt. Using your fingertips, mix the ingredients until they resemble coarse crumbs. Set this aside as you prepare the muffin batter, making sure it’s loosely packed but still crumbly for that satisfying crunchy topping on your red velvet muffins.
Step 3: Preheat Oven
Preheat your oven to 425°F (218°C) to get that perfect rise for your muffins. Meanwhile, prepare a 12-cup muffin pan by greasing it and lining each cup with paper liners. This setup will make it easy to remove the muffins once they’re baked and golden.
Step 4: Prepare Muffin Batter
In a large mixing bowl, cream together the softened butter, vegetable oil, and brown sugar until the mixture is light and fluffy, which will take about 3-4 minutes. Gradually add the egg whites, mixing well after each addition. Then, stir in the vanilla extract and red velvet emulsion, ensuring everything is beautifully combined for your red velvet muffins.
Step 5: Mix Dry Ingredients
In a separate bowl, whisk together the cake flour, baking powder, baking soda, salt, and unsweetened cocoa powder. Make sure these dry ingredients are well blended. This step is crucial for achieving the light and airy texture of the red velvet muffins, setting the base for a beautiful rise in the oven.
Step 6: Combine Ingredients
Gradually add the dry ingredients to the butter mixture, alternating with the buttermilk. Begin with a third of the dry mix, followed by half the buttermilk, and continue alternating until all ingredients are combined. Be careful not to over-mix; stop when there are no dry remnants, creating a smooth batter.
Step 7: Incorporate Heavy Cream
In a clean bowl, whip the heavy cream until it thickens and forms soft peaks. Gently fold this into the muffin batter, which adds an extra fluffiness to your red velvet muffins. Be delicate during this step to keep the air in the batter, ensuring light and airy muffins.
Step 8: Fill Muffin Cups
Spoon half of the muffin batter evenly into each prepared muffin cup, filling them about halfway. Carefully place a frozen dollop of the cream cheese filling in the center of each, ensuring it’s covered completely, and then add the remaining batter on top to enclose the filling.
Step 9: Add Crumb Topping
Generously sprinkle the crumb topping over each filled muffin cup, ensuring an even distribution for that delightful crunch in every bite. This topping adds a beautiful contrast to the red velvet muffins, enhancing both texture and flavor.
Step 10: Bake
Place the muffin pan in the preheated oven and bake at 425°F for 6 minutes. Then, reduce the temperature to 350°F (176°C) and continue baking for 18-22 minutes or until a toothpick inserted into the muffins comes out clean. Keep an eye on them as they bake to avoid over-browning.
Step 11: Cool
Once baked, allow the red velvet muffins to cool in the pan for approximately 10-15 minutes. This cooling period helps set their structure before transferring them to a wire rack, allowing them to cool completely and keeping them moist inside.
Expert Tips for Red Velvet Muffins
-
Use Full-Fat Cream Cheese: For a rich, creamy filling that melts in your mouth, always opt for full-fat cream cheese in your red velvet muffins.
-
Don’t Overmix Batter: Gentle mixing is key! Overmixing can lead to dense muffins. Combine until just blended for a light and fluffy result.
-
Frozen Cream Cheese Filling: Make sure your cream cheese filling is frozen before adding it to the muffins. This prevents it from melting away during baking.
-
Baking Temperature Alert: Start at a high temperature for the initial rise, but don’t open the oven door while reducing the heat, or your muffins may sink!
-
Cooling Time Counts: Allow muffins to cool in the pan for 10-15 minutes. This helps maintain their delicate structure before transferring them to a rack.
-
Lighten Up with Buttermilk: If you want a lighter texture, consider using additional buttermilk instead of heavy cream, but note it may affect fluffiness in your red velvet muffins.
What to Serve with Creamy Red Velvet Muffins with a Crunchy Topping
Imagine bringing a charming touch to your breakfast table that complements the rich, indulgent flavors of these delightful muffins.
-
Creamy Whipped Butter: A dollop of whipped butter enhances the muffins’ flavor, adding a creamy, smooth texture that’ll make every bite even more decadent.
-
Fresh Berries: A side of mixed berries not only adds a pop of color but the tangy flavors balance the sweetness of the muffins beautifully. Think strawberries, blueberries, and raspberries for a refreshing, juicy contrast.
-
Coffee or Espresso: Pairing a strong cup of brewed coffee or a shot of espresso brings warmth and depth, enhancing the overall experience of enjoying these muffins.
-
Vanilla Ice Cream: For a delightful treat, serve these muffins warm with a scoop of vanilla ice cream. The melting creaminess with the warm muffin creates a heavenly combination.
-
Yogurt Parfait: Layer creamy yogurt with granola and fresh fruit for a crunchy, tangy breakfast option that’s a perfect counterpoint to the sweet muffins.
-
Sparkling Water with Lime: A refreshing beverage option, sparkling water with a splash of lime adds fizz and cleansing flavor, making it ideal alongside the rich red velvet muffins.
-
Chocolate Sauce Drizzle: For an indulgent twist, consider a drizzle of chocolate sauce over the muffins. This addition transforms your breakfast into a delightful dessert experience!
-
Honey or Maple Syrup: Drizzling honey or warm maple syrup on the muffins offers an extra layer of sweetness, accentuating their luxurious flavor while enhancing their breakfast appeal.
-
Charcuterie Board: A small cheese and charcuterie board filled with creamy cheeses, cured meats, and nuts can offer a lovely contrast to the muffins, perfect for brunch gatherings.
-
Lavender Lemonade: A light, floral drink like lavender lemonade aligns with the festive theme of red velvet, offering an aromatic refreshment to sip.
How to Store and Freeze Red Velvet Muffins
Room Temperature: Store muffins in an airtight container at room temperature for up to 3 days to keep them fresh and moist.
Fridge: If you prefer your muffins chilled, refrigerate them in an airtight container for up to a week. Just be sure to let them come to room temperature before enjoying!
Freezer: Freeze unbaked muffins after assembling them for up to 2 months. Simply wrap them tightly in plastic wrap, then foil before freezing. Bake directly from frozen, adding a few extra minutes to the baking time.
Reheating: To reheat stored muffins, pop them in the microwave for 10-15 seconds or warm them in the oven at 350°F (176°C) for 5-7 minutes, keeping the creamy center delectably soft.
Red Velvet Muffins Variations
Feel free to get creative with these delightful muffins and cater to your taste preferences. Your kitchen adventure awaits!
-
Gluten-Free: Substitute all-purpose flour with a gluten-free blend for a cozy alternative that suits gluten-sensitive loved ones.
-
Vegan Twist: Replace eggs with flaxseed meal (1 tbsp flaxseed + 2.5 tbsp water) and use plant-based cream cheese for a vegan-friendly option. The flavor remains delightful!
-
Choco-Lovers: Incorporate chocolate chips into the batter for an extra layer of richness that pairs beautifully with cream cheese.
-
Spiced Up: Add a pinch of cinnamon and nutmeg into the muffin batter for a warm, spicy twist that enhances the holiday spirit.
-
Fruity Delight: Fold in blueberries or raspberries for a burst of freshness and a colorful twist that melds seamlessly with the red velvet batter.
-
Maple Infusion: Swap granulated sugar for pure maple syrup in the muffin batter to impart aromatic sweetness that elevates the flavor profile.
-
Nutty Crunch: Sprinkle chopped walnuts or pecans into the crumb topping for a delightful crunch that complements the muffin’s texture beautifully.
-
Cream Cheese Variation: Experiment with flavored cream cheese, like strawberry or chocolate, to surprise your guests with a delightful filling unique to your tastes.
For more delightful inspirations, check out these delicious pairings with Cream Cheese Muffins or explore the sweet indulgence of Creamsicle Mini Cheesecakes that can perfectly accompany your red velvet muffins!
Make Ahead Options
These Creamy Red Velvet Muffins with a Crunchy Topping are perfect for busy home cooks looking to save time! You can prepare the cream cheese filling up to 24 hours in advance. Simply mix the filling and freeze dollops on a parchment-lined tray to keep them firm. Additionally, you can make the crumb topping and store it in an airtight container at room temperature for up to 3 days. When you’re ready to bake, simply whip up the muffin batter and add the frozen filling and crumb topping before baking. This way, you maintain that delightful gooey center while saving your valuable time on those hectic mornings! Enjoy fresh, homemade muffins with minimal effort!
Red Velvet Muffins with Cream Cheese Filling Recipe FAQs
How do I select the best cream cheese for the filling?
Absolutely! For the creamiest and richest filling, I highly recommend using full-fat cream cheese. It provides a luscious texture that complements the muffins beautifully. Low-fat alternatives might compromise the smoothness and flavor, so stick with the full-fat version for the best results!
What is the best way to store leftover muffins?
Very! To keep your red velvet muffins fresh, store them in an airtight container at room temperature for up to 3 days. If you’d like to extend their shelf life, you can refrigerate them for up to a week. Just remember to let them come to room temperature before enjoying that delightful bite!
Can I freeze these muffins?
Absolutely! You can freeze the assembled muffins before baking them. Wrap each muffin tightly in plastic wrap, then in foil, and place them in a freezer-safe bag. These will stay fresh for up to 2 months. When you’re ready to bake, just pop them in the preheated oven directly from the freezer, adding a few extra minutes to the baking time for perfect results.
What should I do if my muffins are too dense?
It’s important to be gentle when mixing! If your muffins turn out too dense, it might be due to overmixing the batter. Make sure to mix just until the ingredients are combined—no more! Also, check that you’re measuring your flour correctly; using a kitchen scale can help ensure accuracy.
Can my pets eat these muffins?
Very! However, be cautious. The ingredients in these red velvet muffins include sugars and chocolate (from cocoa powder), which are not safe for pets. Always keep these tasty treats out of reach to ensure your furry friends stay safe. If you want to share, consider making a pet-friendly version without harmful additives.
Irresistible Red Velvet Muffins with Cream Cheese Filling Magic
Ingredients
Equipment
Method
- Prepare the cream cheese filling by combining cream cheese, egg yolk, powdered sugar, and vanilla extract in a bowl. Blend until smooth and creamy, then freeze for 30 minutes.
- Make the crumb topping by mixing cake flour, granulated sugar, softened butter, and a pinch of salt until crumbly.
- Preheat the oven to 425°F (218°C) and prepare a muffin pan with grease and paper liners.
- In a large bowl, cream together softened butter, vegetable oil, and brown sugar until light and fluffy. Gradually add egg whites and stir in vanilla extract and red velvet emulsion.
- Whisk together dry ingredients: cake flour, baking powder, baking soda, salt, and cocoa powder.
- Alternately add dry ingredients and buttermilk to the butter mixture, mixing carefully until just combined.
- Whip heavy cream until thick, then gently fold it into the muffin batter.
- Fill muffin cups halfway with batter, place frozen cream cheese filling in the center, then cover with remaining batter.
- Sprinkle crumb topping over each muffin cup evenly.
- Bake at 425°F for 6 minutes, then reduce temperature to 350°F (176°C) and bake for 18-22 minutes or until a toothpick comes out clean.
- Allow muffins to cool in the pan for 10-15 minutes before transferring to a wire rack to cool completely.
Leave a Reply