
As I rummaged through my recipe box on a sun-soaked afternoon, a familiar craving hit me—a luscious, creamy slice of No Bake Vanilla Cheesecake calling my name. Perfect for warm weather, this simple dessert requires no baking at all, making it the ultimate treat for busy days. With a buttery vanilla wafer crust and a silky smooth filling, every bite is a delightful escape from the rush of everyday life. Plus, it’s an impressive crowd-pleaser that leaves guests raving while keeping your stress level at bay! Whether you’re hosting a backyard barbecue or just want to indulge on a quiet evening, this cheesecake is your summer go-to. Are you ready to whip up this no-bake wonder and elevate your dessert game?
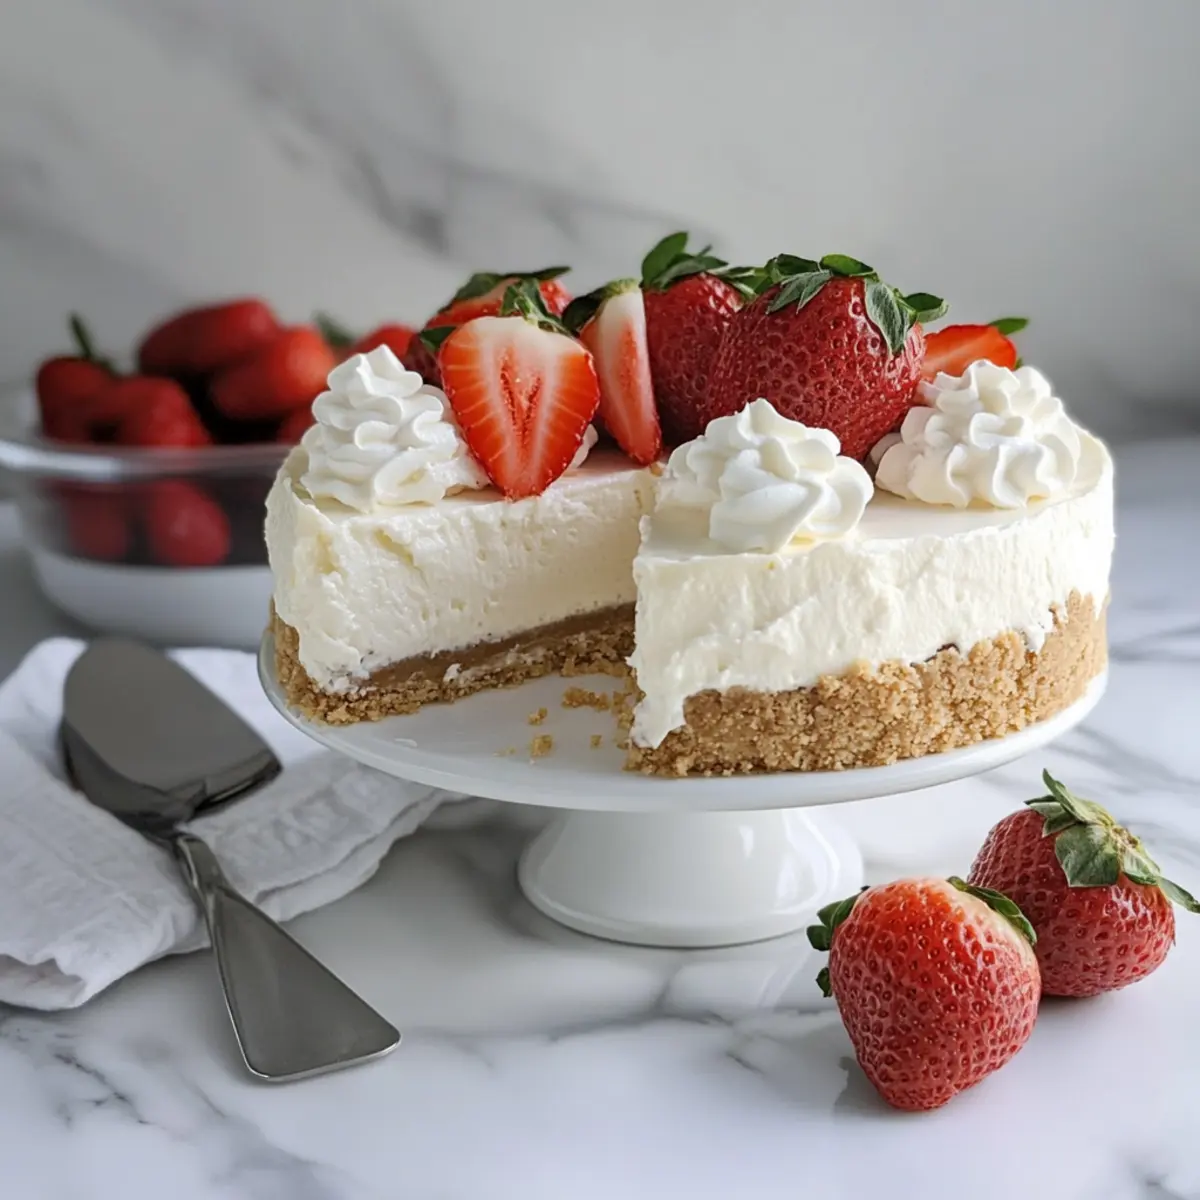
Why is No Bake Vanilla Cheesecake a Must-Try?
Simplicity at Its Best: This No Bake Vanilla Cheesecake is a breeze to whip up, requiring zero oven time, making it ideal for busy cooks and hot summer days.
Rich, Decadent Flavor: Creamy cream cheese paired with pure vanilla extract creates an indulgent taste that will leave everyone asking for seconds.
Versatile and Adaptable: Top it with seasonal fruits, chocolate ganache, or even a drizzle of caramel for a personalized touch that’s sure to impress your guests.
Perfect for Gatherings: Whether it’s a backyard barbecue or a picnic, this cheesecake is a crowd favorite; it’s easy to transport and serves beautifully.
Make-Ahead Marvel: Feel the stress melt away with this recipe that can be prepared a day in advance, allowing you more time to enjoy your time with family and friends.
So, why not elevate your dessert table with this creamy delight? Check out variations like Cinnamon Roll Cheesecake or White Chocolate Cheesecake Bliss for more delicious ideas!
No Bake Vanilla Cheesecake Ingredients
-
For the Crust
-
Vanilla Wafers – Finely crushed for the best texture; Graham crackers or digestive biscuits can be used as a substitute.
-
Granulated Sugar – Sweetens the crust; brown sugar can offer a deeper, richer flavor if you prefer.
-
Salt – Enhances sweetness; omit if using salted butter.
-
Unsalted Butter – Binds the crust together; margarine may be a substitute, though be mindful of taste alteration.
-
For the Filling
-
Cream Cheese – Room temperature for easy blending and creamy texture; light cream cheese is a lower-fat option if desired.
-
Granulated Sugar – Sweetens the cheesecake filling; powdered sugar can be used for a smoother finish.
-
Vanilla Extract – Infuses rich vanilla flavor; always opt for pure for the best taste, but imitation works in a pinch.
-
Heavy Cream – Adds richness; avoid low-fat cream to maintain the desired texture.
-
For the Whipped Topping
-
Powdered Sugar – Sweetens and stabilizes the whipped cream; granulated sugar can also work, though it may yield a less stable topping.
-
Vanilla Extract (for whipped cream) – Enhances flavor of the whipped topping; consider adding other flavorings like almond extract for variety.
This No Bake Vanilla Cheesecake is not only simple to make but also brings a taste of summer bliss into your kitchen!
Step‑by‑Step Instructions for No Bake Vanilla Cheesecake
Step 1: Prepare the Crust
In a mixing bowl, combine finely crushed vanilla wafers, granulated sugar, and a pinch of salt. Pour in the melted unsalted butter and stir until the mixture resembles wet sand. Press this mixture firmly into the bottom and up the sides of a 9-inch springform pan, ensuring an even layer. Chill in the refrigerator for 30 minutes to set.
Step 2: Make the Cheesecake Filling
In a large mixing bowl, beat the room-temperature cream cheese, granulated sugar, and vanilla extract together on medium speed until smooth and creamy, roughly 2-3 minutes. In a separate bowl, whip the heavy cream and powdered sugar until stiff peaks form. Gently fold the whipped cream into the cream cheese mixture, taking care not to deflate it, until fully combined for the silky filling of your No Bake Vanilla Cheesecake.
Step 3: Assemble the Cheesecake
Once your crust has chilled and is firm, pour the luscious cheesecake filling into the prepared crust. Use a spatula to spread it evenly across the top. Carefully tap the pan on the counter to release any air bubbles for a smooth finish. Cover the cheesecake with plastic wrap and refrigerate for at least 6 hours, or overnight for optimal flavor and texture.
Step 4: Prepare the Whipped Cream Topping
Just before serving, whip the heavy cream with powdered sugar and additional vanilla extract in a clean bowl until stiff peaks form again, about 3-4 minutes. This homemade whipped cream will add a delightful lightness to your No Bake Vanilla Cheesecake. Remove the cheesecake from the refrigerator, gently spread the whipped cream over the top, and smooth it out for a beautiful presentation.
Step 5: Serve and Enjoy
Slice your No Bake Vanilla Cheesecake into generous portions and serve chilled. Optionally, top with seasonal fruits or a drizzle of chocolate sauce. This simple and refreshing dessert is perfect for gatherings and is sure to be a hit with family and friends. Enjoy your creamy creation!
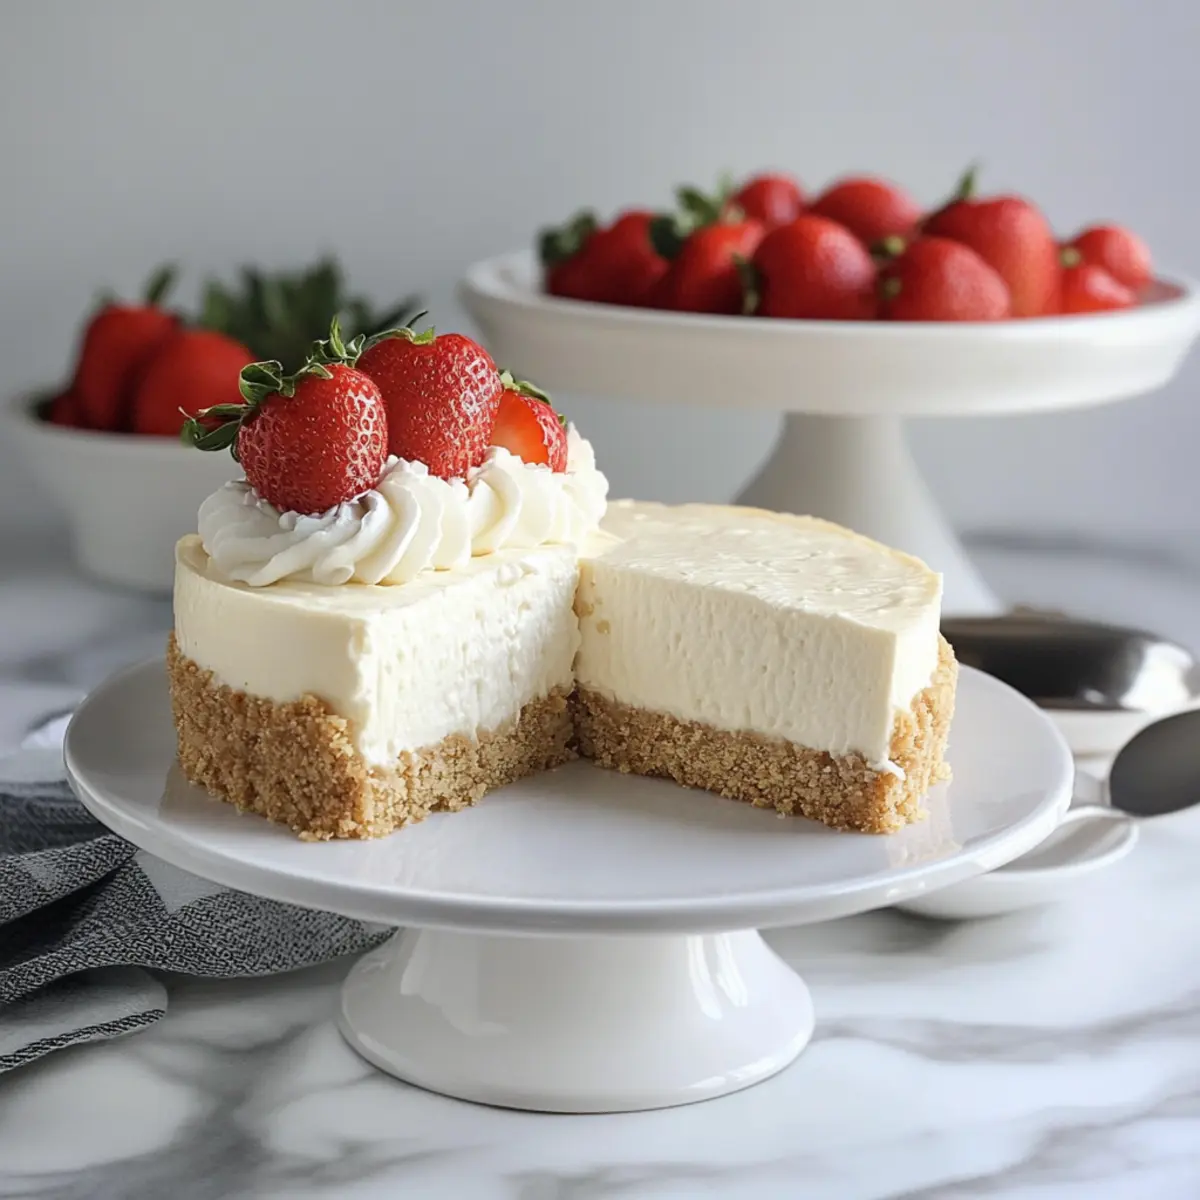
Storage Tips for No Bake Vanilla Cheesecake
Fridge: Store your No Bake Vanilla Cheesecake covered with plastic wrap in the refrigerator for up to 5 days to maintain its freshness and delightful texture.
Freezer: For longer storage, freeze the cheesecake (without the whipped topping) for up to 2 months. Wrap it tightly in plastic wrap and aluminum foil to prevent freezer burn.
Reheating: Thaw frozen cheesecake in the fridge overnight before serving. Add the whipped cream topping just before enjoying for the best results.
Serving: Always serve your cheesecake chilled, and consider garnishing with fresh fruits or chocolate drizzle to enhance its presentation and flavor when serving.
What to Serve with No Bake Vanilla Cheesecake
As the sun sets and the warm breeze graces your outdoor gatherings, pairing side dishes with your creamy dessert elevates the whole experience.
-
Fresh Berries: Juicy strawberries, blueberries, or raspberries add a burst of sweetness and color, perfectly complementing the cheesecake’s richness. Their natural tartness balances the creaminess wonderfully.
-
Chocolate Sauce: A rich drizzle of chocolate sauce creates a flavor explosion with every slice, offering a delightful contrast to the smooth vanilla taste. It’s a decadent addition that never fails to impress!
-
Lemonade Spritzer: A refreshing lemonade spritzer, with sparkling water and fresh mint, harmonizes beautifully with dessert, cutting through its sweetness and enhancing the overall dining experience.
-
Meringue Cookies: Light and airy, meringue cookies add a delightful crunch. Their sweetness mirrors that of the cheesecake, providing a whimsical treat to accompany the creamy dessert.
-
Homemade Fruit Compote: A warm fruit compote made from seasonal fruits can elevate your cheesecake. It introduces a warm and tangy layer that contrasts with the cold, creamy cheesecake while lending it an elegant touch.
-
Iced Tea: A refreshing glass of unsweetened iced tea, served with a slice of lemon, provides a light complement. The tea’s subtle bitterness and the citric notes work beautifully alongside the cheesecake.
-
Grilled Peaches: Sweet, caramelized grilled peaches add warmth and a smoky flavor that pairs intrigues with the cheesecake’s coolness. The seasonal element suggests summer, making it a perfect match.
-
Nutty Biscotti: Crunchy almond or hazelnut biscotti offers a wonderful texture contrast with each bite of cheesecake. Dip them deliciously into tea or coffee for a delightful treat.
No Bake Vanilla Cheesecake Variations
Invite your taste buds on a delightful journey as you explore these variations to make this stunning dessert even more personalized and special.
- Graham Cracker Twist: Swap out vanilla wafers for Graham crackers for a nostalgic flavor reminiscent of classic cheesecakes.
- Seasonal Fruit Topping: Top with fresh seasonal fruits like strawberries, blueberries, or even peaches for a burst of color and natural sweetness.
- Flavor Boost: Add a teaspoon of almond or mint extract to the filling for a refreshing twist that elevates the vanilla flavor.
- Chocolate Delight: Drizzle a rich chocolate ganache over the top before serving for an indulgent, dessert-worthy addition that will impress any chocolate lover.
Try transforming this already delightful cheesecake into something even more magical, perhaps by topping it with a dreamy Cotton Candy Cheesecake or a slice of summery Raspberry Vanilla Cream.
- Low-Fat Option: Use light cream cheese and low-fat whipped topping to create a guilt-free version that still retains creaminess.
- Nutty Crust: Incorporate crushed almonds or pecans into the crust mixture for added flavor and texture; a great way to change things up!
- Spiced Up Filling: Mix in a dash of cinnamon or nutmeg to the filling for a warm, cozy flavor that perfectly complements the creaminess.
Let your creativity flow as you customize this simple and crowd-pleasing No Bake Vanilla Cheesecake to suit your mood or occasion!
Make Ahead Options
This No Bake Vanilla Cheesecake is a meal prep dream come true, allowing you to save time and enjoy a beautiful dessert with minimal effort. You can prepare the crust up to 24 hours in advance—simply press it into the pan and store it covered in the refrigerator. The cheesecake filling can also be made ahead and stored in the fridge for up to 3 days. Just be sure to keep it covered tightly to maintain its creamy texture. When you’re ready to serve, whip the cream and add it as a topping—this preserves its light fluffiness. With these make-ahead steps, you’ll have a delightful dessert ready to impress guests effortlessly!
Expert Tips for No Bake Vanilla Cheesecake
-
Cream Cheese Temperature: Ensure cream cheese is at room temperature for easy blending; cold cream cheese can result in lumps in your filling.
-
Whipping Cream Technique: Don’t overwhip the heavy cream; stop once stiff peaks form to maintain a light, airy texture in your No Bake Vanilla Cheesecake.
-
Chill Time Matters: Allow the cheesecake to chill for a full 6 hours, or overnight, to achieve the best texture and flavor—impatience may lead to a runny filling.
-
Parchment Magic: For effortless removal, line your springform pan with parchment paper, making clean slices a breeze without damaging your cheesecake.
-
Flavor Variations: Experiment with different extracts or toppings like fresh fruits or chocolate to customize your no bake cheesecake and wow your guests!
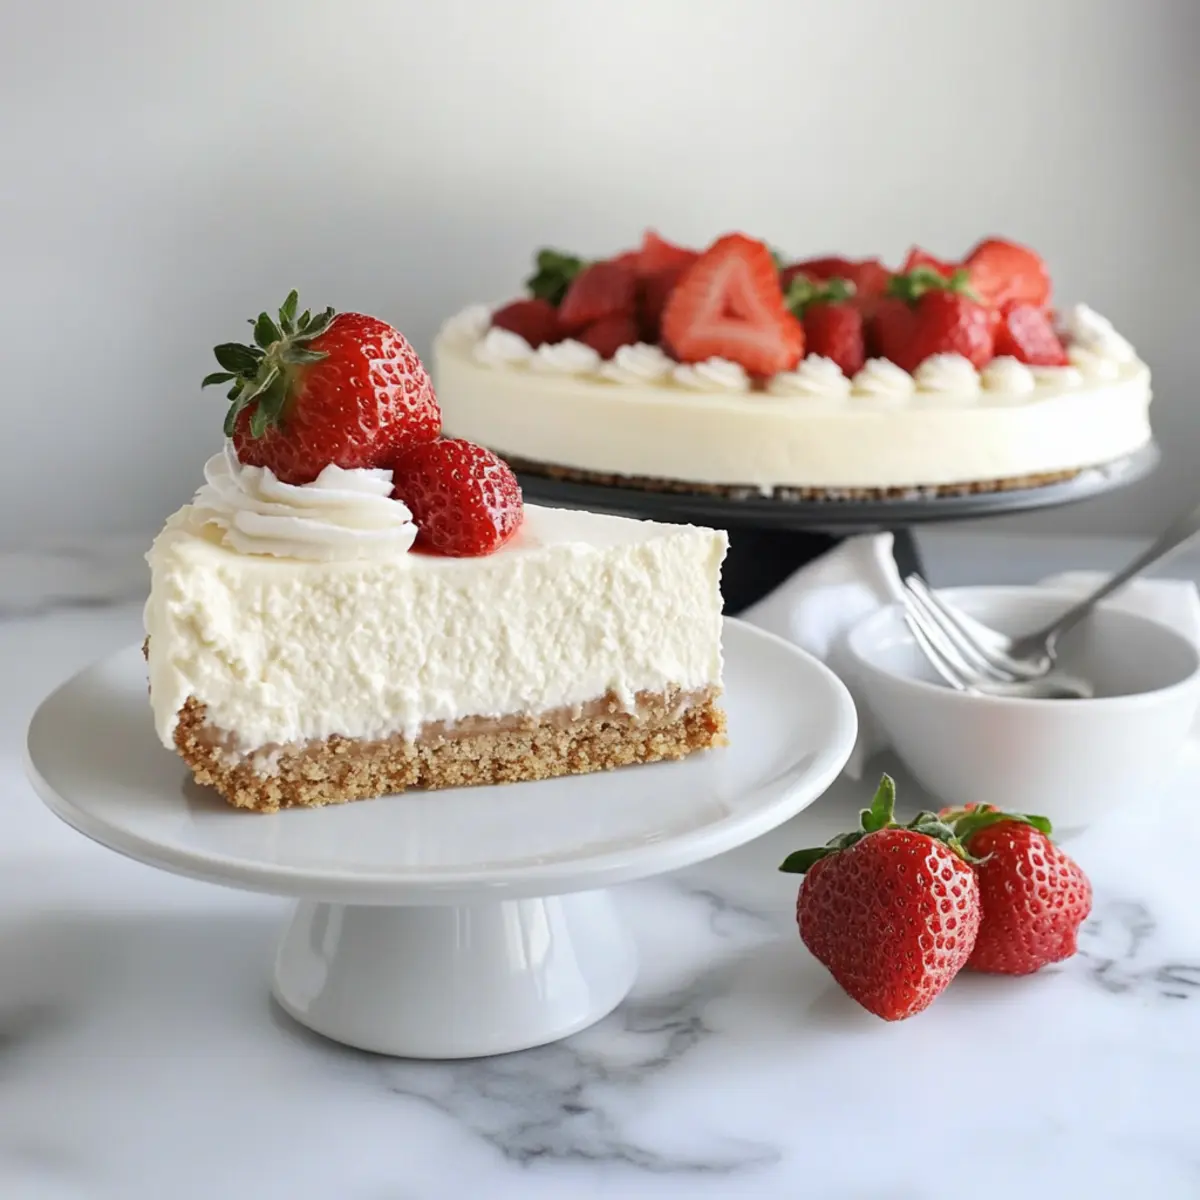
No Bake Vanilla Cheesecake Recipe FAQs
How do I choose ripe ingredients for the cheesecake?
Absolutely! The key ingredient is the cream cheese; make sure it’s at room temperature for the creamiest texture. When selecting heavy cream, look for a fat content of at least 36% for the best whipping results. Fresh vanilla extract is always preferred for the most authentic flavor; avoid imitation when possible.
How should I store my No Bake Vanilla Cheesecake?
Very! Store your No Bake Vanilla Cheesecake covered with plastic wrap in the fridge for up to 5 days. This will help maintain its freshness and the delightful texture of the filling and crust. Remember to add any whipped cream topping only right before serving to keep it stable!
Can I freeze the cheesecake, and how?
Of course! To freeze your No Bake Vanilla Cheesecake, first, make sure it is completely chilled and set. Wrap it tightly in plastic wrap followed by aluminum foil to prevent freezer burn. You can store it this way for up to 2 months. When you’re ready to enjoy, simply thaw it in the fridge overnight and top with whipped cream just before serving.
What if my cheesecake filling is too runny?
If you find that your filling is too runny, don’t worry! This usually happens if the heavy cream wasn’t whipped to stiff peaks or if the filling wasn’t chilled long enough. Check that you’ve beaten the heavy cream correctly and consider chilling the mixture for an additional hour or two to help it set more. Gently folding the whipped cream into the cream cheese mixture without deflating it can also keep the texture perfect.
Are there any allergy considerations for this recipe?
Yes, keep an eye on dietary restrictions! This No Bake Vanilla Cheesecake contains dairy products, so it’s not suitable for those with lactose intolerance or dairy allergies. You can try using vegan cream cheese and coconut cream as alternatives for a dairy-free version. Always label your cheesecake properly if serving to guests with potential allergies.
Can I use a different crust for my cheesecake?
Indeed! While vanilla wafers create a lovely subtle flavor, you can absolutely switch it up and use Graham crackers or digestive biscuits instead for a delicious variation. If you want to explore a gluten-free option, consider using gluten-free cookies or almond flour mixed with melted butter to create a crust that still holds up beautifully.
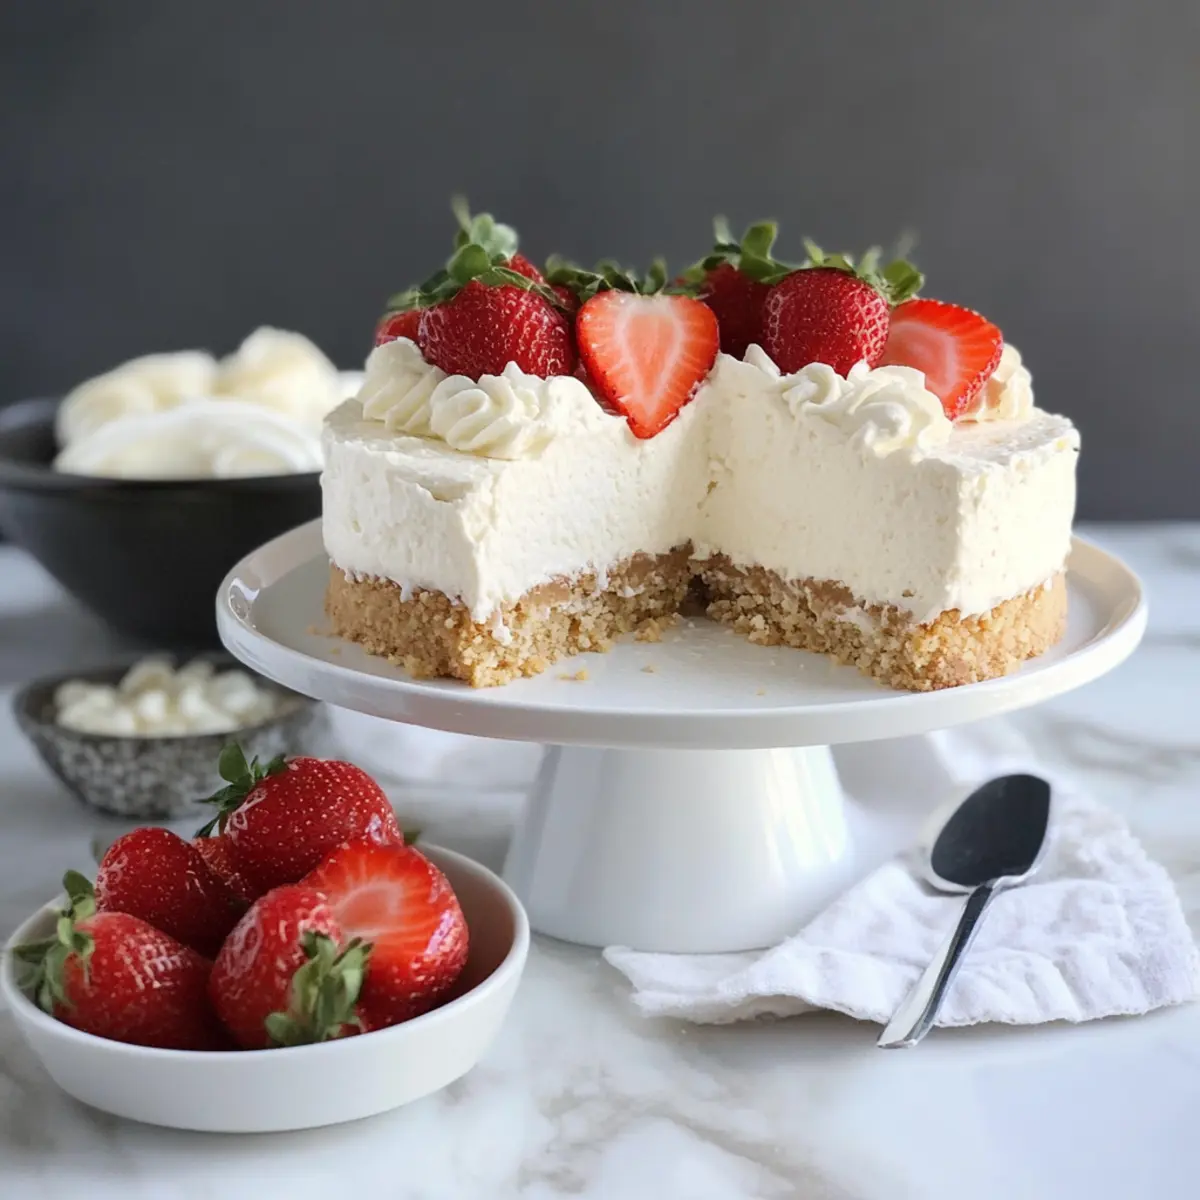
No Bake Vanilla Cheesecake: Creamy Delight for Summer Bliss
Ingredients
Equipment
Method
- In a mixing bowl, combine finely crushed vanilla wafers, granulated sugar, and a pinch of salt. Pour in the melted unsalted butter and stir until the mixture resembles wet sand. Press this mixture firmly into the bottom and up the sides of a 9-inch springform pan, ensuring an even layer. Chill in the refrigerator for 30 minutes to set.
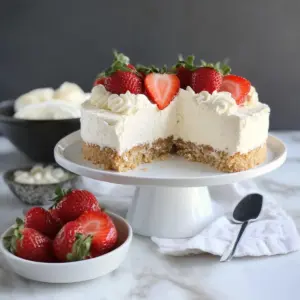
- In a large mixing bowl, beat the room-temperature cream cheese, granulated sugar, and vanilla extract together on medium speed until smooth and creamy, roughly 2-3 minutes. In a separate bowl, whip the heavy cream and powdered sugar until stiff peaks form. Gently fold the whipped cream into the cream cheese mixture until fully combined.
- Once your crust has chilled and is firm, pour the cheesecake filling into the prepared crust. Use a spatula to spread it evenly across the top. Cover the cheesecake with plastic wrap and refrigerate for at least 6 hours, or overnight for optimal flavor.
- Just before serving, whip the heavy cream with powdered sugar and vanilla extract until stiff peaks form again, about 3-4 minutes. Spread the whipped cream over the top of the cheesecake for a beautiful presentation.
- Slice your No Bake Vanilla Cheesecake into generous portions and serve chilled. Optionally, top with seasonal fruits or a drizzle of chocolate sauce. Enjoy your creamy creation!
Leave a Reply