
Picture this: your kitchen is filled with the delightful aroma of toasted coconut, as you prepare a treat that’s both nostalgic and utterly irresistible. These No-Bake Samoa Cookies capture the essence of the beloved Girl Scout classic, bringing together rich chocolate, chewy caramel, and crunchy coconut—all without ever turning on the oven. This quick and easy recipe is perfect for those busy days when you crave a little indulgence, yet want to skip the baking hassle. In about 30 minutes, you’ll have a batch of these decadent cookies ready to satisfy your sweet tooth or impress your guests at gatherings. Ready to whip up something special? Let’s dive into this sweet adventure together!
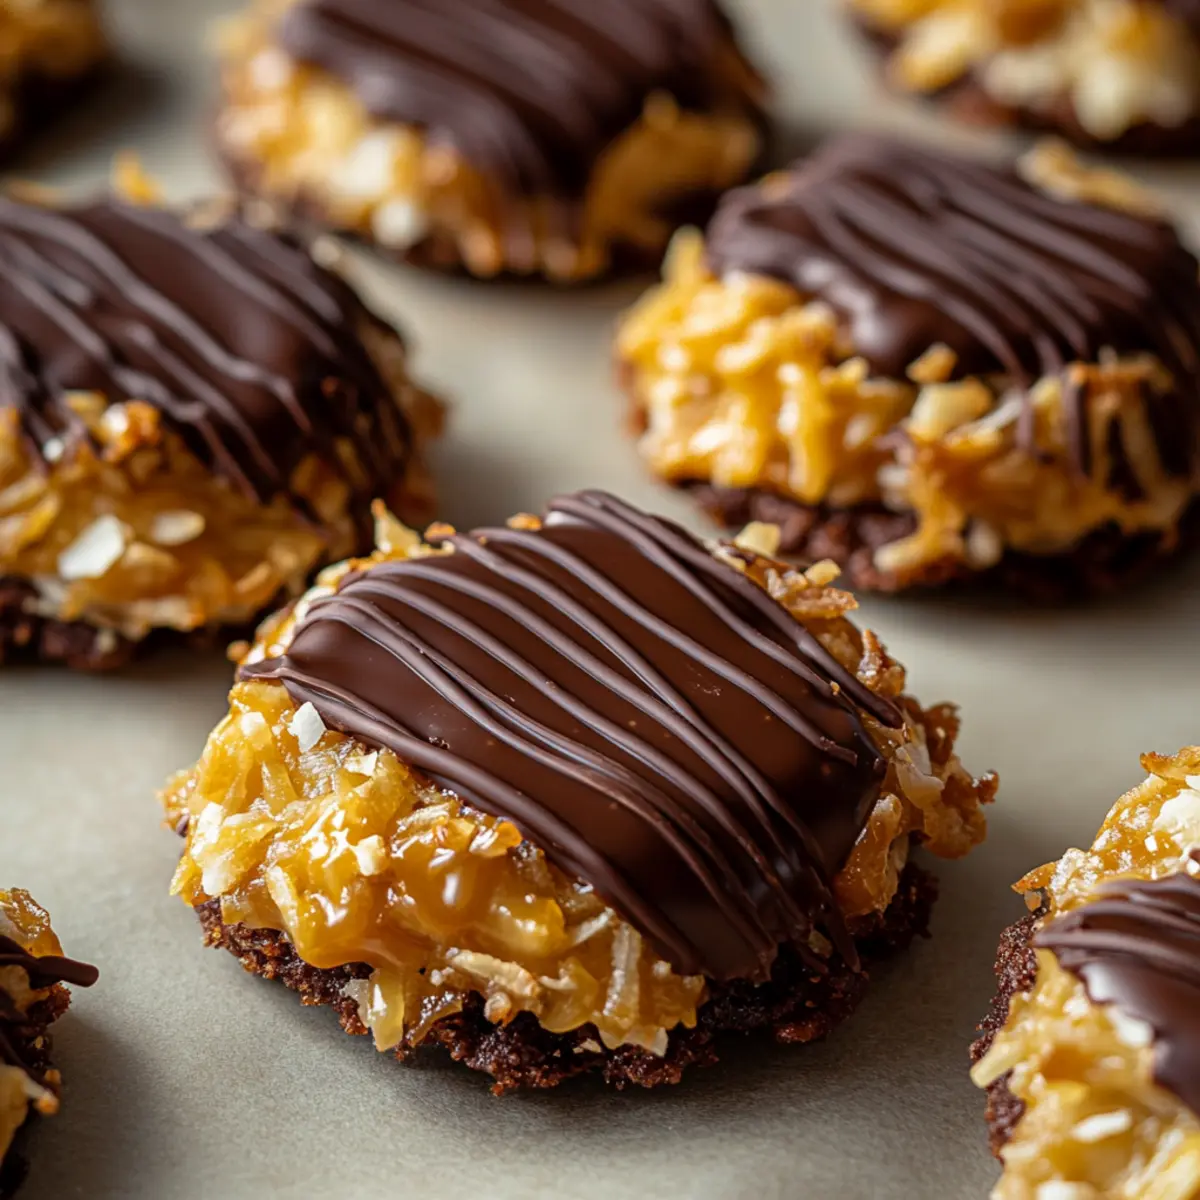
Why Are No-Bake Samoa Cookies So Great?
Indulgent, these cookies pack a sweet punch with a perfect blend of chocolate and caramel, making every bite feel like a treat straight from your childhood. Quick to prepare, you can whip these up in just under 30 minutes, saving you time and hassle. No oven required! This means no heating up your kitchen, keeping it cool and cozy—a true bonus for busy days. Customizable options abound, whether you prefer a salted caramel finish or creamy white chocolate drizzle. Plus, they’re gluten-free friendly! Enjoy bringing a modern twist to a nostalgic classic that’s sure to impress, just like my Gilmore Girls Cookies or Cherry Snowball Cookies—it’s a sweet venture in every bite!
No Bake Samoa Cookies Ingredients
Get ready to create a sweet masterpiece with these No Bake Samoa Cookies!
For the Cookie Base
- Unsweetened Shredded Coconut – Provides texture and the signature flavor of Samoas; for less sweetness, opt for unsweetened coconut.
- Soft Caramel Candies – Acts as the main sweetener and binding agent; I recommend using Werther’s or Kraft brands for best results.
- Milk or Heavy Cream – Helps melt the caramel into a smooth consistency; use milk for a lighter option or heavy cream for a richer flavor.
For the Chocolate Coating
- Semi-Sweet Chocolate Chips – Coats the cookies for a rich flavor; choose high-quality chocolate for best melting and flavor.
- Coconut Oil or Butter – Provides a smooth texture to melted chocolate; for richer taste, butter can be used as a substitution.
For Flavor Enhancement
- Vanilla Extract – Enhances the flavor of the caramel; no direct substitutions recommended.
- Salt – A pinch balances the sweetness of the cookies, ensuring every bite is just right.
Now you’re well-equipped to dive into making these decadent No Bake Samoa Cookies! Happy cooking!
Step‑by‑Step Instructions for No Bake Samoa Cookies
Step 1: Toast Coconut
In a skillet over medium heat, add the unsweetened shredded coconut. Stir frequently for 3–5 minutes until it turns golden brown and fragrant. Keep a close eye on it, as coconut can burn quickly. Once toasted, remove from heat and set aside to cool before incorporating it into your No Bake Samoa Cookies.
Step 2: Melt Caramel
In a medium saucepan over low heat, combine soft caramel candies with a splash of milk or heavy cream. Stir continuously until the mixture is smooth and velvety in texture, which should take about 5 minutes. Once melted, remove from heat and stir in vanilla extract and a pinch of salt for enhanced flavor.
Step 3: Combine Ingredients
Add the toasted coconut to the melted caramel mixture. Using a spatula, gently stir until all the coconut is well-coated with caramel. This will create the sticky base for your No Bake Samoa Cookies, giving them that signature chewy texture. Ensure everything is evenly mixed before moving on to the next step.
Step 4: Shape Cookies
Prepare a parchment-lined baking sheet. Using a spoon or your hands, drop spoonfuls of the caramel-coconut mixture onto the sheet, shaping each mound into rounds and gently flattening them. Aim for approximately 1 to 1.5 inches in diameter. This shapes your No Bake Samoa Cookies nicely, allowing them to set properly.
Step 5: Melt Chocolate
In a microwave-safe bowl, combine the semi-sweet chocolate chips with a bit of coconut oil or butter. Microwave in 30-second intervals, stirring in between, until the chocolate is completely melted and smooth, which should take about 1–2 minutes. This step is crucial for getting a luscious chocolate coating on your cookies.
Step 6: Dip & Drizzle
Now it’s time to coat your cookies! Dip the bottom of each cookie in the melted chocolate, ensuring it’s well-covered. Place the dipped cookies back onto the parchment-lined sheet. Once all cookies are dipped, use a spoon to drizzle any remaining chocolate over the tops for a decorative touch, adding that delightful chocolatey finish to your No Bake Samoa Cookies.
Step 7: Set
Finally, place the baking sheet in the refrigerator for about 15–20 minutes, or until the chocolate is completely firm. This step is essential for achieving that perfect texture and satisfying snap when you bite into your No Bake Samoa Cookies. After setting, they’re ready to enjoy or store for later!
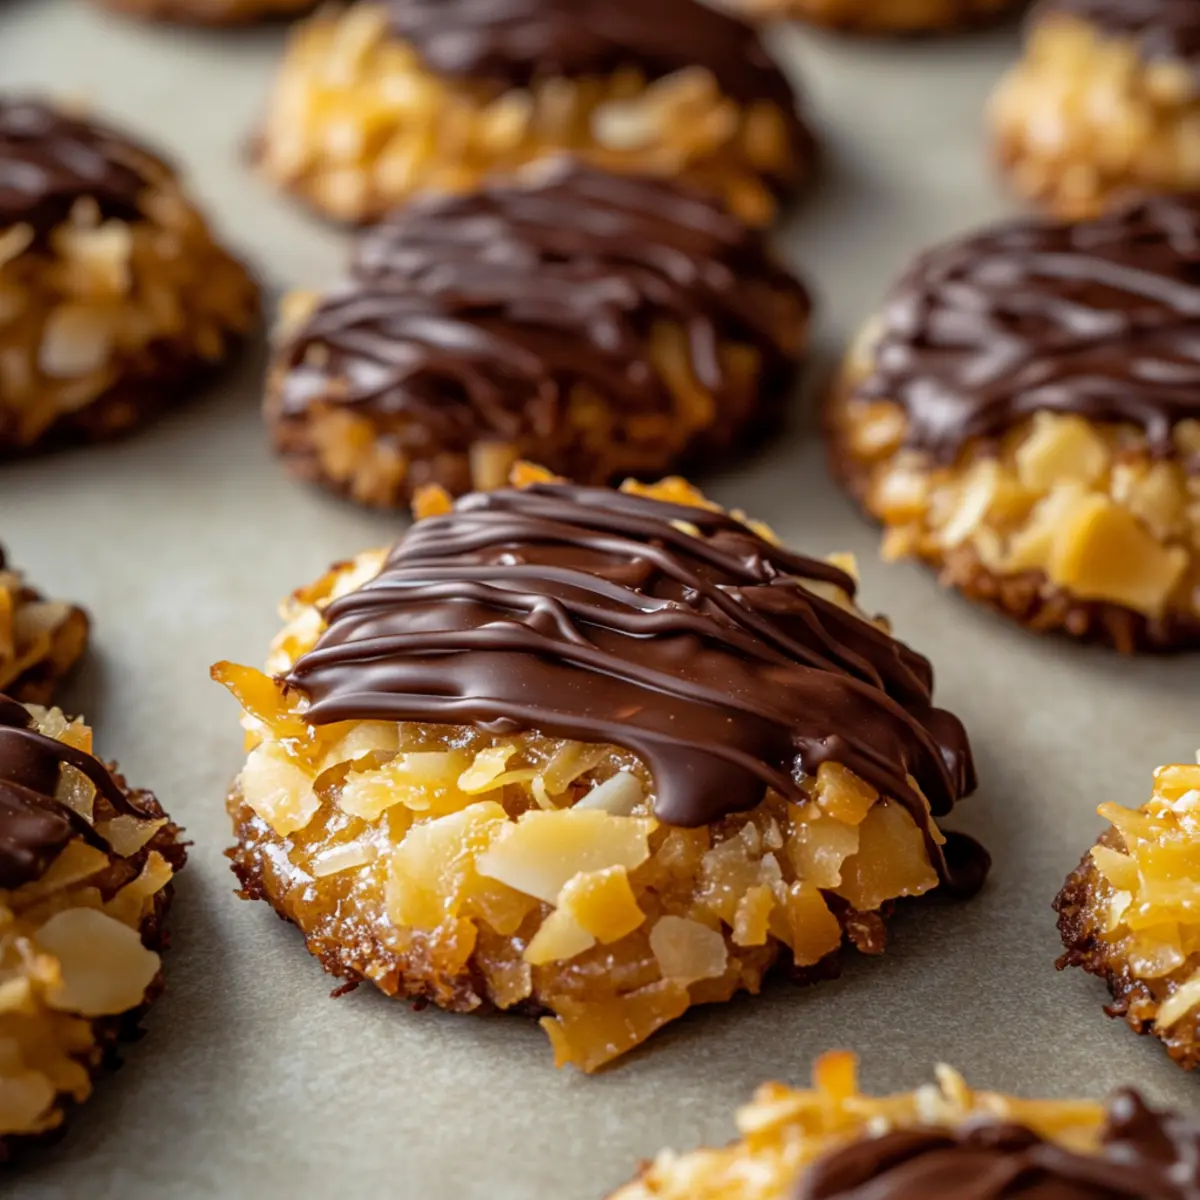
How to Store and Freeze No Bake Samoa Cookies
Room Temperature: Store at room temperature in an airtight container for up to 3 days to keep them fresh and chewy.
Fridge: For longer freshness, refrigerate the cookies in a sealed container for up to 1 week. This will enhance the texture, making them even more delightful!
Freezer: Freeze No Bake Samoa Cookies for up to 2 months. Separate layers with parchment paper to prevent sticking, and thaw in the fridge before enjoying.
Reheating: These cookies are best enjoyed cold or at room temperature, so no need to reheat! Simply let them sit out for a few minutes before serving.
Make Ahead Options
These No Bake Samoa Cookies are perfect for meal prep enthusiasts! You can toast the coconut and melt the caramel mixture up to 24 hours in advance. Simply store the toasted coconut in an airtight container and the melted caramel in the refrigerator, ensuring to reheat it gently to restore its creamy texture before mixing. When you’re ready to assemble, combine the coconut with the caramel, shape into cookies, and proceed with dipping them in chocolate. They’ll be just as delicious, saving you time and effort on those busy weeknights. Enjoy the sweet satisfaction of having these amazing treats ready to go!
Expert Tips for No Bake Samoa Cookies
- Coconut Toasting: Watch the coconut closely while toasting; burning can happen quickly, and burnt coconut diminishes the deliciousness of your No Bake Samoa Cookies.
- High-Quality Chocolate: Use good-quality semi-sweet chocolate to prevent blooming, which creates unsightly white streaks on your cookies.
- Cooling Time: Allow the shaped cookies to cool at room temperature before refrigerating; this helps maintain optimum texture when setting.
- Store Wisely: Keep your No Bake Samoa Cookies in an airtight container to maintain freshness; they’ll last longer and taste better!
- Variations are Endless: Feel free to experiment with flavors; adding nuts or adjusting the chocolate type can create unique twists on the classic!
What to Serve with No Bake Samoa Cookies
Pair these indulgent treats with complementary delights to create a memorable dessert experience.
-
Rich Coffee: The bold flavors of a freshly brewed cup of coffee enhance the chocolate and caramel, making a soothing pairing.
-
Vanilla Ice Cream: A scoop of creamy vanilla ice cream adds a refreshing contrast to the chewy and crunchy textures of the cookies, creating a delightful combination.
-
Chocolate Milkshake: Enjoy a thick chocolate milkshake for an extra indulgent touch, balancing the richness of the cookies with a classic sweet drink.
-
Fresh Berries: Tart berries like raspberries or strawberries provide a vibrant freshness that cuts through the sweetness for a well-rounded dessert option.
-
Coconut Water: For those seeking a lighter pairing, refreshing coconut water complements the coconut flavors in the cookies while keeping things cool and hydrating.
-
Chewy Caramel Cake: For a true dessert lover’s feast, serve a slice of caramel cake on the side, echoing the flavors while adding a new layer of indulgence.
-
Gluten-Free Chocolate Cake: If you want to stick with gluten-free options, a rich chocolate cake will beautifully complement the flavors of the No Bake Samoa Cookies, making everyone happy!
-
Mint Tea: Brew a soothing cup of mint tea for a refreshing contrast that will cleanse the palate between bites of cookie, enhancing the overall enjoyment.
No Bake Samoa Cookies Variations
Feel free to customize your No Bake Samoa Cookies for a truly personalized treat!
-
Salted Caramel Version: Sprinkle flaky sea salt on top before the chocolate sets for an irresistible flavor contrast that heightens the cookie’s sweetness.
-
White Chocolate Variation: Swap dark chocolate for creamy white chocolate to create a different flavor profile that’s equally delicious and visually appealing.
-
Nutty Samoa Cookies: Add chopped pecans or almonds into the caramel-coconut mixture for an extra crunch that enhances texture and adds nutty goodness.
-
Sugar-Free Option: Use sugar-free chocolate chips and alternative sweeteners to make a lower-sugar version without sacrificing flavor.
-
Toasted Almonds: Incorporate toasted sliced almonds for additional flavor and that distinct nutty essence in every bite.
-
Minty Twist: Mix in a few drops of mint extract for a refreshing mint chocolate experience that will have you dreaming of summer days.
-
Spicy Kick: If you love a little heat, toss in a pinch of cayenne pepper to your chocolate coating—this surprising twist makes for a unique flavor combination that excites the palate.
For more delightful dessert ideas, consider trying my Chai Shortbread Cookies or Cardamom Shortbread Cookies. Happy baking!
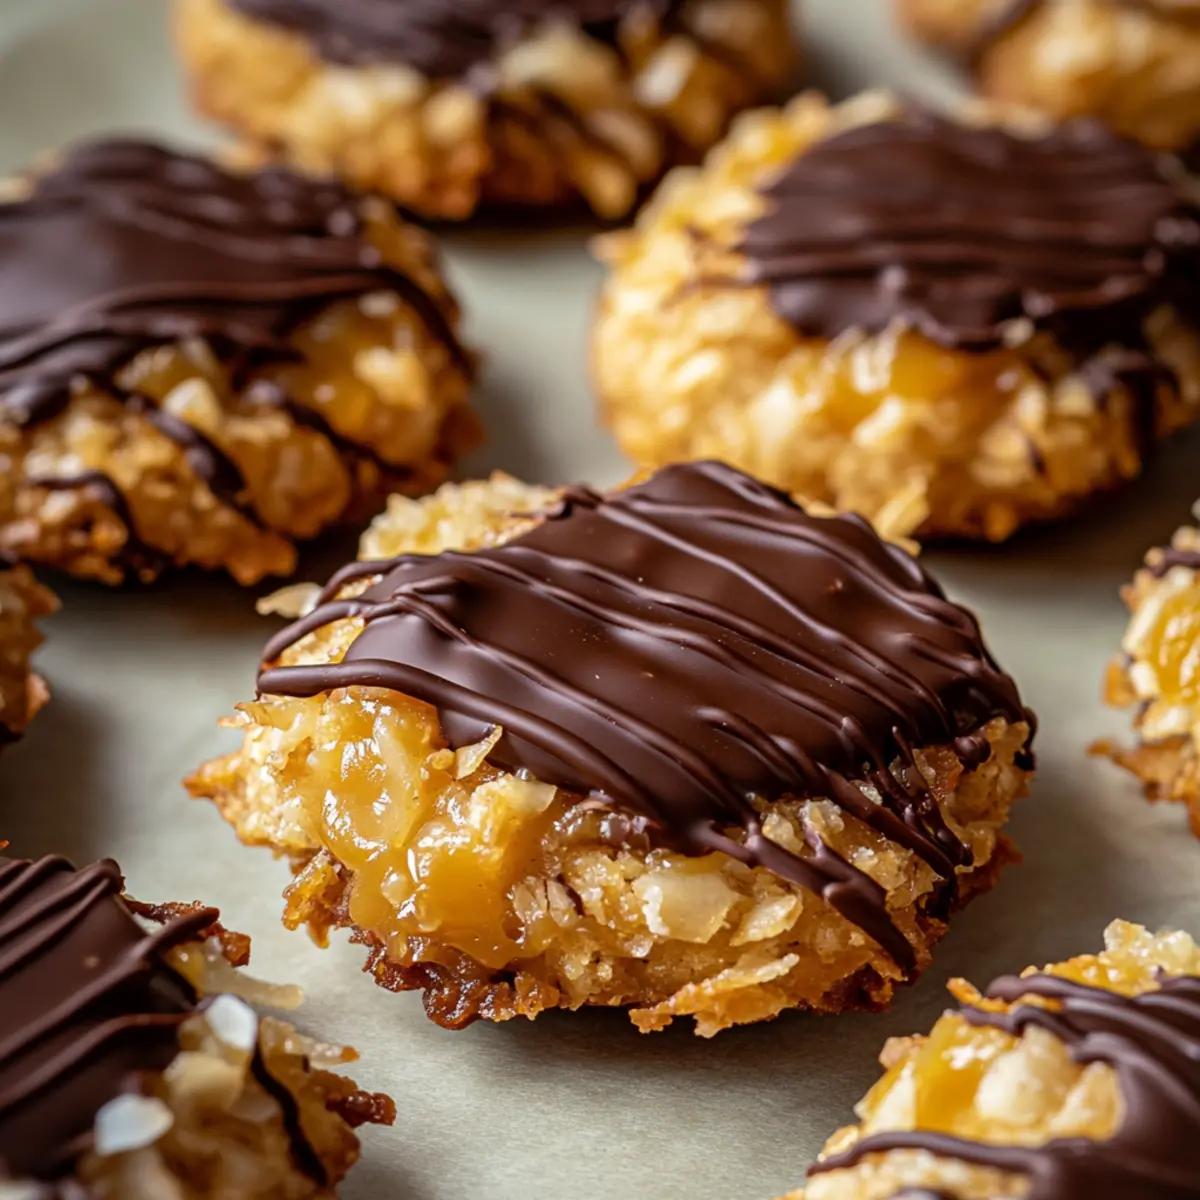
No Bake Samoa Cookies Recipe FAQs
What type of coconut should I use for the No Bake Samoa Cookies?
Using unsweetened shredded coconut is ideal for these cookies as it provides the signature texture and flavor without excessive sweetness. If you prefer, you can use sweetened coconut for a more indulgent cookie, but be cautious with the overall sugar content in the recipe.
How should I store No Bake Samoa Cookies to keep them fresh?
Store your No Bake Samoa Cookies in an airtight container at room temperature for up to 3 days. If you want them to last longer, refrigerate them in a sealed container for up to 1 week. This not only helps maintain their freshness but also enhances the cookie’s texture!
Can I freeze No Bake Samoa Cookies? How do I do it?
Absolutely! You can freeze your No Bake Samoa Cookies for up to 2 months. Simply layer the cookies with parchment paper in a freezer-safe container to prevent sticking. When you’re ready to enjoy them, transfer the container to the fridge to thaw for a few hours or overnight.
What can I do if my caramel mixture is too thick?
If your caramel mixture appears too thick while melting, make sure to add a little more milk or heavy cream to enhance its smoothness. Heat the mixture gently and stir until it reaches your desired consistency. If it cools down too much, return it to low heat for a minute or two while stirring.
Are No Bake Samoa Cookies gluten-free?
Yes! You can make gluten-free No Bake Samoa Cookies by ensuring that all the ingredients, particularly the chocolate and caramel, are certified gluten-free. It’s a fantastic option for those with gluten sensitivities, allowing everyone to enjoy this delightful treat.
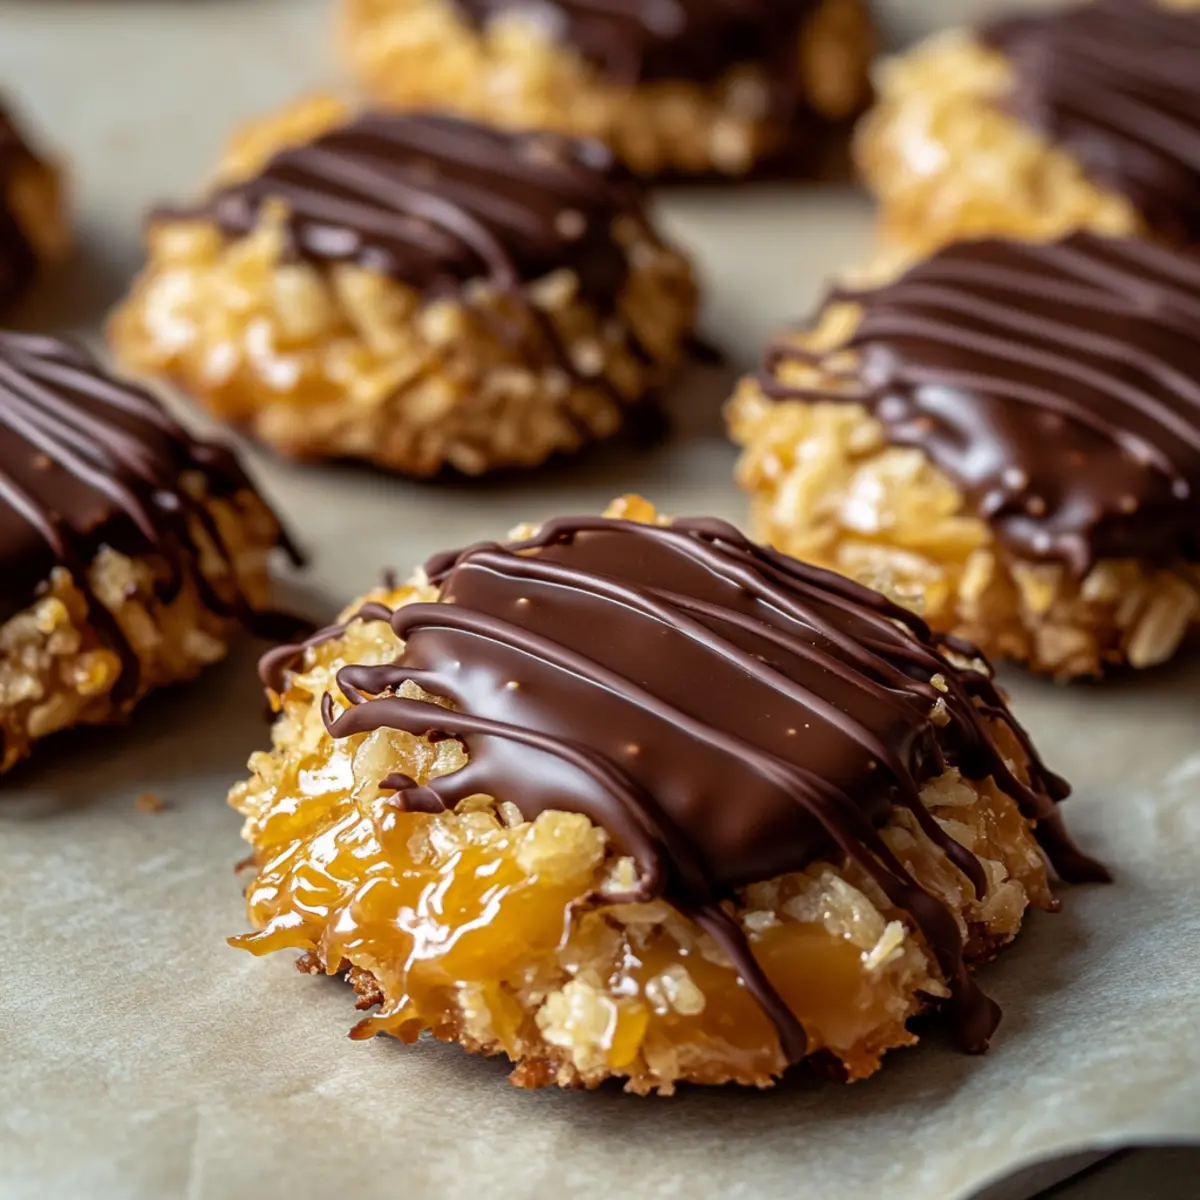
No-Bake Samoa Cookies That'll Make You Forget Fast Food
Ingredients
Equipment
Method
- In a skillet over medium heat, add the unsweetened shredded coconut. Stir frequently for 3–5 minutes until it turns golden brown and fragrant.
- In a medium saucepan over low heat, combine soft caramel candies with a splash of milk or heavy cream. Stir continuously until smooth, about 5 minutes.
- Add the toasted coconut to the melted caramel mixture and stir until well-coated.
- Prepare a parchment-lined baking sheet. Drop spoonfuls of the mixture onto the sheet, shaping each mound into rounds.
- In a microwave-safe bowl, combine semi-sweet chocolate chips with coconut oil or butter. Microwave in 30-second intervals until completely melted.
- Dip the bottom of each cookie in the melted chocolate, ensuring it's well-covered, and return to the parchment-lined sheet. Drizzle remaining chocolate over tops.
- Place the baking sheet in the refrigerator for about 15–20 minutes, or until the chocolate is completely firm.
Leave a Reply