
Standing in my kitchen, I couldn’t help but notice how the rich aroma of melted chocolate perfectly mingled with the tangy scent of fresh raspberries, creating a delightful symphony that called for a treat. Enter the Marry Me No Bake Raspberry Chocolate Mousse Cups—my secret weapon for satisfying any sweet tooth without the guilt! This recipe shines with its quick prep and wholesome ingredients, making it a must-try for anyone craving a healthier dessert option. Not only are these mousse cups vegan and gluten-free, but they are also protein-rich, allowing you to indulge in a deliciously creamy experience without any added sugar. Imagine serving these beauties at your next gathering and watching everyone’s faces light up with joy. Ready to whip up a dessert that will wow both your family and friends? Let’s dive into this delectable journey together!
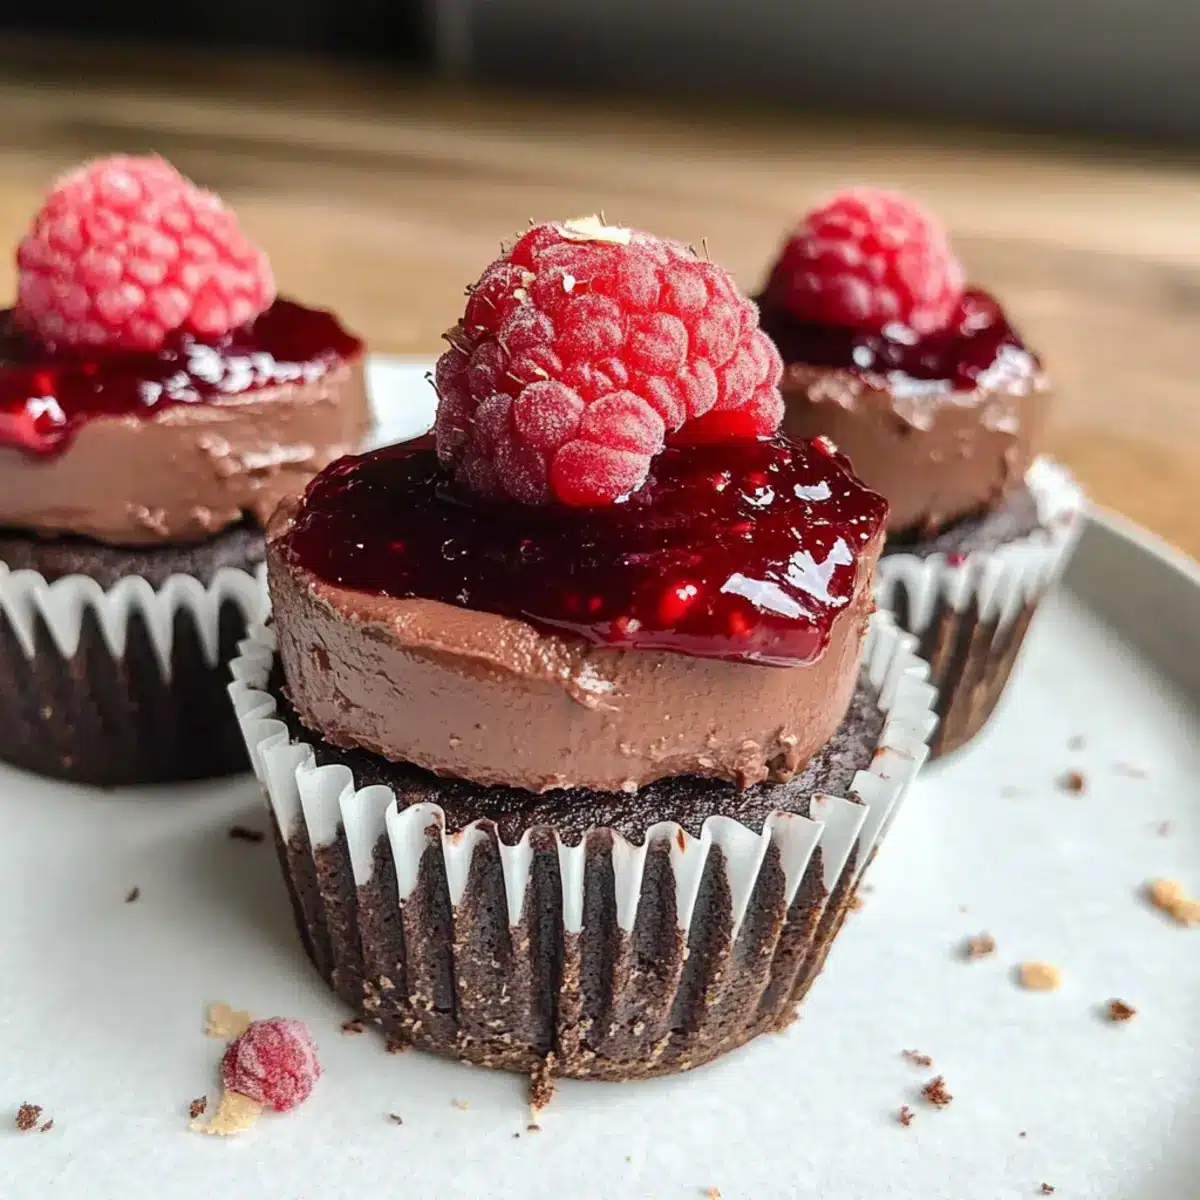
Why are these mousse cups a must-try?
Irresistible Flavor: The luscious chocolate combined with tart raspberries creates a rich flavor experience that’s impossible to resist.
Health-Conscious Indulgence: Enjoy a satisfying dessert that is vegan, gluten-free, and protein-rich, perfect for those seeking a guilt-free treat.
Time-Saving Simplicity: With no baking required, you can whip these up quickly, making them an easy choice for unexpected guests.
Versatile Toppings: Feel free to customize your mousse cups with other fruits like strawberries or blueberries for a twist!
Crowd-Pleasing Appeal: These stunning mousse cups are bound to impress at any gathering! Everyone will be asking for the recipe after one bite.
No Bake Raspberry Chocolate Mousse Cups Ingredients
• Here’s what you need to create these delightful mousse cups.
For the Cup Base
- Almond Flour – Provides structure and a nutty flavor; substitute with oat flour for a nut-free option.
- Flax Meal – Acts as a binder and adds healthy fats; can be replaced with ground chia seeds.
- Runny Almond Butter – Contributes creaminess and richness; swap for any other preferred nut or seed butter.
- Medjool Dates – Adds natural sweetness and texture; use any pitted dates and adjust based on desired sweetness.
- Cocoa Powder – Imparts a rich chocolate flavor; unsweetened cocoa powder is recommended for a deep taste.
- Dairy-Free Milk – Ensures moisture in the base; coconut milk or any plant-based milk works well.
- Vanilla Extract – Enhances overall flavor; optional but recommended for better depth.
For the Chocolate Mousse
- Coconut Cream – Creates a luscious chocolate mousse texture; can substitute with regular coconut cream or thick vegan heavy cream.
For the Raspberry Jam
- Frozen Raspberries – Provides the fruity topping; fresh raspberries can also be used if available; adjust sweetness as necessary.
- Water – Used for cooking down the raspberries; no substitute needed.
- Chia Seeds – Thickens the raspberry mix; optional for gel-like consistency; can also use cornstarch.
- Cinnamon – Adds a hint of warmth; optional but complements raspberry nicely.
- Maple Syrup – Optional for added sweetness in the jam; agave syrup or honey could also be used.
Feel free to get creative with your No Bake Raspberry Chocolate Mousse Cups!
Step‑by‑Step Instructions for No Bake Raspberry Chocolate Mousse Cups
Step 1: Prepare the Cup Base
Start by placing almond flour, flax meal, runny almond butter, medjool dates, cocoa powder, dairy-free milk, and vanilla extract into a food processor. Pulse the mixture until it combines into a dough-like consistency, which should take about 2-3 minutes. The dough should be slightly sticky but firm enough to mold.
Step 2: Shape the Cups
Line small cups or silicone molds with parchment paper, making it easier to remove the cups later. Evenly press the dough into the bottom and sides of each cup, ensuring to create a hollow center. Once shaped, place the cups in the freezer for about 15-20 minutes to firm up while preparing the mousse.
Step 3: Make the Chocolate Mousse
In the cleaned food processor, blend coconut cream, cocoa powder, and medjool dates until you achieve a smooth, creamy texture. This should take around 2-4 minutes, and the mixture will resemble a luscious mousse. Once blended, taste to adjust sweetness if necessary, then set it aside until the cup bases are ready.
Step 4: Fill the Cups
Retrieve the chilled cup bases from the freezer. Gently spoon the chocolate mousse into each cup, filling them to the top. Ensure even distribution for a professional finish. Once filled, return the mousse cups to the freezer for about 2 hours, allowing the mousse to set firmly.
Step 5: Prepare the Raspberry Jam
While the mousse is setting, combine frozen raspberries, water, chia seeds, and cinnamon in a medium saucepan. Cook over medium heat for 6-8 minutes, stirring occasionally. You’ll notice the raspberries breaking down and the mixture thickening; remove it from heat and let it cool completely.
Step 6: Top the Mousse Cups
Once the mousse has fully set, take the cups out of the freezer. Spoon the cooled raspberry jam generously on top of each mousse cup, creating a beautiful layer of vibrant color. For an indulgent touch, drizzle with melted chocolate if desired, then return the cups briefly to the freezer for about 10 minutes.
Step 7: Serve and Enjoy
After the topping has set, carefully remove the mousse cups from their molds or parchment paper. Serve chilled to enjoy the delightful contrast of creamy chocolate and tart raspberry in these No Bake Raspberry Chocolate Mousse Cups. Perfect for any occasion, these treats will surely impress!
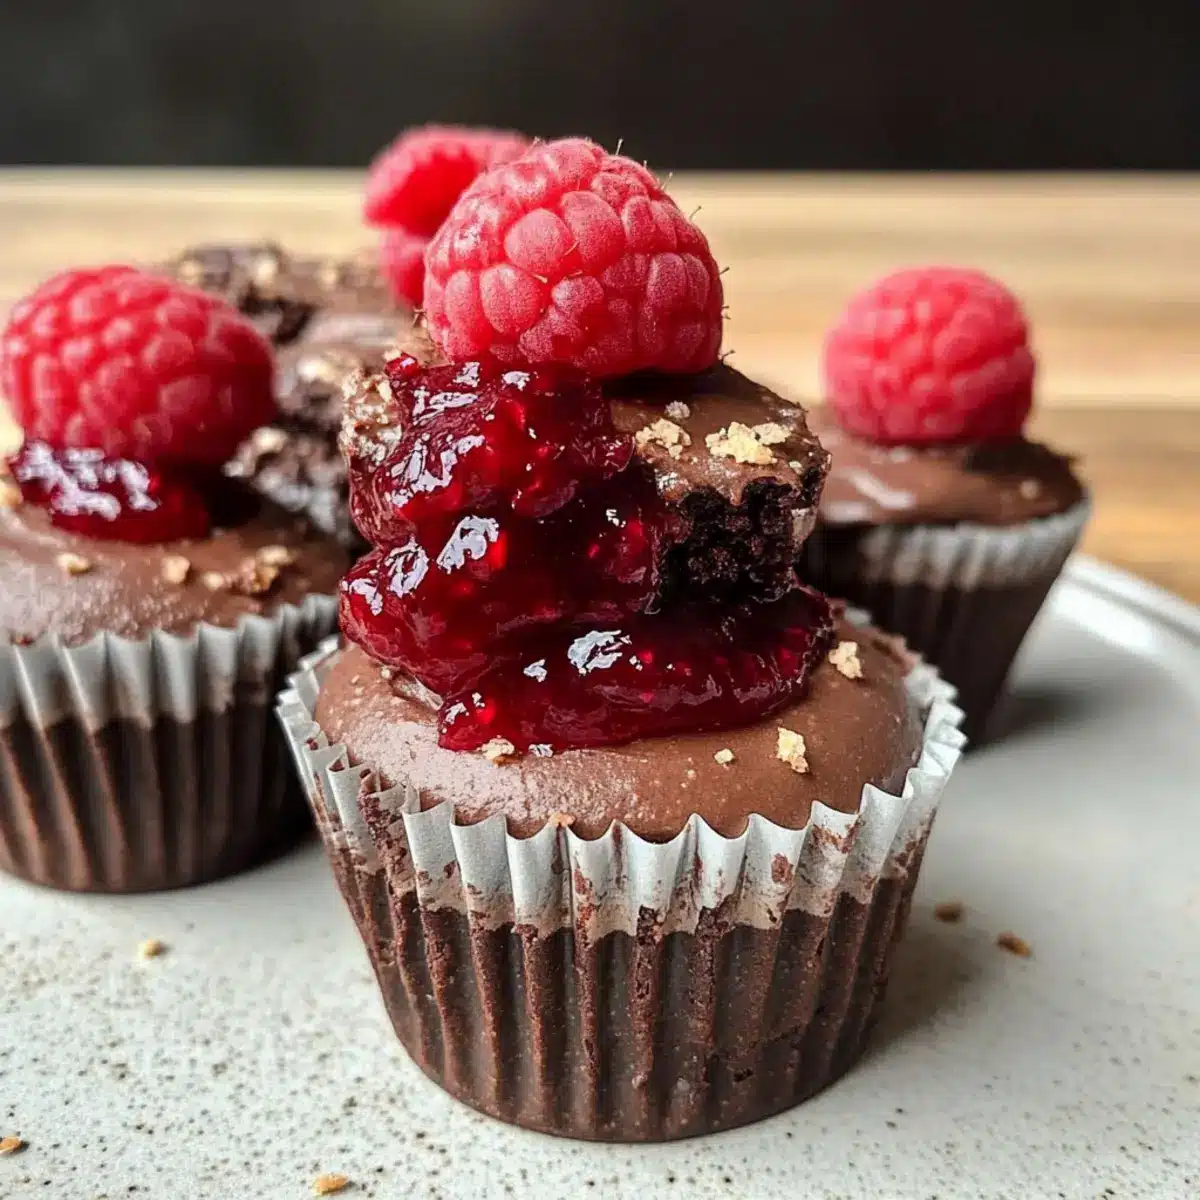
How to Store and Freeze No Bake Raspberry Chocolate Mousse Cups
Fridge: Store your mousse cups in an airtight container for up to 3 days. This keeps them fresh and ready to enjoy whenever a sweet craving strikes.
Freezer: For longer storage, place the mousse cups in the freezer for up to 2 weeks. Wrap each cup tightly in plastic wrap or foil to prevent freezer burn.
Thawing: To serve, simply move the mousse cups from the freezer to the fridge and let them thaw for several hours. This ensures a perfect, creamy texture upon serving.
Reheating: These no bake raspberry chocolate mousse cups are best enjoyed cold; there’s no need to reheat! Just remove from the fridge or freezer and dig in!
Expert Tips for No Bake Raspberry Chocolate Mousse Cups
- Use Runny Almond Butter: Ensure your almond butter is runny for smoother blending. If it’s too thick, warm it slightly to achieve the right consistency.
- Chill Before Serving: For the best experience, chill the mousse cups before serving. This enhances the refreshing taste and texture of the dessert.
- Adjust Cocoa Levels: Feel free to modify the amount of cocoa in the mousse based on how chocolaty you want it. Start with less for mild flavor and add more to your liking.
- Monitor Raspberry Jam: While cooking the raspberry mixture, keep an eye to prevent burning. Stir occasionally, so it thickens evenly for the topping.
- Creative Variations: Experiment with different fruits or flavors for the mousse cups. Adding espresso for a mocha twist or trying a berry mix can elevate your No Bake Raspberry Chocolate Mousse Cups!
Make Ahead Options
These No Bake Raspberry Chocolate Mousse Cups are perfect for busy home cooks looking to save time! You can prepare the cup base and the chocolate mousse up to 24 hours in advance. Simply follow the recipe through Step 3, cover the mousse securely in the fridge, and refrigerate your mousse cups (without toppings) until you’re ready to serve. For the raspberry jam, feel free to make it up to 3 days ahead; just store it in an airtight container in the fridge to maintain freshness. When you’re ready to impress your guests, spoon the raspberry jam on top, briefly freeze the assembled cups for 10 minutes, and you’ll have a delightful dessert ready to enjoy!
No Bake Raspberry Chocolate Mousse Cups Variations
Feel free to explore these delightful twists and substitutions to make these mousse cups truly your own!
- Nut-Free: Swap almond flour for oat flour or a gluten-free blend for a nut-free option without sacrificing flavor.
- Coffee Lover’s Delight: Add espresso powder to the mousse for a mocha twist that’s perfect for coffee enthusiasts.
- Fruit Frenzy: Change the raspberry topping for your favorite fruits, like strawberries or blueberries, for a seasonal delight.
- Extra Creamy: For a more decadent mousse, use thick coconut heavy cream instead of regular coconut cream.
- Sweetness Adjustments: If you’re watching your sugar intake, reduce or eliminate sweeteners like maple syrup in the jam.
- Spicy Kick: Add a pinch of cayenne or chili powder to the mousse for a surprising and invigorating spicy note.
- Choco-Dipped: Drizzle melted chocolate on top or dip the cups in chocolate before adding the mousse for extra richness.
- Healthy Boost: Toss in some superfoods like chia seeds to the mousse mix for added fiber and nutrition, enhancing its crunch factor.
These suggestions are just a taste of the endless possibilities. If you love chocolate as much as I do, you might enjoy pairing this with a delightful Chocolate Espresso Banana Bread for a complete dessert experience! Or perhaps a light and refreshing Vanilla Raspberry Iced Latte to complement your mousse? The options are endless!
What to Serve with No Bake Raspberry Chocolate Mousse Cups
Elevate your dessert experience with delightful accompaniments that enhance every spoonful of your mousse cups.
-
Fresh Berries: The tartness of fresh strawberries, blueberries, or mixed berries adds a vibrant contrast, brightening up each bite. Their juiciness perfectly balances the sweetness of the mousse.
-
Coconut Whipped Cream: A dollop of airy coconut whipped cream brings a velvety texture that complements the mousse’s richness. The subtle coconut flavor ties together the tropical elements beautifully.
-
Granola Crumble: The crunch of a homemade granola adds a textural contrast that makes each spoonful more interesting. It also provides a nutty flavor that resonates with the almond in the mousse cups.
-
Mint Leaves: A sprinkle of fresh mint leaves not only garnishes the dessert beautifully but also imparts a refreshing touch, making each bite feel light and invigorating.
-
Dark Chocolate Shavings: For the chocolate lovers, shaving dark chocolate over the mousse enhances its indulgent appeal while introducing a slightly bitter note that balances the sweetness.
-
Chilled Green Tea: A cold glass of green tea can cleanse the palate, allowing you to fully appreciate the rich flavors of the mousse. Its earthiness complements the dessert without overwhelming it.
-
Vegan Ice Cream: Serve alongside a scoop of dairy-free vanilla ice cream for an indulgent treat. Its creaminess heightens the overall dessert experience, creating a decadent duo.
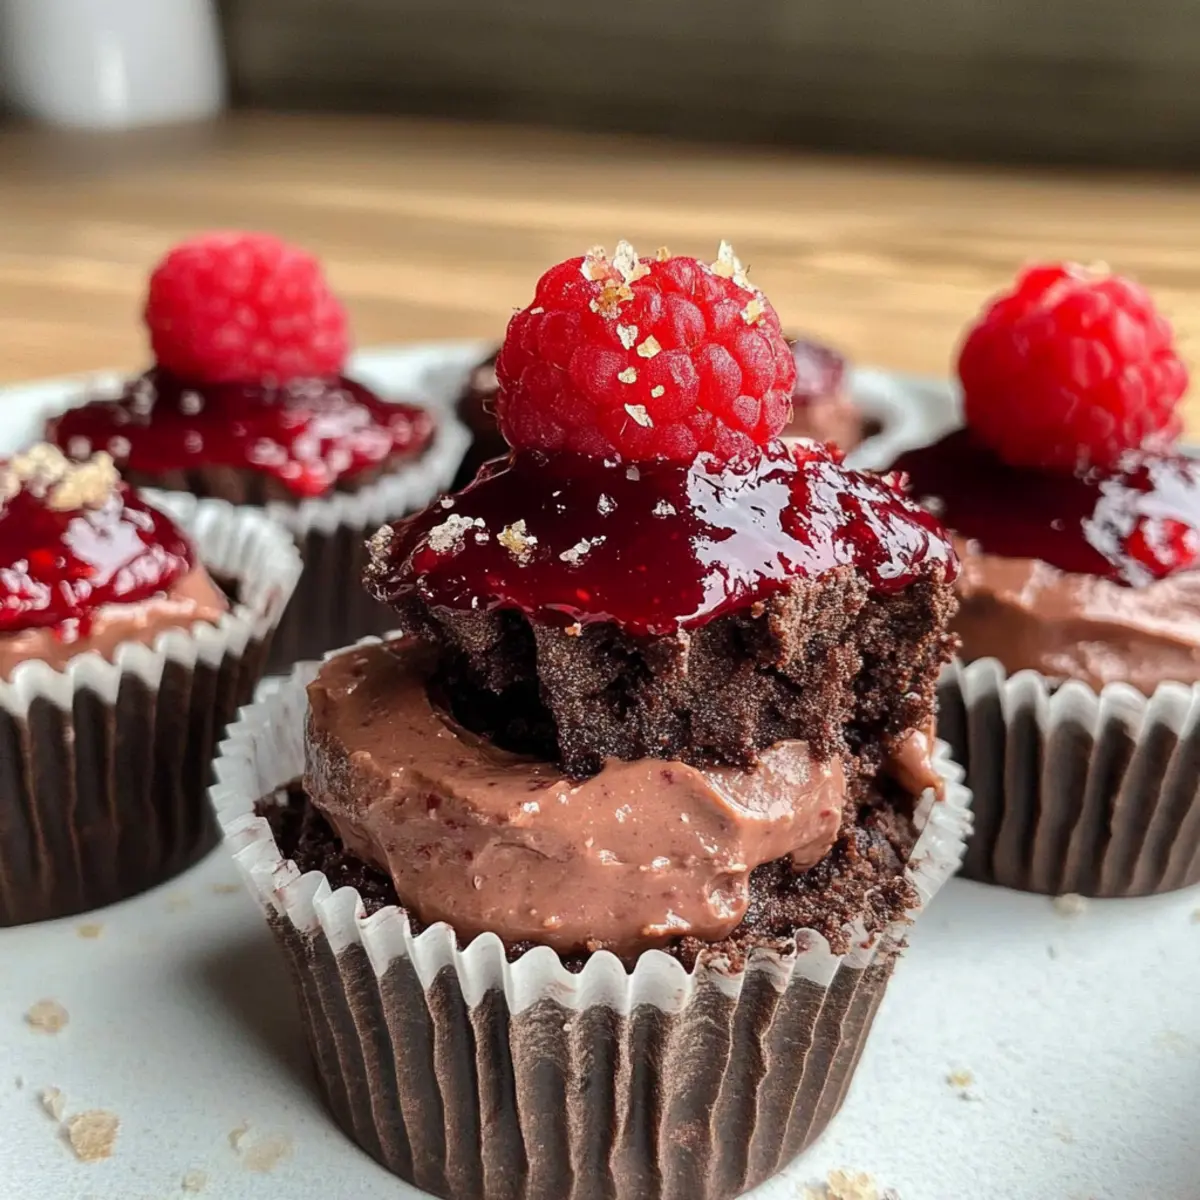
No Bake Raspberry Chocolate Mousse Cups Recipe FAQs
How do I choose ripe raspberries for this recipe?
Absolutely! When selecting raspberries, look for ones that are plump, firm, and vibrant in color. Avoid any that are overly soft or mushy, as these may be past their prime. Raspberries should be free from dark spots and have a sweet smell—this ensures you’ll have the best quality fruit for your mousse cups!
How should I store my No Bake Raspberry Chocolate Mousse Cups?
I recommend keeping your mousse cups in an airtight container in the fridge for up to 3 days. This helps maintain their creamy texture and flavor. If you need to store them longer, you can freeze them, but make sure to wrap each cup tightly in plastic wrap to prevent freezer burn.
Can I freeze these mousse cups, and if so, how?
Yes, you can! To freeze your No Bake Raspberry Chocolate Mousse Cups, simply wrap each one individually in plastic wrap or foil. Place them in a freezer-safe container, and they will last for up to 2 weeks. When you’re ready to enjoy them, transfer them to the fridge for several hours to thaw before serving—this keeps their texture dreamy and smooth!
What if my raspberry jam doesn’t thicken properly?
No worries! If your raspberry jam isn’t thickening as you’d like, try simmering it longer, stirring frequently until it reaches your desired consistency. Alternatively, you can mix in a little cornstarch dissolved in water during the cooking process—this should help thicken it. If you’re using chia seeds, let it rest for a while which will allow them to absorb moisture and gel the mixture naturally.
Are these mousse cups safe for those with nut allergies?
While these No Bake Raspberry Chocolate Mousse Cups use almond flour and almond butter, if you’re cooking for someone with a nut allergy, I recommend using oat flour and sunbutter instead. Both substitutions will maintain a delicious flavor without compromising safety, ensuring everyone can enjoy this delightful dessert!
Can I modify the ingredients in this recipe?
Very! Feel free to get creative with your ingredients. You can substitute almond flour with a gluten-free blend if preferred. If you want a different flavor in the mousse, adding espresso powder for a mocha twist works beautifully! Experimenting with other fruits such as strawberries or blueberries for the topping can also enhance your dessert experience.
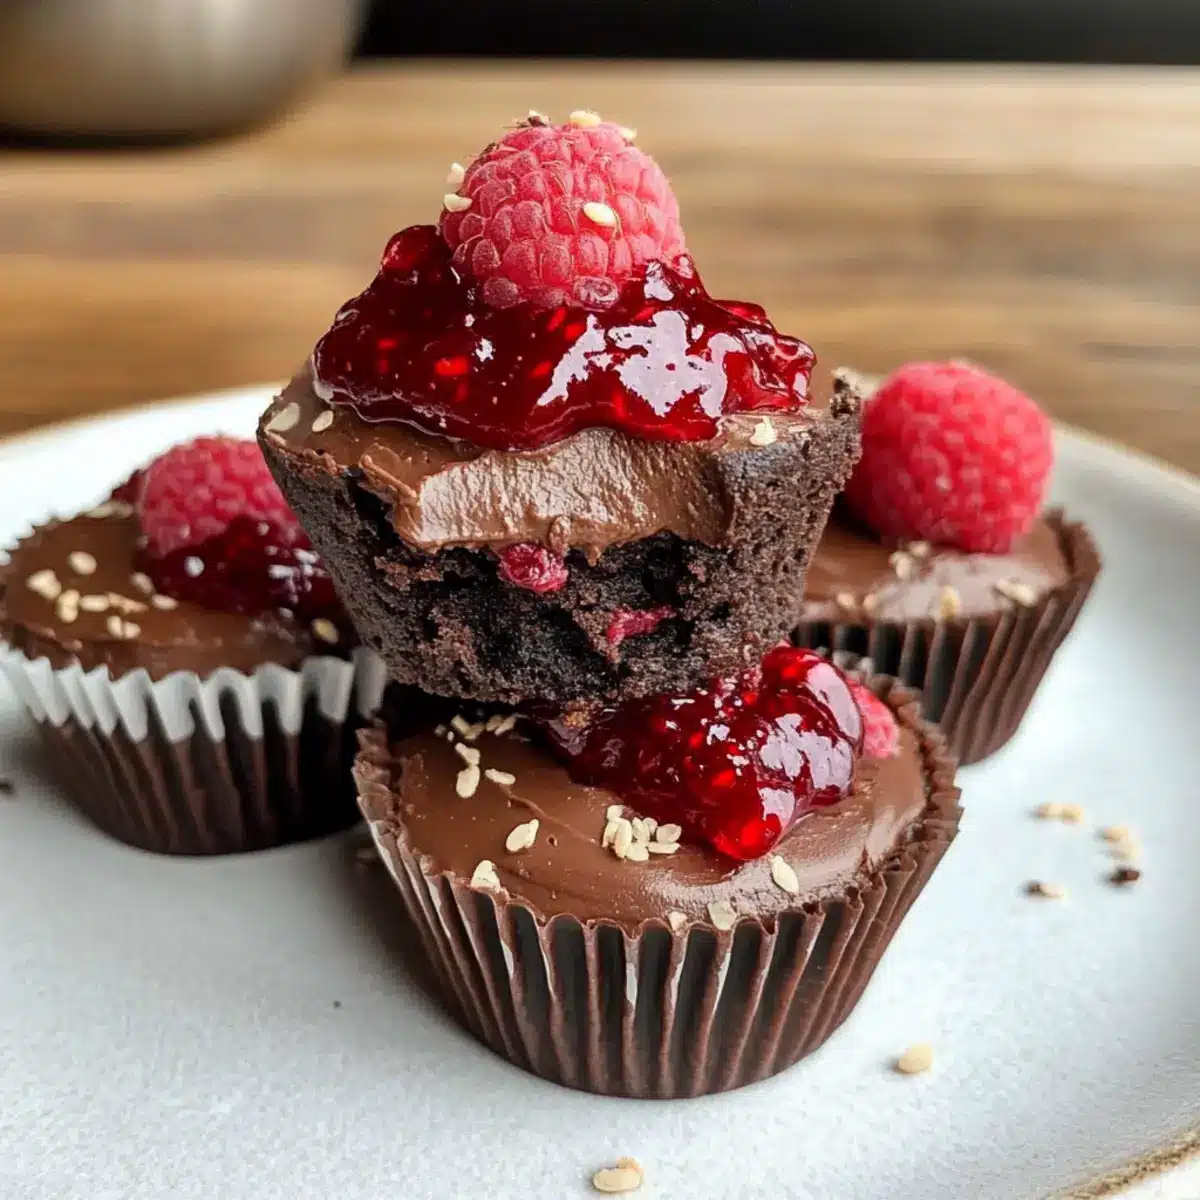
Decadent No Bake Raspberry Chocolate Mousse Cups to Devour
Ingredients
Equipment
Method
- Prepare the Cup Base by placing almond flour, flax meal, runny almond butter, medjool dates, cocoa powder, dairy-free milk, and vanilla extract into a food processor. Pulse until dough-like consistency.
- Shape the Cups by lining small cups or silicone molds with parchment paper and pressing the dough into the bottom and sides, ensuring a hollow center. Freeze for 15-20 minutes.
- Make the Chocolate Mousse by blending coconut cream, cocoa powder, and medjool dates in the food processor until smooth. Adjust sweetness if necessary and set aside.
- Fill the Cups by spooning the chocolate mousse into each cup, filling them to the top. Return to the freezer for 2 hours to set.
- Prepare the Raspberry Jam by combining frozen raspberries, water, chia seeds, and cinnamon in a saucepan. Cook for 6-8 minutes, stirring occasionally. Let it cool.
- Top the Mousse Cups by spooning the cooled raspberry jam on top of each mousse cup. Optionally drizzle with melted chocolate and freeze for 10 minutes.
- Serve and Enjoy by carefully removing the mousse cups from their molds or parchment paper. Serve chilled.
Leave a Reply