
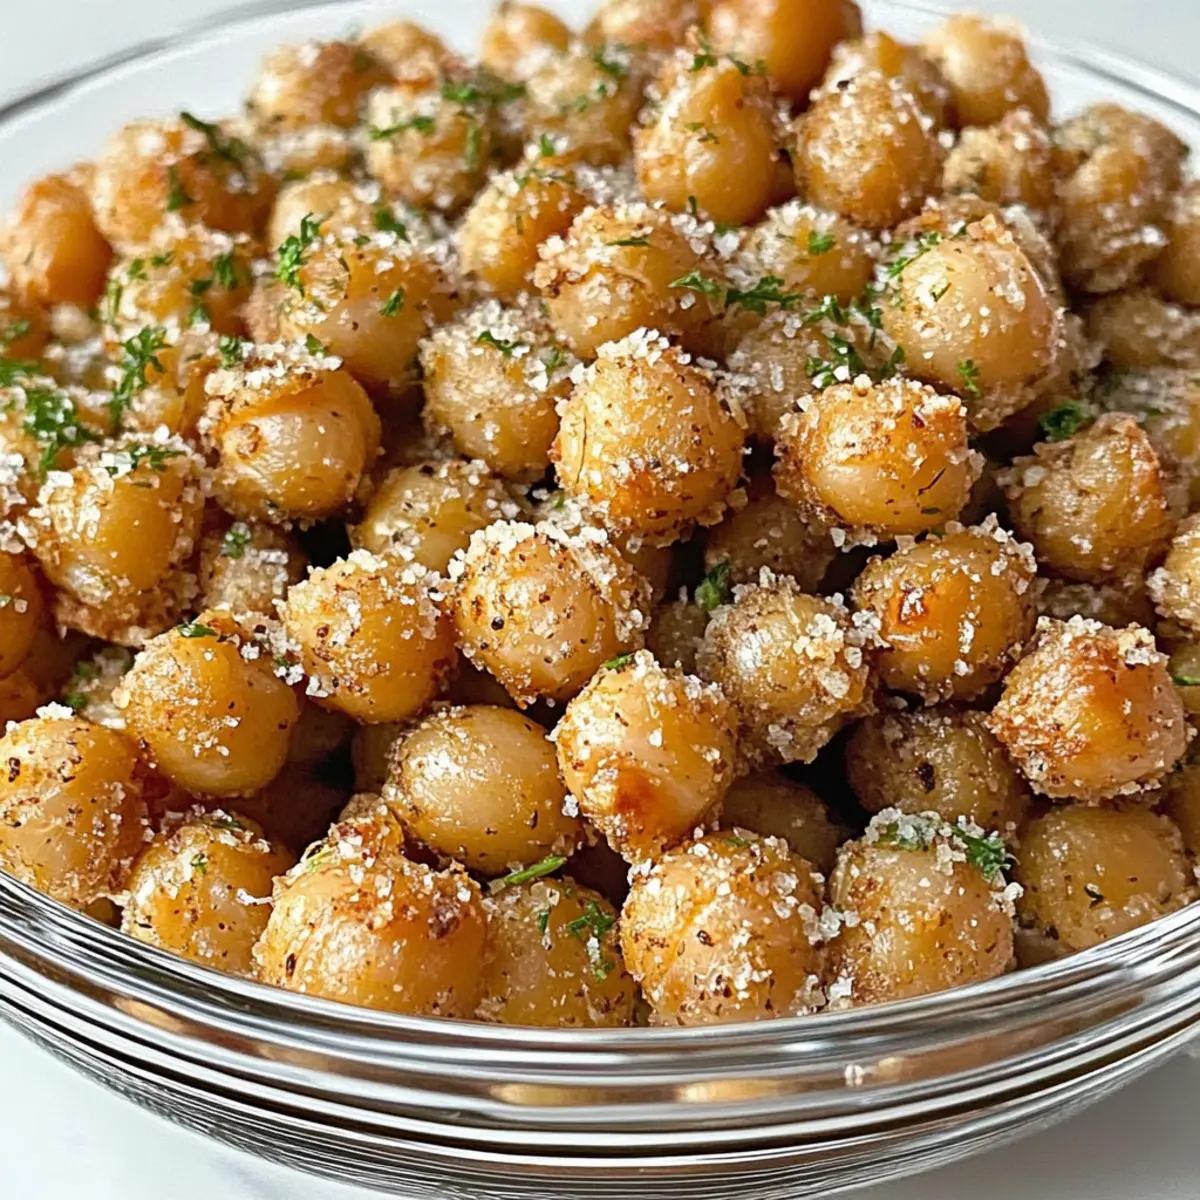
“Crunch!” I could hear the satisfying sound echoing in my kitchen as I pulled out the tray of my latest crispy creation. These Crispy Roasted Chickpeas are here to revolutionize your snacking. With three tantalizing flavor profiles—sweet, ranch, and spicy—each bite delivers a delightful crunch that easily rivals those processed chips we all love to hate. Not only are they packed with plant-based protein and fiber, but they’re also gluten-free, dairy-free, and refined sugar-free, making them a genuinely guilt-free indulgence. Whipping up a batch is quick and straightforward, perfect for those busy weeknights or when you crave something wholesome and homemade. Trust me, these little nuggets of joy will turn into your new favorite snack. Ready to dive into the recipes and discover which flavor is calling your name today?
Why Are These Chickpeas So Irresistibly Delicious?
Flavorful Options: With three distinct flavor variations—Sweet, Ranch, and Spicy—you can easily customize your snack to suit any craving or gathering.
Healthy Snack Swap: These chickpeas are a perfect alternative to processed snacks, being gluten-free, dairy-free, and packed with plant-based protein and fiber, ensuring every munch is guilt-free.
Quick to Make: In just about 30 minutes, you can transform simple canned chickpeas into a crunchy delight, making it an ideal choice for busy days or last-minute cravings.
Versatile Use: Perfect on their own or as a crunchy topping for salads, they elevate any dish while providing a nutritious boost. For more ideas, check out my Roasted Strawberry Whipped Ricotta Toast for a delightful pairing!
Crowd-Pleasing Treat: Serve these at your next gathering or game night, and watch as they quickly disappear—proof of their irresistible charm!
Crispy Roasted Chickpeas Ingredients
For the Chickpeas
• Canned Chickpeas – The foundation of this snack, loaded with protein and fiber; choose organic with low sodium for a health boost.
• Olive Oil – Essential for getting that perfect crunch; feel free to substitute with avocado oil if desired.
For the Sweet Flavor
• Maple Syrup – Adds a natural sweetness to balance flavors; honey can work as a sweet alternative.
• Cinnamon – Brings a warm and inviting spice to the mix, enhancing the sweet profile.
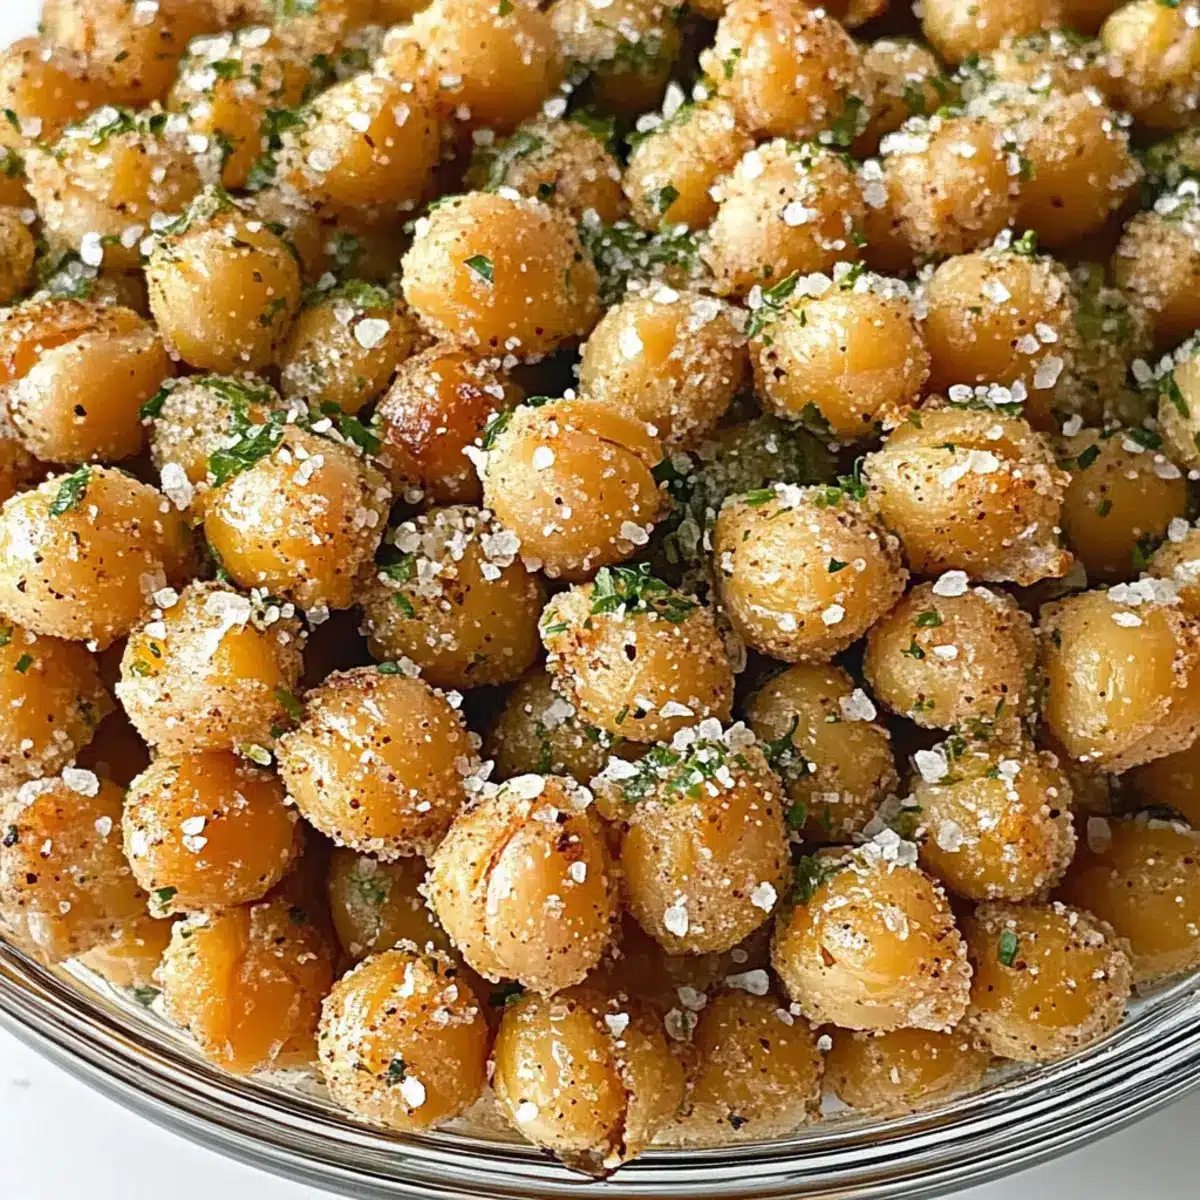
For the Ranch Flavor
• Garlic Powder – Provides depth and richness; stick with this for authentic ranch taste.
• Onion Powder – Elevates the savory components beautifully.
• Dried Dill – Infuses a fresh, herbal note for that classic ranch flavor.
• Dried Parsley – Adds a pop of color and a subtle herbaceous taste.
• Salt – Enhances all the flavors, bringing them together.
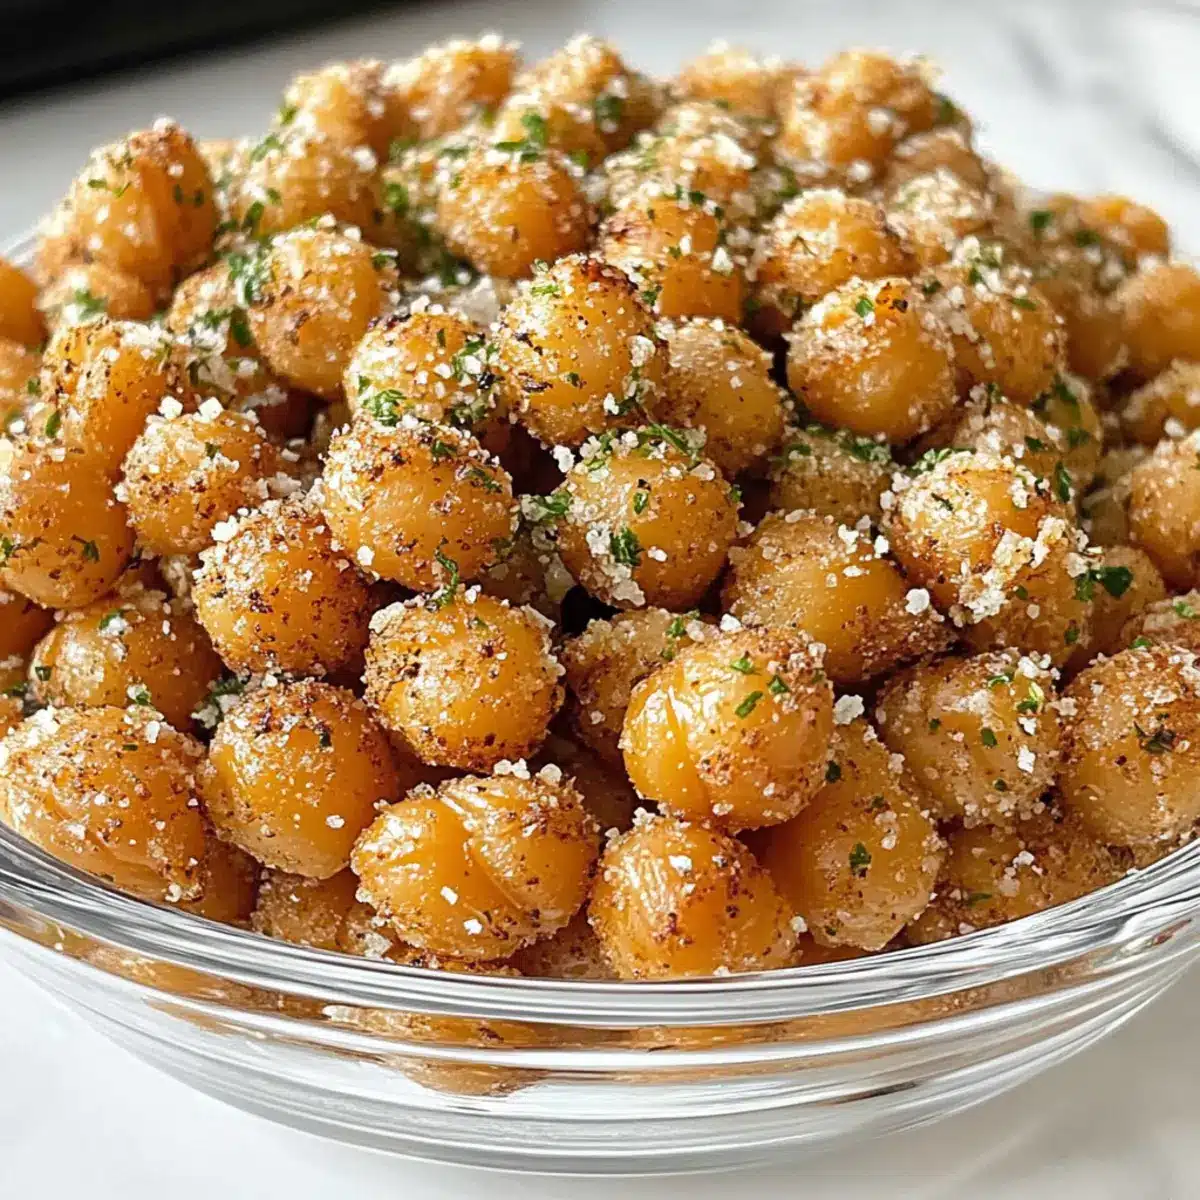
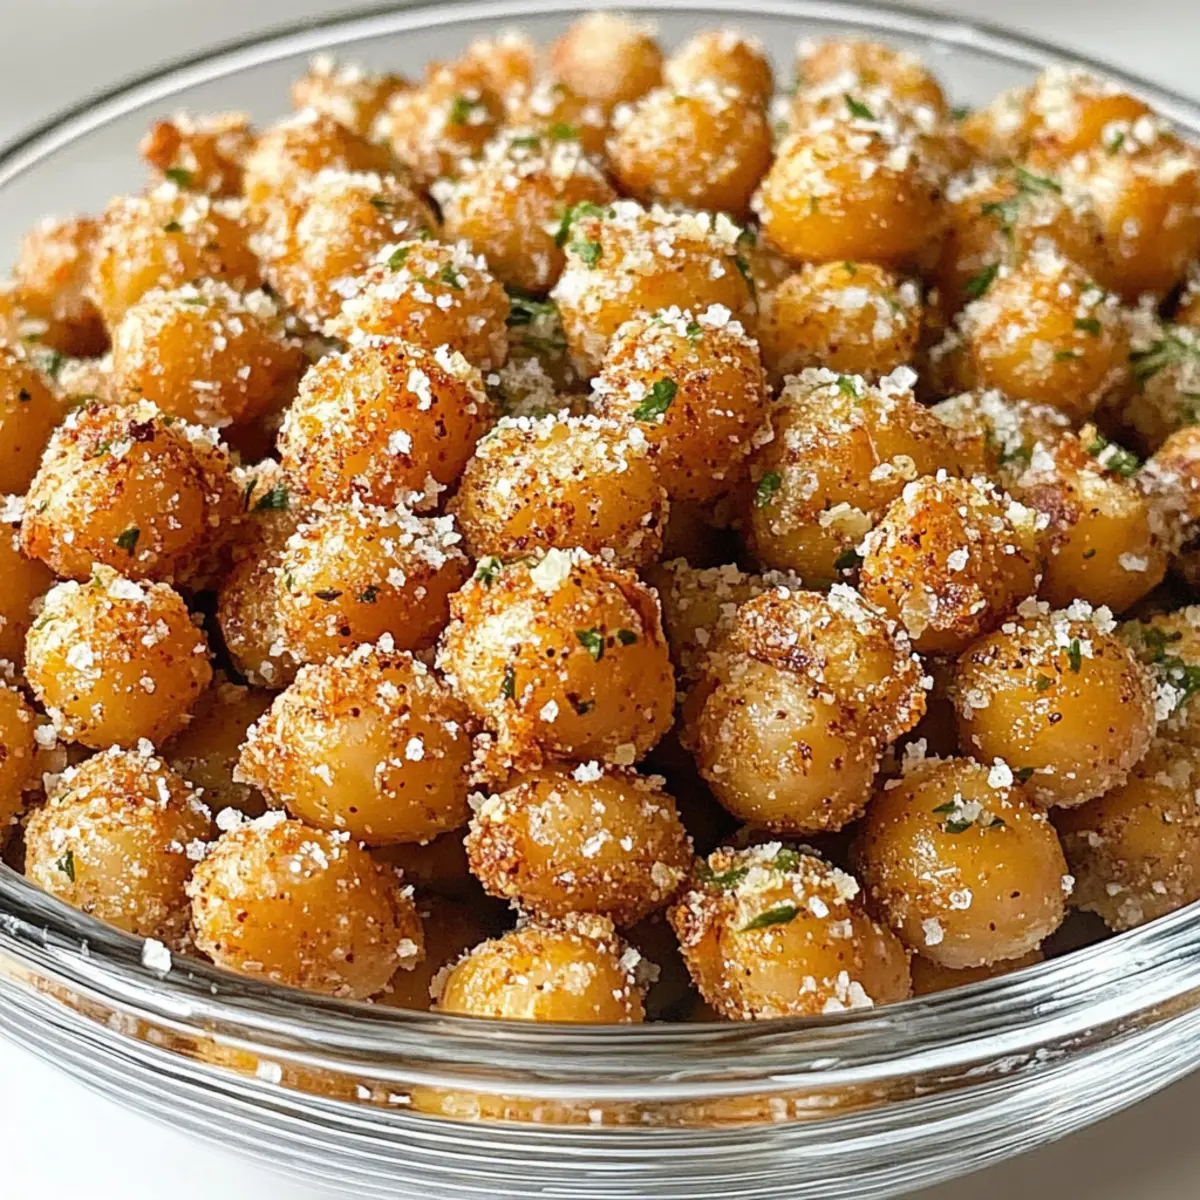
For the Spicy Flavor
• Chili Powder – Packs the heat for those craving something spicy; adjust to suit your spice tolerance.
• Ground Cumin – Adds a warm, earthy undertone that complements the spice.
• Paprika – Provides a smoky note to enhance the heat.
• Cayenne Pepper – Perfect for turning up the heat; use sparingly if you’re sensitive to spice.
• Garlic Powder – Further intensifies the overall flavor profile.
• Salt – Balances and amplifies all the spicy goodness.
Explore these Crispy Roasted Chickpeas in your kitchen, and you’ll find a beloved snack that satisfies those crunchy cravings in a healthier way!
Step‑by‑Step Instructions for Crispy Roasted Chickpeas
Step 1: Preheat the Oven
Begin by preheating your oven to 400°F (200°C). This high temperature is crucial for achieving perfectly crispy roasted chickpeas. While the oven warms up, gather your other ingredients and prepare your baking sheet, ensuring you’re ready for a smooth cooking process.
Step 2: Drain and Rinse the Chickpeas
Take your canned chickpeas and pour them into a strainer. Rinse thoroughly under cool water for about 2 minutes until they’re free of any canning liquid. This step not only cleans the chickpeas but also improves their flavor, making them ready for roasting.
Step 3: Dry the Chickpeas
Carefully pat the rinsed chickpeas dry using a clean kitchen towel. Ensure to remove any loose skins while doing this, as they can make your chickpeas less crispy. For best results, allow the chickpeas to air dry for an additional 10-15 minutes. This extra drying step is vital for that perfect crunch in your crispy roasted chickpeas.
Step 4: Prepare the Baking Sheet
Line a baking sheet with either a silicone mat or greased parchment paper, which will help prevent the chickpeas from sticking. Spread the chickpeas evenly across the baking sheet in a single layer. This ensures that they roast uniformly and achieve that delightful golden brown color.
Step 5: Roast the Chickpeas
Place the prepared baking sheet in the preheated oven and bake the chickpeas for 20-30 minutes. Every 10 minutes, give them a good stir to ensure even cooking. Watch for that golden brown color and a crispy texture, which signals they are perfectly roasted.
Step 6: Divide and Flavor the Chickpeas
Once roasted, remove the chickpeas from the oven and divide them into three separate bowls for your flavor variations: sweet, ranch, and spicy. For ranch and spicy flavors, drizzle olive oil over the chickpeas before adding your specific seasonings, tossing them gently to coat thoroughly.
Step 7: Sweet Flavor Coating
For the sweet variation, mix maple syrup and cinnamon in a small bowl, then pour it over the chickpeas. Toss gently to ensure each chickpea is evenly coated, then return the sweet chickpeas to the oven for an additional 5-10 minutes. This allows the coating to caramelize, enhancing their flavor.
Step 8: Final Touches
After baking, remove all varieties of crispy roasted chickpeas from the oven and allow them to cool slightly. This cooling period helps them firm up even more. Serve immediately for the best texture, and enjoy the crunch of each flavorful bite!
Expert Tips for Crispy Roasted Chickpeas
Dry Thoroughly: Ensure chickpeas are completely dried after rinsing for the maximum crunch. This is key to achieving perfectly crispy roasted chickpeas.
Monitor Bake Time: Keep an eye on the baking process, as oven temperatures may vary. Start checking around the 20-minute mark for that golden brown finish.
Use Quality Oils: Choosing quality olive oil or avocado oil can enhance the flavor while achieving that delightful crispiness you desire in these chickpeas.
Avoid Overcrowding: Spread the chickpeas in a single layer on the baking sheet to prevent steaming. This allows them to roast evenly, making them extra crunchy.
Flavor Coating Timing: For the sweet variation, allow extra time in the oven after adding maple syrup and cinnamon to achieve that caramelized sweetness that makes these snacks irresistible.
How to Store and Freeze Crispy Roasted Chickpeas
Airtight Container: Store leftover crispy roasted chickpeas in an airtight container at room temperature for up to 3 days to retain their crunchy texture.
Avoid Moisture: Keep them away from moisture and heat sources, as this can lead to sogginess and a loss of that delightful crunch.
Freezing: If you want to store them for longer, freeze them in a single layer on a baking sheet before transferring to a freezer bag. They can last up to 2 months in the freezer.
Reheating: For best results, reheat your frozen chickpeas in the oven at 350°F (175°C) for about 5-10 minutes until crispy again, ensuring they taste just as delicious as when freshly made.
Crispy Roasted Chickpeas Variations
Feel free to let your creativity shine with these delicious variations that will add unique twists to your chickpeas!
-
Sweet Twist: Drizzle with honey instead of maple syrup for a different fruity dimension. Serve these sweet gems alongside some yogurt for an indulgent snack!
-
Ranch Upgrade: Add a pinch of grated Parmesan cheese for a richer, creamier ranch flavor. This heavenly addition is sure to elevate your crunchy morsels!
-
Spicy Heat: Toss in a pinch of smoked paprika along with the chili powder for a smoky sensation that ignites the taste buds. Pair these with a refreshing dip to cool off the spicy kick!
-
Herbed Delight: Incorporate dried thyme and oregano for a delightful Mediterranean flavor profile. It’s a burst of freshness that’s perfect for enjoying with salads or as a standalone snack!
-
Garlic Lover: For an intense garlicky flavor, add minced fresh garlic to the oil before tossing in the chickpeas. This will create a savory treat that pairs wonderfully with roasted vegetables like my Roasted Autumn Vegetable pot pies!
-
Zesty Lemon: Squeeze fresh lemon juice and sprinkle zest on the ranch version to brighten the flavors. This tartness makes the chickpeas wonderfully refreshing!
-
Nutty Crunch: Add a sprinkle of sesame seeds or slivered almonds to the chickpeas after roasting for added texture and nutty flavor. This depth of crunch reminds me of my favorite Candy Cheesecake Bombs with their delightful surprise!
-
Buffalo Style: Drizzle with hot sauce after baking for a zesty, spicy kick. Serve with celery sticks and a yogurt dip for a fun, bold twist!
What to Serve with Crispy Roasted Chickpeas
The delightful crunch and vibrant flavors of these chickpeas can take your snacking to a whole new level—let’s build a satisfying meal around them!
- Creamy Hummus: This luscious dip pairs beautifully, offering a smooth contrast to the chickpeas’ crunch while echoing their flavor.
- Fresh Vegetable Sticks: Crisp carrots, cucumbers, and bell peppers provide a refreshing, healthy crunch that complements the seasoned chickpeas perfectly.
- Quinoa Salad: Tossed with vibrant veggies and a zesty dressing, this salad adds protein and makes for a filling dish alongside your roasted snack.
- Avocado Toast: The creaminess of avocado on toasted bread creates a delightful pairing, enhancing the textural experience of the meal.
- Tangy Yogurt Sauce: A spiced yogurt drizzle adds a cooling element, balancing out the flavors of the spicy roasted chickpeas effortlessly.
- Savory Roasted Vegetables: A platter of earthy roasted veggies layered with herbs creates a wholesome side, adding depth alongside your crunchy treat.
- Chilled Sparkling Water: A bubbly drink with a slice of lemon refreshes the palate, making it an ideal companion for any flavor of chickpeas.
- Chocolate-Covered Almonds: As a sweet ending, these provide a satisfying crunch that echoes the chickpeas while adding a touch of indulgence to your snack table.
- Fruit Skewers: Bright and sweet, fresh fruit adds a beautiful contrast in flavor and color, elevating your snacking experience beyond the ordinary.
- Herbal Tea: A warm cup post-snack can enhance digestion and offers a soothing finish to the meal filled with flavor and crunch.
Make Ahead Options
These Crispy Roasted Chickpeas are fantastic for meal prep, allowing you to enjoy wholesome snacks throughout the week! To prep ahead, you can drain, rinse, and dry the chickpeas up to 24 hours in advance, storing them in an airtight container in the fridge to keep them fresh. You can also mix the seasonings for each flavor variation ahead of time (combine your spices in small containers), saving precious minutes when you’re ready to bake. When it’s time to serve, simply toss the chickpeas with olive oil and the flavor mixes, roast them in the oven for 20-30 minutes, and you’ll have delicious, crunchy snacks ready to enjoy just as if they were freshly made!
Crispy Roasted Chickpeas Recipe FAQs
What type of canned chickpeas should I use?
I recommend using organic, low-sodium canned chickpeas for the best flavor and health benefits. Look for cans that don’t have any added preservatives or sugars to keep your crispy roasted chickpeas as wholesome as possible.
How should I store leftover chickpeas?
Store any leftover crispy roasted chickpeas in an airtight container at room temperature for up to 3 days. They are best enjoyed fresh, so keep them away from moisture and heat to avoid losing that delightful crunch!
Can I freeze crispy roasted chickpeas?
Absolutely! You can freeze crispy roasted chickpeas to enjoy later. Spread them in a single layer on a baking sheet and freeze until solid. Then, transfer them to a freezer bag or airtight container, where they can last for up to 2 months. To reheat, simply pop them in the oven at 350°F (175°C) for about 5-10 minutes until they’re crispy again.
What should I do if my chickpeas aren’t crispy?
If your chickpeas aren’t as crispy as you’d like, it’s often due to excess moisture. Make sure they are thoroughly dried before roasting; pat them with a towel and let them air dry for 10-15 minutes. If they still don’t achieve desired crispiness, try increasing the baking time by a few minutes while keeping a close eye on them to avoid burning.
Are crispy roasted chickpeas safe for pets?
While chickpeas themselves are generally safe for dogs, it’s important to avoid any seasonings like garlic or onion, which are toxic to pets. If you want to share some chickpeas with your furry friend, make sure they are simply roasted without any added flavors!
Crispy Roasted Chickpeas: Flavorful Crunch in Every Bite
Ingredients
Equipment
Method
- Preheat your oven to 400°F (200°C).
- Drain the canned chickpeas and rinse thoroughly under cool water.
- Pat the chickpeas dry with a clean kitchen towel and allow to air dry for an additional 10-15 minutes.
- Line a baking sheet with a silicone mat or greased parchment paper and spread the chickpeas evenly in a single layer.
- Roast the chickpeas for 20-30 minutes, stirring every 10 minutes.
- Divide the roasted chickpeas into three bowls for sweet, ranch, and spicy flavors, drizzling with olive oil before adding seasonings.
- For the sweet flavor, mix maple syrup and cinnamon in a bowl, pour over the chickpeas, and return to the oven for an additional 5-10 minutes.
- Remove from the oven, allow to cool slightly before serving to enhance crunch.
Leave a Reply