
Have you ever stumbled upon an unexpected treasure in the kitchen? Enter my 4-Ingredient Banana Mochi Recipe—an enchanting dessert that transforms ripe bananas into a delightful treat. With just four simple ingredients, this gluten-free wonder is not only quick to whip up but also a crowd-pleaser that bridges the gap between chewy mochi and sweet fruit. Perfect for anyone looking to break free from fast food and indulge in a homemade delight, these banana-filled morsels will not only satisfy your sweet tooth but also bring a smile to your face. Ready to discover how this easy recipe can take your dessert game to new heights? Let’s dive into the world of mochi magic!
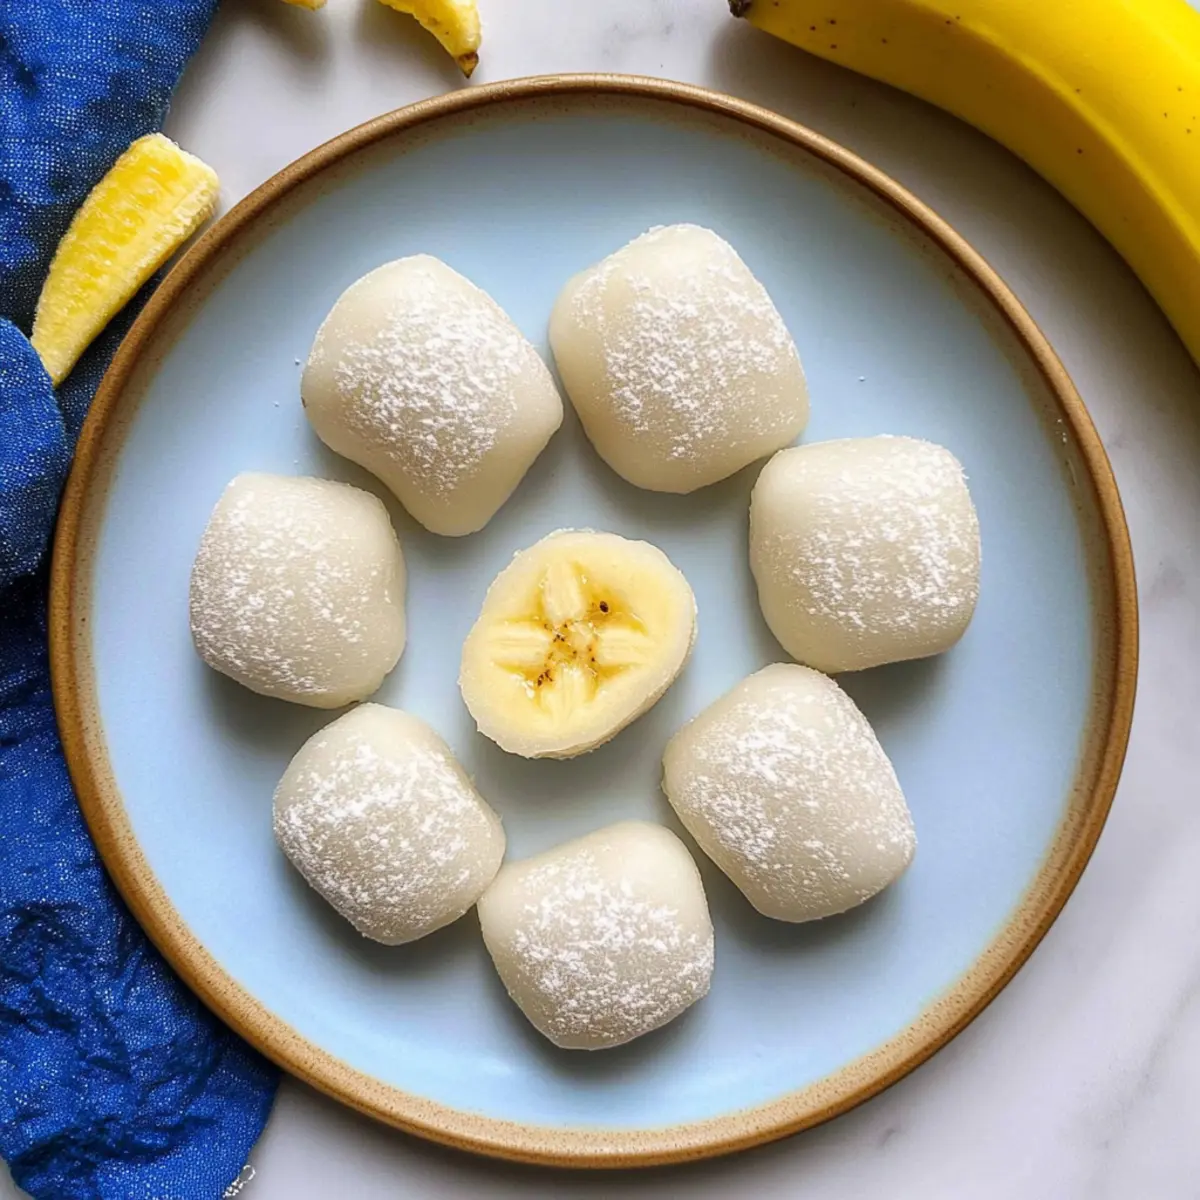
Why is Banana Mochi Your New Favorite?
Easy to Make: With just four simple ingredients, you’ll whip up a delicious dessert in no time, perfect for busy weeknights or surprising guests.
Gluten-Free Delight: This recipe caters to gluten-free diets, making it a treat everyone can enjoy without missing out on flavor.
Bursting with Flavor: Ripe bananas bring natural sweetness, perfectly complementing the chewy texture of mochi—an irresistible combination.
Versatile Treat: Feel free to experiment! Try swapping bananas for seasonal fruits or even adding flavors like matcha for a fun twist, just like in my Tiramisu Brownies.
Perfect for Sharing: Impress your friends and family with this unique dessert that encourages sharing and delight, much like my popular Biscoff Banana Pudding. Ready to indulge? Dive into the deliciousness today!
Banana Mochi Ingredients
Unlock the secrets to this delightful dessert with just four ingredients!
For the Mochi
- Bananas – Use ripe bananas for maximum natural sweetness and flavor.
- Glutinous Rice Flour – This gives the mochi its signature chewy texture; mochiko flour works too!
- Water – Essential for activating the flour and creating the perfect mochi dough.
- Sugar – Adjust the sweetness to your liking; less for a subtle sweetness.
For Dusting
- Cornstarch – Prevents sticking and ensures a smooth exterior for your mochi treats.
With these straightforward ingredients, you’re well on your way to creating the ultimate Banana Mochi Recipe! Enjoy the joy of homemade flavors without the fuss!
Step‑by‑Step Instructions for Banana Mochi Recipe
Step 1: Prepare the Mochi Mixture
In a microwave-safe bowl, whisk together glutinous rice flour and sugar until well combined. Slowly pour in water while stirring with a wet spatula to achieve a smooth, lump-free mixture. This will be your mochi dough base.
Step 2: Microwave the Mixture
Cover the bowl with a damp paper towel to maintain moisture during cooking. Microwave the mixture for 1 minute, then remove and stir gently. Repeat this process for a total of three times, ensuring the mochi thickens and becomes translucent. Allow it to cool for 5–10 minutes, making the dough easier to handle.
Step 3: Dust and Shape the Mochi
Dust a clean work surface generously with cornstarch to prevent sticking. Carefully transfer the cooled mochi onto the surface, then sprinkle more cornstarch on top. Using a knife or bench scraper, cut the mochi into 8 equal pieces, ensuring they maintain their shape as you work.
Step 4: Freeze for Ease of Handling
For easier handling, arrange the mochi pieces on a parchment-lined baking sheet and place them in the freezer for about 20 minutes. This will firm them up, making the next steps much simpler. While waiting, prepare your banana pieces.
Step 5: Fill the Mochi
Once slightly firm, take each piece of mochi and flatten it gently with your fingers. Place a chunk of ripe banana in the center, then pinch the edges together to seal the filling inside. Ensure the seam is tight to prevent any banana from escaping during handling.
Step 6: Final Touches and Chill
Dust each completed mochi with cornstarch to keep them from sticking. Place them seam-side down on a platter. Once all pieces are shaped, refrigerate the finished banana mochi for at least one hour to help them set and enhance the texture for serving.
Make Ahead Options
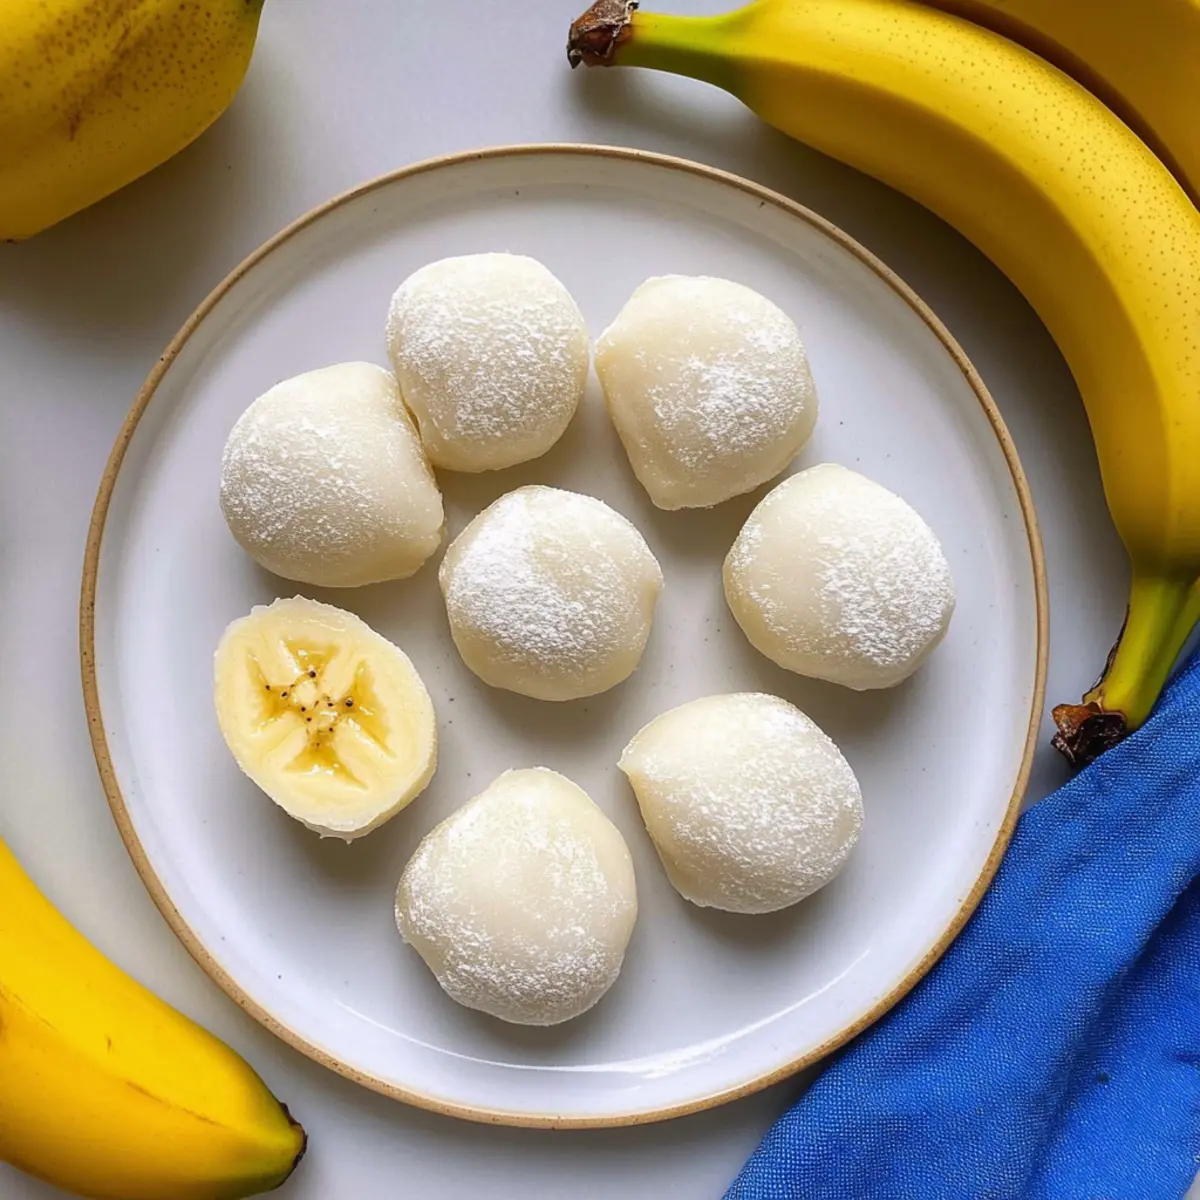
These Banana Mochi are incredible for meal prep and perfect for those busy weeknights! You can prepare the mochi dough (steps 1-3) up to 24 hours in advance and simply refrigerate it wrapped tightly to maintain its freshness. Once you’re ready to serve, continue with steps 4-6 to fill and chill the mochi right before serving. For an even quicker grab-and-go treat, consider freezing the unfilled mochi pieces for up to 3 months; when you need a sweet snack, simply thaw and fill them with fresh banana before enjoying. This way, you’ll always have a delightful banana treat handy, keeping your homemade dessert game strong without the fuss!
Expert Tips for the Best Banana Mochi
- Choose Ripe Bananas: Ensure your bananas are fully ripe but not overly so. A slight bruising enhances sweetness without compromising texture.
- Mixing Technique: Use a wet spatula to mix the mochi dough smoothly. Avoid dry lumps that can affect the final texture of your Banana Mochi.
- Don’t Skip Cornstarch: Dusting with cornstarch is crucial. It prevents sticking when shaping and ensures a smooth finish on your mochi treats.
- Freezing for Handling: Freezing the mochi pieces briefly makes them easier to handle and reduces the risk of tearing while filling with banana.
- Chill Before Serving: Refrigerating your filled mochi for at least an hour improves the texture and flavor, making the final treat even more enjoyable.
How to Store and Freeze Banana Mochi
Fridge: Keep the filled Banana Mochi in an airtight container in the refrigerator for up to 3 days. This will maintain their chewy texture while ensuring freshness.
Freezer: For longer storage, you can freeze unfilled mochi dough. Wrap it tightly in plastic wrap and store in an airtight freezer bag for up to 2 months.
Reheating: When ready to enjoy, simply thaw frozen mochi in the fridge overnight, then fill with ripe bananas just before serving for best results.
Serving Suggestion: Reheat any leftover filled mochi in the microwave for 10-15 seconds, ensuring they remain soft and delightful when indulged.
Banana Mochi Recipe Variations
Feel free to let your creativity shine and customize your banana mochi with these fun variations!
-
Fruity Swaps: Substitute ripe bananas with peaches or strawberries for a refreshing twist. Each fruit brings its unique sweetness that contrasts beautifully with the chewy mochi texture.
-
Nutty Addition: Incorporate crushed nuts, like almonds or walnuts, into the filling for a delightful crunch. This adds a layer of texture, enhancing every bite.
-
Flavor Infusion: Add matcha or cocoa powder to the mochi dough for an extra layer of flavor! The earthy matcha creates a unique taste profile, while cocoa brings a rich chocolatey indulgence.
-
Coconut Twist: Stir in shredded coconut into the mochi mixture for a tropical flair. It pairs perfectly with the banana and gives each piece a sunny, island vibe.
-
Spicy Heat: Want to kick it up a notch? Add a pinch of cayenne pepper or ginger for a surprising warmth that dances beautifully with the sweetness.
-
Bite-Sized Treats: Instead of larger pieces, cut the mochi into small squares for delightful bite-sized treats. Perfect for sharing or enjoying on the go!
-
Chocolate-Covered Mochi: Dip the completed mochi in melted chocolate and let them set for an indulgent treat. The combination of banana and chocolate is simply divine.
-
Chilled Variants: Experiment with freezing the filled mochi for a cool summer treat. It transforms into a chewy, icy snack that’s refreshing on hot days.
Whether you prefer a fruity, spicy, or even a chocolate indulgence, these variations will make your banana mochi adventures even more exciting! And while you’re exploring flavors, don’t forget to check out my delicious Chocolate Espresso Banana recipe for more banana goodness!
What to Serve with 4-Ingredient Banana Mochi Delight
Looking to elevate your dessert experience? These soft, chewy bites of bliss deserve the perfect companions!
-
Creamy Coconut Ice Cream: The rich, creamy texture of coconut ice cream beautifully contrasts with the chewy mochi while complementing the tropical flavors.
-
Fresh Berries Medley: A vibrant mix of strawberries, blueberries, and raspberries adds a refreshing, tangy note that brightens each bite of banana mochi.
-
Matcha Green Tea: The earthy bitterness of matcha offers a delightful balance to the sweet, fruity mochi, enhancing the overall flavor profile.
-
Chocolate Drizzle: A warm drizzle of melted dark chocolate creates a decadent pairing, making the mochi indulgently rich and satisfying. Each bite will feel like a little slice of heaven.
-
Toasted Sesame Seeds: A sprinkle of toasted sesame seeds provides a nutty crunch that elevates the texture, while enhancing the mochi’s Asian-inspired appeal.
-
Chilled Herbal Tea: A refreshing glass of chilled herbal tea, like mint or chamomile, cleanses the palate perfectly between bites of your banana mochi and is soothing to the senses.
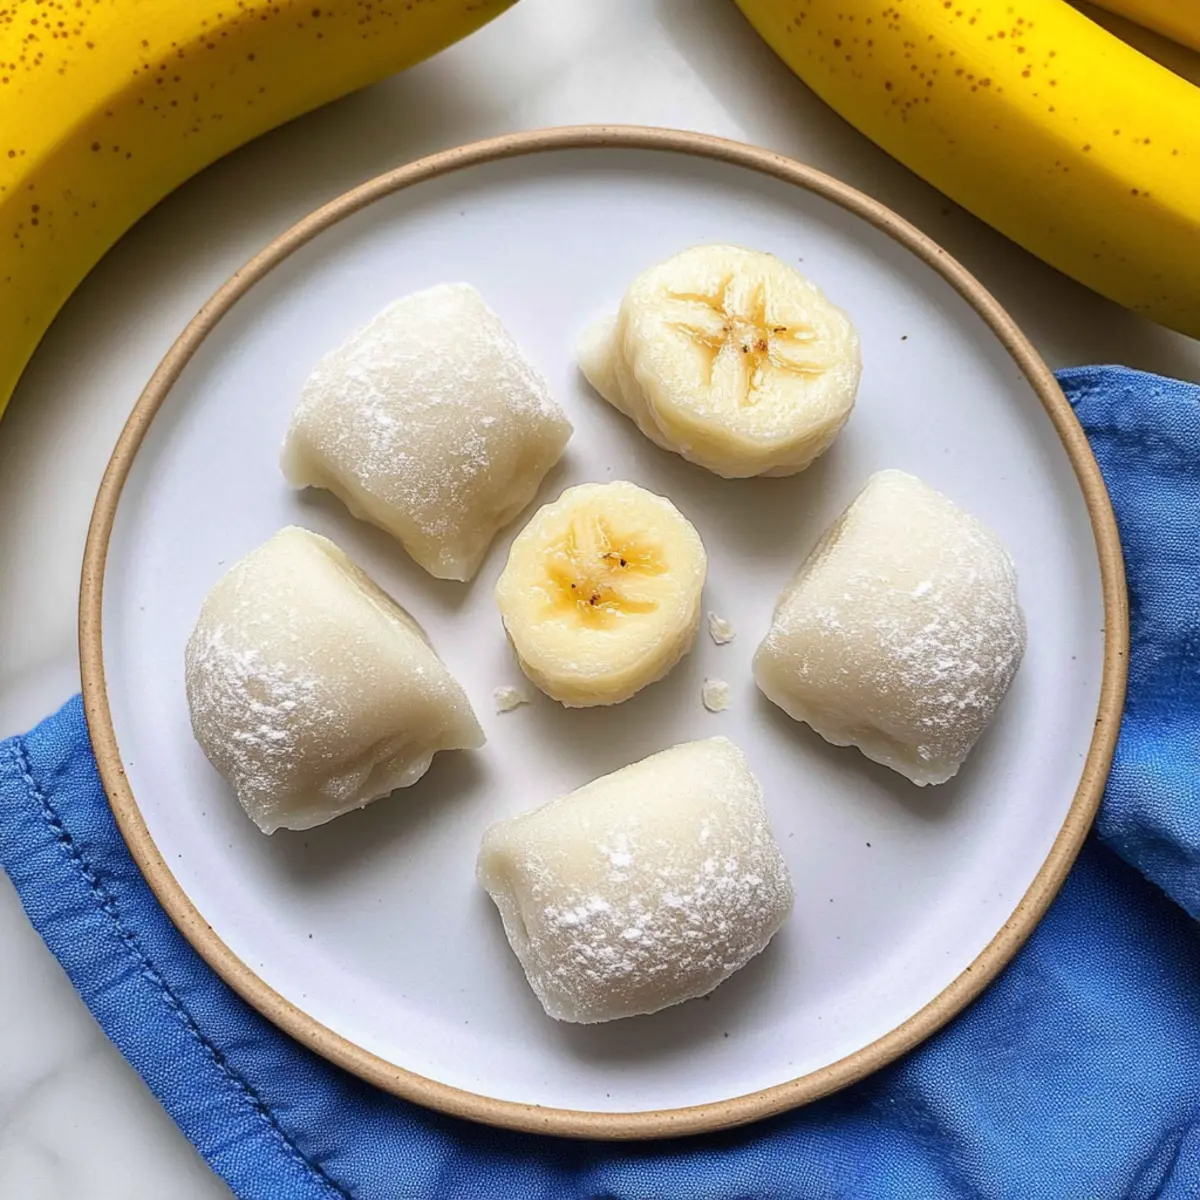
Banana Mochi Recipe FAQs
What kind of bananas should I use for the banana mochi?
Use ripe bananas that are completely yellow with slight bruising. This ensures they are naturally sweet and flavorful, making your mochi utterly delicious! Overly ripe bananas can become mushy and lose their integrity in the final treat.
How should I store banana mochi after making it?
Store your filled banana mochi in an airtight container in the refrigerator for up to 3 days. This will help maintain their chewy texture and freshness while preventing them from drying out.
Can I freeze the banana mochi?
Absolutely! For longer storage, you can freeze unfilled mochi dough. Wrap it tightly in plastic wrap and place it in an airtight freezer bag. This will keep for up to 2 months. When you’re ready for mochi, simply thaw it in the fridge overnight and fill it with ripe bananas before serving.
What should I do if my mochi mixture is too sticky?
If your mochi mixture is too sticky, you might not have added enough cornstarch during dusting. Sprinkle some more cornstarch on your hands and work surface while shaping the mochi. This should help reduce stickiness significantly. Remember to also use a wet spatula while mixing to ensure a smoother consistency!
Are there any dietary considerations I should keep in mind?
Yes! This banana mochi recipe is gluten-free thanks to the use of glutinous rice flour. However, if you have specific allergies, double-check your ingredient sources. Additionally, these treats are not suitable for pets due to the presence of sugar and bananas, which can be harmful to dogs and cats in large quantities.
Can I adjust the sweetness of the mochi?
Certainly! You can adjust the recipe’s sugar content to suit your taste—less sugar will yield a subtly sweet mochi that truly highlights the banana flavor. Just remember to stay within the general guidelines to maintain the right dough consistency.
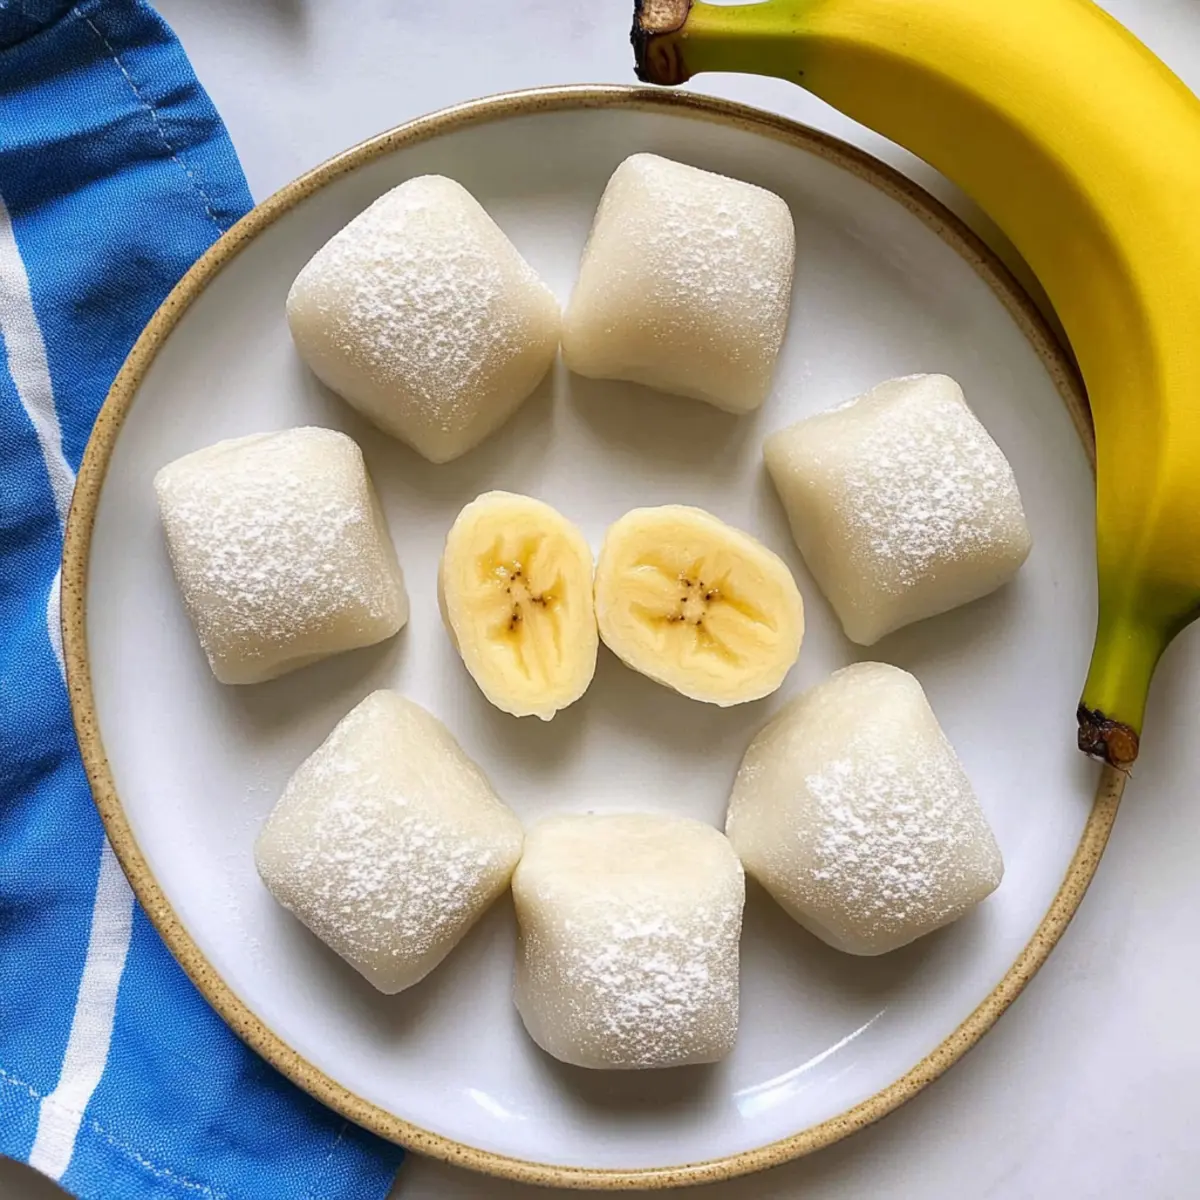
Delicious Banana Mochi Recipe with Just 4 Simple Ingredients
Ingredients
Equipment
Method
- In a microwave-safe bowl, whisk together glutinous rice flour and sugar until well combined.
- Slowly pour in water while stirring with a wet spatula to achieve a smooth, lump-free mixture.
- Cover the bowl with a damp paper towel and microwave for 1 minute, then stir. Repeat 3 times.
- Allow to cool for 5–10 minutes.
- Dust a clean work surface with cornstarch to prevent sticking.
- Transfer the cooled mochi, sprinkle more cornstarch on top, and cut into 8 equal pieces.
- Arrange on a parchment-lined baking sheet and freeze for 20 minutes.
- Flatten each piece of mochi, place a chunk of banana in the center, and seal.
- Dust with cornstarch and place seam-side down.
- Refrigerate for at least 1 hour before serving.
Leave a Reply