
As I pulled my Banana Baked Oatmeal Bars from the oven, the sweet aroma enveloped my kitchen like a warm hug. These wholesome delights are perfect for those hectic mornings when you need a nutritious breakfast on the go or a quick pick-me-up snack. With their base of rolled oats and creamy mashed bananas, they deliver a satisfying chew that feels indulgent yet is entirely guilt-free. Plus, this recipe is vegan, gluten-free, and super versatile, allowing for a delicious banana-free option using roasted sweet potato or applesauce. These bars are not just tasty, they’re packed with fiber and protein, making them a nourishing choice for any time of day. Ready to dive into the joy of baking with me? Let’s whip up these delightful bars together!
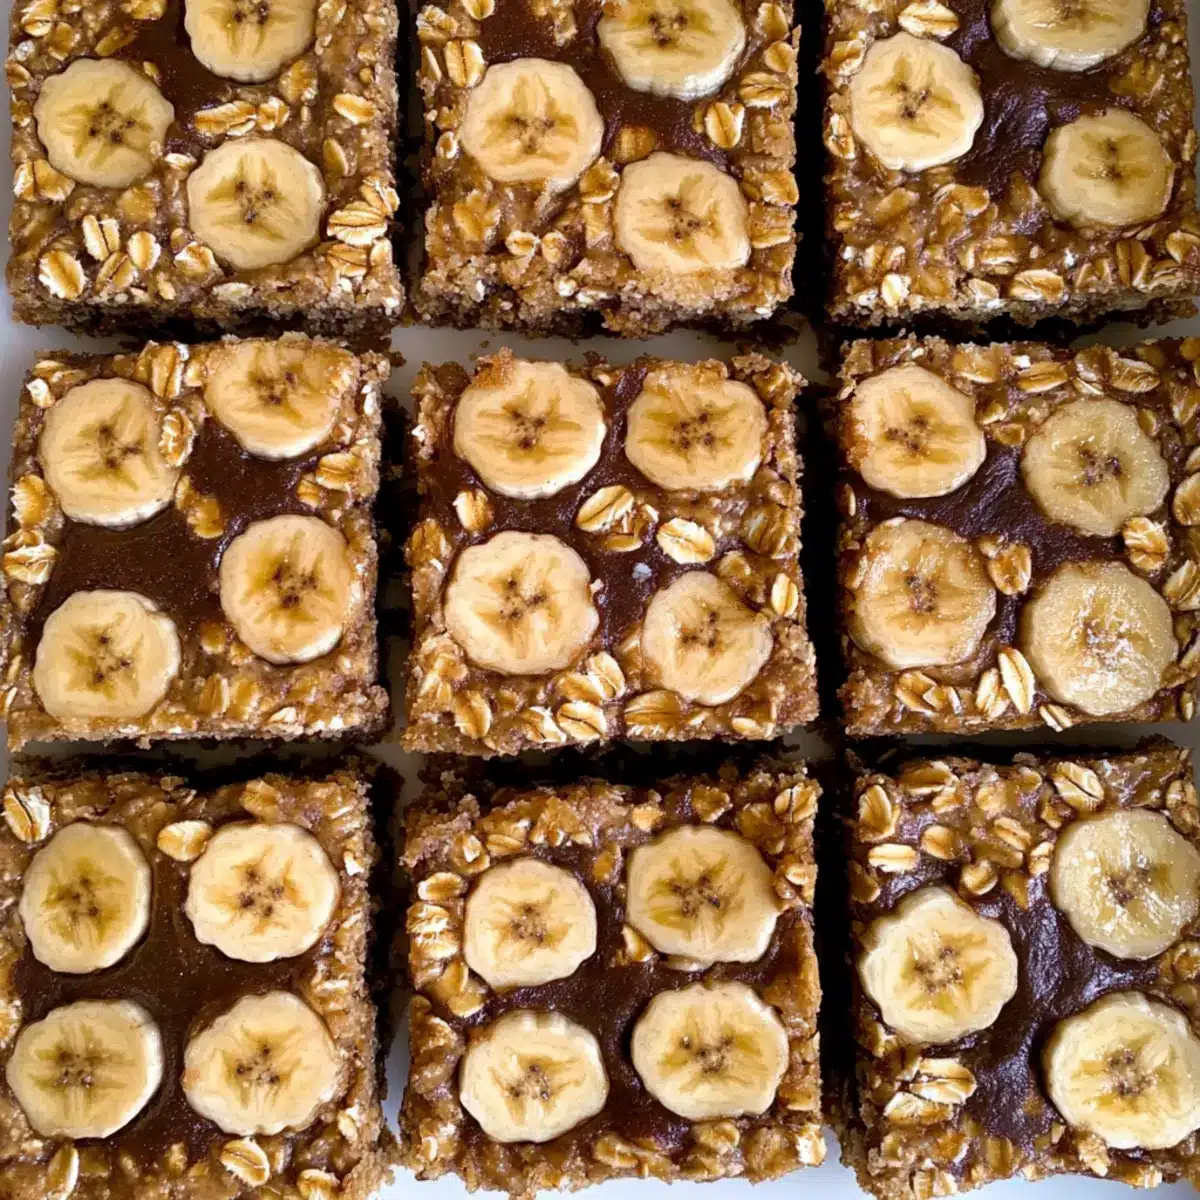
Why Choose Baked Oatmeal Bars?
Wholesome Ingredients: Each bar is made with simple, nutritious components that contribute to a balanced diet.
Adaptable Recipe: With variations for banana-free options using applesauce or roasted sweet potato, there’s something for everyone.
Quick and Easy: The straightforward process requires minimal time and effort for delicious results.
Meal Prep Friendly: Bake a batch ahead and enjoy throughout the week or freeze for later!
Crowd-Pleasing Treat: Perfect for breakfast or a snack, these bars are sure to satisfy both kids and adults alike.
If you love recipes that are versatile and fun, you might also enjoy my Lemon Crumb Bars or Philadelphia Cheesecake Bars—both are great ways to add variety to your baking repertoire!
Baked Oatmeal Bars Ingredients
For the Base
• Rolled Oats – Provides the essential structure; opt for gluten-free oats for a gluten-free treat.
• Mashed Banana – Adds natural sweetness and moisture; switch to unsweetened applesauce or mashed roasted sweet potato for a banana-free option.
• Water – Hydrates the mixture; use almond milk if you want a creamier flavor.
For the Flavor
• Salt – Enhances flavors and balances sweetness; don’t skip this key ingredient!
• Pure Maple Syrup/Agave/Honey or Stevia – Sweetens the bars naturally; for a sugar-free version, try powdered or liquid stevia.
• Oil/Nut Butter – Contributes to moisture and texture; almond butter or coconut oil are great alternatives.
• Pure Vanilla Extract – Infuses a lovely flavor, elevating the overall taste of the bars.
For Optional Add-Ins
• Chocolate Chips – For a decadent treat, add these for richness and flavor!
• Chopped Nuts – Great for adding crunch; feel free to mix in your favorite nuts for extra texture.
Step‑by‑Step Instructions for Baked Oatmeal Bars
Step 1: Preheat Your Oven
Begin by preheating your oven to 350°F (175°C). This step is essential for achieving the perfect texture for your Baked Oatmeal Bars. While the oven is heating, gather all your ingredients to ensure a smooth preparation process.
Step 2: Prepare Your Baking Pan
Line an 8-inch baking pan with parchment paper or grease it well to prevent sticking. This will make it easy to lift out your baked oatmeal bars later. Make sure the paper extends over the edges of the pan, providing a handy crease for pulling the bars out once they’re baked.
Step 3: Mix the Ingredients
In a large mixing bowl, combine rolled oats, mashed banana, water, salt, your chosen sweetener, oil or nut butter, and vanilla extract. Stir everything together until fully mixed, ensuring all ingredients are well incorporated. The mixture should be slightly moist but not runny, forming a thick batter texture.
Step 4: Transfer the Mixture
Pour the mixture evenly into the prepared baking pan, smoothing the top with a spatula. This will help create an even bake throughout your Baked Oatmeal Bars. Gently press down on the mixture to ensure it’s tightly packed, which will lead to a better crumb when baked.
Step 5: Add Optional Toppings
If you’re feeling indulgent, now is the time to sprinkle some chocolate chips on top of the mixture. This addition will melt during baking, giving your bars a delightful chocolatey touch. Feel free to add any other toppings you love, like chopped nuts or seeds.
Step 6: Bake the Oatmeal Bars
Place the baking pan in the preheated oven and bake for about 20 minutes. Keep an eye on the bars; they should be golden on the edges and firm to the touch in the center. The enticing aroma will fill your kitchen, creating a cozy baking atmosphere.
Step 7: Firm Up the Bars
Once baked, turn off the oven without opening the door and let the pan sit inside for an additional 5 minutes. This will help the Baked Oatmeal Bars firm up nicely, making them easier to slice after cooling. Be patient and resist the temptation to open the oven!
Step 8: Cool and Slice
After the additional baking time, remove the pan from the oven and allow it to cool on a wire rack. Once completely cool, lift the bars out using the parchment paper edges and slice them into squares. Store any leftovers in the fridge for 3-4 days or freeze them for up to 3 months, keeping your homemade snacks readily available.
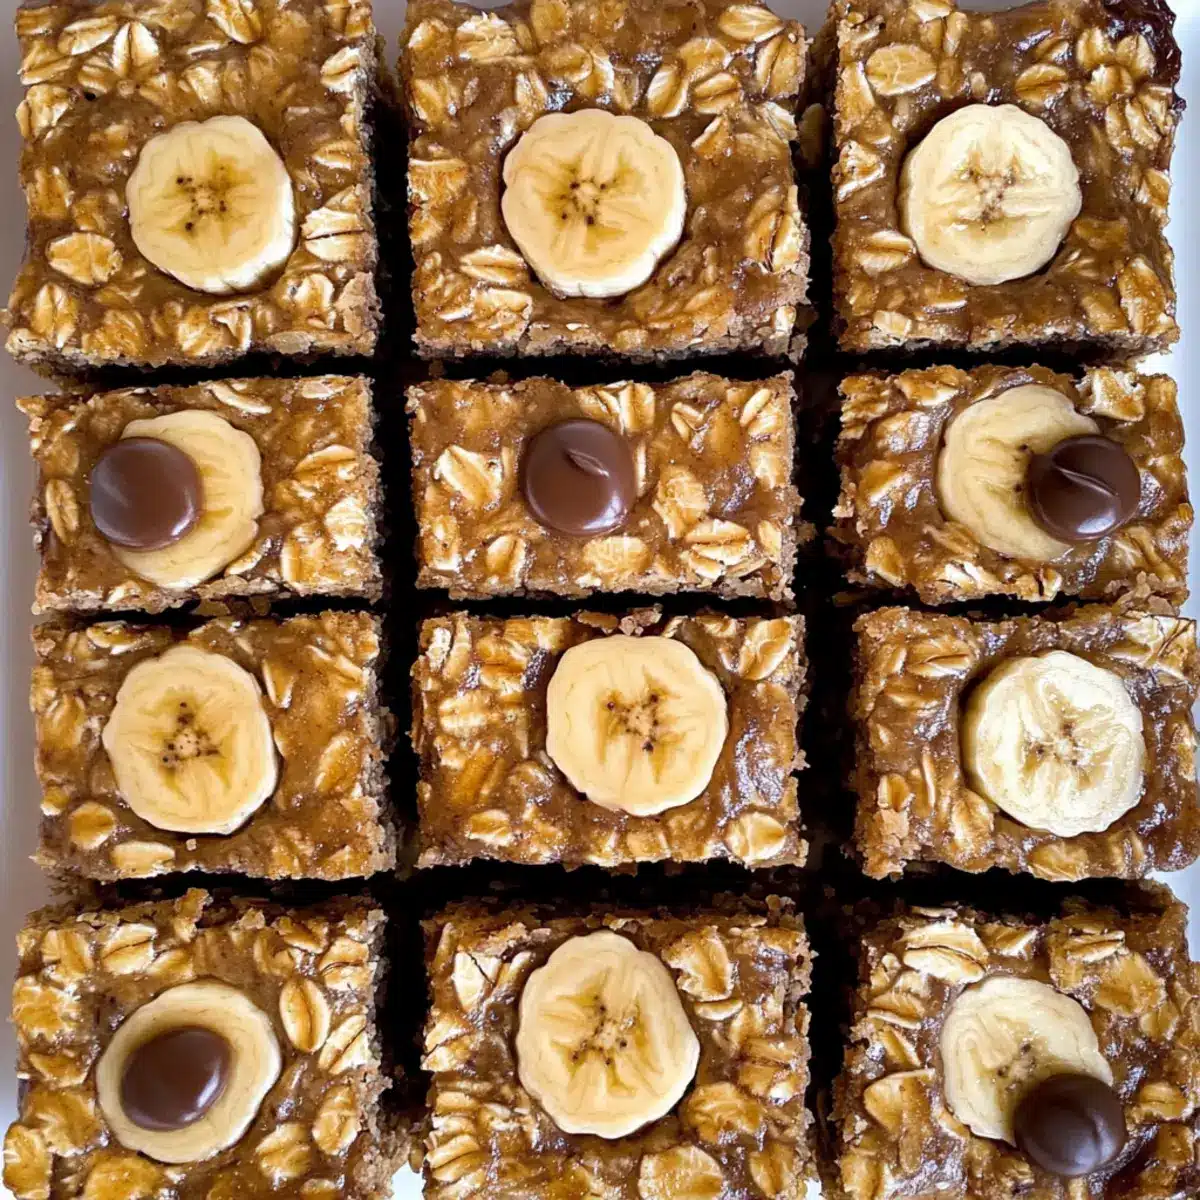
Make Ahead Options
These Vegan Banana Baked Oatmeal Bars are perfect for meal prep enthusiasts! You can assemble the mixture up to 24 hours in advance—simply mix all the ingredients and pour them into the prepared baking pan, then cover and refrigerate. When you’re ready to bake, just pop them in the oven straight from the fridge for a quick, delicious breakfast. For longer storage, you can bake the bars and keep them in the fridge for up to 4 days or freeze them for up to 3 months. To maintain quality, ensure they are stored in airtight containers and thaw bars at room temperature or in the microwave before serving. Enjoy the convenience of having wholesome snacks ready to go that are just as delicious!
Helpful Tricks for Baked Oatmeal Bars
-
Mix Thoroughly: Ensure all ingredients are well combined to prevent uneven texture in your baked oatmeal bars. A good mix is key!
-
Don’t Peek: Avoid opening the oven door while baking. It helps maintain a consistent temperature for perfectly baked bars.
-
Cool Completely: Allow your bars to cool down entirely before slicing. This prevents them from crumbling and helps achieve that desirable chewy texture.
-
Use Parchment Paper: Line the baking pan with parchment paper for easy removal. It makes slicing and serving so much simpler!
-
Experiment with Add-Ins: Don’t hesitate to add your favorite nuts or spices. Customizing your baked oatmeal bars can enhance flavors and keep things interesting!
How to Store and Freeze Baked Oatmeal Bars
Fridge: Store leftover baked oatmeal bars in an airtight container for up to 3–4 days. This keeps them fresh and moist, ready for a quick snack anytime!
Freezer: For long-term storage, wrap each bar in parchment paper and place them in a freezer-safe bag. They can be frozen for up to 3 months.
Thawing: To enjoy, simply thaw the bars in the fridge overnight or microwave them for 20-30 seconds until warmed through.
Reheating: If you prefer them warm, heat them in the microwave on a microwave-safe plate for about 10-15 seconds, just until cozy and ready to eat!
What to Serve with Vegan Banana Baked Oatmeal Bars
Elevate your breakfast or snack game with delightful pairings that complement the warm, chewy goodness of these wholesome bars.
- Creamy Almond Yogurt: A dollop on the side adds a smooth texture and tangy flavor, enhancing the overall enjoyment of the bars.
- Fresh Berries: Juicy blueberries or strawberries offer a refreshing burst of sweetness, making for a vibrant plate alongside the oatmeal bars.
- Nutty Granola: Add a sprinkle for a delightful crunch that contrasts perfectly with the softness of the bars, creating a satisfying texture combination.
- Chia Seed Pudding: This creamy, fiber-rich option adds depth to your meal, and its subtle sweetness complements the baked oatmeal bars beautifully.
- Banana Smoothie: Blend ripe bananas with almond milk for a drink that echoes the flavors of the bars while providing an energizing kick.
- Espresso or Coffee: A rich cup of joe enhances the comfort of your breakfast, creating a cozy morning ritual when savoring these treats.
- Nut Butter Drizzle: A warm drizzle of almond or peanut butter elevates the flavors and adds a luxurious finish to your bars.
Serve these alongside your baked oatmeal bars for a round, nourishing meal that’s sure to brighten your day!
Baked Oatmeal Bars Variations
Feel free to personalize these baked oatmeal bars with exciting twists that will awaken your taste buds!
-
Banana-Free Delight: Substitute mashed banana with unsweetened applesauce or roasted sweet potato for a lovely, moist base. This swap maintains the texture while offering a different flavor profile.
-
Nutty Crunch: Add your favorite chopped nuts like walnuts or pecans for a delightful crunch. Not only do nuts elevate the flavor, but they also boost healthy fats and nutrients.
-
Cinnamon Swirl: Mix in a teaspoon of cinnamon or nutmeg to add a warm, comforting hug of flavor. These spices take your bars to a new level of deliciousness!
-
Chocolate Lovers’ Dream: Swap in cacao nibs or dark chocolate chips for an indulgent treat. The chocolate will melt and create pockets of gooey goodness that you won’t be able to resist.
-
Fruit Booster: Toss in some chopped dried fruits such as cranberries or apricots for a chewy, sweet addition. They bring extra fiber and a pop of fruity flavor!
-
Protein Power-Up: Fold in a scoop of your favorite protein powder to make these bars even more filling. The added protein makes them perfect for a post-workout snack or breakfast.
-
Almond Milk Substitute: Instead of water, try using almond milk for a creamier texture and enhanced nutty flavor. It pairs beautifully with the sweet roasted notes of the bananas or sweet potato.
If you’re feeling adventurous, why not check out my delicious Lemon Crumb Bars or the delightful Philadelphia Cheesecake Bars for more tasty ideas?
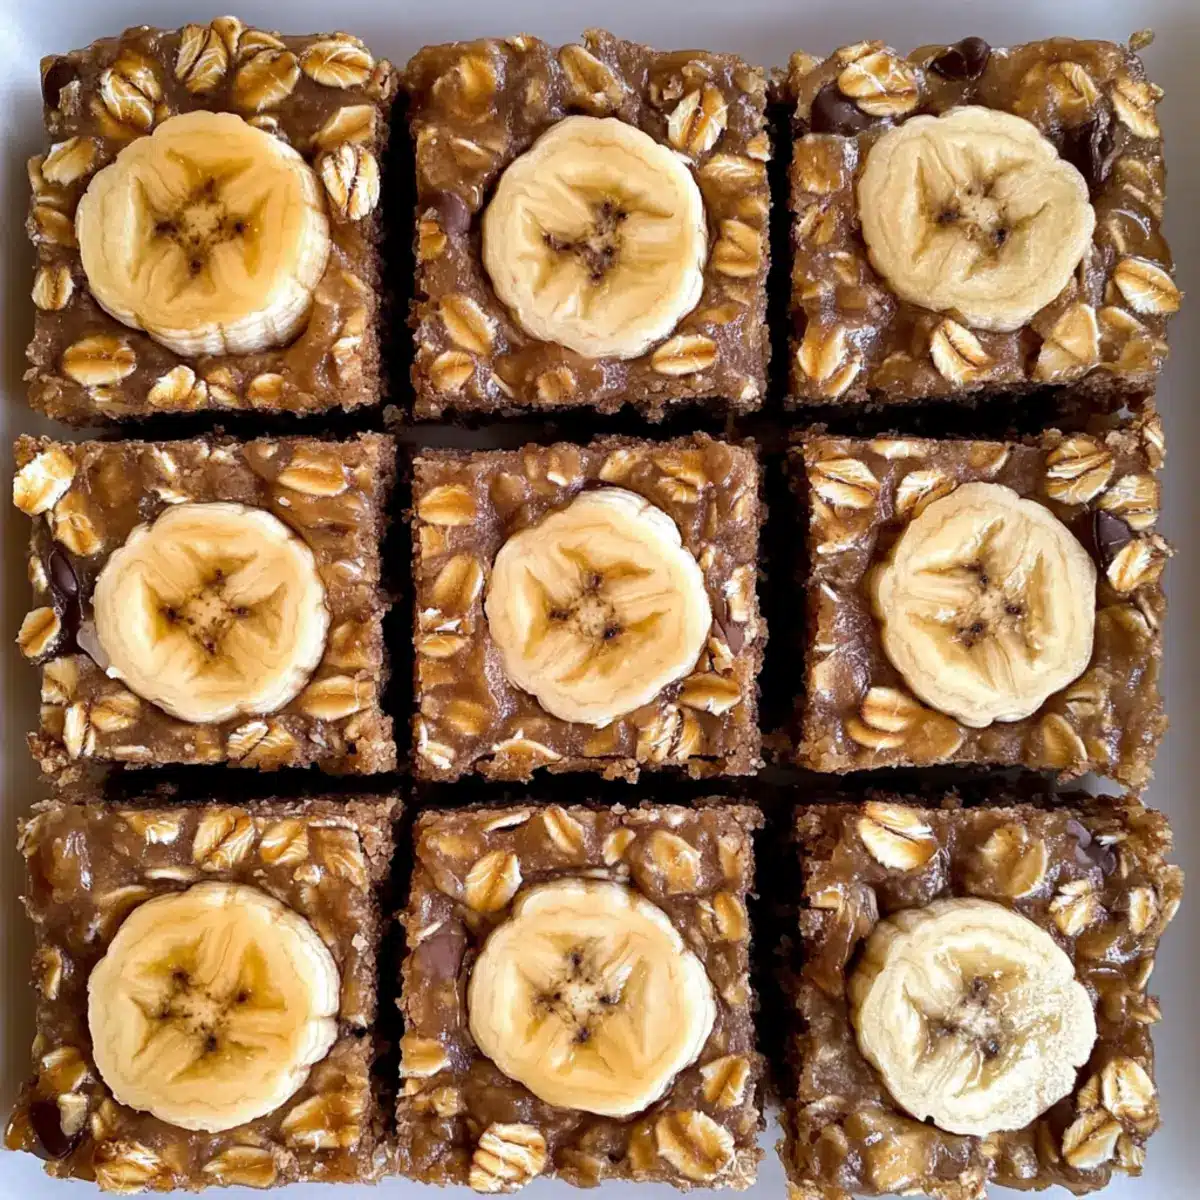
Banana Baked Oatmeal Bars Recipe FAQs
How do I choose the best ripe bananas for this recipe?
Absolutely! Look for bananas that are fully yellow with some brown spots; these indicate optimal sweetness and moisture. Avoid those that are overripe with dark spots all over, as they can make the bars too mushy.
How should I store leftover baked oatmeal bars?
Store your leftover baked oatmeal bars in an airtight container in the fridge for up to 3-4 days. This helps maintain their freshness and chewy texture, making them a perfect snack to grab during a busy day!
Can I freeze these oatmeal bars?
Very much so! To freeze, wrap each bar in parchment paper (this helps prevent sticking) and place them in a freezer-safe bag. They can be stored for up to 3 months. Simply thaw them overnight in the fridge, or pop them in the microwave for 20-30 seconds until warmed through.
What if my baking doesn’t turn out the way I hoped?
If your bars are too crumbly, they might need more moisture. You can add a splash of water or almond milk next time. To ensure even baking, make sure all ingredients are mixed thoroughly and avoid opening the oven while they’re baking.
Are there any dietary considerations with this recipe?
Yes! These baked oatmeal bars are naturally vegan, gluten-free, egg-free, and dairy-free. If you have nut allergies, simply use seeds or coconut oil in place of nut butters and ensure your oats are certified gluten-free for safety.
Can I add other ingredients or modify the recipe?
Absolutely! Feel free to experiment with spices like cinnamon or nutmeg for added warmth, or swap chocolate chips for dried fruits or seeds. The beauty of these baked oatmeal bars lies in their adaptability to fit your taste!
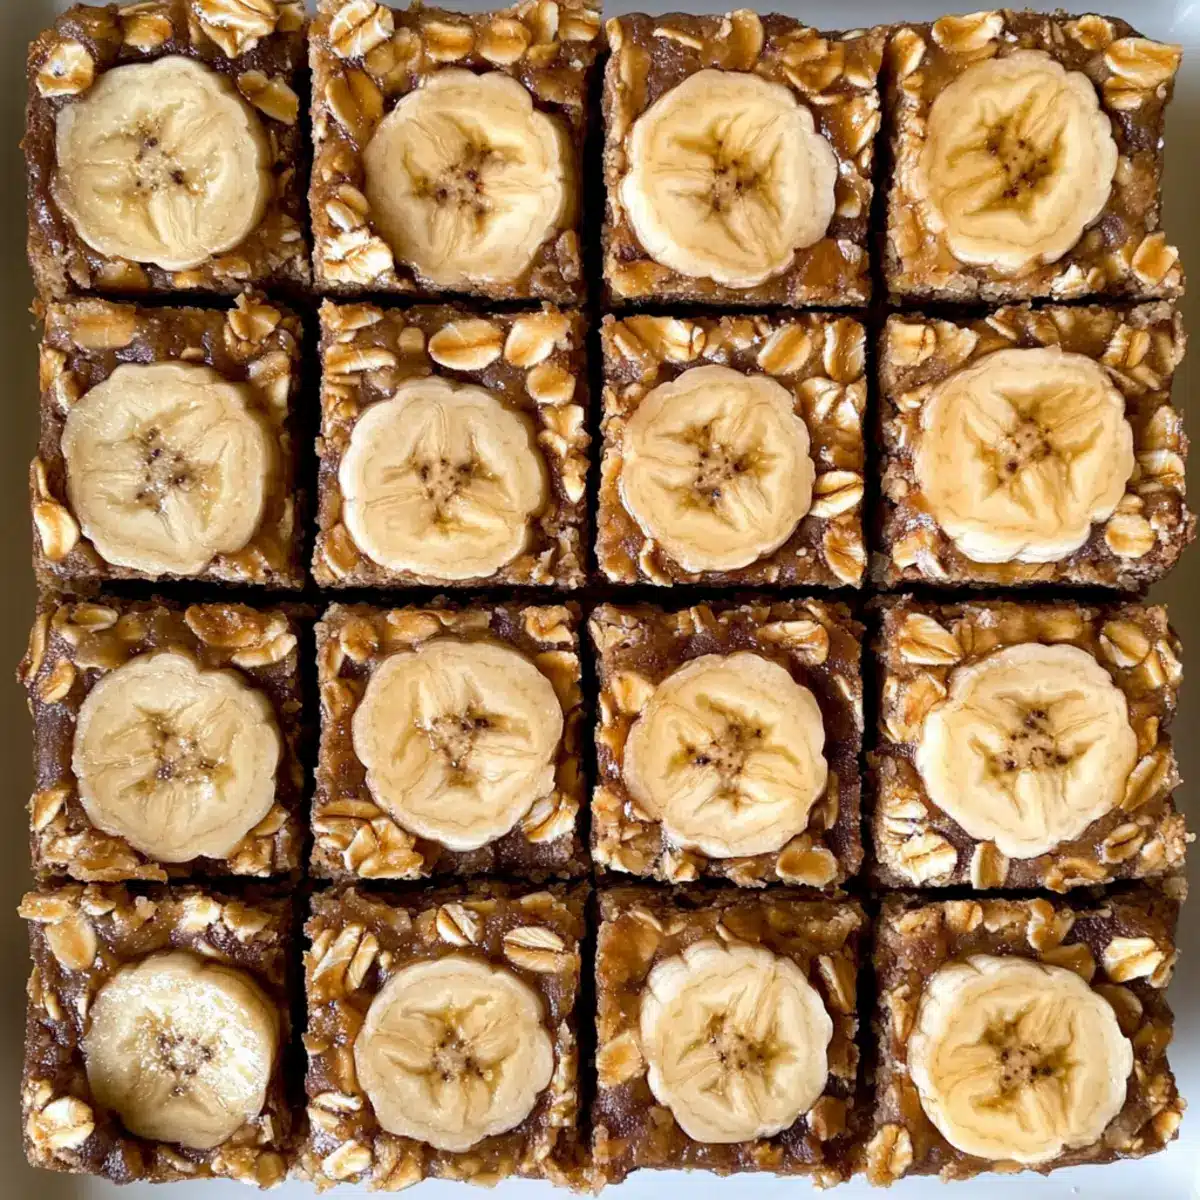
Deliciously Easy Baked Oatmeal Bars for Healthy Mornings
Ingredients
Equipment
Method
- Preheat your oven to 350°F (175°C).
- Line an 8-inch baking pan with parchment paper or grease it well.
- In a large mixing bowl, combine rolled oats, mashed banana, water, salt, sweetener, oil or nut butter, and vanilla extract. Stir until fully mixed.
- Pour the mixture into the prepared baking pan, smoothing the top with a spatula.
- If desired, sprinkle chocolate chips or other toppings on top.
- Bake for about 20 minutes until golden on the edges and firm to the touch.
- Turn off the oven and let the pan sit inside for an additional 5 minutes.
- Allow to cool on a wire rack before slicing into squares.
Leave a Reply