
Something magical happens when you take a bite of a baked taco; the satisfying crunch and cheesy, savory filling evoke the warmth of a family gathering on a busy weeknight. This Baked Chicken Tacos recipe is your go-to solution for quick meals that are absolutely delicious and easy to customize. Imagine building your tacos with whatever fillings you love—whether it’s perfectly cooked chicken, vibrant veggies, or your favorite cheese. With just a handful of ingredients and minimal prep time, these crispy delights make weeknight dinners feel special. Plus, they’re freezer-friendly, allowing you to meal prep for those whirlwind days when cooking feels impossible. Curious about the creative twists you can add to make these tacos uniquely yours? Let’s dive in!
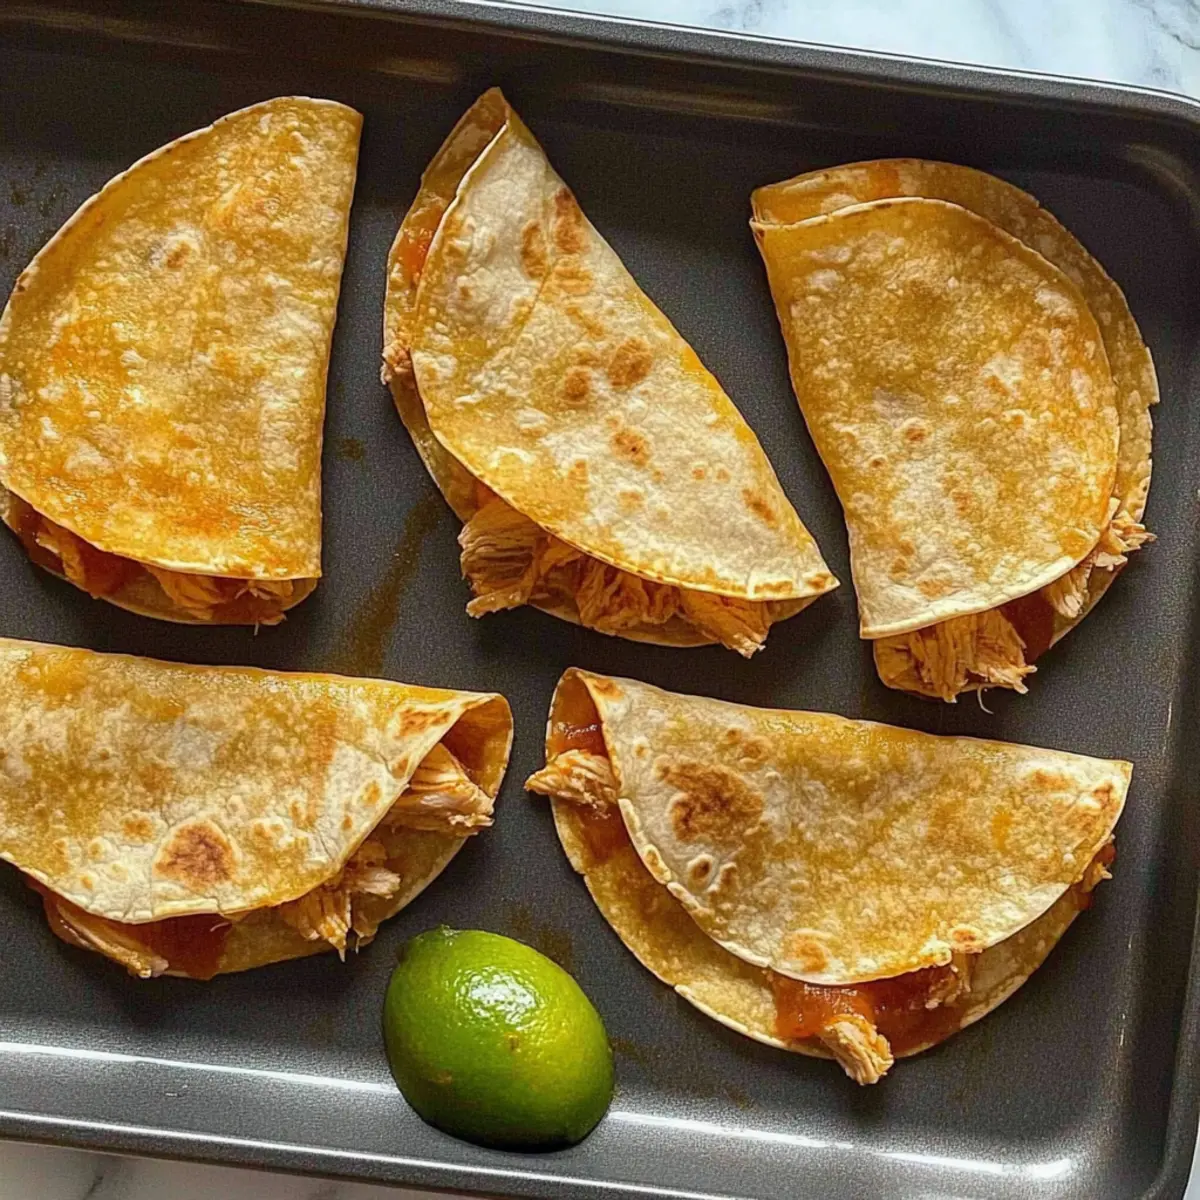
Why Are Baked Chicken Tacos So Amazing?
Crispy, Crunchy Delight: The baked nature creates a satisfying crunch that’s simply irresistible!
Endless Customization: Fill them with your choice of cooked chicken, veggies, or cheese for a personal touch every time.
Quick and Easy Prep: Assemble these tacos in mere minutes—perfect for busy weeknights or last-minute get-togethers!
Family-Friendly Fun: Everyone from kids to adults will love the fun, hands-on experience of making their tacos.
Freezer-Friendly: Make a big batch and freeze leftovers for quick meals later, even on your busiest days!
Looking for more easy meal ideas? Check out my delicious Cheesy Southwest Chicken or try the flavorful Buffalo Chicken Bacon for another crowd-pleaser!
Baked Chicken Tacos Ingredients
-
For the Taco Shells
• 6 Extra Thin Corn Tortillas – These lovely tortillas form the crunchy base of your baked chicken tacos; consider corn-flour hybrids for extra durability! -
For the Filling
• 6 oz Cooked Chicken Breast – Offering a hearty protein punch, this cooked chicken can be replaced with any leftover rotisserie or grilled chicken.
• 1/2 C Shredded Cheese (Cheddar) – Melting beautifully, cheese adds richness and flavor; feel free to swap it for Monterey Jack or a spicy Pepper Jack for a kick!
Let’s get those tacos ready for a delightful family feast!
Step‑by‑Step Instructions for Baked Chicken Tacos
Step 1: Preheat the Oven
Begin by preheating your oven to 400°F (200°C). This will ensure your baked chicken tacos achieve that perfect, crispy texture. While the oven heats, gather your baking sheet and set it aside as you’ll need it later to press down on the tacos.
Step 2: Soften the Tortillas
Take your 6 extra thin corn tortillas and wrap them in a damp paper towel. Place them in the microwave for 45-60 seconds, flipping them halfway through the heating process. The tortillas should feel warm and pliable, making them easier to fold and fill without tearing.
Step 3: Prepare the Filling
Next, prepare your filling for the baked chicken tacos. Take the 6 oz of cooked chicken breast and shred or chop it into bite-sized pieces. If you’d like, add in any optional veggies at this stage, such as bell peppers or onions, to enhance the flavor and nutrition.
Step 4: Assemble the Tacos
Lay each soft tortilla on a flat surface, and add a generous amount of the prepared chicken mixture to one half of each tortilla. Sprinkle about a tablespoon of shredded cheese on top of the chicken, ensuring the filling is balanced but not overstuffed, then carefully fold the other half over to create a taco.
Step 5: Press the Tacos
To keep your taco fillings intact while baking, place a heavy baking sheet on top of the assembled tacos. This weight will help them hold their shape and remain closed during the cooking process. Make sure to gently press down to secure them.
Step 6: Bake to Perfection
Place your baking sheet with the tacos in the preheated oven and bake for 8-12 minutes. Keep an eye on them; they should turn golden brown and crisp up nicely. If you want extra crunch, remove the weight during the last 2-3 minutes of baking.
Step 7: Serve and Enjoy
Once your baked chicken tacos are done, carefully remove them from the oven. Let them cool for a minute before serving. They’ll be delightfully crispy on the outside and warm with gooey cheese on the inside. Pair with your favorite salsa or guacamole for a complete meal!
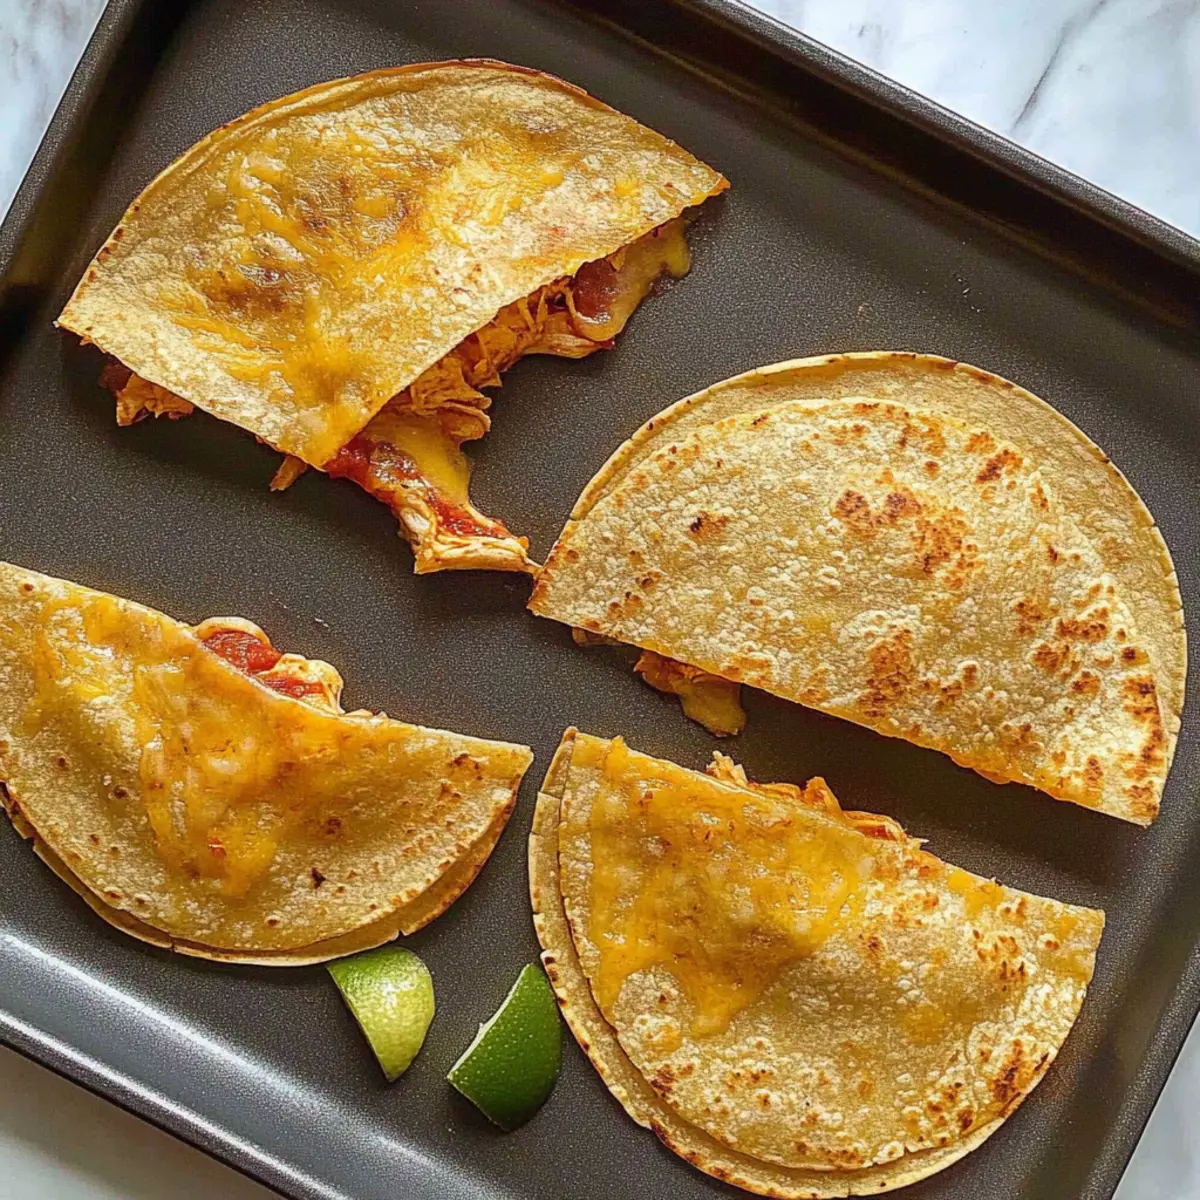
What to Serve with Baked Chicken Tacos
Elevate your meal experience with delightful sides that complement the crispy, flavorful magic of baked chicken tacos.
- Fresh Guacamole: This creamy dip adds richness and freshness, perfectly balancing the crunch of the tacos.
- Zesty Salsa: A vibrant salsa brightens the dish with tangy flavors and textures, making every bite more exciting.
For a lighter option, consider a simple salad drizzled with a tangy vinaigrette. It offers a refreshing contrast to the hearty tacos.
-
Mexican Street Corn: Sweet corn sprinkled with cotija cheese brings a delicious sweetness that pairs wonderfully with the savory chicken.
-
Chilled Mexican Rice: Fluffy rice with cilantro and lime juice acts as a wonderful sidekick — hearty, yet refreshing!
-
Crispy Tortilla Chips: Serve alongside for a delightful extra crunch, perfect for scooping up any leftover guacamole or salsa.
-
Cold Beer: A light lager or a citrus-infused beer enhances the flavors, making your taco night feel festive and fun.
Storage Tips for Baked Chicken Tacos
- Fridge: Store leftover baked chicken tacos in an airtight container in the fridge for up to 3 days. This keeps them fresh while maintaining their delightful crunch.
- Freezer: For longer storage, freeze baked chicken tacos in a single layer on a baking sheet, then transfer to a freezer-safe bag or container for up to 3 months.
- Reheating: To reheat and maintain crispiness, place frozen or refrigerated tacos in an oven at 400°F (200°C) for 2-4 minutes. This method ensures they stay delicious and crispy!
- Airtight Storage: Always use airtight containers or heavy-duty freezer bags to prevent freezer burn, which keeps the flavors intact in your baked chicken tacos.
Baked Chicken Tacos Variations & Substitutions
Feel free to get creative with this recipe and discover new flavor combinations that elevate your baked chicken tacos!
- Dairy-Free: Substitute cheese with vegan cheese or nutritional yeast for a cheesy flavor without the dairy.
- Vegetarian: Replace cooked chicken with sautéed beans, lentils, or mixed vegetables for a satisfying meatless option.
- Spicy Kick: Add diced jalapeños or a splash of hot sauce to the chicken mixture for a zesty twist.
- Cheese Lover: Experiment with various cheeses like Pepper Jack, Gouda, or even feta for a unique taste.
- Grain-Free: Use lettuce wraps instead of tortillas for a low-carb, gluten-free taco experience. They bring a fresh crunch!
- Tex-Mex Flair: Mix in taco seasoning with your chicken for extra flavor, or serve with salsa and guacamole for a flavorful finale.
- Protein Boost: Add black beans, chickpeas, or even quinoa to your filling for an extra punch of nutrients and texture.
- Crunchy Topping: Top baked tacos with crushed tortilla chips or panko breadcrumbs before baking for an extra layer of crunch.
With these easy variations, you’re sure to keep meal times exciting! For more flavor-packed ideas, check out the scrumptious Buffalo Chicken Bacon or the comforting Crack Chicken Noodle for delicious twists your family will adore!
Make Ahead Options
These Baked Chicken Tacos are perfect for meal prep, saving you time on busy weeknights! You can assemble your tacos up to 24 hours in advance by preparing the filling (chicken and veggies) and filling the tortillas. After assembling, cover them tightly with plastic wrap and refrigerate to maintain freshness. To prevent the tortillas from becoming soggy, consider adding cheese just before baking. When you’re ready to serve, simply preheat the oven and bake them directly from the fridge for 8-12 minutes until golden and crispy. This way, you’ll enjoy delicious, restaurant-quality Baked Chicken Tacos with minimal effort!
Expert Tips for Baked Chicken Tacos
-
Tortilla Temperature: Ensure your tortillas are warmed sufficiently to prevent tearing; soft tortillas make for easier assembly of baked chicken tacos.
-
Filling Balance: Avoid overfilling your tacos to prevent them from oozing during baking. A balanced amount of chicken and cheese is key!
-
Crispy Finish: For the ultimate crunch, remove the baking sheet weight in the last few minutes of baking to allow your tacos to crisp up beautifully.
-
Meal Prep Easy: Make a double batch and freeze leftover tacos for quick dinners; just reheat in the oven for 2-4 minutes until crispy.
-
Flavor Twists: Experiment with filling variations like sautéed veggies or different cheeses to customize your baked chicken tacos for every family member’s taste!
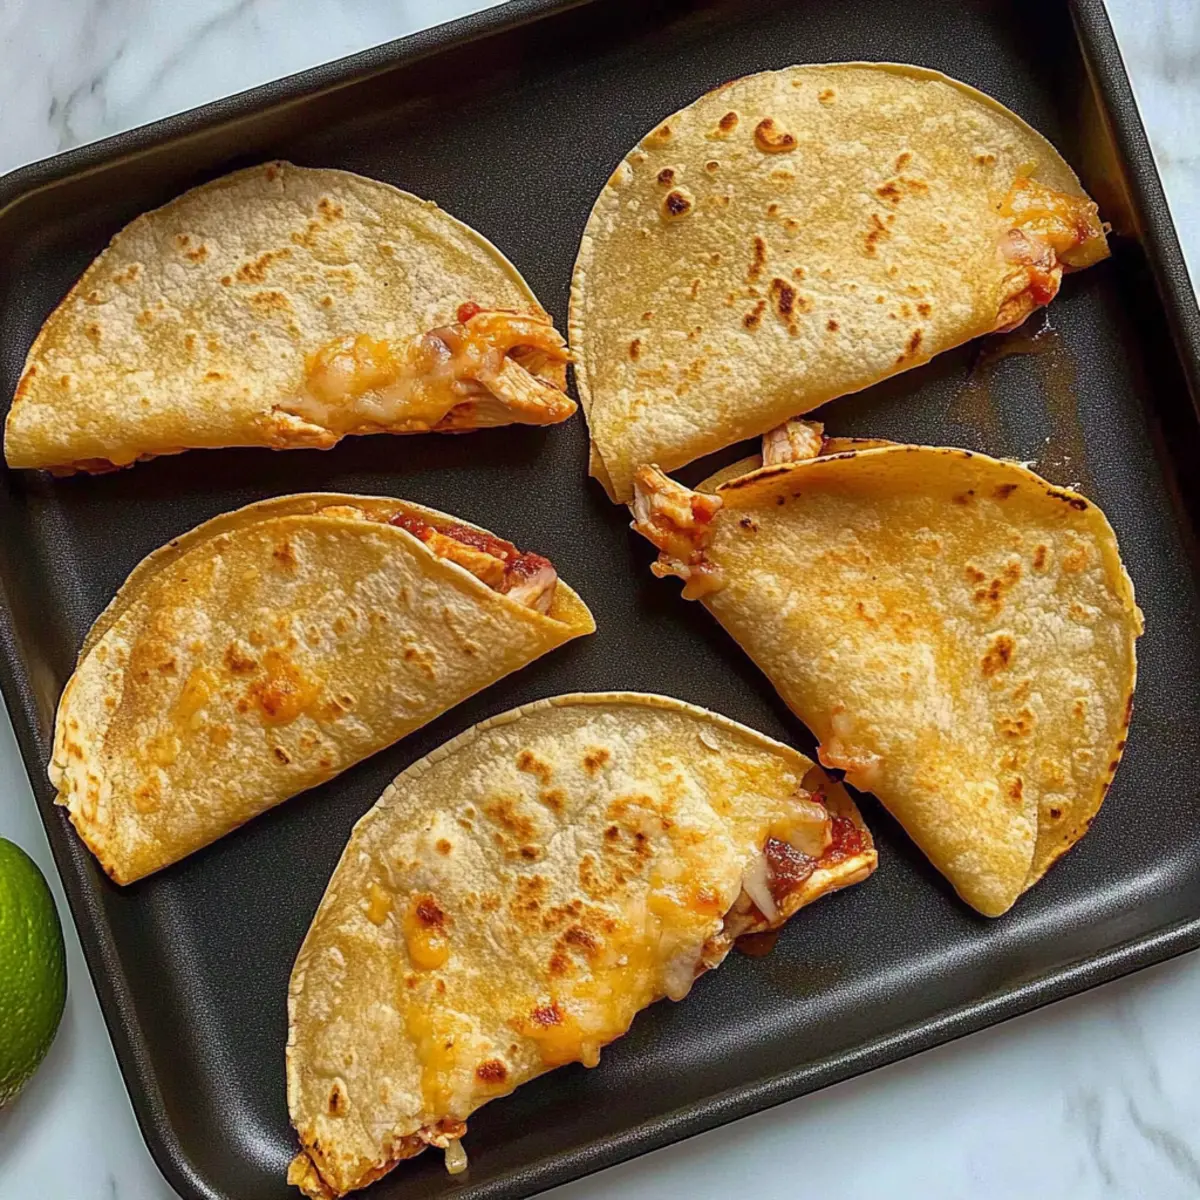
Baked Chicken Tacos Recipe FAQs
How do I choose the right tortillas for baked chicken tacos?
Absolutely! For the best results, it’s important to select extra thin corn tortillas, as they form the crispy base of your baked chicken tacos. If you’re concerned about tearing during assembly, consider using corn-flour hybrid tortillas, which offer added strength while still providing that delightful crunch.
How should I store leftover baked chicken tacos?
To keep your tacos fresh, store them in an airtight container in the fridge, where they will last for up to 3 days. This will help maintain their delightful crunch while preserving the flavors. If you want to store them for longer, you can freeze them for up to 3 months. Just make sure to wrap them securely to avoid freezer burn!
Can I freeze baked chicken tacos, and how should I do it?
Yes, you can absolutely freeze baked chicken tacos! First, allow the tacos to cool completely. Then, arrange them in a single layer on a baking sheet and place them in the freezer. Once frozen, transfer them to a freezer-safe bag or container. When you’re ready to enjoy them, simply reheat the frozen tacos in an oven at 400°F (200°C) for 2-4 minutes until they’re warm and crispy.
What should I do if my tacos are soggy after baking?
Very! If you find your tacos are soggy, it might be due to overfilling. Make sure to use a balanced amount of chicken and cheese to prevent excess moisture. Additionally, consider removing the baking sheet weight a couple of minutes before they’re finished baking to enhance the crispiness on the outside.
Are baked chicken tacos suitable for anyone with dietary restrictions?
Definitely, these tacos are very customizable! You can easily make them gluten-free by using corn tortillas, and they can be prepared as a vegetarian option by swapping in sautéed vegetables. For those with dairy allergies, opt for dairy-free cheese alternatives. Just ensure to check the labels on all ingredients to accommodate any specific allergies.
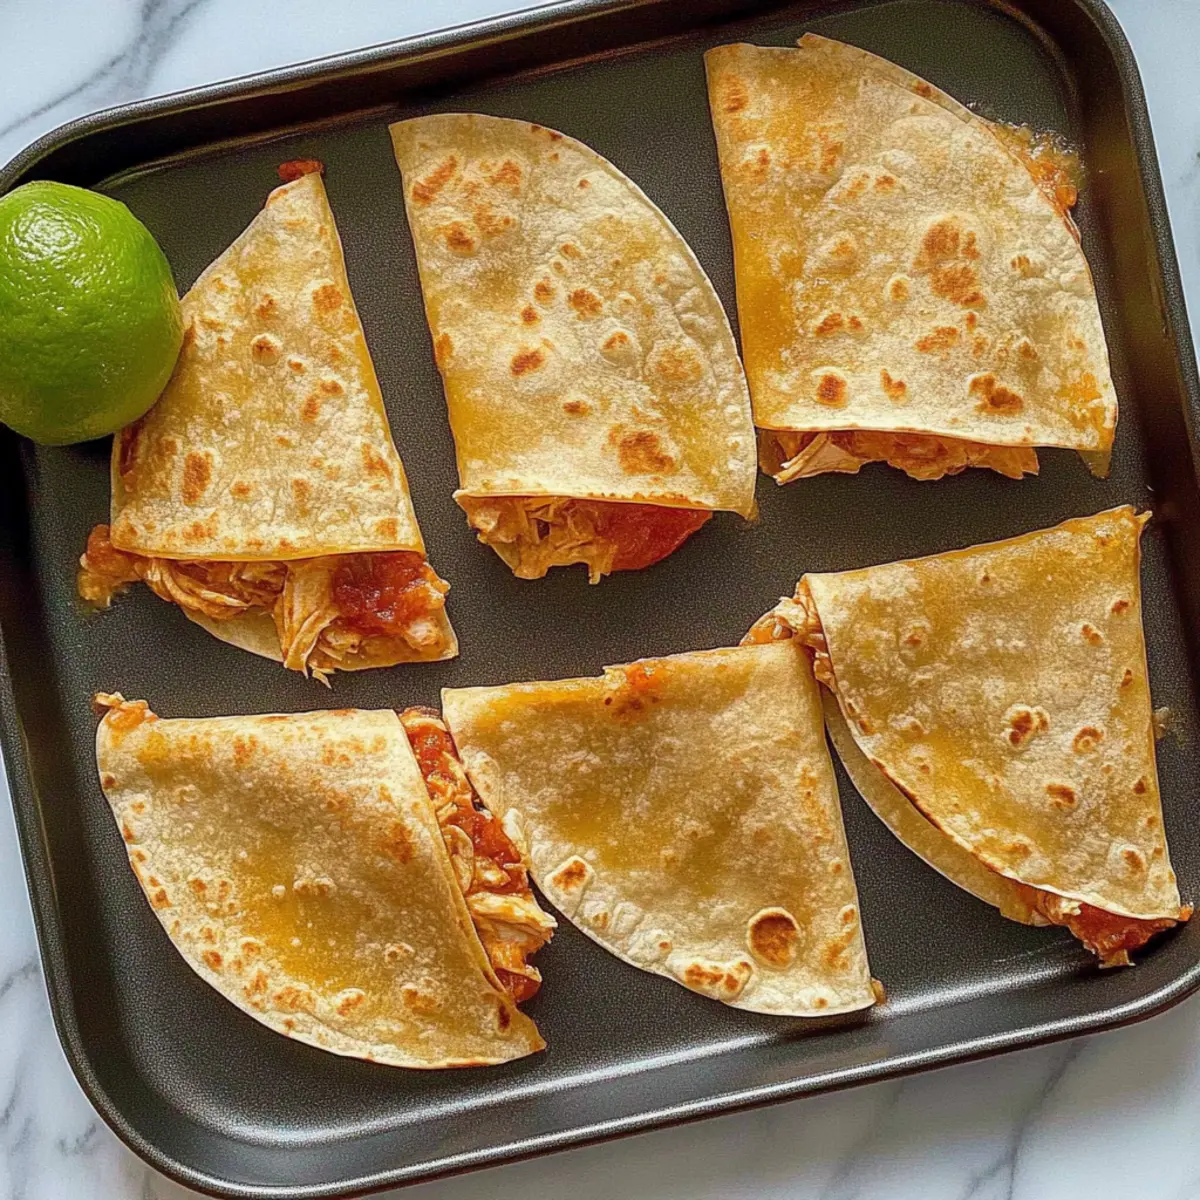
Baked Chicken Tacos: Crispy, Easy, and Oh-So-Satisfying!
Ingredients
Equipment
Method
- Preheat your oven to 400°F (200°C).
- Wrap the tortillas in a damp paper towel and microwave for 45-60 seconds.
- Shred or chop the cooked chicken breast into bite-sized pieces and optionally add any veggies.
- Assemble the tacos by filling each tortilla with chicken and cheese, then fold them.
- Press down on the assembled tacos with a heavy baking sheet to keep them intact.
- Bake the tacos in the preheated oven for 8-12 minutes until golden and crispy.
- Let them cool for a minute before serving with salsa or guacamole.
Leave a Reply