
As I stood in my kitchen, the aroma of sweet cherries wafted through the air, instantly taking me back to carefree summer days spent picking fruit with family. This Easy Homemade Cherry Crisp is my go-to recipe for celebrating those moments, marrying the rich, juicy taste of cherries with a crunchy oat topping that’s too irresistible to resist. Not only is this dessert a quick and easy way to impress guests, but it’s adaptable enough to accommodate various diets, making it a true crowd-pleaser. With options like gluten-free and dairy-free adjustments, there’s no reason to miss out on this summery delight. Are you ready to fill your home with that nostalgic scent and create new memories? Let’s get baking!
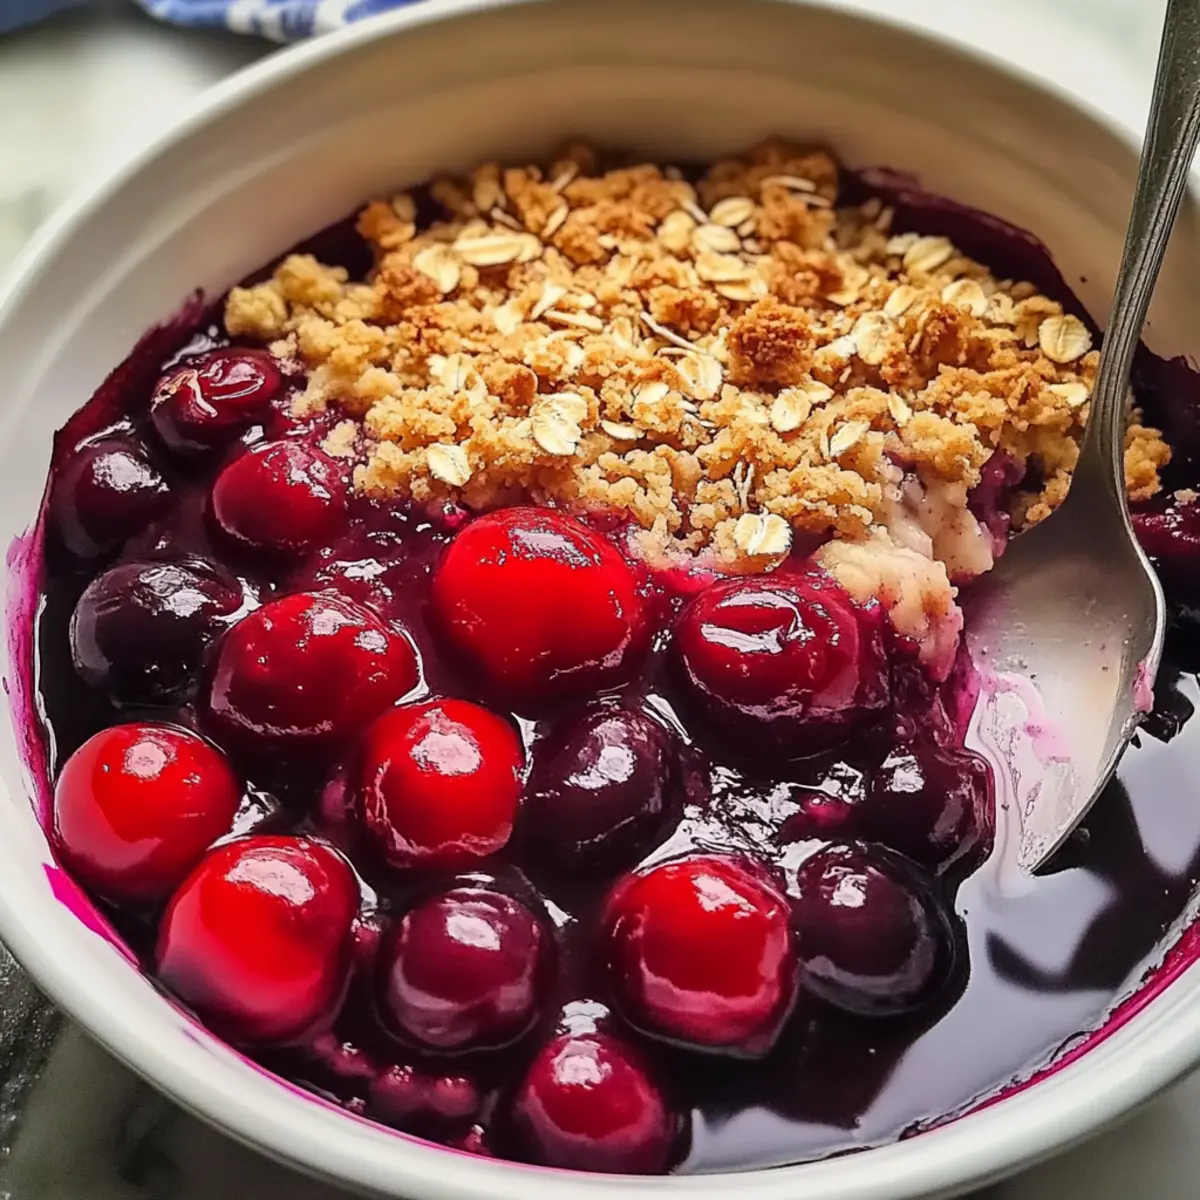
Why is Homemade Cherry Crisp a Must-Try?
Irresistible Comfort: This Homemade Cherry Crisp brings that cozy feeling of summers spent with loved ones, offering a delightful mix of flavors and textures that everyone will adore.
Quick and Easy: With just a few simple steps, you can whip up this delicious dessert that’s perfect for any occasion, from weeknight dinners to summer BBQs.
Versatile Variations: Don’t limit yourself to cherries! Experiment with peaches or blueberries to keep your desserts exciting and tailored to your guests’ preferences.
Diet-Friendly: Whether you’re gluten-free or dairy-free, this recipe adapts beautifully to your needs. You can easily swap in alternatives without compromising taste.
Crowd-Pleasing Delight: Serve warm with a scoop of ice cream, and watch as your family and friends dive in for seconds—just like they would with my Goat Cheese Balls. It’s a guaranteed hit at any gathering!
Homemade Cherry Crisp Ingredients
• Discover the perfect mix of flavors!
For the Cherry Filling
- Fresh Dark Sweet Cherries – Juiciness and natural sweetness make them the star; frozen cherries work too without thawing.
- Brown Sugar – Adds sweetness and depth; feel free to use coconut sugar for a healthier option.
- Cinnamon – Provides a warm spice that elevates the cherry flavor.
For the Topping
- Unsalted Butter – Essential for a crunchy texture; always use cold butter for the best results.
- Oats – Gives the topping its delightful crunch; old-fashioned oats are perfect for this.
- All-Purpose Flour – Brings structure to the topping; consider a gluten-free flour blend as a great alternative.
Let your kitchen fill with the delightful aroma of this Homemade Cherry Crisp as you create a sweet moment for all!
Step‑by‑Step Instructions for Homemade Cherry Crisp
Step 1: Preheat the Oven
Begin by preheating your oven to 350°F (177°C). This ensures that your Homemade Cherry Crisp bakes evenly and develops that perfect golden topping. While the oven warms up, you can gather your ingredients and prepare the baking dish, getting everything ready for assembly.
Step 2: Prepare the Cherries
Wash and pit about 4 cups of fresh dark sweet cherries. Once pitted, slice them in half and place the cherries evenly in a medium-sized baking dish. This creates a beautiful base for your crisp, with the sweet juices from the cherries ready to bubble up and enhance the flavor during baking.
Step 3: Mix the Dry Ingredients
In a medium bowl, combine rolled oats, all-purpose flour (or gluten-free flour), brown sugar, and a dash of cinnamon. Stir until well blended. This dry mixture is key to achieving the crunchy topping that will complement the juicy cherry filling beautifully as it bakes in the oven.
Step 4: Incorporate the Butter
Take your cold unsalted butter and cut it into small cubes. Using a pastry cutter or your fingers, work the butter into the dry mixture until it forms a crumbly texture. The cold butter is essential for creating that desired crunchy topping on your Homemade Cherry Crisp, so don’t rush this step!
Step 5: Assemble the Crisp
Sprinkle the crumbly topping mixture evenly over the prepared cherries in the baking dish. Make sure to cover the cherries completely, as this will create a deliciously crunchy layer that balances the sweet and tart flavors of the filling. The topping should have a nice texture, with some larger crumbs for added crunch.
Step 6: Bake to Perfection
Place the baking dish in the preheated oven and bake for about 45 minutes. You’ll know it’s done when the topping is golden brown and the cherries are bubbling enticingly beneath. Keep an eye on it, as oven temperatures can vary; you want that perfect crisp texture.
Step 7: Cool Before Serving
Once baked, remove the Homemade Cherry Crisp from the oven and let it cool for 10 minutes. This cooling time allows the juices to settle, making it easier to serve. You can enjoy it warm or at room temperature, and it pairs beautifully with a scoop of vanilla ice cream on top.
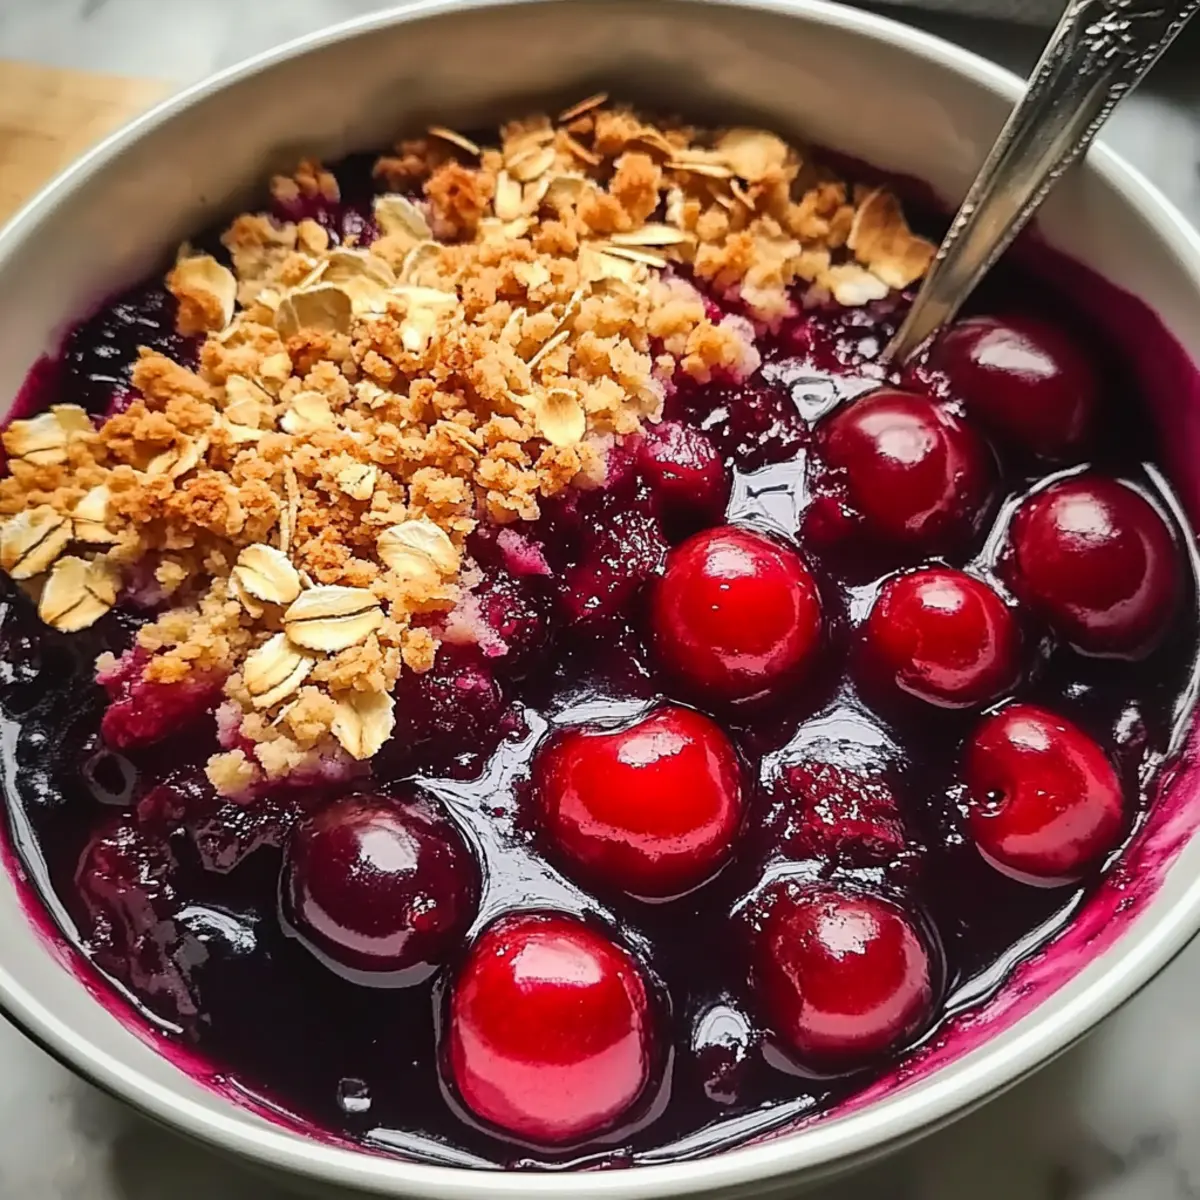
How to Store and Freeze Homemade Cherry Crisp
Fridge: Store leftover Homemade Cherry Crisp in an airtight container for up to 5 days. This keeps the topping from getting soggy while maintaining the cherry filling’s delightful flavor.
Freezer: For longer storage, wrap the cooled cherry crisp tightly in plastic wrap, then in foil, and freeze for up to 3 months. Thaw overnight in the fridge before reheating for the best results.
Reheating: When ready to enjoy, reheat individual portions in the microwave for 30-60 seconds or in a preheated oven at 350°F (177°C) until warmed through. This will help revive the crisp topping’s texture.
Expert Tips for Homemade Cherry Crisp
-
Use Cold Butter: Starting with cold butter is crucial! It helps create that wonderfully crunchy topping that contrasts perfectly with the juicy cherries.
-
Monitor Baking Time: Ovens can vary significantly; check your crisp around the 40-minute mark to prevent over-baking. Look for a golden topping and bubbling cherry filling.
-
Frozen Fruit Adjustment: If using frozen cherries, increase baking time by about 10-15 minutes to ensure a fully cooked and evenly heated filling.
-
Avoid Overmixing: When combining the topping ingredients, mix just until crumbly. Overmixing can lead to a dense texture instead of the light and crispy result you want.
-
Experiment with Flavors: Don’t hesitate to switch up the fruit! This Homemade Cherry Crisp can be made with peaches or blueberries, catering to your taste and seasonal availability.
Make Ahead Options
These Homemade Cherry Crisp are perfect for meal prep enthusiasts! You can wash, pit, and slice your cherries up to 24 hours in advance—store them in an airtight container in the refrigerator to keep them fresh and juicy. Additionally, you can prepare the topping mixture (oats, flour, brown sugar, cinnamon, and cut-in butter) up to 3 days ahead; just refrigerate it in a sealed bowl. When you’re ready to bake, combine the cherries with the topping and pop it in the oven. This way, you can enjoy a delicious dessert on busy weeknights with minimal effort, all while savoring that homemade goodness!
What to Serve with Easy Homemade Cherry Crisp
Indulge in a delightful meal by pairing your cherry crisp with flavors that enhance its sweetness and warmth.
-
Vanilla Ice Cream: The creamy richness of vanilla ice cream perfectly contrasts with the warm, tart cherries, creating a heavenly combination. A scoop melting atop the crisp brings pure bliss in every bite.
-
Whipped Cream: Light and airy, whipped cream adds a touch of elegance and complements the fruitiness beautifully. It’s the perfect finishing touch for a comforting dessert.
-
Fresh Berry Salad: A refreshing berry salad provides a burst of flavor and a hint of acidity, balancing out the sweetness of the crisp. Mix in some mint for an elevated, vibrant touch.
-
Mint Tea: The soothing notes of mint tea create a relaxing beverage option that allows the dessert’s flavors to shine. It brings a refreshing contrast to the richness of the cherry crisp.
-
Sparkling Water with Lemon: For a refreshing palate cleanser, pair this crisp with sparkling water enhanced by a squeeze of fresh lemon. The fizzy bubbles lighten the whole experience.
-
Chocolate Drizzle: A light drizzle of melted chocolate adds an indulgent twist, elevating this summer dessert into a more sophisticated treat that chocolate lovers will adore.
-
Pecan Pie Bars: For a delightful multisensory dessert experience, follow up your warm cherry crisp with a slice of pecan pie bars. Their nutty richness pairs wonderfully with the tartness of the cherries.
With these tantalizing pairings, your Easy Homemade Cherry Crisp is destined to shine at the center of any gathering!
Homemade Cherry Crisp Variations
Feel free to get creative with this recipe and enjoy customizing your Homemade Cherry Crisp with delightful twists!
-
Peachy Delight: Substitute cherries with ripe peaches for a sweet, juicy alternative. The flavor combination brings a sunny, fruity vibe to your dessert!
-
Berry Burst: Try using blueberries or raspberries instead of cherries for a vibrant, tangy twist. Mixed berries offer an exciting explosion of flavors in every bite.
-
Nutty Crunch: Add chopped pecans or walnuts to the topping for extra crunch. The nuts will bring a delightful nutty flavor that plays beautifully against the sweetness of the fruit.
-
Spicy Kick: Incorporate a pinch of nutmeg or an extra dash of cinnamon into the topping mixture for a warm, autumnal spice that enhances the fruits’ natural sweetness. It’s a small change that makes a big impact!
-
Dairy-Free Delight: Replace unsalted butter with coconut oil or a dairy-free butter alternative. This swap allows everyone to indulge without worrying about dairy—it’s absolutely delicious!
-
Sweet Alternative: Use coconut sugar in place of brown sugar for a unique caramel-like flavor. This alternative offers a deeper sweetness that pairs wonderfully with the tartness of the cherries.
-
Texture Twist: Bake the crisp in individual ramekins for a charming presentation and added crunch. Each serving will have an enticing balance of fruit filling and the perfect topping!
For a special treat, serve your finished crisp warm with a scoop of ice cream, just like my Candy Cheesecake Bombs or alongside a refreshing Honeycrisp Apple Feta, and watch your family and friends savor every last bite!
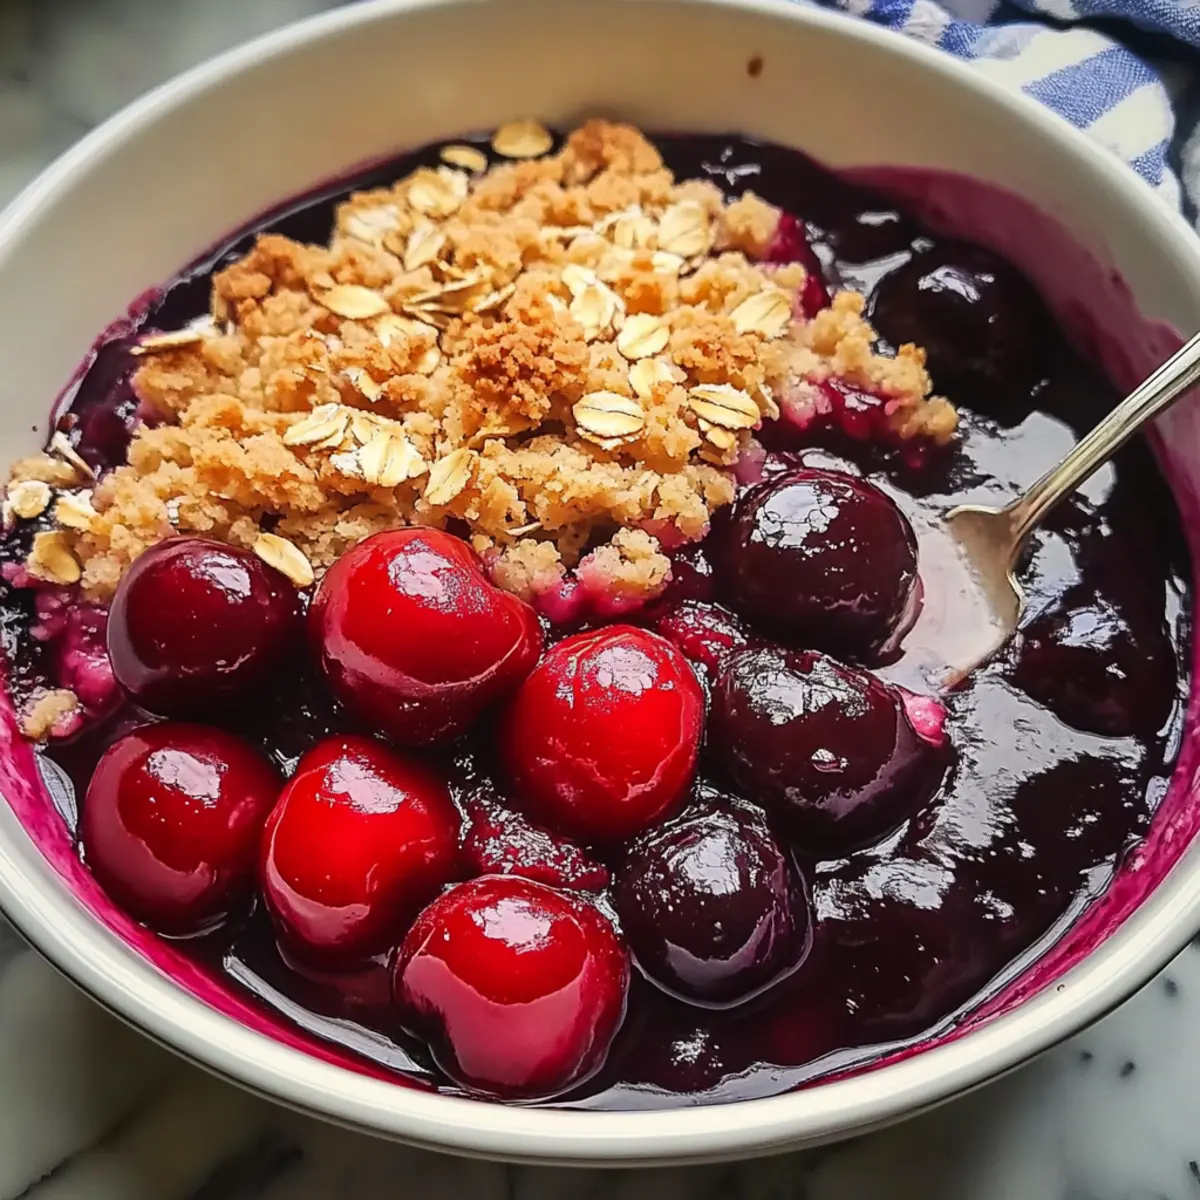
Homemade Cherry Crisp Recipe FAQs
How do I pick ripe cherries for my Homemade Cherry Crisp?
Absolutely! Look for cherries that are plump and have a deep, dark red color. They should feel firm to the touch but not hard. Avoid any cherries with dark spots or blemishes, as these can indicate overripeness. When you bite into a ripe cherry, the flavors should be sweet and slightly tart—just perfect for your crisp!
How should I store leftover Homemade Cherry Crisp?
Very! Once your cherry crisp has cooled completely, transfer it to an airtight container. This will keep it fresh in the fridge for up to 5 days. Be sure to cover it well to prevent the topping from becoming soggy while maintaining the vibrant cherry filling’s flavor. You can also reheat individual portions to enjoy that crispy topping again!
Can I freeze my Homemade Cherry Crisp?
Yes, you can! To freeze your cherry crisp, wrap it tightly in plastic wrap followed by aluminum foil to prevent any freezer burn. It can last for up to 3 months in the freezer. When you’re ready to enjoy it, simply thaw it overnight in the fridge, then reheat at 350°F (177°C) until warmed through and crispy!
What if my topping doesn’t turn out crunchy?
If your topping ends up soggy, it could be due to overmixing or not using cold butter. To achieve that delightful crunch, always use cold butter and mix just until the topping resembles crumbs. Also, ensure that you bake until the topping is a beautiful golden brown and the filling is bubbly—this should help you nail that perfect texture!
Are there any dietary considerations for my Homemade Cherry Crisp?
Certainly! For a gluten-free version, swap regular flour with a gluten-free flour blend, and use gluten-free oats. If you’re dairy-free, feel free to substitute unsalted butter with coconut oil or a dairy-free butter alternative. Don’t hesitate to make these adjustments; this recipe is wonderfully adaptable for various dietary needs!
Can I use frozen cherries instead of fresh?
Absolutely! You can use frozen cherries directly in the recipe without thawing. Just keep in mind that you’ll need to increase the baking time by about 10-15 minutes to ensure the filling is cooked through and the topping is golden. This is a fantastic way to enjoy your cherry crisp year-round!
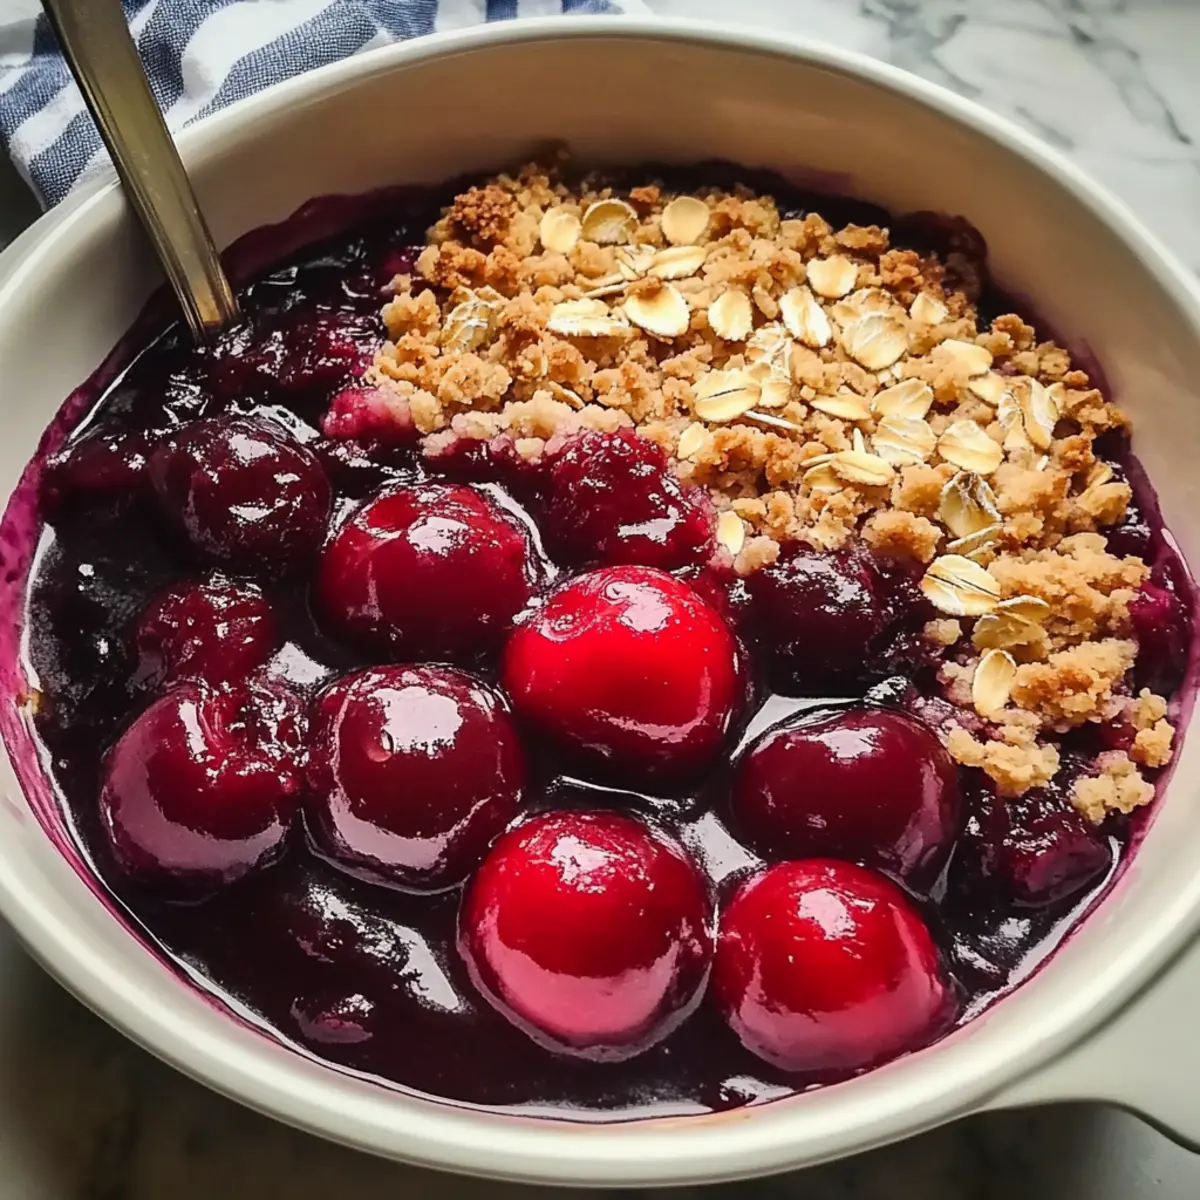
Homemade Cherry Crisp: Sweet, Tart Bliss for Every Bite
Ingredients
Equipment
Method
- Preheat your oven to 350°F (177°C).
- Wash and pit about 4 cups of fresh dark sweet cherries, then slice them in half and place them in the baking dish.
- In a medium bowl, combine oats, flour, brown sugar, and cinnamon. Stir until well blended.
- Cut cold unsalted butter into small cubes and mix into the dry ingredients until crumbly.
- Sprinkle the topping mixture evenly over the cherries.
- Bake for about 45 minutes until the topping is golden brown and cherries are bubbling.
- Allow to cool for 10 minutes before serving.
Leave a Reply