
The moment I took my first bite of a Cannoli Cookie, it was as if I had been whisked away to a sun-drenched piazza in Italy, surrounded by the comforting buzz of laughter and family. These delightful cookies blend the essence of a classic Italian dessert with an effortless homemade twist that’s sure to win over any crowd. With an easy prep time and a rich, creamy filling tucked inside a crispy exterior, these Cannoli Cookies not only satisfy a sweet tooth but also evoke warm memories with every bite. Perfect for sharing during gatherings or enjoying with a cozy cup of coffee at home, they’re a delicious reminder that homemade treats can be both simple and impressive. Aren’t you curious to create your own batch and experience this delightful taste of Italy?

Why are Cannoli Cookies a must-try?
Indulgence at its Finest: Each bite of these Cannoli Cookies reveals a rich, creamy filling that captures the essence of traditional cannoli, offering a unique dessert that you won’t soon forget.
Easy to Make: With just a few simple ingredients, you can whip up these delectable treats in no time. Perfect for those who appreciate homemade goodness without the fuss!
Versatile Delight: Feel free to get creative! You can switch up flavors by adding orange zest or cinnamon, ensuring every batch can be a unique experience.
Crowd-Pleaser: Whether it’s a family gathering or an intimate coffee date, these cookies are sure to impress your guests. And if you enjoy treats like Chai Shortbread Cookies, these will fit right in!
Make Ahead Potential: These treats keep well in an airtight container, allowing you to prep in advance and have delicious bites ready for any occasion.
Unleash your inner baker and indulge in the flavors of Italy with these unforgettable Cannoli Cookies!
Cannoli Cookies Ingredients
Unlock the secret to these delightful treats with this simple ingredient list!
For the Dough
• All-purpose flour – Structure and texture; can be replaced with gluten-free flour for a gluten-free version.
• Granulated sugar – Adds sweetness; adjust to your taste if you prefer a little less sugar.
• Large egg – Acts as a binding agent; ensure it’s fresh for the best results.
• Vanilla extract – Enhances flavor; almond extract can be used instead for a different twist.
• Lemon zest – Provides brightness and acidity; use fresh lemon for a more vibrant taste.
For the Filling
• Ricotta cheese (¼ cup for dough, ¼ cup for filling) – Adds moisture and creaminess; use room-temperature ricotta for easy blending.
• Mini chocolate chips – Offers sweetness and a delightful texture; dark chocolate chips can provide a richer flavor.
• Chopped pistachios – Adds a crunchy, nutty flavor; feel free to substitute with any preferred nuts like almonds or walnuts.
For Decoration
• Powdered sugar – Essential for a beautiful finish; optional if you prefer to omit it.
Once you gather these ingredients, you’re one step closer to creating your very own mouth-watering Cannoli Cookies!
Step‑by‑Step Instructions for Cannoli Cookies
Step 1: Preheat the Oven
Start by preheating your oven to 350°F (175°C). This ensures that your Cannoli Cookies will bake evenly and achieve that perfect golden brown exterior. While the oven warms up, prepare your baking sheets by lining them with parchment paper for easy cleanup later.
Step 2: Prepare the Dry Ingredients
In a mixing bowl, whisk together the all-purpose flour and granulated sugar until well combined. This dry mixture forms the base of your Cannoli Cookies, so make sure to break up any clumps to achieve a smooth texture. Set the bowl aside as you move on to the wet ingredients.
Step 3: Mix the Wet Ingredients
In a separate bowl, blend ¼ cup of room-temperature ricotta cheese, a large egg, vanilla extract, and freshly grated lemon zest. Beat these ingredients together until the mixture is smooth and creamy, creating a rich foundation for your cookie dough. You should have a luscious consistency that’s inviting and fragrant.
Step 4: Combine Wet and Dry Mixtures
Gradually mix the dry flour and sugar mixture into the wet ingredients. Stir gently until a soft dough forms—be careful not to overmix! The dough should be slightly sticky but manageable. This delicate balance is key to ensuring your Cannoli Cookies remain tender and easy to work with.
Step 5: Let the Dough Rest
Cover the dough with plastic wrap or a kitchen towel and allow it to rest for 30 minutes at room temperature. This resting period helps the gluten relax, resulting in a more pleasant texture when you roll it out later. Use this time to prepare your filling ingredients.
Step 6: Roll Out the Dough
After the resting period, sprinkle a clean surface with flour and roll out the dough to a thickness of about ¼ inch. Cut the rolled dough into 2×3 inch rectangles using a sharp knife or pastry cutter. Aim for even sizes to ensure uniform baking, making your Cannoli Cookies look as appealing as they taste.
Step 7: Make the Filling
In a mixing bowl, combine the remaining ¼ cup of ricotta cheese, mini chocolate chips, and chopped pistachios. Mix these ingredients together until they are well-blended, creating a delightful filling that is both creamy and textured. This enriching blend is what sets your Cannoli Cookies apart.
Step 8: Assemble the Cookies
Place a spoonful of the filling onto the center of each dough rectangle. Carefully fold the rectangle in half to cover the filling and press the edges firmly to seal, ensuring no filling escapes during baking. This sealing step is crucial for keeping the delicious filling intact while your Cannoli Cookies bake.
Step 9: Bake the Cannoli Cookies
Arrange the filled cookies on the prepared baking sheets, leaving some space between each one for expansion. Bake in the preheated oven for 15-18 minutes or until they are golden brown and fragrant. Keep an eye on them toward the end to avoid overbaking, as perfect cookies are key to achieving that dreamy texture.
Step 10: Cool the Cookies
Once baked, remove the sheets from the oven and allow the cookies to cool on the baking sheets for a few minutes. Carefully transfer them to a wire rack to cool completely. This step lets the cookies firm up and makes them easier to dust with powdered sugar later.
Step 11: Dust with Powdered Sugar
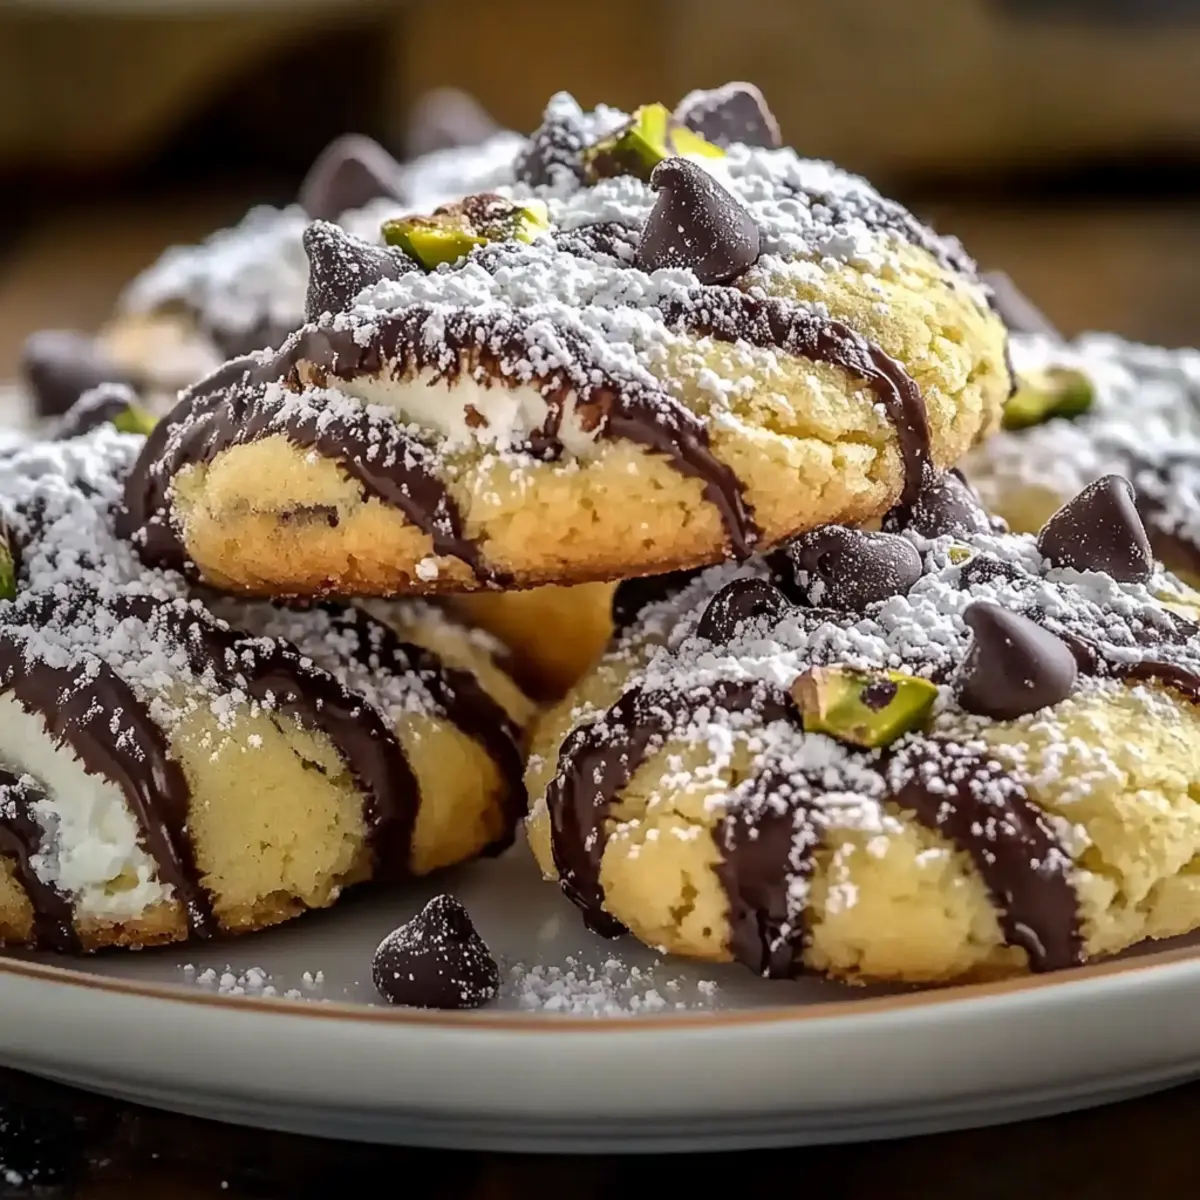
Just before serving, lightly dust the top of each cooled Cannoli Cookie with powdered sugar for an elegant finish. This adds a touch of sweetness that perfectly complements your cookies’ rich filling and crispy exterior, making them irresistible and visually stunning.
Make Ahead Options
These Cannoli Cookies are perfect for busy home cooks looking to save time during the week! You can prepare the dough and filling up to 24 hours in advance. Simply mix the dough and filling as directed, then cover them separately with plastic wrap and refrigerate. To maintain quality, make sure the dough is tightly sealed to prevent drying out. When you’re ready to bake, allow the dough to come to room temperature for about 15 minutes, then roll it out and proceed with assembly and baking. With this make-ahead strategy, you can enjoy homemade Cannoli Cookies with minimal effort, providing a delightful treat whenever you crave it!
What to Serve with Cannoli Cookies
Nothing pairs quite like a deliciously baked treat with a sip or side that enhances its delightful flavors.
-
Espresso: The rich, bold notes of a well-brewed espresso perfectly balance the sweet and creamy taste of Cannoli Cookies, creating a classic Italian experience.
-
Vanilla Ice Cream: A scoop of vanilla ice cream adds a creamy, cold contrast to the cookies’ warmth, making each bite a moment of indulgence.
-
Fruit Salad: Fresh, vibrant fruits provide a refreshing complement to the sweet and rich flavors of the cookies, adding brightness and texture to your dessert spread.
-
Chocolate Sauce: Drizzling warm chocolate sauce onto the Cannoli Cookies elevates the dessert’s decadence and offers an extra layer of delightful richness.
-
Limoncello: This sweet Italian lemon liqueur can be a refreshing palate cleanser to enjoy alongside the cookies, enhancing the citrus notes in the dessert.
-
Ricotta Cheesecake: A slice of ricotta cheesecake mirrors the creamy filling of the cookies, presenting a lovely theme throughout your meal that’s sure to please.
-
Chai Tea: The warm spices in chai tea create a comforting contrast to the cookies, making for a cozy afternoon treat worthy of sharing with loved ones.
How to Store and Freeze Cannoli Cookies
Room Temperature: Keep Cannoli Cookies in an airtight container at room temperature for up to 3 days to maintain their crispness and flavor.
Fridge: For extended freshness, store them in the refrigerator for up to 5 days. Just ensure they’re well-wrapped to prevent them from drying out.
Freezer: Freeze your cookies for up to 1 month. Wrap them tightly in plastic wrap or aluminum foil before placing them in a freezer bag.
Reheating: To enjoy leftovers, let them thaw at room temperature or place in a preheated oven at 350°F (175°C) for a few minutes to restore crispness.
Cannoli Cookies: Delightful Variations
Feel free to play with flavors and ingredients, customizing these Cannoli Cookies to your taste!
-
Gluten-Free: Substitute all-purpose flour with gluten-free flour for a delightful, allergen-friendly treat—your guests won’t even notice!
-
Almond Infusion: Use almond extract instead of vanilla for a unique, nutty flavor that complements the ricotta perfectly.
-
Citrus Twist: Try swapping lemon zest for orange zest for a sweet and tangy finish that adds a refreshing zing.
-
Dried Fruit Delight: Instead of mini chocolate chips, incorporate dried fruits like cherries or cranberries for a chewy texture and fruity burst. Just imagine the sweetness blending with creamy filling.
-
Spicy Kick: Add a pinch of cayenne or cinnamon to the dough for an unexpected but delightful warmth. It’s a fabulous twist that elevates the flavor profile!
-
Nut Medley: Experiment with different nuts—almonds, walnuts, or pecans can replace chopped pistachios for a crunchy variety that suits your taste.
-
Decadent Chocolate: For a more indulgent approach, try using dark chocolate chunks. The richer flavor will pair beautifully with the creamy filling. You might enjoy them alongside Chai Shortbread Cookies.
-
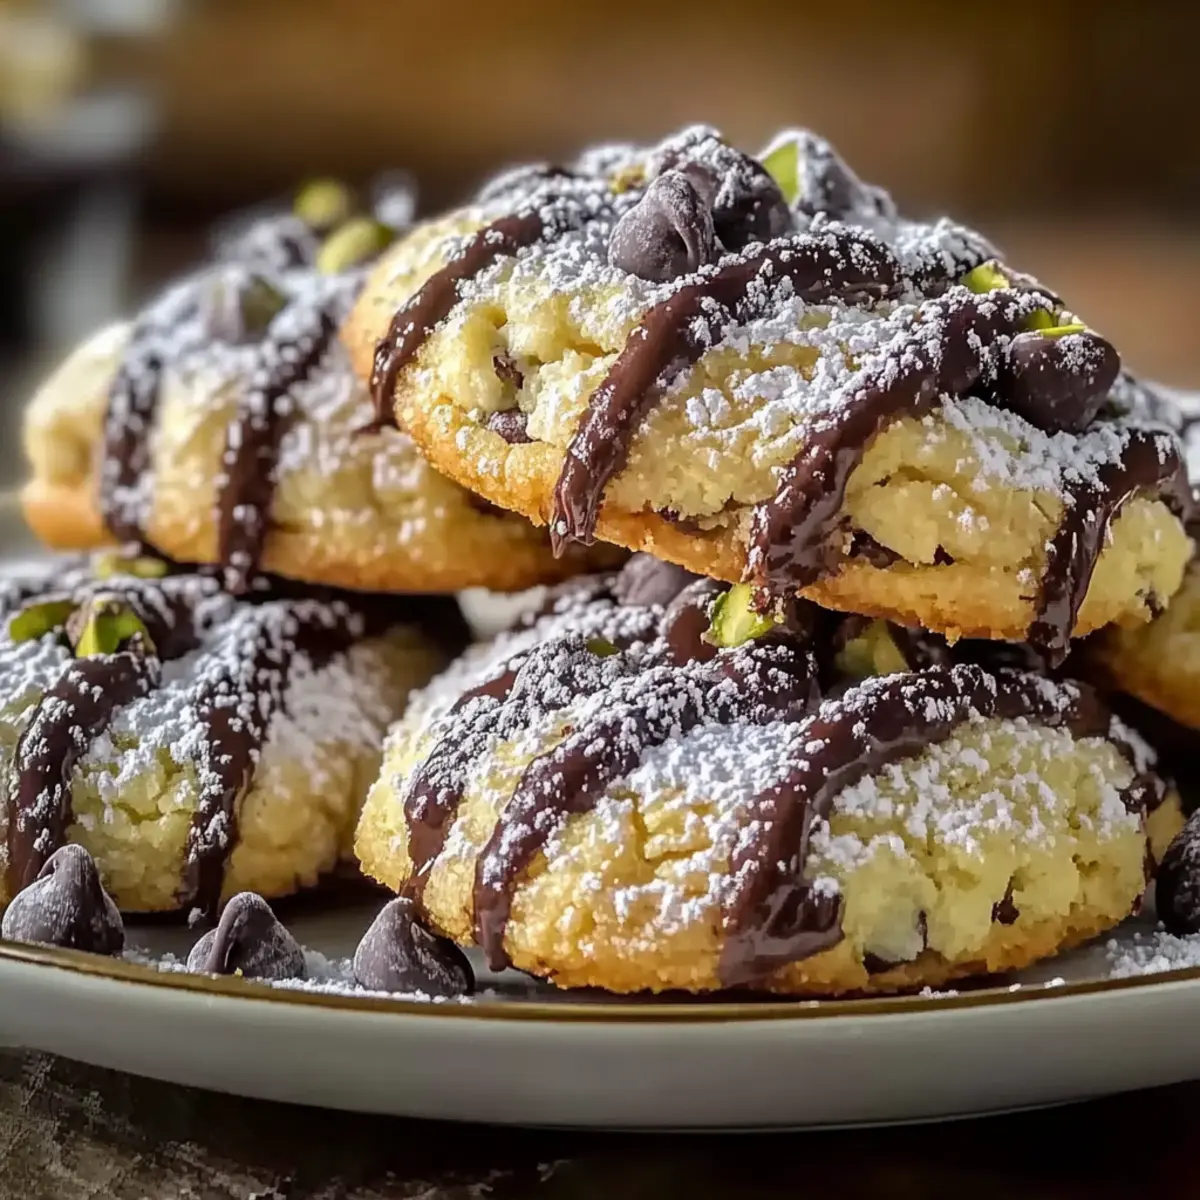
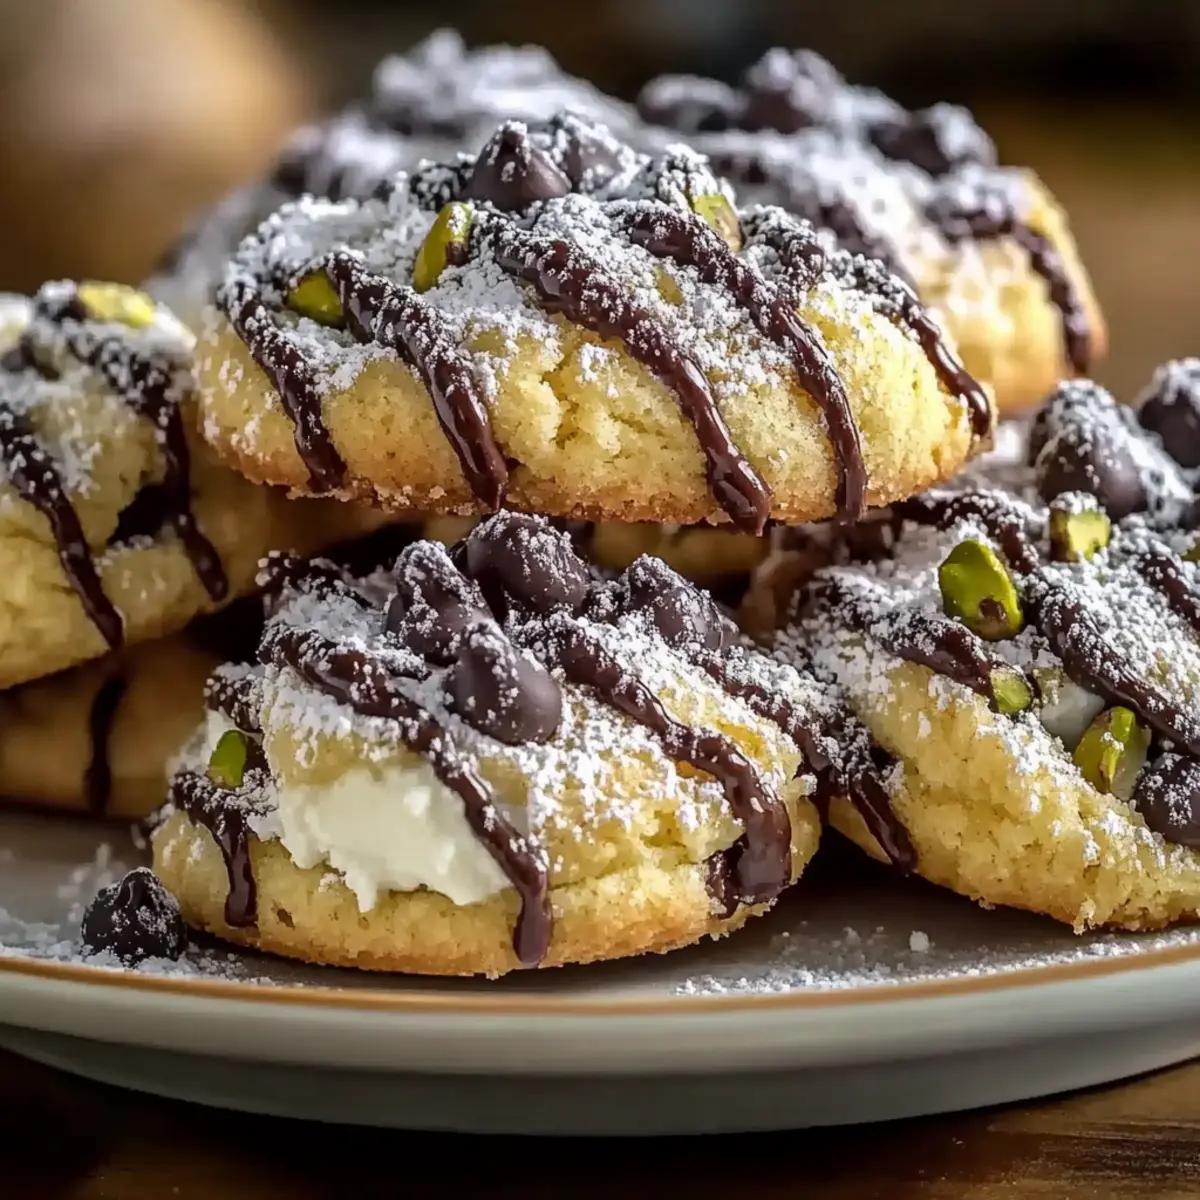
Serving Style: Consider drizzling melted chocolate on top before dusting with powdered sugar for an eye-catching presentation that adds even more sweetness!
Let your creativity shine with these variations, and make your Cannoli Cookies a delightful personal creation!
Expert Tips for Cannoli Cookies
Maintain Dough Texture: Ensure your dough isn’t too sticky by gradually incorporating flour while handling. A well-textured dough makes rolling easier.
Seal Edges Firmly: Press the edges of each filled cookie firmly to avoid leaks during baking, ensuring your Cannoli Cookies stay filled with that delightful filling.
Cool Before Powdering: Allow your cookies to cool sufficiently before dusting with powdered sugar to prevent burns and achieve a beautiful presentation.
Use Room Temperature Ricotta: This helps the ricotta blend smoothly into the dough and filling. Cold cheese can result in clumps and uneven texture.
Experiment with Flavors: Don’t hesitate to customize your Cannoli Cookies! Add cinnamon, or switch chocolate chips for dried fruits for a unique twist.
Cannoli Cookies Recipe FAQs
What type of ricotta should I use for Cannoli Cookies?
It’s best to use room temperature ricotta cheese for both the dough and filling. This ensures easy blending and a smooth, creamy texture. If you only have chilled ricotta, let it sit at room temperature for about 30 minutes before using it.
How should I store Cannoli Cookies?
To maintain their freshness, keep Cannoli Cookies in an airtight container at room temperature for up to 3 days. If you want them to last longer, you can store them in the fridge for up to 5 days, but make sure they are well-wrapped to prevent drying out.
Can I freeze Cannoli Cookies?
Absolutely! You can freeze your Cannoli Cookies for about 1 month. Make sure to wrap each cookie tightly in plastic wrap or aluminum foil and then place them in a freezer bag. When you’re ready to enjoy them, simply let them thaw at room temperature or warm them in a preheated oven at 350°F (175°C) for a few minutes to regain their crispness.
What should I do if my cookie dough is too sticky?
If your dough is too sticky, don’t panic! Simply sprinkle in a little more flour while handling it. Aim for a soft, manageable dough that isn’t overly sticky. A good texture will make rolling out the dough much easier and yield better results.
Can I make Cannoli Cookies gluten-free?
Yes! You can substitute all-purpose flour with a gluten-free blend. Just make sure to use a one-to-one substitute designed for baking to achieve the best texture. Also, check the other ingredients for any hidden gluten to keep it truly gluten-free.
Is it okay to use different filling options for Cannoli Cookies?
Very! These Cannoli Cookies are quite versatile. You can experiment with different fillings by adding flavors like cinnamon to the dough or swapping chocolate chips for dried fruits, such as cherries or cranberries, to suit your taste preferences. Enjoy making them uniquely yours!
Heavenly Cannoli Cookies: Easy Italian Delights at Home
Ingredients
Equipment
Method
- Preheat your oven to 350°F (175°C) and prepare baking sheets lined with parchment paper.
- In a bowl, whisk together flour and sugar until well combined.
- In a separate bowl, blend ricotta, egg, vanilla, and lemon zest until smooth.
- Gradually mix dry ingredients into wet ingredients until a soft dough forms.
- Cover the dough and let it rest for 30 minutes at room temperature.
- Roll out the dough to ¼ inch thick and cut into 2x3 inch rectangles.
- In another bowl, combine remaining ricotta, chocolate chips, and pistachios for the filling.
- Place filling on each dough rectangle, fold, and seal edges firmly.
- Arrange cookies on baking sheets and bake for 15-18 minutes until golden.
- Allow cookies to cool before dusting with powdered sugar.
Leave a Reply