
The vibrant colors of summer festivities draw me in every time, igniting a passion for creating treats that perfectly capture the spirit of the season. These Red, White & Blue Cake Pops are not only eye-catching but also delightful bites that celebrate our nation’s colors. Made with moist cake using Greek yogurt, these pops are both egg-free and oil-free—goodbye guilt and hello deliciousness! They’re perfect for impressing guests at your Fourth of July gathering or simply indulging in a patriotic treat at home. Plus, these cake pops are a fantastic way to utilize leftover cake scraps, turning what might go to waste into joyful bursts of flavor. Are you ready to bring some festive cheer to your kitchen?

Why Are These Cake Pops a Must-Make?
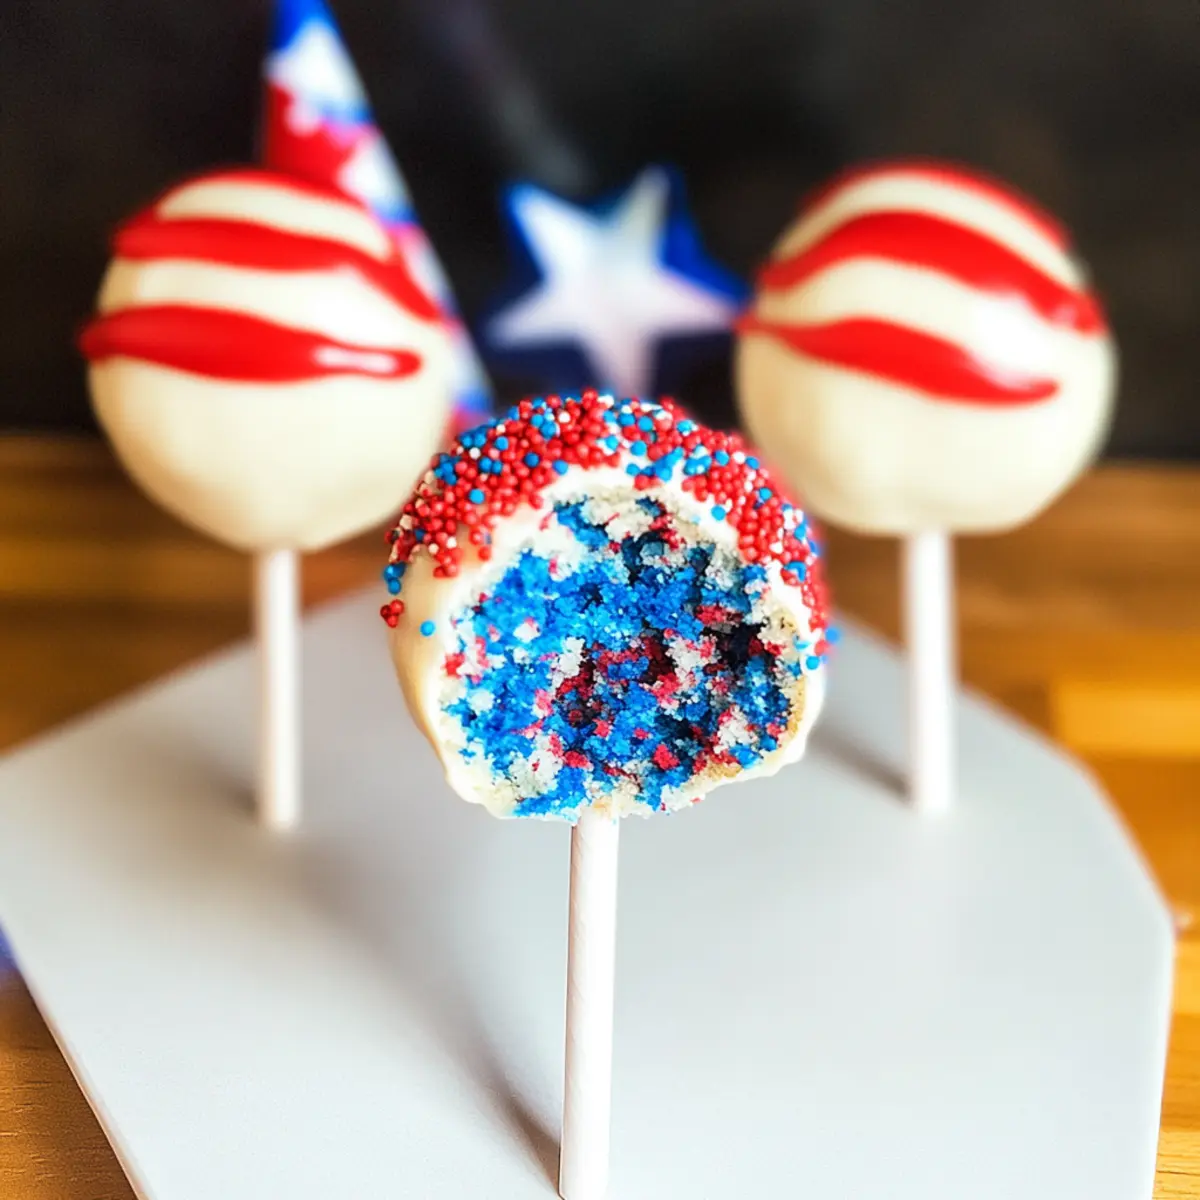
Festive Fun: These Red, White & Blue Cake Pops are the ultimate way to celebrate with a colorful twist! Their vibrant layers bring joy to any gathering.
Healthier Choice: Made egg-free and oil-free with Greek yogurt, enjoy a guilt-free indulgence without compromising on taste.
Crowd-Pleaser: Perfect for summer celebrations, they’re visually striking and delicious, guaranteeing smiles all around!
Easy to Make: The simple steps and forgiving recipes mean bakers of all skill levels can whip these up with confidence.
Versatile Treat: Feel free to experiment! Add flavored yogurt for a unique twist or switch up the sprinkles for various occasions.**
Combine these with White Chocolate Cheesecake for a perfect dessert table!
Waste Not, Want Not: They’re an excellent way to use up leftover cake scraps, making them both fun and resourceful.
Red, White & Blue Cake Pops Ingredients
For the Cake Base
- White Cake Mix – Provides a sturdy foundation and sweet flavor for your cake pops; opt for gluten-free cake mix if needed.
- Plain Greek Yogurt – Acts as a moisture booster and natural egg/oil substitute, adding richness; any plain yogurt will do in a pinch.
- Water – Adjusts the batter consistency to perfect; don’t skip this for the right texture.
For the Coating
- White Candy Melts – Create a smooth, sweet finish; feel free to substitute with dark or colored candy melts for diversity in design.
- Vegetable Shortening – Helps achieve a shiny coating; can be omitted for a more natural appearance.
For Color
- Red & Blue Food Coloring – Adds patriotic flair to your batter; gel colors provide a richer hue compared to liquid.
- Red, White & Blue Sprinkles – For festive decoration that adds texture and fun; any seasonal sprinkles can work as a substitution.
By gathering these ingredients, you’re well on your way to making delightful Red, White & Blue Cake Pops that will be the star of any celebration!
Step‑by‑Step Instructions for Red, White & Blue Cake Pops
Step 1: Preheat the Oven
Begin by preheating your oven to 350°F (175°C). This ensures that the temperature is just right for baking your moist cake pops. While the oven warms up, prepare your baking dishes by lightly greasing them, so the colorful cake layers release easily once baked.
Step 2: Mix the Batter
In a large mixing bowl, combine the white cake mix, plain Greek yogurt, and water. Whisk together until the mixture is smooth and well-integrated, approximately 2–3 minutes. The Greek yogurt will provide a creamy texture and moisture to the cake, essential for your festive Red, White & Blue Cake Pops.
Step 3: Color the Batter
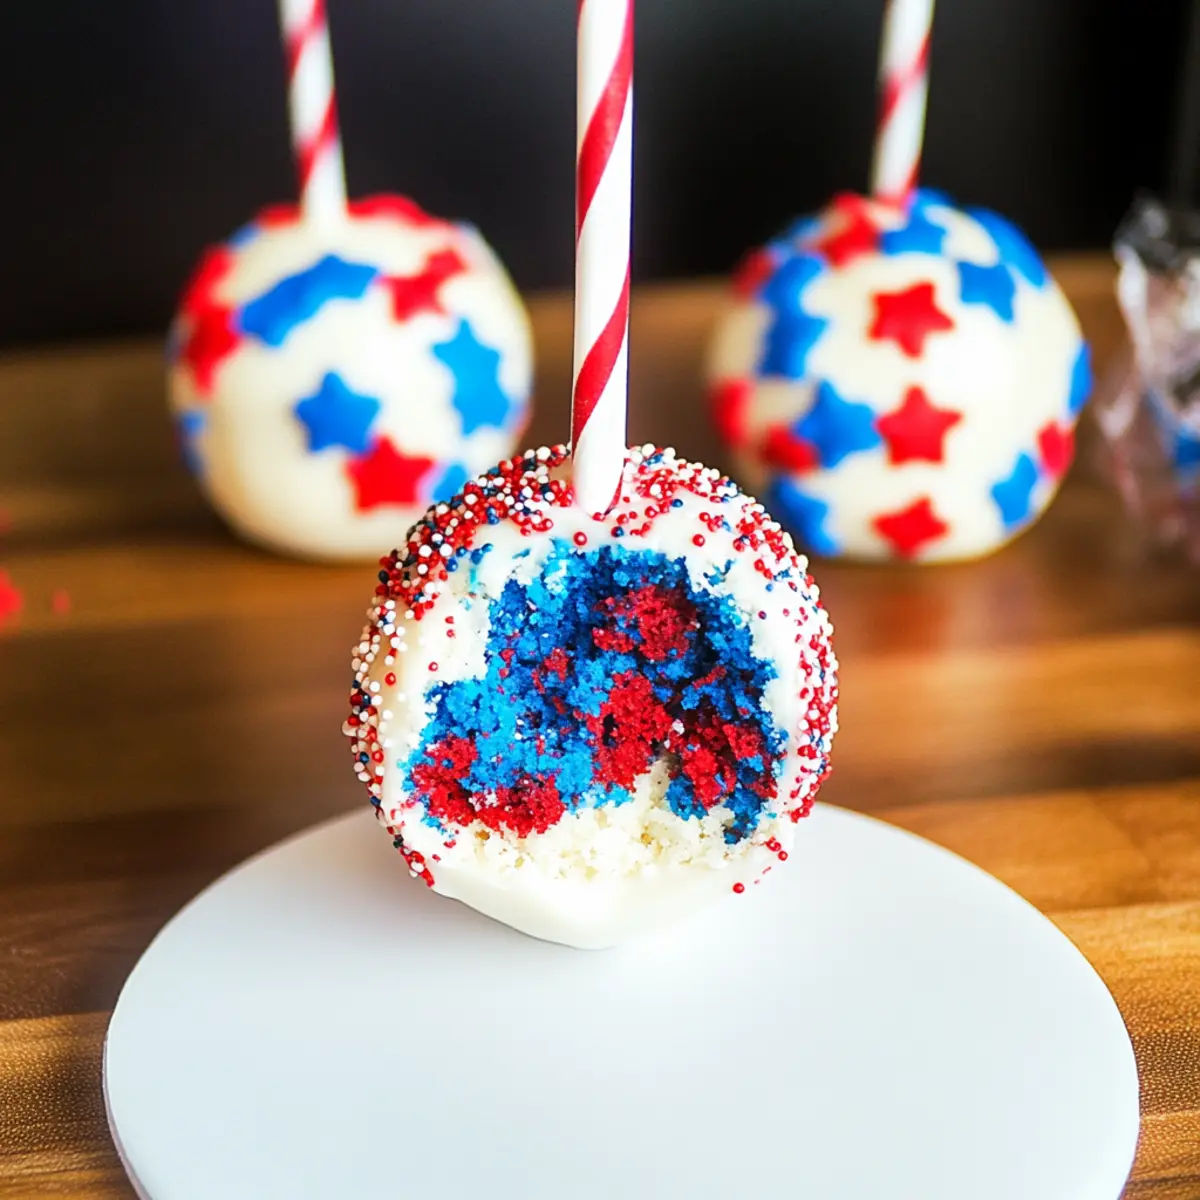
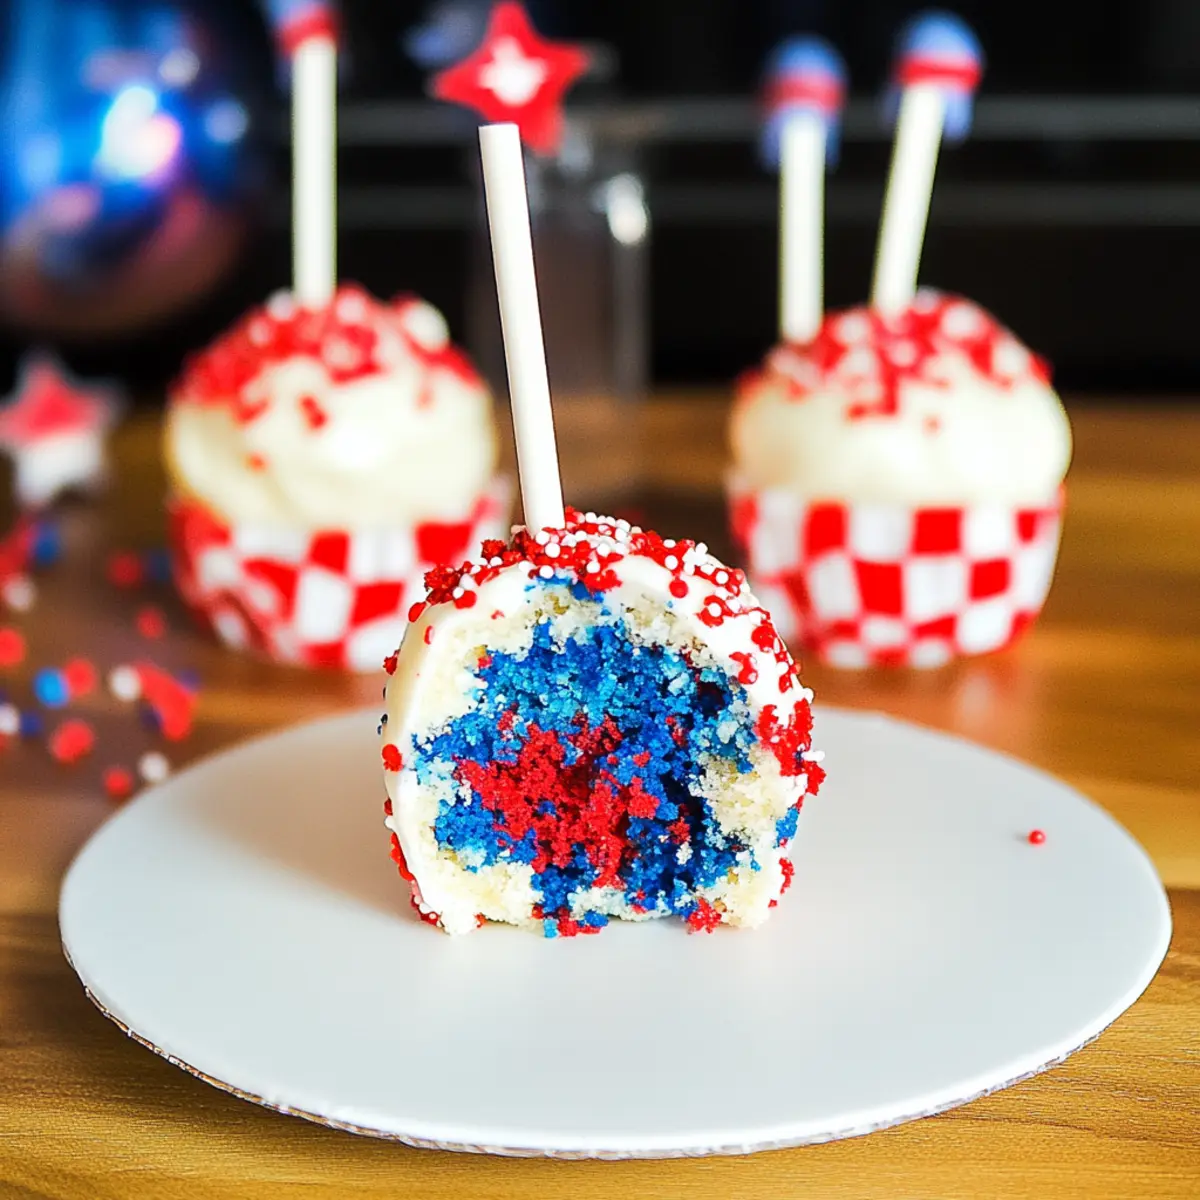
Dividing the batter into three separate bowls, leave one bowl plain while tinting one with red food coloring and the other with blue. Stir each bowl gently until the colors are evenly distributed, creating a vivid, bright hue. This beautiful tri-color approach is what makes your cake pops visually appealing.
Step 4: Bake the Cakes
Pour each colored batter into the greased baking dishes, leveling the surfaces with a spatula. Bake in the preheated oven for 12–15 minutes, or until the cakes are set and lightly golden on top. A toothpick inserted into the center should come out clean, indicating that they are perfectly baked.
Step 5: Crumble the Cakes
Once the cakes are cooled completely (about 20 minutes), crumble them into a large bowl using your hands. Ensure that the texture is fine and uniform, resembling moist cake crumbs. This step is crucial, as it will help shape the cake mixture into balls for your pops.
Step 6: Form the Cake Balls
With the crumbled cake mixture, scoop out 1-2 tablespoons at a time and roll them into balls with your hands, making sure they are compact. Next, insert a straw or cake pop stick into each ball. Once all the cake pops are formed, chill them in the refrigerator for 1 hour to firm up.
Step 7: Melt the Candy Coating
In a microwave-safe bowl, add the white candy melts along with vegetable shortening. Microwave in 30-second intervals, stirring in between until the mixture is fully melted and smooth. This glossy coating will envelop your cake pops beautifully, making them irresistible.
Step 8: Dip the Cake Pops
Carefully dip each chilled cake ball into the melted candy coating, rotating to achieve an even layer. Allow any excess coating to drip off before quickly sprinkling red, white, and blue sprinkles on top. Be sure to do this while the coating is still wet for the sprinkles to adhere properly.
Step 9: Set the Cake Pops
Stand the dipped cake pops upright in a foam block or place them on a parchment-lined tray. Refrigerate them for about 30 minutes until the candy coating has fully set and hardened, creating a delicious and colorful shell around your cake pops.
Step 10: Serve and Enjoy
Once set, your delightful Red, White & Blue Cake Pops are ready to serve! You can present them chilled or at room temperature, perfect for any summer celebration or gathering. Their vibrant look paired with the lush cake inside promises to bring joy and smiles to everyone who takes a bite.
How to Store and Freeze Red, White & Blue Cake Pops
Fridge: Store your cake pops in an airtight container in the refrigerator for up to 5 days to keep them fresh and moist.
Freezer: For longer storage, freeze the uncoated cake balls for up to 2 months. Once fully frozen, you can dip them in melted candy coating directly from the freezer.
Reheating: If you prefer warm cake pops, gently microwave them for 10–15 seconds; however, it’s best enjoyed chilled or at room temperature for optimal taste.
Make-Ahead Tips: You can make the cake balls a day in advance and dip them in chocolate the following day for added convenience.
What to Serve with Red, White & Blue Cake Pops
Looking to create a festive spread that beautifully complements these vibrant cake pops?
- Classic Fruit Salad: A refreshing blend of seasonal fruits adds brightness and texture, balancing the sweetness of cake pops.
- Lemonade Stand: Serve ice-cold lemonade for a zesty, thirst-quenching drink that pairs perfectly with the sweet treats, helping to cleanse the palate.
- BBQ Ribs: The smoky, savory flavors of BBQ ribs contrast delightfully with the rich sweetness, making for a memorable celebration feast.
- Mini Caprese Skewers: These bite-sized appetizers introduce fresh basil, mozzarella, and tomatoes—lightening the dessert experience and offering a burst of freshness.
- Chips and Salsa: A crunchy snack with a kick will keep guests entertained and happy while they indulge in the cake pops.
- Vanilla Ice Cream: Serve with a scoop of creamy vanilla ice cream for a delightful pairing that adds an extra layer of decadence to the festive treats.
- Sparkling Water: A bubbly drink option keeps things festive without the added sugars, offering a refreshing counterpoint to the cake pops’ sweetness.
- Red Velvet Cupcakes: For those who can’t get enough sweets, this pairing adds richness and complements patriotic colors—a perfect match for the theme!
Let these accompanying delights elevate your dessert table and draw guests into a world of festive flavors!
Make Ahead Options
These Red, White & Blue Cake Pops are perfect for busy home cooks who want to save time without sacrificing flavor! You can prepare the cake balls up to 24 hours in advance by following the first six steps of the recipe, then chilling them in the refrigerator. Once you’re ready to serve, simply dip the chilled cake balls in melted candy coating and sprinkle with festive decorations. If you need even more time-saving options, consider making the cake pops entirely and storing them in an airtight container for up to 5 days. Just remember to refrigerate them to maintain their delightful flavor and texture. Enjoy hassle-free celebrations with these make-ahead treats!
Red, White & Blue Cake Pops Variations
Feel free to mix things up and add your personal touch to these festive treats for a delightful twist!
-
Gluten-Free: Swap the white cake mix for a gluten-free variety to accommodate special dietary needs without sacrificing flavor.
-
Flavor Boost: Use flavored Greek yogurt, like vanilla or berry, to infuse your cake pops with exciting and delicious tastes.
-
Chocolate Coating: For a rich twist, dip the cake pops in melted dark chocolate instead of candy melts for an indulgent treat.
-
Zesty Citrus: Add a hint of lemon or orange zest to the batter for a refreshing citrus kick that contrasts beautifully with the sweetness.
-
Nutty Surprise: Fold in some finely chopped nuts or chocolate chips into the cake mixture to introduce a delightful crunch and flavor depth.
-
Different Colors: Experiment with food colors to create fun and vibrant patterns, making these pops suitable for any festive occasion.
-
Spicy Kick: Add a pinch of cayenne pepper or chili powder to the cake mix for an unexpected heat that pairs surprisingly well with sweetness.
-
Celebration Extras: Consider decorating with themed sprinkles to match every holiday or gathering, making them a year-round treat!
Combining variations like these can also make for a spectacular dessert spread alongside your stunning French Butter Cake and White Chocolate Cheesecake. Enjoy creating!
Expert Tips for Red, White & Blue Cake Pops
-
Chill Properly: Ensure your cake balls are thoroughly chilled before dipping to help them maintain their shape and prevent crumbling during coating.
-
Melt Slowly: For the smoothest candy coating, take your time melting the candy melts, stirring regularly to avoid any clumps or overheating.
-
Use Gel Colors: Opt for gel food coloring instead of liquid for a more vibrant shade in your batter, ensuring your Red, White & Blue Cake Pops are eye-catching.
-
Immediate Sprinkling: After dipping each cake pop, sprinkle on the decorations while the coating is still wet to ensure they properly adhere and look festive.
-
Alternate Storage: If you’re making these pops ahead of time, store them in an airtight container to maintain their freshness for up to 5 days.
Red, White & Blue Cake Pops Recipe FAQs
How do I choose the right ingredients for my cake pops?
Absolutely! For the cake mix, look for a white cake mix that suits your dietary needs; you can even go for gluten-free if desired. When selecting Greek yogurt, make sure it’s plain for the best flavor—any brand will do! For food coloring, opt for gel colors as they provide a vibrant hue that will do justice to your festive Red, White & Blue Cake Pops!
What’s the best way to store my cake pops?
Very! You can store your Red, White & Blue Cake Pops in an airtight container in the refrigerator for up to 5 days. This keeps them fresh and prevents them from drying out—enjoy them chilled or at room temperature for the best experience!
Can I freeze cake pops, and how should I do it?
Of course! To freeze your cake pops, first make the uncoated cake balls and lay them in a single layer on a baking sheet. Freeze them for about 1–2 hours until firm, then transfer them to a freezer-safe bag for up to 2 months. When you’re ready to enjoy, dip them in melted candy coating while still frozen to preserve their shape!
What if my coating is too thick when dipping the cake pops?
If you find your coating is thick and hard to work with, don’t fret! Just pop it back in the microwave for 10-15 seconds and stir well until smooth. This will ensure a nice, even coating that glides onto your cake pops beautifully!
Are these cake pops safe for those with specific dietary concerns?
Absolutely! These Red, White & Blue Cake Pops are egg-free and oil-free, making them suitable for many dietary restrictions. Additionally, if you’re concerned about allergies, just be cautious with the sprinkles or any alternative ingredients you choose, as some may contain traces of allergens. Always check those labels!
What’s the quickest way to soften hard cake pops?
I often recommend letting them sit out at room temperature for about 10–15 minutes before serving. If you’ve refrigerated them, this will soften the outer coating and make them irresistible—the sweet spot for flavor and texture!
Delicious Red, White & Blue Cake Pops for Festive Celebrations
Ingredients
Equipment
Method
- Preheat your oven to 350°F (175°C) and lightly grease baking dishes.
- In a large mixing bowl, combine the white cake mix, Greek yogurt, and water. Whisk for 2–3 minutes until smooth.
- Divide the batter into three bowls and tint one red and one blue, leaving one plain.
- Pour the colored batters into greased dishes and bake for 12–15 minutes.
- Once cooled, crumble the cakes into fine crumbs.
- Scoop and roll the crumbled cake into balls, insert sticks, then chill for 1 hour.
- Melt white candy melts with vegetable shortening in the microwave.
- Dip each cake ball into the melted coating, letting excess drip off before adding sprinkles.
- Stand the dipped pops in a foam block or on a tray and refrigerate for 30 minutes.
- Serve chilled or at room temperature.
Leave a Reply