
The aroma wafts through the air, a tantalizing promise of flavor and comfort that can make anyone’s mouth water. Homemade enchiladas, with their soft corn tortillas cradling a savory filling and drenched in zesty enchilada sauce, can transform any ordinary weeknight into a fiesta! This dish is oh-so-simple to prepare, making it perfect for busy evenings, while still being dressy enough for gatherings. Whether you’re a meat lover or seeking a hearty vegetarian option, these enchiladas offer a satisfying, customizable experience that everyone will adore. And if you’re looking for something that’s not just delicious but freezer-friendly too, you’ve come to the right place! Ready to dive into a world of flavor with these mouthwatering enchiladas? Let’s get cooking!
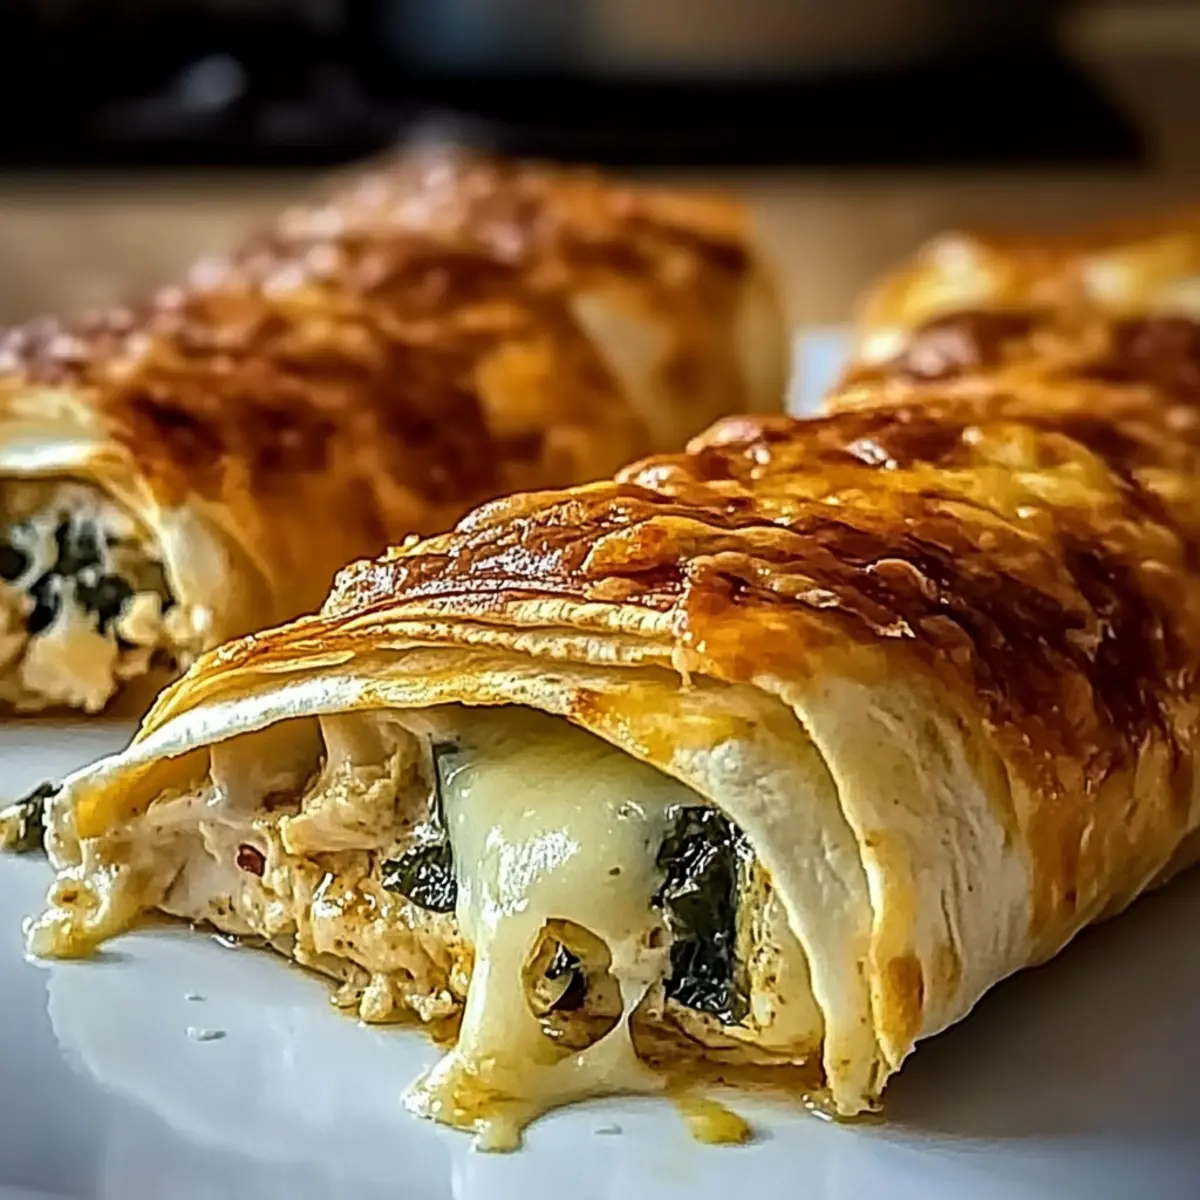
Why Are These Enchiladas So Special?
Easy to Make: With straightforward steps, you’ll be serving up delicious enchiladas in no time. Perfect for weeknight dinners!
Flavor Explosion: The combination of zesty enchilada sauce and creamy cheese brings a mouthwatering delight in every bite.
Customizable Options: Whether you prefer chicken, beans, or a veggie-packed filling, these enchiladas cater to every taste.
Crowd-Pleasing Comfort: Ideal for gatherings, these enchiladas are a guaranteed hit, reminiscent of comforting Mexican cuisine.
Freezer-Friendly: Make-ahead and freeze for a quick meal anytime; just pop them in the oven when hunger strikes.
For a delightful side, try pairing it with Crispy Ham Cheese Puff Pastry or a fresh salad for the perfect dining experience!
Enchilada Ingredients
• Here’s what you’ll need for these mouthwatering enchiladas!
For the Tortillas
- Corn Tortillas – Essential for holding the fillings, choose fresh or store-bought for convenience.
For the Filling
- Chicken or Beans – Provides heartiness; use black beans as a great vegetarian option.
- Onion – Enhances the flavor; red onions offer a bit of sweetness, while yellow onions provide a more traditional taste.
For the Sauce
- Enchilada Sauce – This adds depth and moisture; opt for homemade for a fresh taste or store-bought for simplicity.
For the Cheese
- Cheddar or Monterey Jack – These cheeses melt beautifully and add creaminess; swap for dairy-free cheese if needed.
For Seasoning
- Cumin – Enhances flavor with warm, earthy notes; adjust the amount to suit your palate.
- Garlic Powder – Adds savory depth to your filling; feel free to use fresh garlic for a stronger kick.
Let’s bring these ingredients to life and create a dish that warms not only the belly but the heart too!
Step‑by‑Step Instructions for Cheese and Spinach Stuffed Pastry
Step 1: Preheat the Oven
Begin by preheating your oven to 375°F (190°C). This ensures that your Cheese and Spinach Stuffed Pastry bakes evenly and develops a lovely golden crust. While your oven heats, gather your ingredients and have a baking sheet lined with parchment paper ready for the pastries.
Step 2: Sauté the Onions
In a skillet over medium heat, add a tablespoon of olive oil and sauté chopped onions until they become translucent, about 5 minutes. This step enhances the flavor of the filling, making it aromatic and inviting. Stir occasionally to prevent burning, then remove from heat and let cool slightly before combining with the other filling ingredients.
Step 3: Prepare the Filling
In a large mixing bowl, combine the sautéed onions, fresh spinach, and your choice of cheese. Mix in some salt, pepper, and garlic powder for added flavor. This filling should be creamy and well-blended. Set the bowl aside as you prepare the pastry dough for a delightful Cheese and Spinach Stuffed Pastry.
Step 4: Roll Out the Dough
Lightly flour your countertop and roll out your pastry dough into a rectangular shape, about 1/4 inch thick. Cut the dough into squares or rectangles, depending on your preferred pastry size. Ensure these pieces are large enough to hold a generous scoop of filling. Arrange them neatly on your lined baking sheet for easy assembly.
Step 5: Fill the Pastries
Place about a tablespoon of the cheese and spinach mixture in the center of each pastry square. Be careful not to overfill to prevent bursting during baking. Fold each pastry over to create a triangle or rectangle, pressing the edges firmly to seal. You can use a fork to crimp the edges for a decorative touch.
Step 6: Brush with Egg Wash
In a small bowl, whisk an egg with a little water to create an egg wash. Using a pastry brush, lightly coat the tops of each stuffed pastry with the egg wash. This step gives the Cheese and Spinach Stuffed Pastry a beautiful golden-brown finish as they bake.
Step 7: Bake the Pastries
Carefully place your prepared baking sheet in the preheated oven, and bake for 25-30 minutes. Keep an eye on them; they should turn golden-brown and puff nicely. The aroma will be irresistible and let you know they are nearly ready to delight your guests.
Step 8: Cool and Serve
Once the pastries are golden and flaky, remove them from the oven and let them cool on a wire rack for about 5 minutes. This brief cooling time helps set the filling. Serve your Cheese and Spinach Stuffed Pastries warm, perhaps accompanied by a fresh salad or your favorite dipping sauce for an extra touch of flavor.
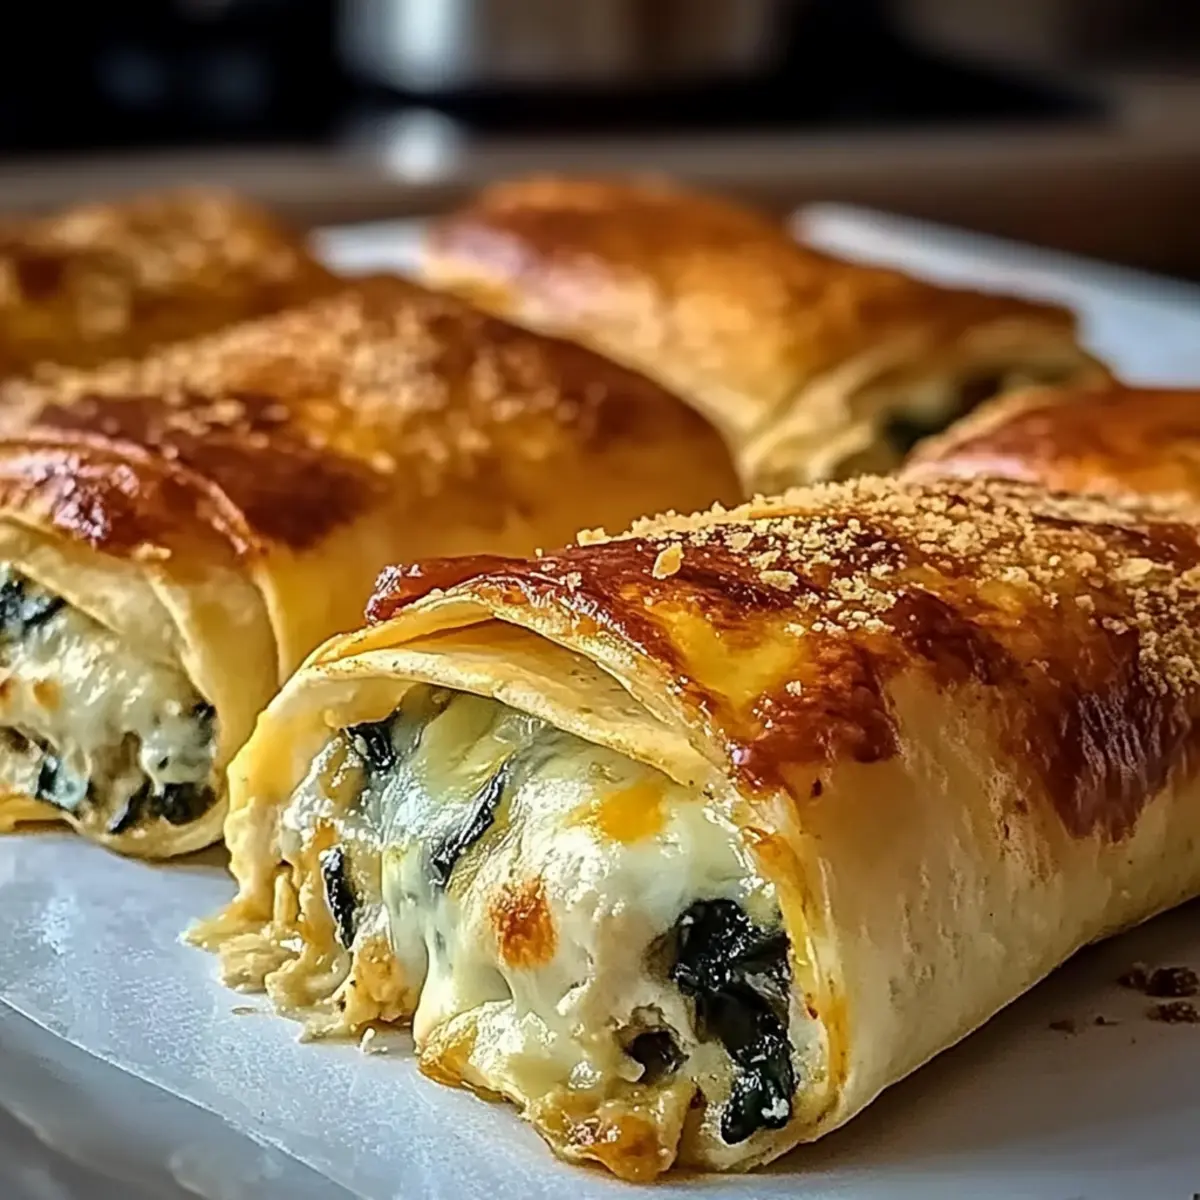
Cheese and Spinach Stuffed Pastry Variations
Feel free to explore your culinary creativity with these delightful twists on your cheese and spinach stuffed pastry!
-
Dairy-Free: Substitute regular cheese with vegan cheese for a completely dairy-free version that everyone can enjoy.
-
Extra Greens: Add kale or Swiss chard to your spinach filling for a nutrient boost and a pop of color.
-
Herb Infusion: Mix in fresh herbs like basil or dill with your filling for an aromatic and flavorful experience.
-
Spice It Up: Include a dash of red pepper flakes or a pinch of cayenne pepper for a kick of heat that enhances the flavors.
-
Savory Additions: Incorporate sautéed mushrooms or sun-dried tomatoes into the filling for added depth and richness.
-
Flavorful Dips: Serve your pastries with a side of zesty salsa or creamy avocado dip to elevate the taste experience.
-
Crispy Touch: Sprinkle sesame seeds or everything bagel seasoning on top of the pastries before baking for extra flavor and crunch.
-
Sweet Surprise: For a unique twist, add a touch of feta cheese alongside the spinach for a wonderful salty-sweet contrast.
These flavorful variations provide you with multiple avenues to make your stuffed pastries uniquely yours! If you’re in the mood for more tantalizing cheese-filled goodness, check out these Crispy Ham Cheese Puff Pastry ideas too!
Storage Tips for Enchiladas
Fridge: Store leftover enchiladas in an airtight container in the refrigerator for up to 3 days. This helps maintain the flavor and prevents them from drying out.
Freezer: If you want to keep enchiladas longer, wrap them tightly in plastic wrap and aluminum foil, then freeze for up to 3 months. Simply thaw in the fridge the night before baking.
Reheating: To reheat, simply place frozen enchiladas in a preheated oven at 350°F (175°C) for about 25-30 minutes. Add extra sauce to keep them moist during reheating.
Make-Ahead: You can assemble enchiladas a day in advance and refrigerate unbaked. Just bake them when you’re ready for a comforting homemade meal without the extra prep!
What to Serve with Mouthwatering Homemade Enchiladas
Elevate your enchilada experience with complementary dishes that enhance each flavor-packed bite, creating a delightful meal.
-
Crispy Guacamole:
A fresh avocado dip that balances the zesty spices in your enchiladas, adding creamy richness and a hint of tanginess. -
Refreshing Mexican Street Corn:
Sweet corn coated in mayo, lime, and cheese provides a delightful crunch and a burst of flavor, perfect alongside your comforting enchiladas. -
Zesty Salsa Verde:
This tart and flavorful green sauce enhances the richness of enchiladas and adds a vibrant color to your plate. -
Cilantro Lime Rice:
Fluffy rice tossed with fresh cilantro and lime makes a refreshing side, complementing the creamy texture of the enchiladas beautifully. -
Spicy Black Bean Salad:
A colorful mix of black beans, corn, and tomatoes brings a satisfying bite and adds a fresh element that harmonizes with the enchiladas. -
Chilled Horchata:
This sweet, creamy rice drink is a classic match with enchiladas, offsetting the heat and adding a comforting sweetness to your meal.
Each of these sides brings its own unique texture and flavor to the table, ensuring your enchilada feast is truly unforgettable!
Expert Tips for Cheese and Spinach Stuffed Pastry
-
Tortilla Tactics: Before filling, warm the tortillas slightly to make them pliable—this prevents tearing and helps with rolling.
-
Savory Seasoning: Always taste your filling before sealing. Adjust spices to ensure balanced flavors in your Cheese and Spinach Stuffed Pastry.
-
Avoid Overfilling: Use just enough filling to avoid bursting during baking. A tablespoon in the center is usually perfect!
-
Seal Tight: Crimping the edges with a fork not only seals but adds a lovely decorative touch to your pastries for visual appeal.
-
Golden Finish: For that perfect golden color, don’t skip the egg wash. It enhances the appearance and gives a delicious sheen!
Make Ahead Options
These mouthwatering homemade enchiladas are perfect for meal prep and can save you precious time during busy weeknights! You can assemble the enchiladas up to 24 hours in advance. Simply prepare the filling, roll the tortillas, and place them in the baking dish. Cover them tightly with plastic wrap to prevent drying out, and refrigerate until you’re ready to bake. When it’s time to serve, preheat your oven and simply pour the enchilada sauce over the top and sprinkle with cheese before baking. This way, you’ll have a comforting, crowd-pleasing meal that’s just as delicious as when made fresh!
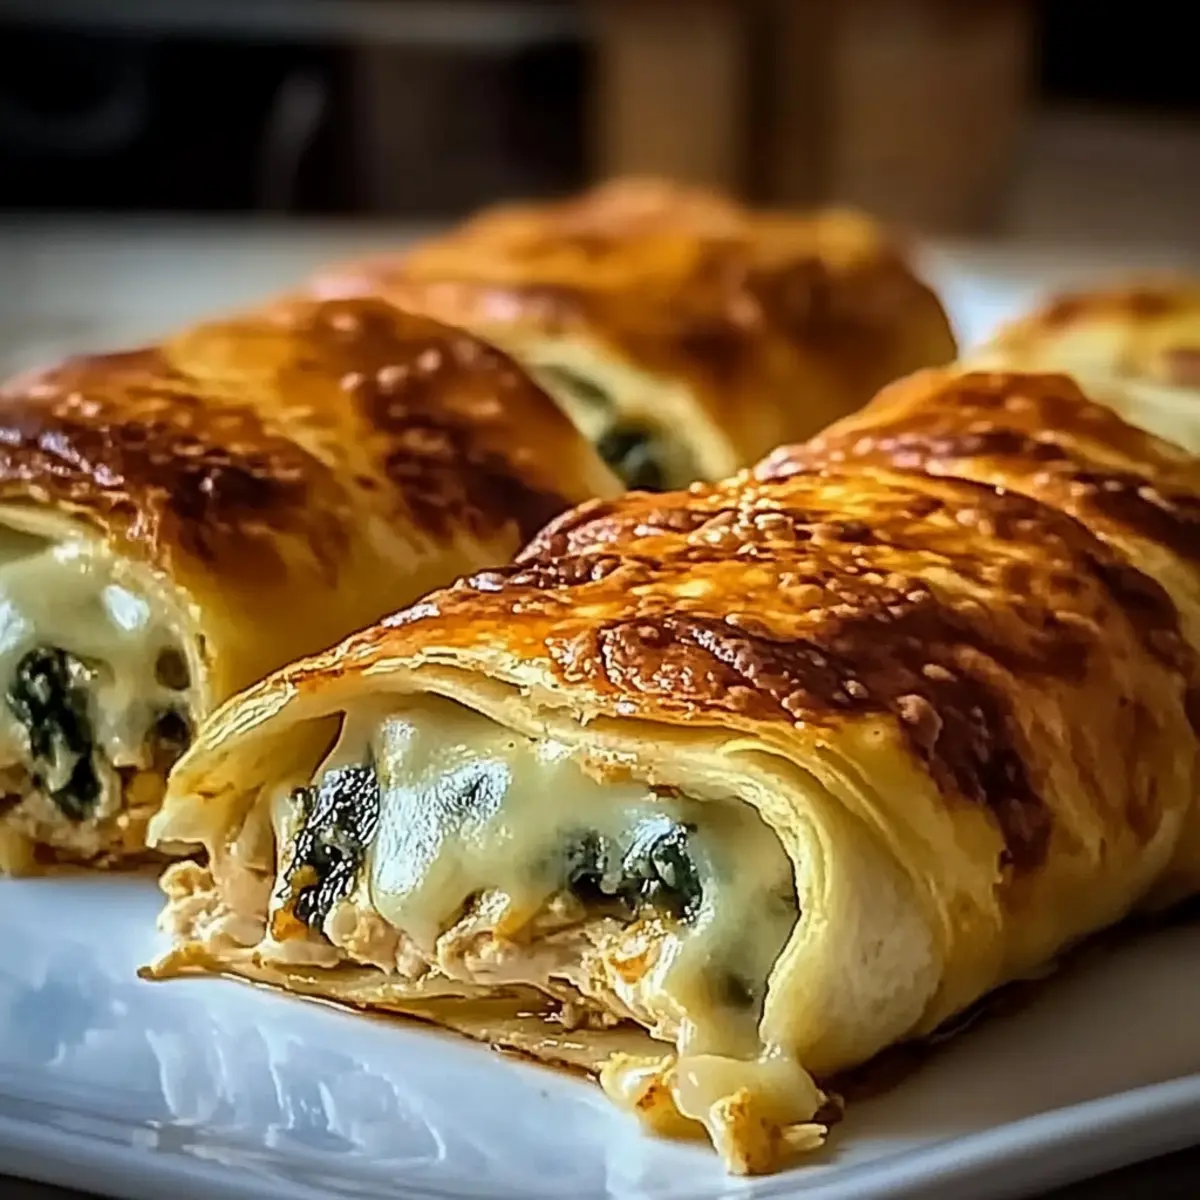
Enchiladas Recipe FAQs
What kind of tortillas should I use for enchiladas?
Absolutely! For the best results, use fresh corn tortillas, which provide a soft and authentic base for your enchiladas. If fresh isn’t available, store-bought will work just fine. Just be sure to warm them slightly before filling to prevent tearing.
How should I store leftover enchiladas?
To keep your leftover enchiladas fresh, store them in an airtight container in the refrigerator for up to 3 days. This helps to maintain their flavor and texture, ensuring they remain delicious for your next meal!
Can I freeze enchiladas for later use?
Yes, indeed! To freeze enchiladas, wrap them tightly in plastic wrap and then in aluminum foil to prevent freezer burn. They can last in the freezer for up to 3 months. When you’re ready to enjoy, simply thaw them in the fridge overnight, then bake at 350°F (175°C) for about 25-30 minutes, adding a bit of extra enchilada sauce to keep them moist.
What should I do if my enchiladas are too soggy?
If your enchiladas turn out soggy, it might be due to an overly wet filling or too much sauce. To troubleshoot, ensure that your filling has a balanced moisture content. You can also reduce the amount of sauce poured over them before baking, or bake uncovered for the last few minutes to help evaporate excess moisture.
Are there any dietary considerations I should keep in mind for enchiladas?
When prepping enchiladas, think about dietary needs like gluten-free or vegetarian preferences. Use corn tortillas (which are naturally gluten-free) and fill with black beans or other vegetables for a veggie option. Always check labels on sauces and cheeses for hidden allergens or gluten content.
Can I prepare enchiladas ahead of time?
Absolutely! You can assemble enchiladas a day ahead of time and keep them unbaked in the refrigerator. Just cover them with foil to prevent drying. When you’re ready to serve, simply bake them as instructed. This makes for a perfect stress-free dinner option!
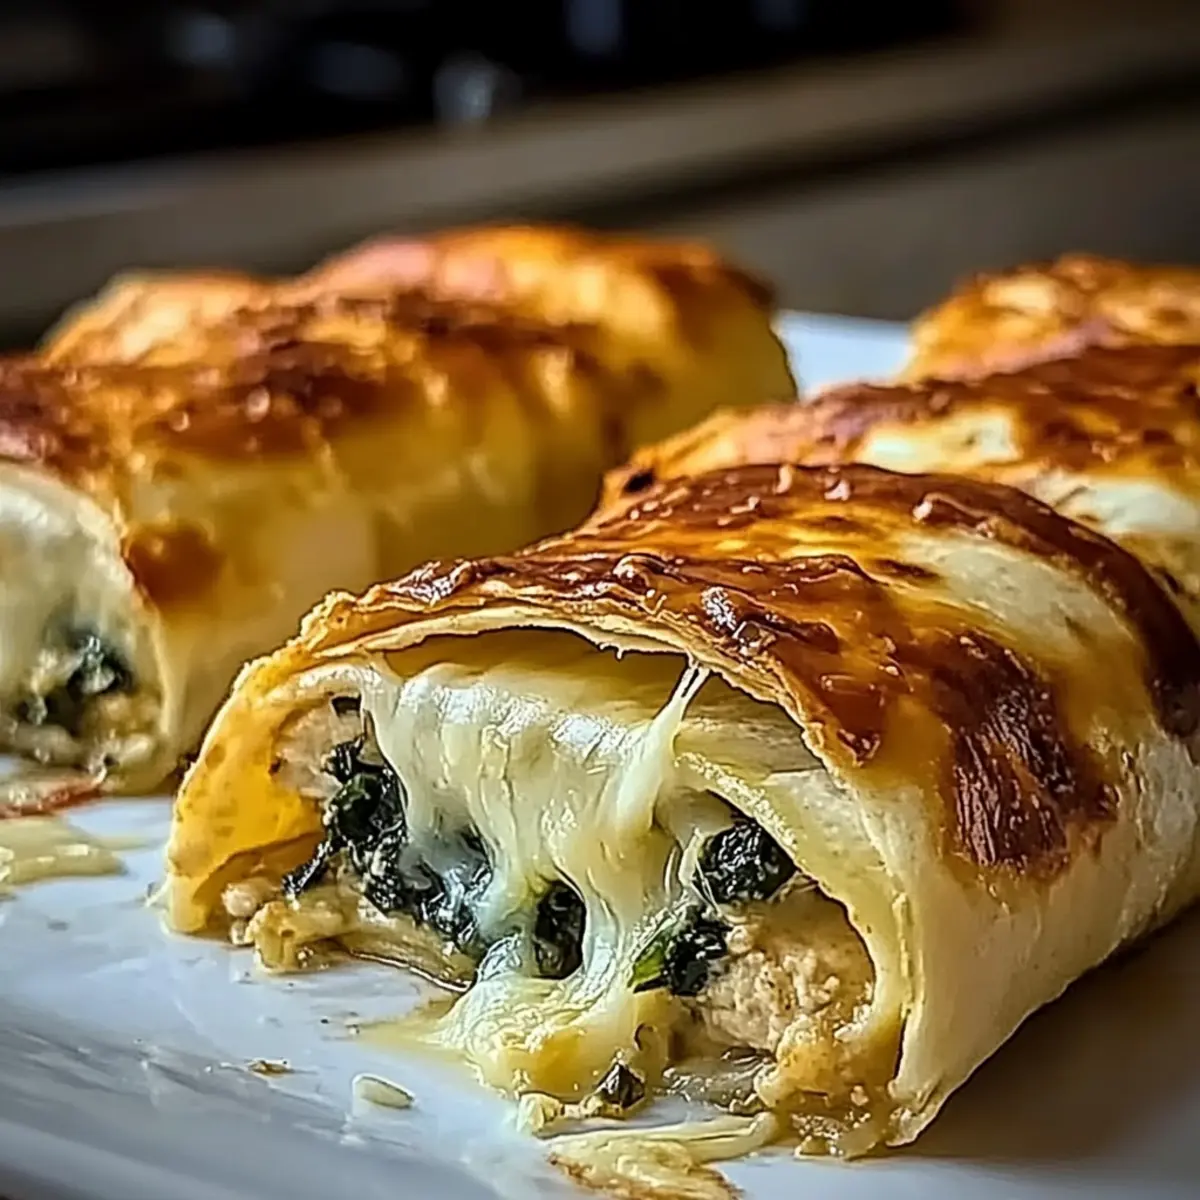
Cheese and Spinach Stuffed Pastry for Cozy Nights In
Ingredients
Equipment
Method
- Preheat the oven to 375°F (190°C) and prepare a baking sheet lined with parchment paper.
- Sauté chopped onions in olive oil over medium heat until translucent, about 5 minutes.
- In a bowl, combine sautéed onions, spinach, cheese, salt, and pepper to prepare the filling.
- Roll out the pastry dough to 1/4 inch thick, cutting it into squares or rectangles.
- Place a tablespoon of filling in the center of each pastry, fold, and seal edges.
- Brush tops with the egg wash for a golden finish.
- Bake for 25-30 minutes until pastries are golden-brown.
- Let cool for 5 minutes before serving.
Leave a Reply