
The scent of freshly baked apple pie always brings me back to my grandmother’s quaint kitchen, where laughter intertwined with the aroma of cinnamon and sweet apples. If you’re seeking an easy way to savor that warm, nostalgic feeling without the fuss of a traditional pie, these Easy Apple Pie Bars are your answer. Perfectly spiced and irresistibly simple, they transform seasonal produce into a delectable dessert that’s not only a crowd-pleaser but also a make-ahead treat for busy days. Imagine enjoying these delightful bars with a scoop of vanilla ice cream or a drizzle of caramel. Are you ready to delight your taste buds and fill your home with cozy fall vibes? Let’s dive into this scrumptious recipe!
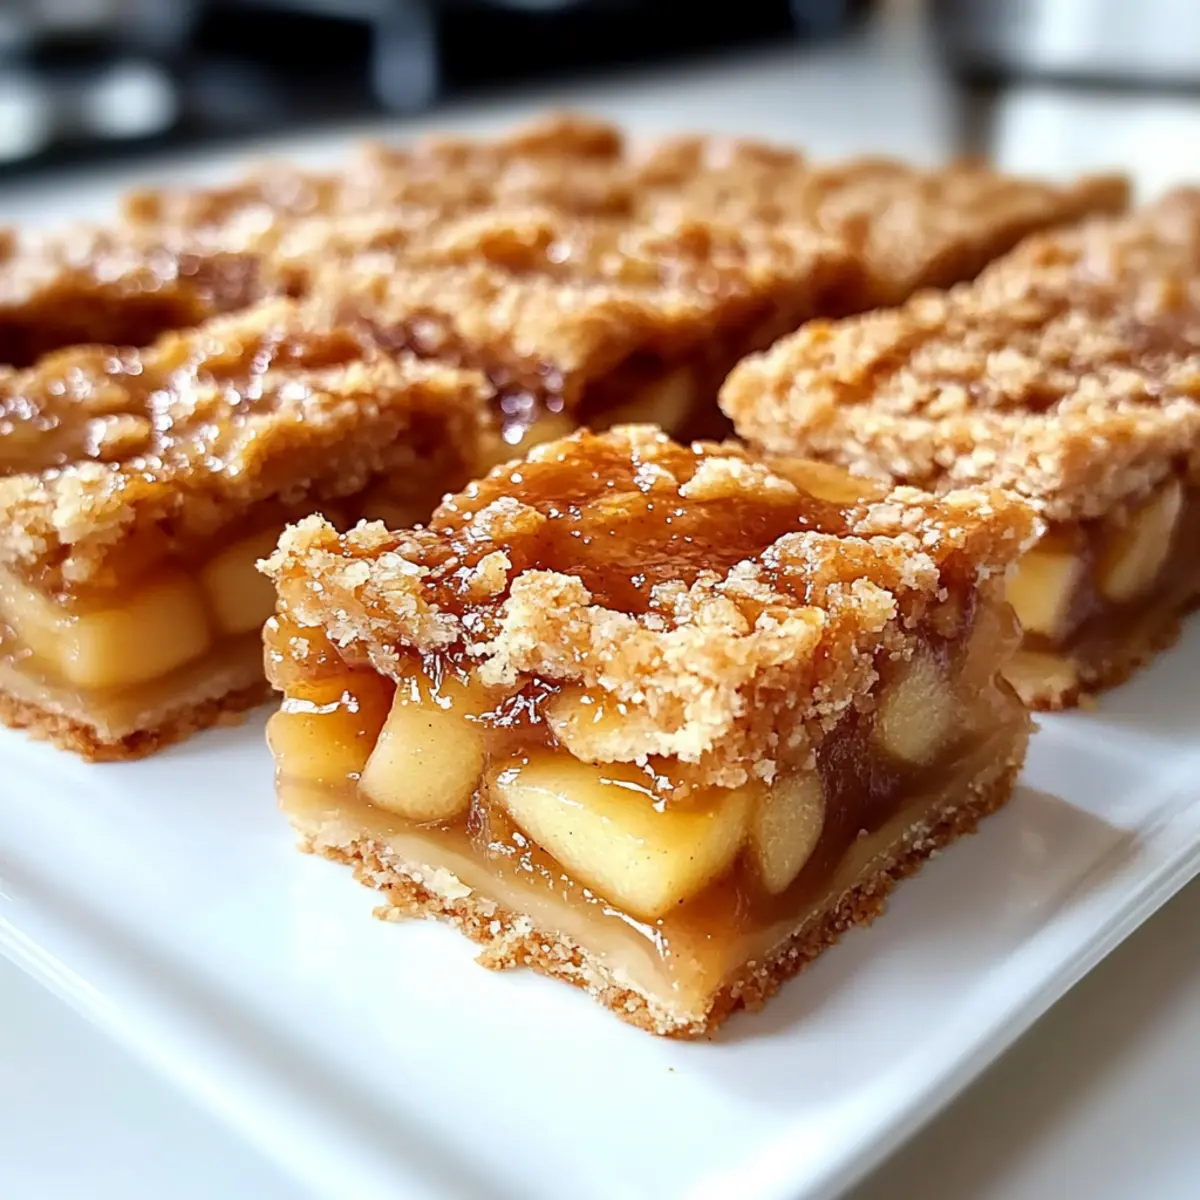
Why Are Apple Pie Bars So Irresistible?
Comforting and familiar, these apple pie bars bring the flavors of fall right into your kitchen. Effortless to whip up, they require minimal prep time, making them the perfect go-to for gatherings or casual family nights. Versatile with substitutions, you can easily adjust the ingredients for gluten-free diets or customize with your favorite apple varieties. Crowd-pleasing by nature, they offer a delightful taste and texture that everyone loves, reminiscent of grandma’s classic pie. Serve them warm with vanilla ice cream or drizzle with caramel for an extra special treat, just like my Peanut Butter Pie recipe always hits the spot!
Apple Pie Bars Ingredients
• Get ready to bake up the best Apple Pie Bars with these must-have ingredients!
For the Crust and Crumble
- All-Purpose Flour – Provides structure for the crust and crumble; substitute with a gluten-free flour blend for a gluten-free option.
- Granulated Sugar – Sweetens the crust; can be replaced with coconut sugar for a more natural sweetness.
- Salt – Enhances flavor throughout the dessert; essential for balance.
- Cold Butter – Creates a flaky texture in the crust and crumble; chilling assists in achieving the perfect crumble.
For the Apple Filling
- Brown Sugar – Adds richness and moisture to the apple filling; use lighter or darker brown sugar based on preference.
- Cinnamon – Infuses warmth and classic apple pie flavor; substitute with pumpkin pie spice for variety.
- Nutmeg – Provides a subtle spiciness that complements apples; can be omitted or replaced with allspice.
- Cornstarch – Thickens the apple filling for a satisfying texture; arrowroot can be used as an alternative.
- Lemon Juice – Brightens the apple flavor and balances sweetness; lime juice can be used in its place.
- Vanilla Extract – Enhances overall flavor; use almond extract for a different twist.
- Apples (mixed varieties) – Freshness and flavor balance; a mix is recommended for depth, with Granny Smith for tartness and Honeycrisp for sweetness.
Step‑by‑Step Instructions for Apple Pie Bars
Step 1: Preheat the Oven
Begin your journey to delicious Apple Pie Bars by preheating your oven to 350°F (175°C). While that warms up, line a 9×13 inch baking pan with parchment paper, allowing some overhang on the sides. This will help you lift out the bars later for easy slicing.
Step 2: Make the Crust Mixture
In a large mixing bowl, combine the all-purpose flour, granulated sugar, and salt. Using a pastry cutter or your fingers, cut in the cold butter until the mixture resembles coarse crumbs, which usually takes about 3–5 minutes. This technique ensures a flaky texture for your crust and crumble.
Step 3: Form the Crust
Take about two-thirds of the crumb mixture and press it firmly into the bottom of your prepared baking pan. This will create the base for your apple pie bars. Once evenly spread, bake the crust for about 15 minutes, or until lightly golden, then set it aside to cool slightly.
Step 4: Prepare the Apple Filling
In a separate bowl, mix together the sliced apples, brown sugar, cinnamon, nutmeg, cornstarch, lemon juice, and vanilla extract. Toss everything until the apples are well coated and the flavors meld beautifully, which will take around 2–3 minutes. This filling is the star of your Apple Pie Bars!
Step 5: Assemble the Bars
Spread the apple filling evenly over the slightly cooled crust, ensuring that every bite will be packed with flavor. Next, crumble the remaining crust mixture over the top of the apples, creating a rustic topping that will bake to perfection.
Step 6: Bake the Apple Pie Bars
Place the assembled tray back in the oven and bake for an additional 35 to 40 minutes. Keep an eye on them as they bake; the top should turn golden brown, and the apples will be tender and bubbling.
Step 7: Cool and Slice
Once baked, remove the Apple Pie Bars from the oven and allow them to cool completely in the pan. This cooling step is crucial for clean slicing; let them rest for about 1-2 hours. Once cooled, lift the bars out using the parchment paper and cut them into squares or rectangles.
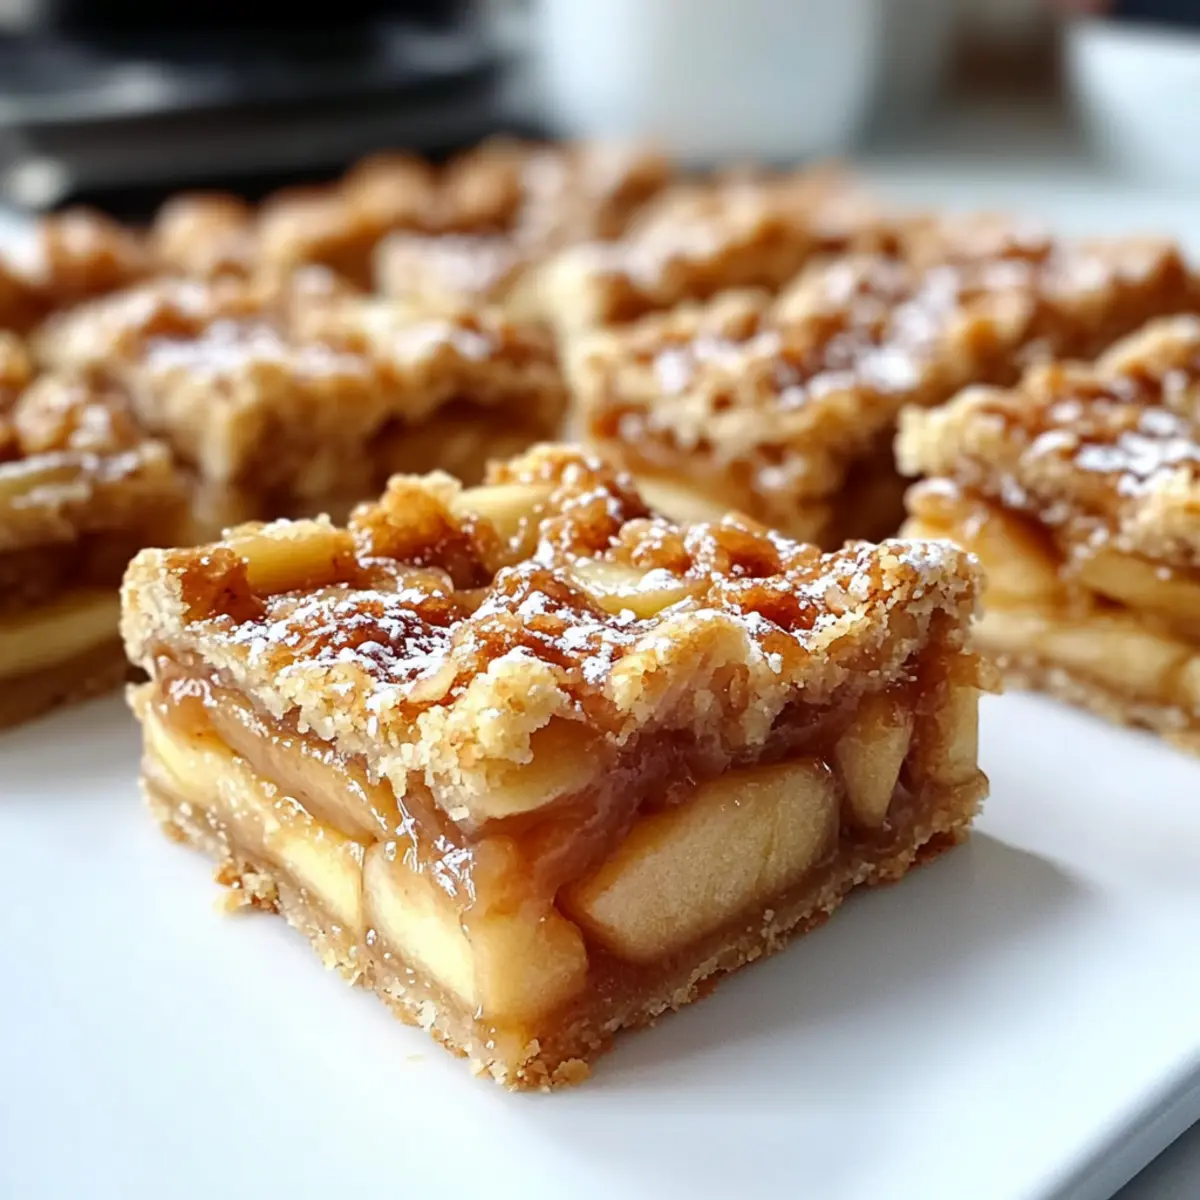
Apple Pie Bars Variations & Substitutions
Feel free to get creative and make these delicious Apple Pie Bars your own with these delightful twists!
-
Gluten-Free: Substitute all-purpose flour with a gluten-free flour blend for a deliciously inclusive dessert.
-
Sugar Substitute: Opt for coconut sugar instead of granulated sugar for a naturally sweeter and richer taste.
-
Nutty Addition: Add chopped walnuts or pecans to the apple filling for an extra crunch that complements the soft apples beautifully.
-
Dairy-Free: Use vegan butter or coconut oil in place of cold butter for a plant-based alternative that maintains the crust’s flakiness.
-
Spice it Up: Mix in ginger or cloves along with the cinnamon for an exciting flavor twist that adds a warm, aromatic depth.
-
Fruity Fusion: Incorporate sliced peaches or pears with your apples for a delightful fruit medley that brightens up each bite.
-
Drizzle of Decadence: Top the bars with a drizzle of caramel or chocolate before serving for an indulgent finish that takes them over the top.
-
Flavorful Extracts: Experiment with almond extract instead of vanilla for an unexpected flavor twist that pairs fantastically with the apples.
These variations allow you to tailor the recipe to suit your preferences and dietary needs, ensuring everyone at your table will enjoy these scrumptious treats! If you’re looking for more inspiration, you might also want to check out my Honeycrisp Apple Feta salad or try out the sweet indulgence of my Philadelphia Cheesecake Bars for a delightful change of pace!
How to Store and Freeze Apple Pie Bars
Fridge: Keep your Apple Pie Bars in an airtight container in the refrigerator for up to 3 days. Layer them with parchment paper to prevent sticking.
Freezer: For longer storage, freeze the bars once completely cooled. Wrap them tightly in plastic wrap and place them in an airtight container for up to 3 months.
Reheating: To enjoy the bars warm, reheat in the oven at 350°F for about 10-15 minutes. You can also microwave individual pieces for 30-45 seconds, enhancing their homestyle comfort.
Make-Ahead: These delicious Apple Pie Bars are perfect for make-ahead desserts. Prepare them a day in advance and store them in the fridge, allowing the flavors to meld beautifully overnight.
What to Serve with Easy Apple Pie Bars?
Indulge in the cozy embrace of fall with these delightful treats, and let’s explore the perfect pairings to elevate your dessert experience.
-
Vanilla Ice Cream: A classic pairing that melts beautifully over warm bars, adding a creamy contrast to the spiced apples.
-
Caramel Sauce: Drizzling this sweet, buttery sauce over the bars amplifies their rich flavors, bringing a decadent touch to each bite.
-
Nutty Whipped Cream: Whip up some cream with crushed pecans folded in for a crunchy texture and nutty taste that complements the apples perfectly.
-
Coffee or Tea: Whether it’s a steaming cup of coffee or a fragrant herbal tea, the warm drink enhances the cozy experience while balancing the sweetness.
-
Cranberry Sauce: A dollop of this tangy sauce brings a bright contrast to the sweetness of the bars, balancing flavors and adding a festive touch.
-
Chai-Spiced Almond Milk: With hints of cinnamon and nutmeg, this spiced milk provides a warm, soothing complement that aligns perfectly with the apple pie essence.
-
Ginger Snap Cookies: Serve alongside fresh ginger snaps for a delightful textural contrast; their spiciness enhances the warm cinnamon notes.
-
Apple Cider: A refreshing glass of chilled apple cider captures the essence of autumn, making it the perfect drink to pair with the pie bars.
-
Pecan Pie Brownies: If you’re in the mood for more indulgence, serve these rich brownies on the side for a sweet, nutty surprise that leaves everyone wanting more.
Expert Tips for Apple Pie Bars
-
Apple Variety Mix: Use a blend of tart and sweet apples like Granny Smith and Honeycrisp for a well-rounded flavor and texture.
-
Chill the Butter: Always ensure your butter is cold. This helps create a flaky crust, preventing dense or chewy bars.
-
Cool Completely: Allow the bars to cool completely before slicing. This ensures clean edges and makes serving much easier.
-
Make-Ahead Option: These bars can be prepared a day ahead. The flavors deepen overnight, making them even more delicious when served.
-
Freezing Tips: To freeze, ensure the bars are completely cooled. Store them in an airtight container with parchment paper between layers to prevent sticking.
Make Ahead Options
These Easy Apple Pie Bars are perfect for meal prep! You can prepare the crust and crumble mixture up to 24 hours in advance; just store it in an airtight container in the refrigerator to keep it fresh. Additionally, you can slice and toss the apples with the sugar and spices the night before and refrigerate them, which enhances the flavors. When you’re ready to enjoy your homemade bars, simply spread the apple filling over the crust, crumble the topping, and bake. They’ll taste just as delicious and comforting as if made fresh! Enjoy the cozy fall vibes with minimal effort on busy weeknights.
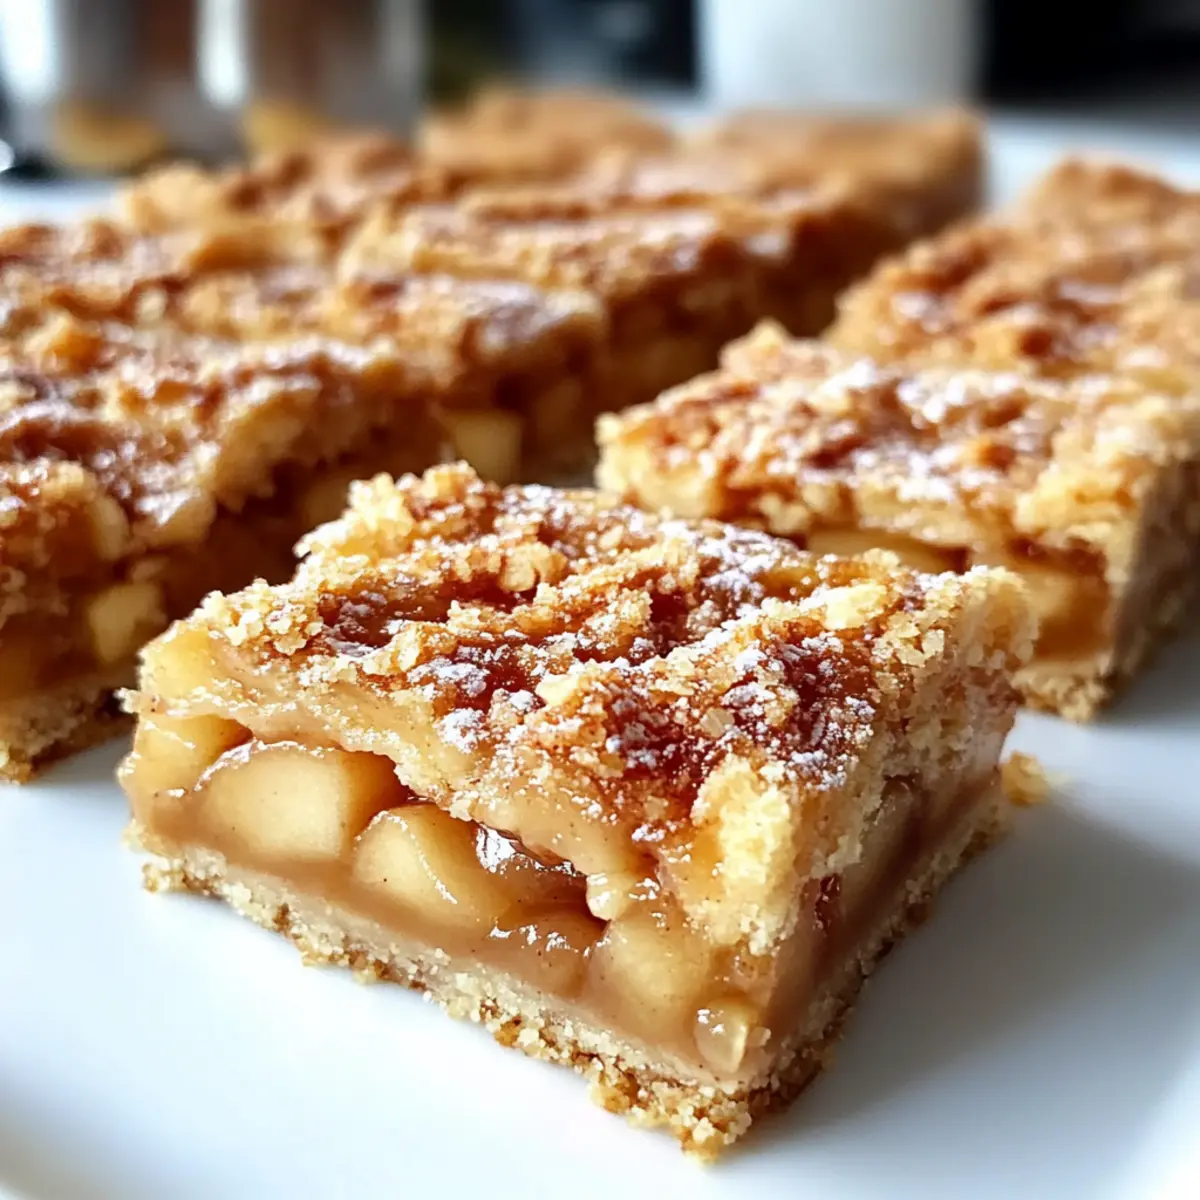
Apple Pie Bars Recipe FAQs
How do I select the best apples for Apple Pie Bars?
When choosing apples, aim for a mix of tart and sweet varieties. I love using Granny Smith for their tartness and Honeycrisp for added sweetness. Look for firm apples with vibrant colors and avoid any with dark spots or bruises for the best flavor and texture.
How should I store leftover Apple Pie Bars?
Store your Apple Pie Bars in an airtight container in the refrigerator for up to 3 days. Layer them with parchment paper to prevent sticking, ensuring every bar remains intact and delicious for your next treat!
Can I freeze Apple Pie Bars?
Absolutely! To freeze, let the bars cool completely. Then, wrap them tightly in plastic wrap and place them in an airtight container. They’ll keep in the freezer for up to 3 months. When you’re ready to enjoy, thaw them in the fridge overnight and reheat in the oven for that freshly baked taste!
What can I do if my Apple Pie Bars are too crumbly?
If your bars turn out too crumbly, it might be due to the butter not being cold enough during mixing, or the crust mix being overworked. Always chill your butter and gently mix until combined. If they are overly crumbly post-baking, consider serving it as a spoon dessert—delicious messy bites with vanilla ice cream!
Are Apple Pie Bars suitable for gluten-free diets?
Yes, they can be! Simply substitute the all-purpose flour with a gluten-free flour blend. There are several good options available now that work wonderfully in baking, making it easy to enjoy this treat without the gluten!
Can I make Apple Pie Bars ahead of time?
Definitely! You can prepare the bars a day in advance. Simply follow the recipe, let them cool, and store them in the fridge. The flavors will deepen overnight, making them even more delicious when served the next day.

Delicious Apple Pie Bars That Feel Like Fall in Every Bite
Ingredients
Equipment
Method
- Preheat the oven to 350°F (175°C) and line a 9x13 inch baking pan with parchment paper.
- In a large mixing bowl, combine the flour, sugar, and salt. Cut in the cold butter until the mixture resembles coarse crumbs.
- Press two-thirds of the crumb mixture into the bottom of the prepared baking pan and bake for about 15 minutes.
- In a separate bowl, mix together the sliced apples, brown sugar, cinnamon, nutmeg, cornstarch, lemon juice, and vanilla extract.
- Spread the apple filling over the slightly cooled crust and crumble the remaining crust mixture on top.
- Bake for an additional 35 to 40 minutes until golden brown and bubbly.
- Allow the bars to cool completely in the pan for 1-2 hours, then lift out using the parchment paper and slice.
Leave a Reply