
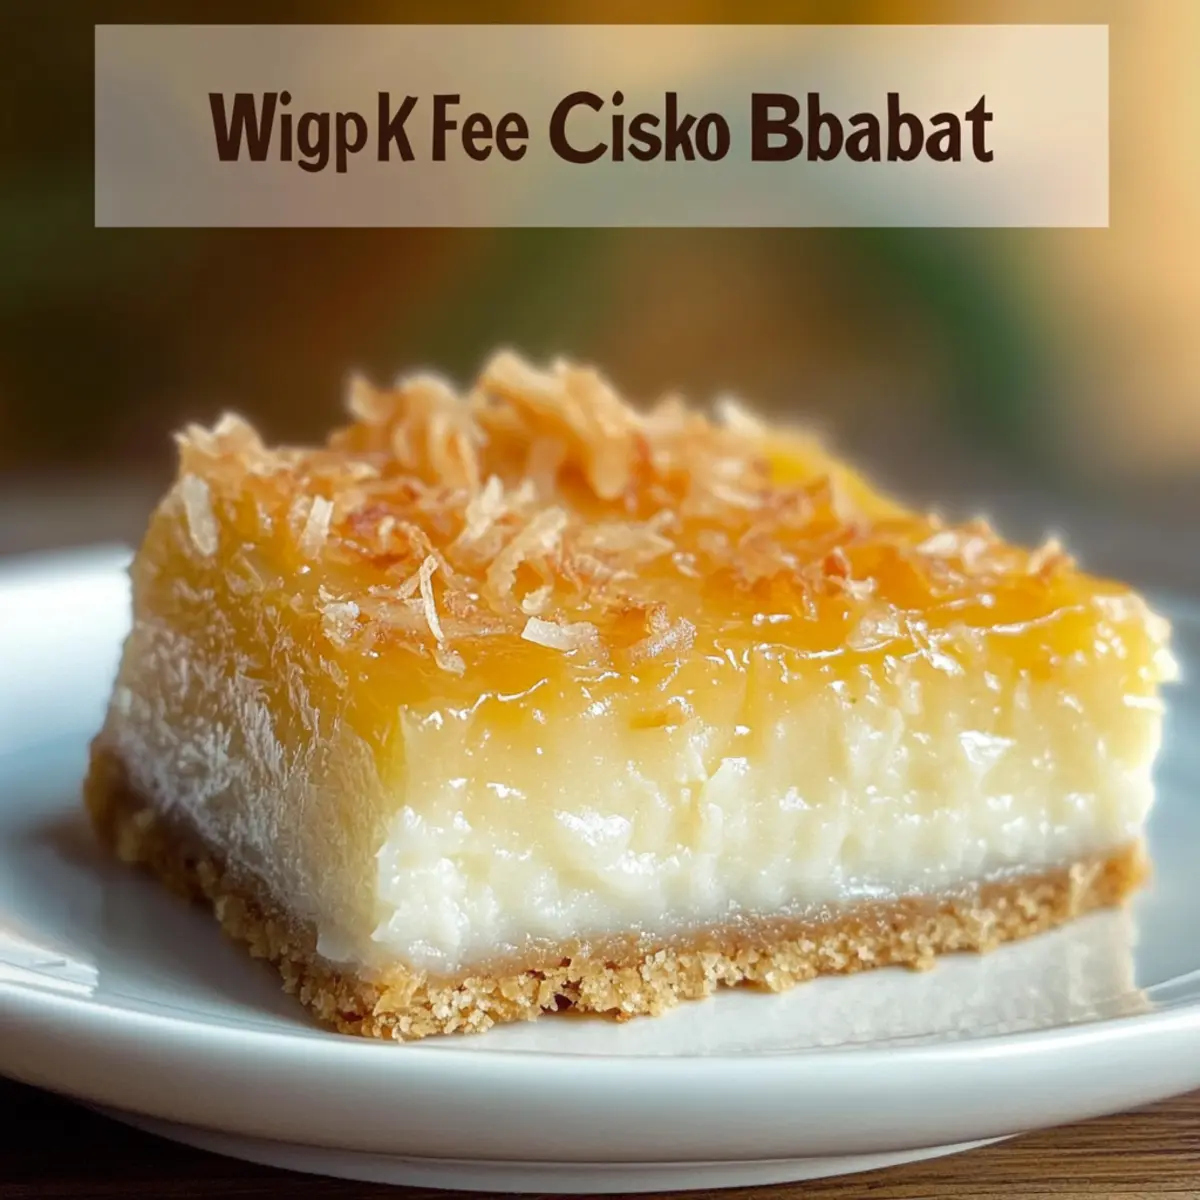
The first time I tasted Indonesian Sticky Coconut Cake, or Wingko Babat, it was like a trip to a tropical paradise with every delightful bite. This unique dessert, made with glutinous rice flour and a hefty dose of coconut goodness, is not just a treat but a comforting hug for the soul. What’s even better? My gluten-free adaptation makes this fudgy, chewy cake accessible—even if you’re low on time or ingredients. Perfect for gatherings or a cozy afternoon snack, this recipe is a true crowd-pleaser that brings the flavors of Indonesia right to your kitchen. And if you love coconut, you’re in for a real treat! Are you ready to whip up this delightful dessert?
Why is this Sticky Coconut Cake so special?
Unforgettable Flavor: The rich coconut essence shines through each bite, creating a memorable dessert experience that tantalizes the taste buds.
Easily Accessible: This simple recipe uses common pantry staples, making it easy for anyone to whip up a delicious treat without a trip to specialty stores.
Gluten-Free Delight: Perfect for those with dietary restrictions, this cake satisfies cravings without compromising on taste or texture.
Endless Customization: Feel free to get creative! Introduce new flavors with extracts or sweeteners to make it uniquely yours.
Perfect for Any Occasion: Ideal for gatherings, as a snack with iced coffee, or even as a light dessert after dinner—everyone will rave about this treat!
Sticky Coconut Cake Ingredients
For the Batter
• Eggs (2, separated) – Provides structure and richness; substitute aquafaba for a vegan option.
• Granulated Sugar (1¼ cup) – Sweetens the cake; you can use coconut sugar for a deeper flavor.
• Canned Coconut Milk (2¼ cup) – Adds moisture and a strong coconut flavor; shake well before use to prevent separation.
• Shredded Sweetened Coconut (3 cups) – Enhances the cake’s coconut texture; feel free to use unsweetened if preferred.
• Glutinous Rice Flour (1½ cup) – This key ingredient gives that chewy texture; do not substitute with all-purpose flour.
• Vanilla Extract (1 teaspoon) – Adds aromatic flavor to the cake.
For the Topping
• Egg Yolk (1, beaten) – Brushing on top gives the cake a lovely golden brown color; brush gently to avoid tearing.
Step‑by‑Step Instructions for Sticky Coconut Cake
Step 1: Preheat the Oven
Begin by preheating your oven to 350°F (175°C). This ensures that the temperature is just right for baking the Sticky Coconut Cake. While the oven warms up, gather your ingredients and equipment, including an 8×8-inch baking pan, mixing bowls, and a whisk for easy preparation.
Step 2: Whisk Egg Whites and Sugar
In a mixing bowl, combine the separated egg whites and granulated sugar. Use a whisk to blend them together until fully combined and slightly frothy, which should take about 2-3 minutes. This step helps to incorporate air, contributing to the cake’s delightful chewy texture.
Step 3: Mix in Coconut Milk and Flavorings
Gradually pour in the canned coconut milk while continuing to whisk. Once incorporated, add in the vanilla extract and mix until smooth. The mixture should have a creamy consistency, rich with coconut flavor, ready to embrace the dry ingredients for your Sticky Coconut Cake.
Step 4: Combine with Dry Ingredients
Next, add the shredded sweetened coconut and glutinous rice flour to the wet mixture. Stir until everything is well combined and a thick batter forms. This step is key to achieving that lovely sticky texture, so be sure there are no dry patches of flour left in your bowl.
Step 5: Pour into the Baking Pan
Carefully transfer the batter into the prepared 8×8-inch baking pan, smoothing the top with a spatula to create an even layer. Bake in the preheated oven for about 45 minutes, or until the top is set and slightly golden. You’ll know it’s ready when a toothpick inserted comes out clean.
Step 6: Broil for a Golden Finish
Remove the pan from the oven and brush the surface of the cake with the beaten egg yolk. This will give it a beautiful golden brown color. Set your oven to broil and return the cake for an additional 5-10 minutes, keeping a close eye to avoid burning as it toasts.
Step 7: Cool and Set
Once broiled to perfection, take the cake out of the oven and let it cool to room temperature. This cooling period allows the flavors to meld beautifully. After about 30 minutes, cover the cake and refrigerate it overnight to achieve the ideal texture and set completely.
Step 8: Cut and Serve
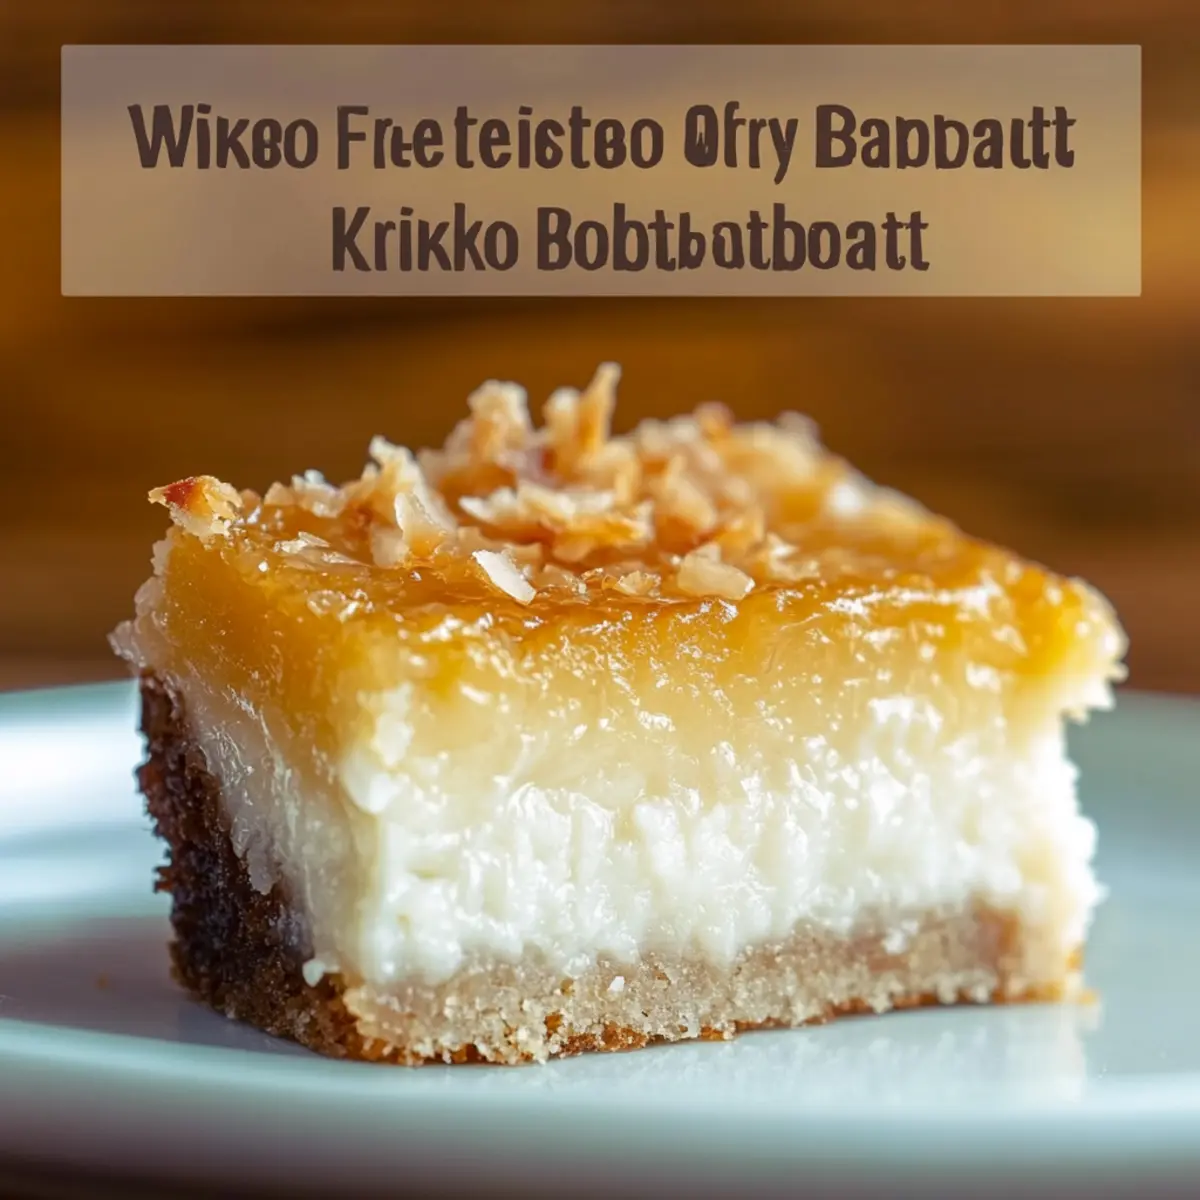
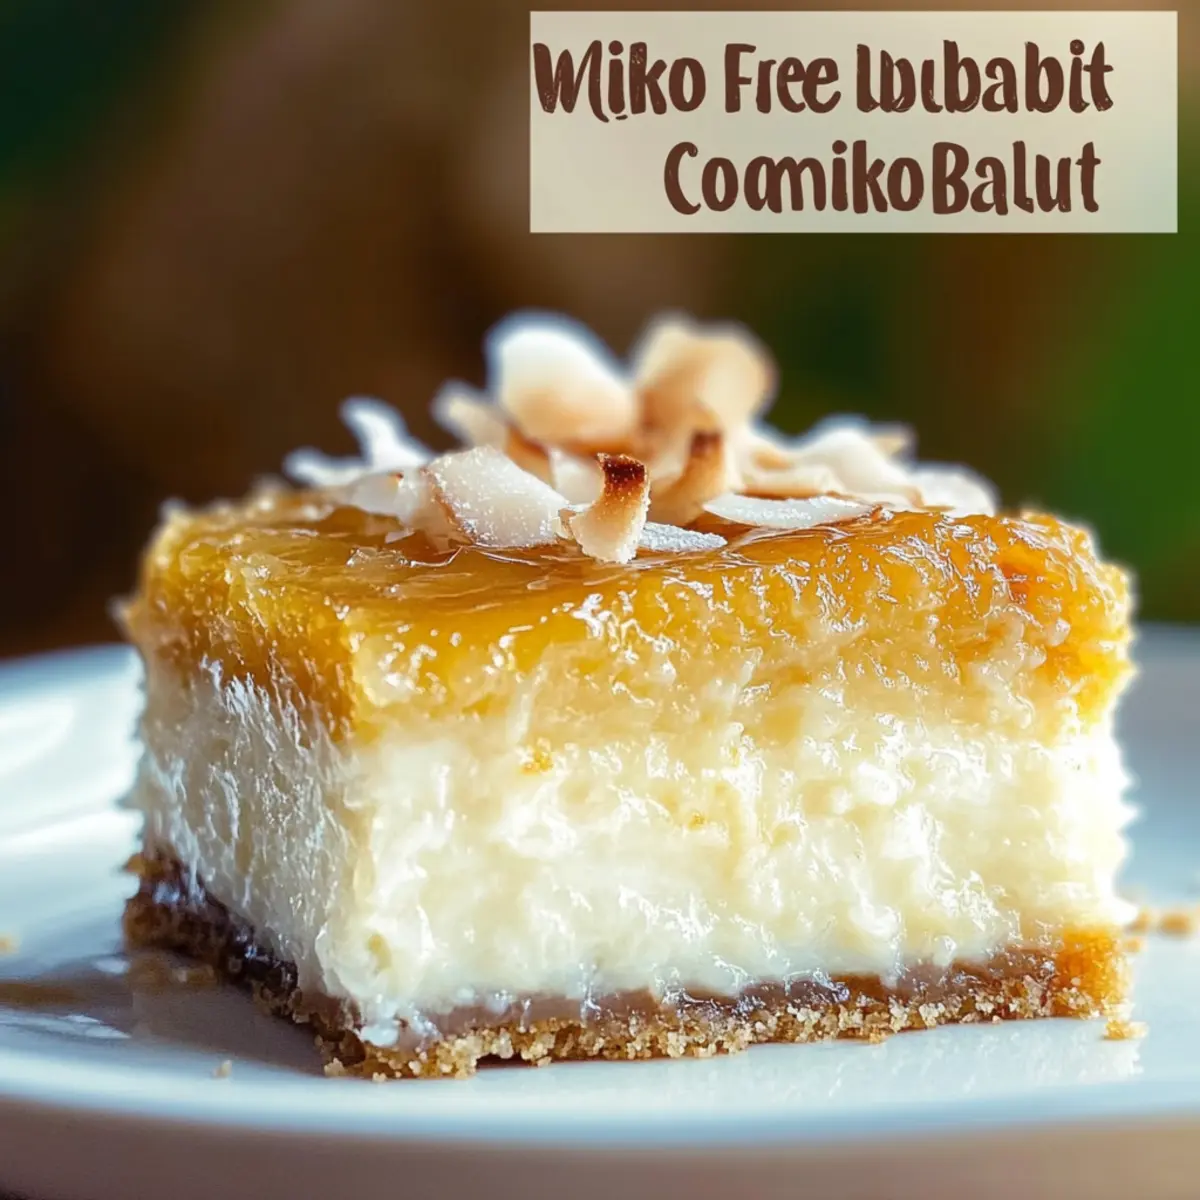
When you’re ready to enjoy your Sticky Coconut Cake, remove it from the refrigerator and slice it into squares or triangles. It can be served chilled or at room temperature, perfect as a treat for gatherings or a comforting afternoon snack. Each bite is sure to delight coconut lovers!
Make Ahead Options
These Sticky Coconut Cakes are fantastic for meal prep, saving you time when you’re busy. You can prepare the batter and pour it into the pan up to 24 hours in advance; just cover it tightly and refrigerate to keep it fresh. Alternatively, bake the cake and let it cool, then refrigerate it overnight to allow the flavors to develop beautifully. When you’re ready to enjoy, simply brush the top with the beaten egg yolk and broil for 5-10 minutes to achieve that gorgeous golden finish. This way, you’ll have a delicious, chewy dessert ready to serve effortlessly during any gathering!
Sticky Coconut Cake Variations
Feel free to play around with this Sticky Coconut Cake recipe and make it your own with these simple yet delightful twists!
-
Vegan Option: Substitute egg whites with aquafaba (chickpea brine) to whip up an equally fluffy cake without any animal products. It’s a fantastic way to keep that delicious texture while going plant-based!
-
Sweetener Swap: Try using coconut sugar instead of granulated sugar for a richer flavor profile. This natural sweetener adds an enchanting caramel-like taste that complements the coconut perfectly.
-
Coconut Extravaganza: For an extra burst of coconut flavor, replace regular coconut milk with flavored coconut milk or add a touch of coconut extract. Your cake will sing with even more tropical goodness!
-
Texture Twist: Add a handful of crushed nuts like almonds or macadamias for a crunchy texture contrast. This not only adds delicious flavor but also elevates the overall experience of the cake.
-
Spicy Kick: If you’re feeling adventurous, mix in a pinch of cinnamon or ground ginger. These warm spices will bring a comforting depth to the flavor that beautifully complements the sweetness.
-
Fruit Addition: Incorporate finely chopped fruits such as mango or pineapple into the batter. The fruity bits not only add flavor but also a splash of color, making this cake even more enticing!
-
Iced Serve: Serve individual slices drizzled with a warm coconut cream sauce, like a mini dessert masterpiece. It’s a heavenly way to enjoy this cake alongside your favorite brewed coffee or tea.
-
Cheesecake Aficionado: For those who adore cheesecake, consider mixing in some cream cheese into the batter. This added richness gives a delightful twist that coconut lovers and cheesecake enthusiasts alike will greatly appreciate!
If you’re experimenting with flavors, don’t miss trying this with sweet treats like New York Cheesecake or enjoying it alongside a slice of French Butter Cake. There’s a world of delicious possibilities to discover!
What to Serve with Sticky Coconut Cake
Transform your homemade coconut cake into a delightful feast with these complementary dishes.
-
Creamy Coconut Rice: This side dish mirrors the cake’s velvety coconut flavor, enhancing your tropical experience with every bite.
-
Fresh Mango Salsa: The bright and tangy notes of mango elevate the richness of the cake, adding a refreshing contrast that tantalizes the palate.
-
Iced Coffee: A chilled cup of this coffee brings a smooth, rich backdrop to the sweetness of the cake, making it a perfect pairing for afternoon snacks.
-
Fruit Salad with Lime Dressing: Crisp fruits and a zesty dressing provide a wonderful balance, cutting through the cake’s sweetness with a burst of freshness.
-
Coconut Milk Shake: This thick and creamy beverage echoes the flavors in the cake, creating a fun and indulgent treat ideal for gatherings.
-
Spiced Tea: A warm cup of chai or spiced tea can complement the cake’s coconut essence perfectly, enhancing the overall experience with fragrant spices.
Imagine inviting friends over to share a plate of this chewy delight, sipping on icy coffee, and enjoying vibrant fruit salad—what a lovely way to celebrate!
Helpful Tricks for Sticky Coconut Cake
Coconut Milk Tip: Ensure your canned coconut milk is well-mixed before adding it to prevent any separation that could affect the texture of your Sticky Coconut Cake.
Broiling Caution: Keep a close watch during the broiling step; it can go from golden to burnt very quickly. Don’t leave it unattended!
Gentle Brushing: Brush the egg yolk on the cake surface carefully to prevent tearing. A light touch helps maintain its beautiful finish!
Density Awareness: Remember, this cake is meant to be dense and chewy; if it feels too light, it may not have been baked long enough.
Storage Secrets: Store leftovers in an airtight container in the refrigerator for up to two weeks; it helps preserve the delicious texture of your Sticky Coconut Cake.
Storage Tips for Sticky Coconut Cake
Fridge: Store your Sticky Coconut Cake in an airtight container for up to 2 weeks. Keep it chilled to maintain its lovely chewy texture and flavor.
Freezer: For longer storage, freeze cut pieces in a single layer on a baking sheet, then transfer to a freezer-safe container. It can last for up to 3 months without losing its delicious coconut flavor.
Reheating: To enjoy it warm, place individual slices in the microwave for about 15-20 seconds. Alternatively, thaw overnight in the fridge before enjoying at room temperature.
Slicing: For ease, slice the cake into individual portions before storing. This allows for quick serving and helps maintain freshness!
Sticky Coconut Cake Recipe FAQs
How should I choose ripe ingredients for this Sticky Coconut Cake?
Absolutely! When selecting eggs, look for ones that are fresh, with no cracks; the fresher, the better for this recipe. For the canned coconut milk, ensure it’s labeled without additives—just coconut and water for the best flavor. If you’re using fresh shredded coconut, it should smell sweet and have a soft texture. Avoid any pieces with discoloration.
How should I store my Sticky Coconut Cake, and how long will it last?
The more the merrier! You can store your Sticky Coconut Cake in an airtight container in the refrigerator, where it will stay fresh for up to 2 weeks. This helps maintain its delightful chewy texture while ensuring you have a sweet nibble ready any time you crave a coconut treat.
Can I freeze Sticky Coconut Cake, and how do I do it?
Of course! To freeze, first let your cake cool completely. Cut it into individual squares and arrange them in a single layer on a baking sheet. Place the sheet in the freezer for about 1-2 hours until the pieces are firm, then transfer them to a freezer-safe container. It can last for up to 3 months! When you’re ready to enjoy, simply thaw overnight in the refrigerator or microwave for 15-20 seconds.
What if my Sticky Coconut Cake turns out too dry or too moist?
Very! If the cake is too dry, you may have overbaked it. Make sure to check for doneness with a toothpick at the 45-minute mark—remove it as soon as it comes out clean, not too dry. Conversely, if it’s too moist, ensure you’re measuring the ingredients accurately, especially the glutinous rice flour. Too much liquid can lead to a different texture. Adjusting the baking time might also help!
Are there any dietary considerations or allergy concerns for this recipe?
Absolutely! This Sticky Coconut Cake is naturally gluten-free due to the use of glutinous rice flour, making it a great option for those with gluten sensitivities. However, if you’re baking for someone with nut allergies, double-check your sweetened coconut, as some brands may contain traces. If you’re vegan, remember you can substitute the egg whites with aquafaba for a delicious plant-based version!
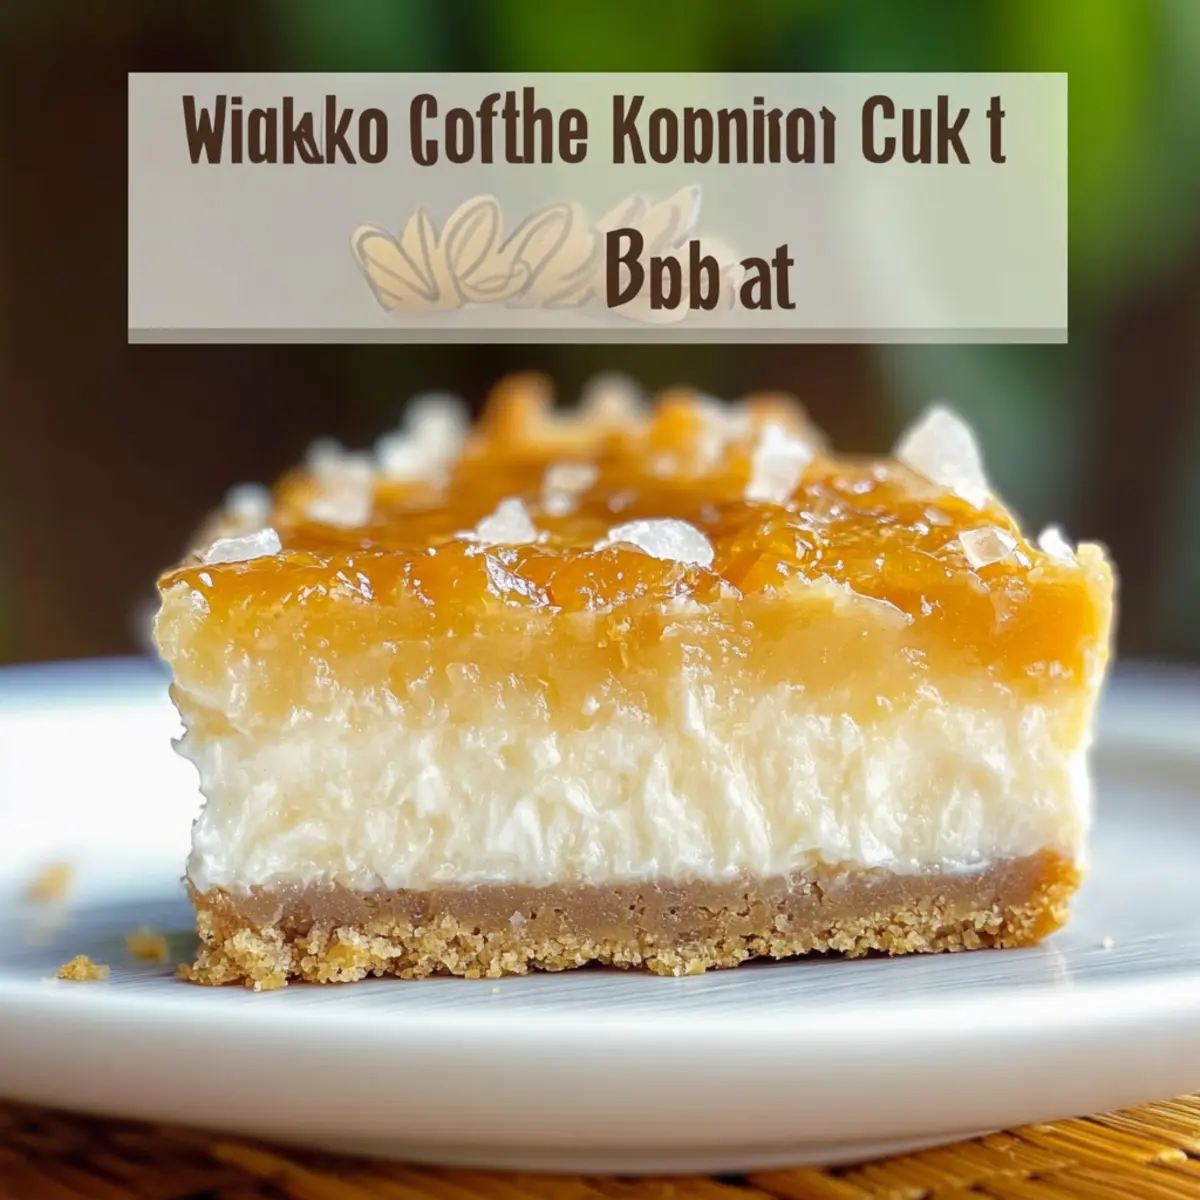
Deliciously Chewy Sticky Coconut Cake for Coconut Lovers
Ingredients
Equipment
Method
- Preheat your oven to 350°F (175°C) and gather your ingredients and equipment.
- In a mixing bowl, combine the egg whites and granulated sugar until frothy, about 2-3 minutes.
- Gradually pour in the canned coconut milk and mix in the vanilla extract until smooth.
- Add the shredded coconut and glutinous rice flour, stirring until well combined into a thick batter.
- Pour the batter into the prepared baking pan and bake for about 45 minutes, or until set and slightly golden.
- Brush the surface of the cake with the beaten egg yolk and broil for an additional 5-10 minutes.
- Let the cake cool to room temperature for about 30 minutes, then refrigerate overnight.
- Slice into squares or triangles and serve chilled or at room temperature.
Leave a Reply