
As I stood in the kitchen, surrounded by the warm, savory aromas of Thanksgiving, I realized there’s something truly special about a perfectly cooked turkey. Enter the dry brine turkey—a method I’ve embraced for its astonishing ability to transform an ordinary bird into a juicy, flavorful masterpiece. This simple yet effective technique allows you to ditch the messy liquid brine while ensuring your turkey boasts golden, crispy skin and tender meat. It’s truly a prep-ahead friendly solution for busy cooks like us, allowing us to steal moments of tranquility amid the holiday hustle. Who wouldn’t want their turkey to take center stage at the feast? Are you ready to elevate your Thanksgiving dinner with this foolproof recipe?
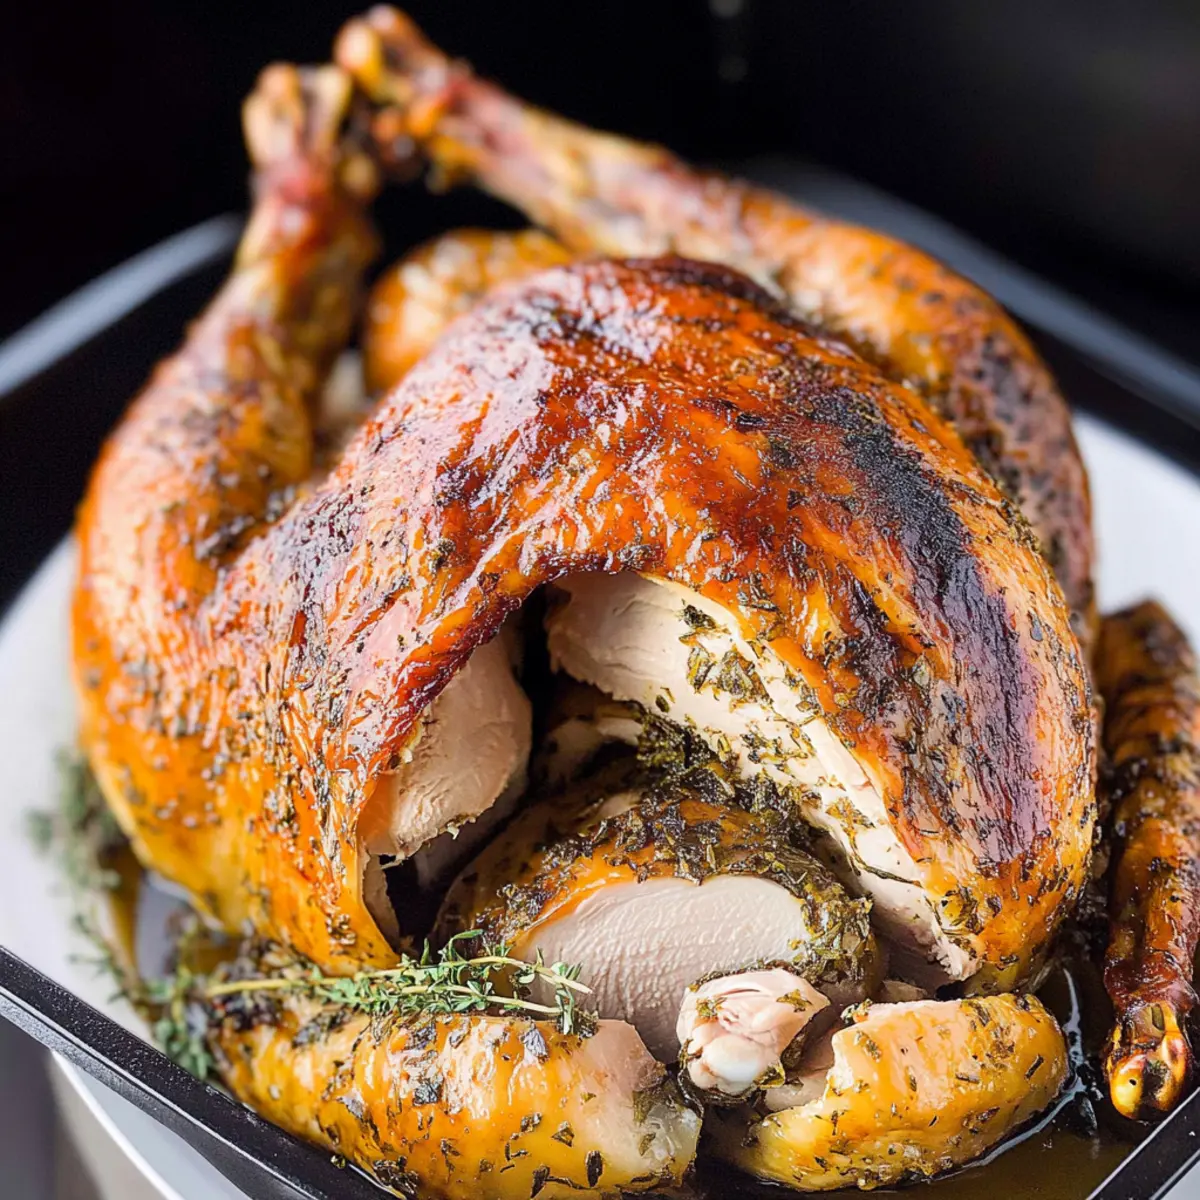
Why Choose Dry Brine Turkey?
Simplicity Made Easy: This dry brine turkey method eliminates the fuss of liquid brining, making it incredibly straightforward for busy cooks.
Juicy, Flavorful Results: The dry brine technique locks in moisture, resulting in a bird that’s not only succulent but bursting with flavor that everyone will love.
Prep-Ahead Friendly: Brining ahead of time means you can relax and enjoy the day with family, rather than scrambling at the last minute.
Golden, Crispy Skin: You’ll be amazed at the beautiful, crispy skin this method creates, elevating your turkey from ordinary to extraordinary!
Perfect for Thanksgiving: Celebrate the season with a show-stopping centerpiece that will have guests raving about your cooking skills.
Elevate your next meal by trying out this juicy dry brine turkey recipe, and for those classic sides, don’t forget to check out my recommendations for Thanksgiving sides that pair perfectly!
Dry Brine Turkey Ingredients
For the Turkey
• Turkey – A 12-15 pound thawed turkey; ensure it’s completely thawed before preparation.
For the Brining Mixture
• Kosher Salt – 3 tablespoons; essential for flavor enhancement and less salty than table salt.
• Fresh Minced Herbs – 2 teaspoons (rosemary, thyme, sage); these add delightful herbal notes to your dry brine turkey.
• Garlic Powder – 2 teaspoons; contributes a rich, aromatic flavor that enhances the overall taste.
• Ground Black Pepper – 1 teaspoon; it adds seasoning and a slight kick to the mix.
For the Herbed Butter
• Unsalted Butter – 8 tablespoons, softened; it creates a rich and flavorful herbed butter to spread under the skin.
• More Fresh Minced Herbs – 3 teaspoons (same herbs); to deepen the flavor of your herbed butter.
• Freshly Chopped Italian Parsley – 2 tablespoons; it brings freshness and color to your butter mix.
• Fresh Garlic – 6 cloves, minced; enhances the complexity of the flavors.
• Lemon Zest – Zest of 1 lemon; adds brightness and freshness to the butter.
For the Roasting Preparation
• Olive Oil – Lightly rub on the turkey skin; this helps achieve that coveted crispiness.
• Onions, Celery, Lemon – Chopped for cavity stuffing; they add moisture and depth of flavor during roasting.
• Chicken Broth – 6 to 8 cups for the roasting pan; it keeps the turkey moist and amplifies the flavor while cooking.
Prepare your ingredients, and let’s get ready to create a memorable dry brine turkey that will impress your loved ones this Thanksgiving!
Step‑by‑Step Instructions for Juicy Dry Brine Turkey
Step 1: Dry Brine the Turkey
In a mixing bowl, combine the kosher salt, minced herbs, garlic powder, and black pepper. Pat the thawed turkey dry with paper towels, ensuring it’s moisture-free. Rub the dry brine mixture all over the turkey, including under the skin and inside the cavity. Place the brined turkey on a rack in a roasting pan, cover it loosely with plastic wrap, and refrigerate uncovered for 24 to 48 hours, allowing the flavors to penetrate the meat.
Step 2: Preheat Oven
One hour before you’re ready to roast the dry brine turkey, preheat your oven to 425°F (220°C). Remove the turkey from the refrigerator and discard any accumulated juices without rinsing it. This step is crucial to retain the flavorful brine that’s been absorbed. The turkey should now be ready for the next phase of preparation, ensuring a crispy skin.
Step 3: Make Herb Butter
While the oven is preheating, prepare the herbed butter that will elevate your turkey’s flavor. In a medium bowl, mix together the softened unsalted butter, fresh herbs, chopped parsley, lemon zest, and minced garlic until thoroughly combined. This aromatic butter will create a rich, succulent layer under the skin, ensuring a moist and flavorful dry brine turkey.
Step 4: Prepare Turkey
Gently loosen the skin over the breast and legs of your turkey using your fingers, creating pockets for the herbed butter. Rub half of the herb mixture underneath the skin, followed by a light coating of olive oil and a sprinkle of black pepper on the outer skin. Stuff the turkey cavity with the chopped onions, celery, lemon, and remaining herbs for added moisture and flavor during roasting. Tie the legs together with kitchen twine for a neat presentation.
Step 5: Roast
Place the turkey on a rack in the roasting pan, with chicken broth poured into the bottom to keep it moist. Roast the dry brine turkey at 425°F for the first 20 minutes, allowing the skin to start browning. Then, reduce the oven temperature to 350°F (175°C) and cover any excessively browned areas with foil. Continue roasting until the internal temperature reaches 165°F (74°C), typically about 12 minutes per pound, ensuring a perfectly cooked turkey.
Step 6: Rest Before Carving
Once the turkey is fully cooked, remove it from the oven and let it rest for 20 to 30 minutes, covered loosely with foil. This resting period is essential for allowing the juices to redistribute throughout the meat, ensuring it remains juicy and tender. After resting, carve your beautiful dry brine turkey and prepare to serve it as the centerpiece of your Thanksgiving feast.
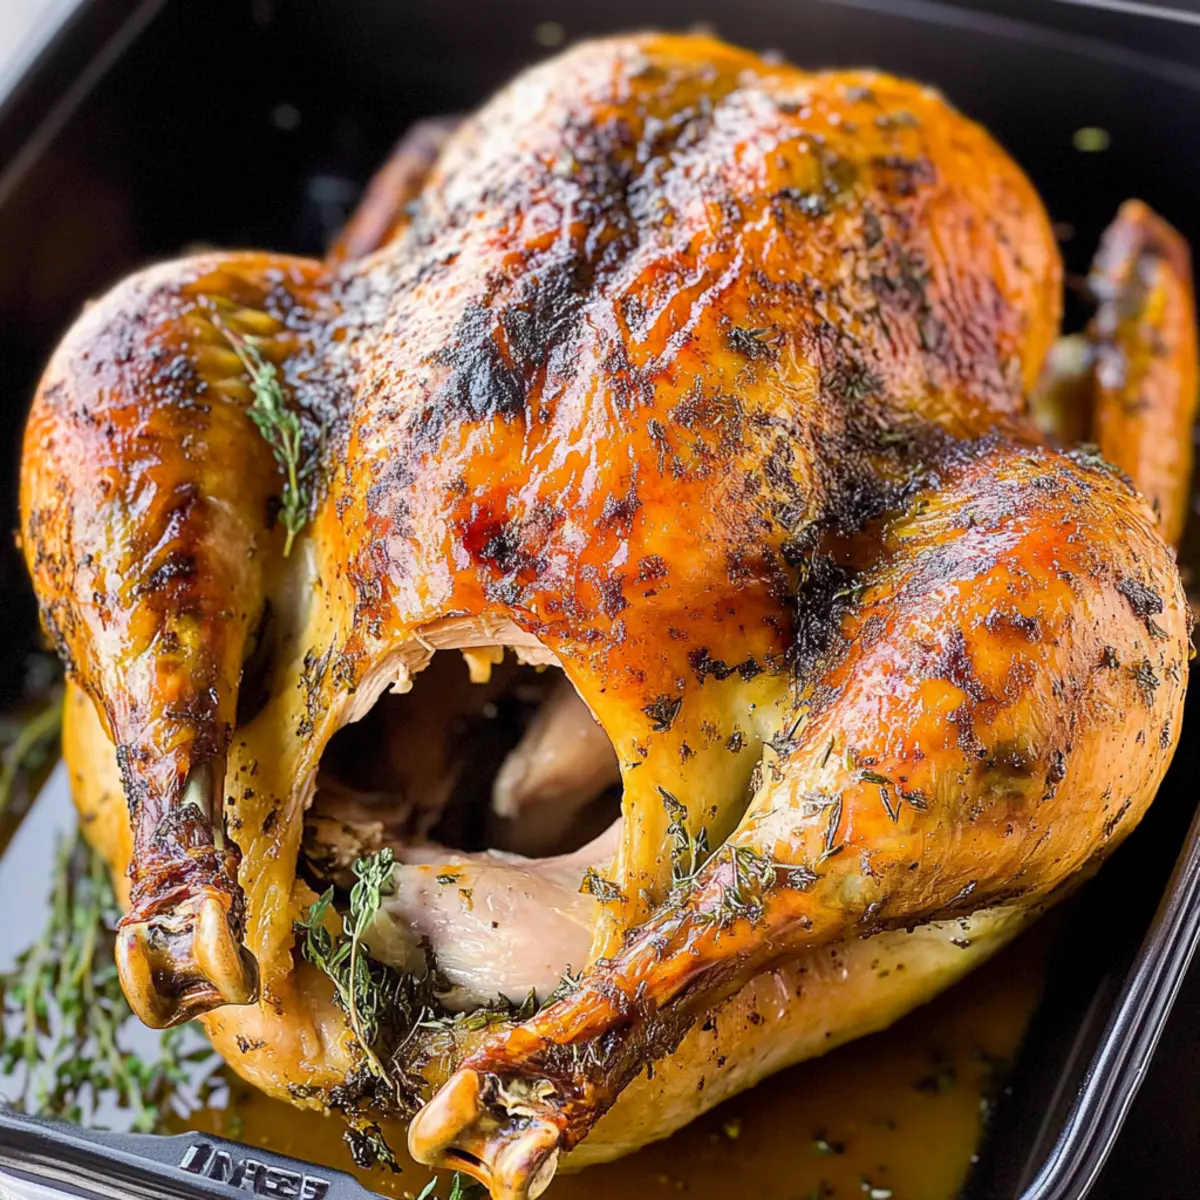
What to Serve with Juicy Dry Brine Turkey?
Picture your Thanksgiving table bursting with warmth, comfort, and delicious flavors that harmonize beautifully with your perfectly roasted turkey.
-
Creamy Mashed Potatoes: This classic side is rich and buttery, making it a heavenly match with the savory, juicy turkey.
-
Savory Stuffing: A blend of bread, herbs, and spices complements the turkey’s flavors, adding a delightful texture contrast to your meal.
-
Green Bean Casserole: The crisp-tender green beans and creamy sauce add freshness and visual appeal, balancing the richness of the turkey.
-
Cranberry Sauce: The tartness of homemade cranberry sauce cuts through the savory elements, refreshing your palate with each bite.
-
Roasted Root Vegetables: A medley of sweet potatoes, carrots, and parsnips caramelized to perfection brings earthy sweetness that enhances the turkey’s flavor.
-
Garlic Bread Rolls: Warm, fluffy rolls perfect for mopping up gravy and turkey juices are a must-have for your feast!
-
Pumpkin Pie: To finish your meal on a sweet note, a slice of spiced pumpkin pie adds nostalgia and seasonal charm, echoing the flavors of Thanksgiving.
-
Apple Cider: This drink pairs wonderfully with turkey, offering a sweet, spiced aroma that perfectly complements the festive spirit of your dinner.
Expert Tips for Dry Brine Turkey
• Thawing Time Matters: Ensure your turkey is completely thawed in the fridge—about 24 hours for every 4 pounds. This prevents uneven cooking.
• No Rinsing Needed: After brining, avoid rinsing the turkey; this helps retain the flavor and seasoning you’ve worked hard to build in your dry brine turkey.
• Monitor Cooking Closely: Keep an eye on the roasting time, especially since a dry brine makes the turkey cook faster than traditional methods.
• Check Temperature Correctly: Use a reliable meat thermometer in the thickest parts of the breast and thighs to ensure your turkey reaches the safe minimum of 165°F.
• Rest for Juiciness: Allow the roasted turkey to rest for 20-30 minutes before carving; this step is key to keeping the meat juicy and flavorful for your guests.
How to Store and Freeze Dry Brine Turkey
Fridge: Store leftover dry brine turkey in an airtight container for up to 3-4 days. Ensure the turkey is completely cooled before sealing to maintain freshness.
Freezer: If you have turkey leftovers, you can freeze them for up to 3 months. Slice the turkey, wrap in plastic wrap, and place in a freezer bag to prevent freezer burn.
Reheating: When ready to enjoy, thaw frozen turkey in the fridge overnight. Reheat in the oven at 325°F, covered with foil, until warmed through (about 15-20 minutes).
Storage Tip: For optimal flavor retention, always slice off the excess meat from the carcass and store separately.
Dry Brine Turkey Variations
Feel free to let your creativity shine by customizing this dry brine turkey recipe to suit your tastes!
-
Herb Blend Swap: Try using different fresh herbs like tarragon or dill for a unique flavor profile. Each herb brings its own character to the turkey, making it a delight for the palate.
-
Citrus Burst: Substitute lemons with oranges or limes in the cavity for a zesty twist that elevates the turkey’s taste. The bright notes from citrus can make each bite refreshing!
-
Sweet Twist: Add chopped apples or fresh figs in the cavity for a hint of sweetness to balance the savory flavors. This unexpected addition adds an intriguing layer to your turkey!
-
Spicy Kick: Incorporate a pinch of cayenne pepper or red pepper flakes into the brine for a subtle heat that complements the turkey beautifully. Your guests might just savor that extra kick!
-
Alternate Fats: Replace butter with olive oil or ghee for a dairy-free herbed mixture that works well while keeping the meat juicy. Plus, it’s a great option for those with dairy sensitivities.
-
Nutty Flavor: Toss in some crushed nuts like pecans or walnuts into the cavity for added crunch and flavor. The nuts will toast slightly while roasting, giving a delightful texture contrast.
-
Smoky Taste: Consider adding a few sprigs of smoked rosemary for a rich, smoky flavor that adds depth to your traditional turkey. It’s a fun way to surprise your guests with an extraordinary taste!
-
Umami Boost: Mix in a tablespoon of soy sauce or Worcestershire sauce into your herbed butter to introduce a deeper umami flavor profile. This can truly round out the taste experience.
Whatever your choice, these variations help ensure that your dry brine turkey will always be a sensational feast centerpiece! And don’t miss out on delicious ideas for Thanksgiving sides that will beautifully accompany your turkey.
Make Ahead Options
These dry brine turkey preparations are a lifesaver for busy cooks looking to streamline Thanksgiving dinner! You can implement the dry brining process up to 48 hours in advance, allowing the flavors to penetrate deeply into the meat. Simply mix the kosher salt and herbs, rub it all over the thawed turkey, and refrigerate uncovered for that time. For the herbed butter, prepare it up to 24 hours ahead and store it in the refrigerator. When it’s time to roast, take the turkey out, discard any pooled juices (do not rinse), and proceed with your usual preparation steps. This thoughtful planning ensures your dry brine turkey will be just as juicy and flavorful, giving you more time to enjoy your holiday festivities!
Dry Brine Turkey Recipe FAQs
What type of turkey should I choose for dry brining?
Absolutely! Look for a 12-15 pound thawed turkey, preferably fresh if available. Ensure it’s completely thawed before preparation, as this affects the brining process and cooking time.
How do I store leftover dry brine turkey?
After enjoying your feast, be sure to store leftover dry brine turkey in an airtight container in the fridge. It will stay fresh for 3-4 days. I recommend letting the turkey cool completely before sealing it to lock in that wonderful flavor!
Can I freeze dry brine turkey?
Yes, you can! For freezing, slice your leftover turkey and wrap it tightly in plastic wrap before placing it into a freezer bag. It can be frozen for up to 3 months. Just remember to label it so you know when it was frozen!
What if my turkey is cooking too quickly during roasting?
Very! If you notice that the skin is browning too quickly, simply cover those areas with aluminum foil to prevent burning while the rest of the turkey finishes cooking. It’s important to monitor the roasting carefully since dry brined turkeys tend to cook faster due to the moisture retention.
Are there any dietary considerations with dry brine turkey?
Definitely! This recipe primarily uses kosher salt and fresh herbs, making it suitable for most diets. However, if anyone has a sodium restriction or allergy to specific herbs, consider adjusting the recipe accordingly. Always check with your guests regarding any potential dietary restrictions before serving.
How long should I let the turkey rest after cooking?
The resting period is crucial! After removing the turkey from the oven, cover it loosely with foil and let it rest for 20-30 minutes. This allows the juices to redistribute, ensuring each slice is as juicy and flavorful as the last.
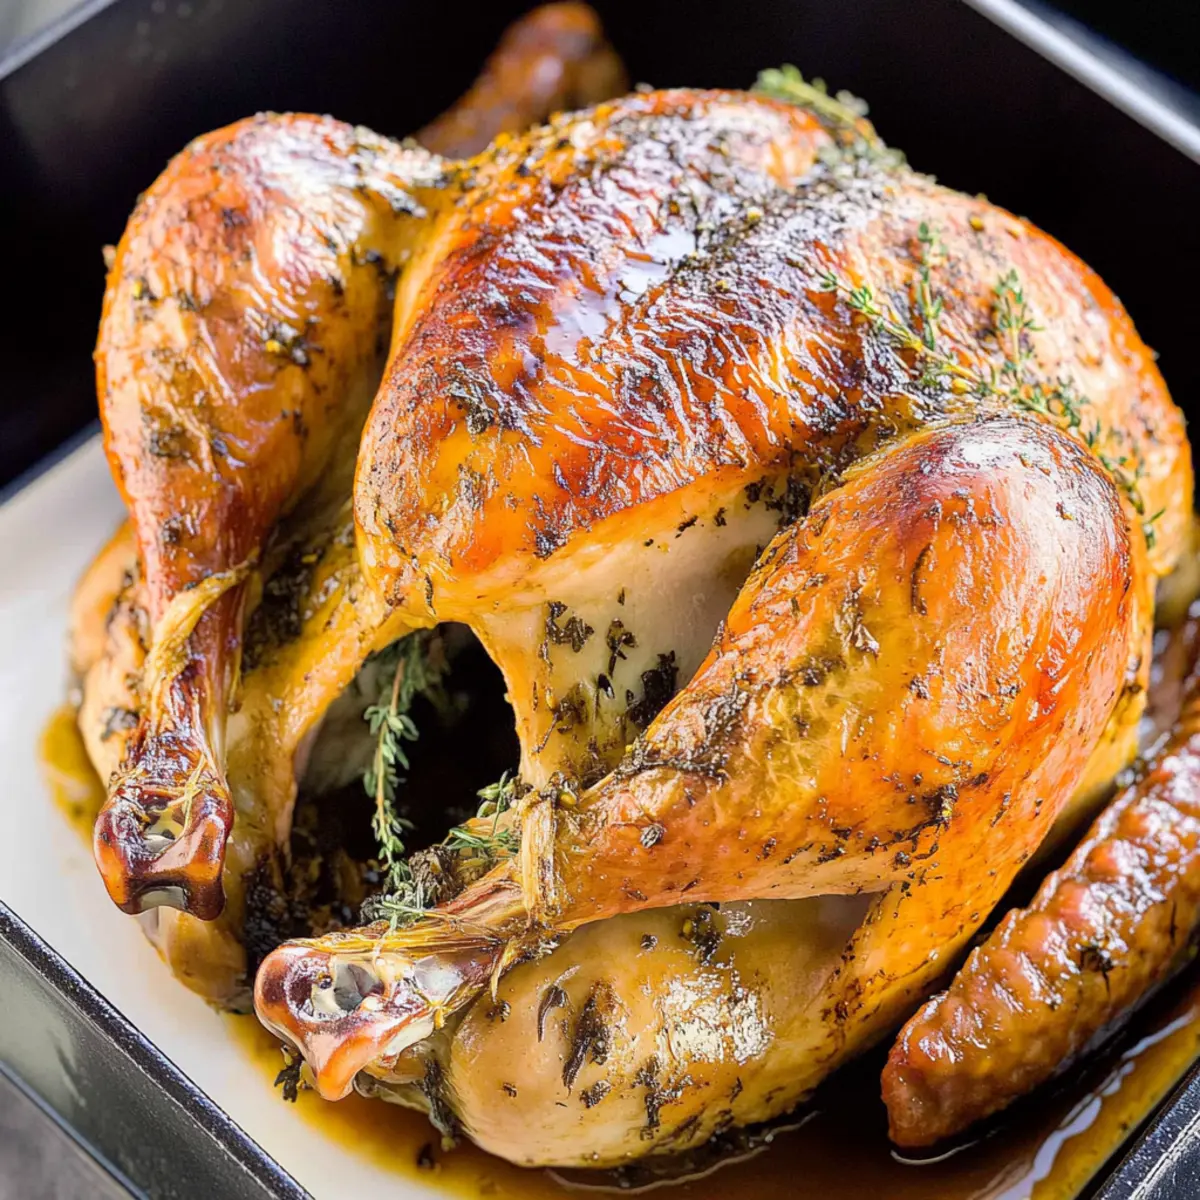
Perfectly Juicy Dry Brine Turkey for Your Thanksgiving Feast
Ingredients
Equipment
Method
- Dry Brine the Turkey: Combine kosher salt, minced herbs, garlic powder, and black pepper. Pat turkey dry, rub mixture all over, refrigerate uncovered for 24-48 hours.
- Preheat Oven: One hour before roasting, preheat oven to 425°F (220°C). Discard any accumulated juices before roasting.
- Make Herb Butter: Mix softened butter, fresh herbs, chopped parsley, lemon zest, and minced garlic until combined.
- Prepare Turkey: Loosen skin, rub herb mixture underneath, coat with olive oil and pepper, stuff cavity with chopped veggies and herbs. Tie legs with kitchen twine.
- Roast: Place turkey in roasting pan with broth. Roast at 425°F for 20 minutes, then reduce to 350°F (175°C) until internal temperature reaches 165°F (74°C).
- Rest Before Carving: Let turkey rest for 20-30 minutes covered with foil before carving.
Leave a Reply