
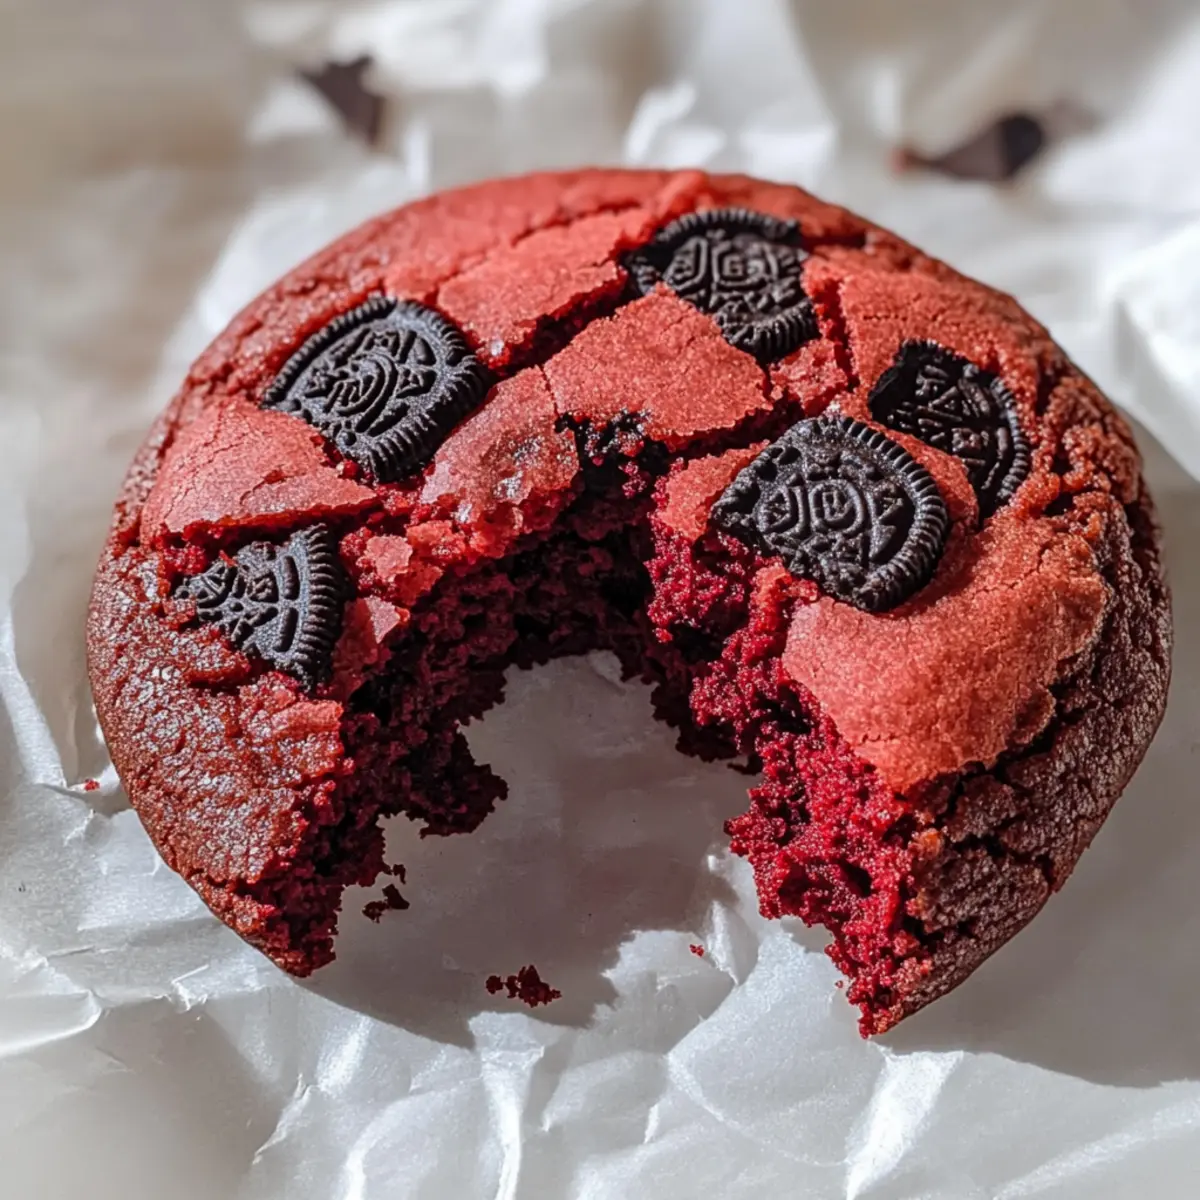
As I stood in my kitchen, the sweet aroma of melting butter and sugar wafted through the air, instantly whisking me back to my childhood baking sessions. Today, I’m whipping up a batch of Homemade Red Velvet Oreo Cookies—a delightful twist on traditional cookies that marries the velvety richness of red velvet with the iconic crunch of Oreos. With this recipe, you’ll find it’s not only quick to prepare but also a guaranteed crowd-pleaser, making it perfect for any occasion! Whether you’re treating yourself or sharing with loved ones, these cookies promise a gooey center and chewy edges that will make your heart flutter. Curious to find out how to bring this delectable treat to life? Let’s dive into the details!

Why are Red Velvet Oreos Irresistible?
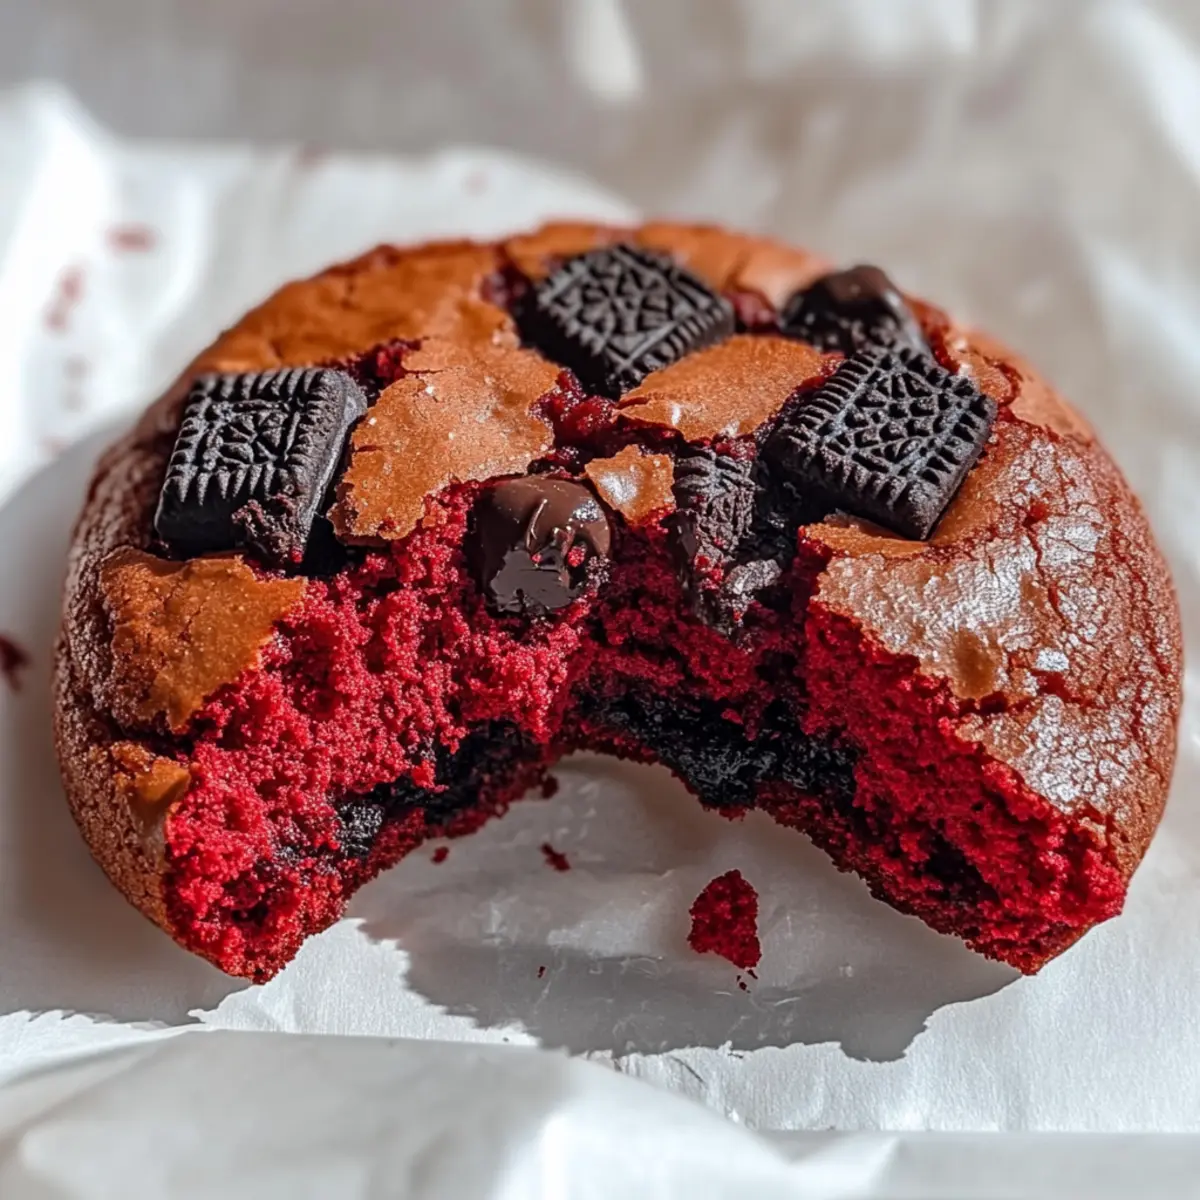
Decadent Flavors: These cookies beautifully blend the rich cocoa of red velvet with the beloved crunch of Oreos—creating a dessert experience unlike any other.
Quick & Easy: This recipe is straightforward, allowing even novice bakers to create these treats effortlessly.
Customizable: Whether you need a gluten-free option or want to swap chocolate chips for white chocolate, there’s a variant for everyone!
Perfect for Sharing: These cookies are guaranteed to wow your friends and family at parties, much like my Cherry Snowball Cookies do!
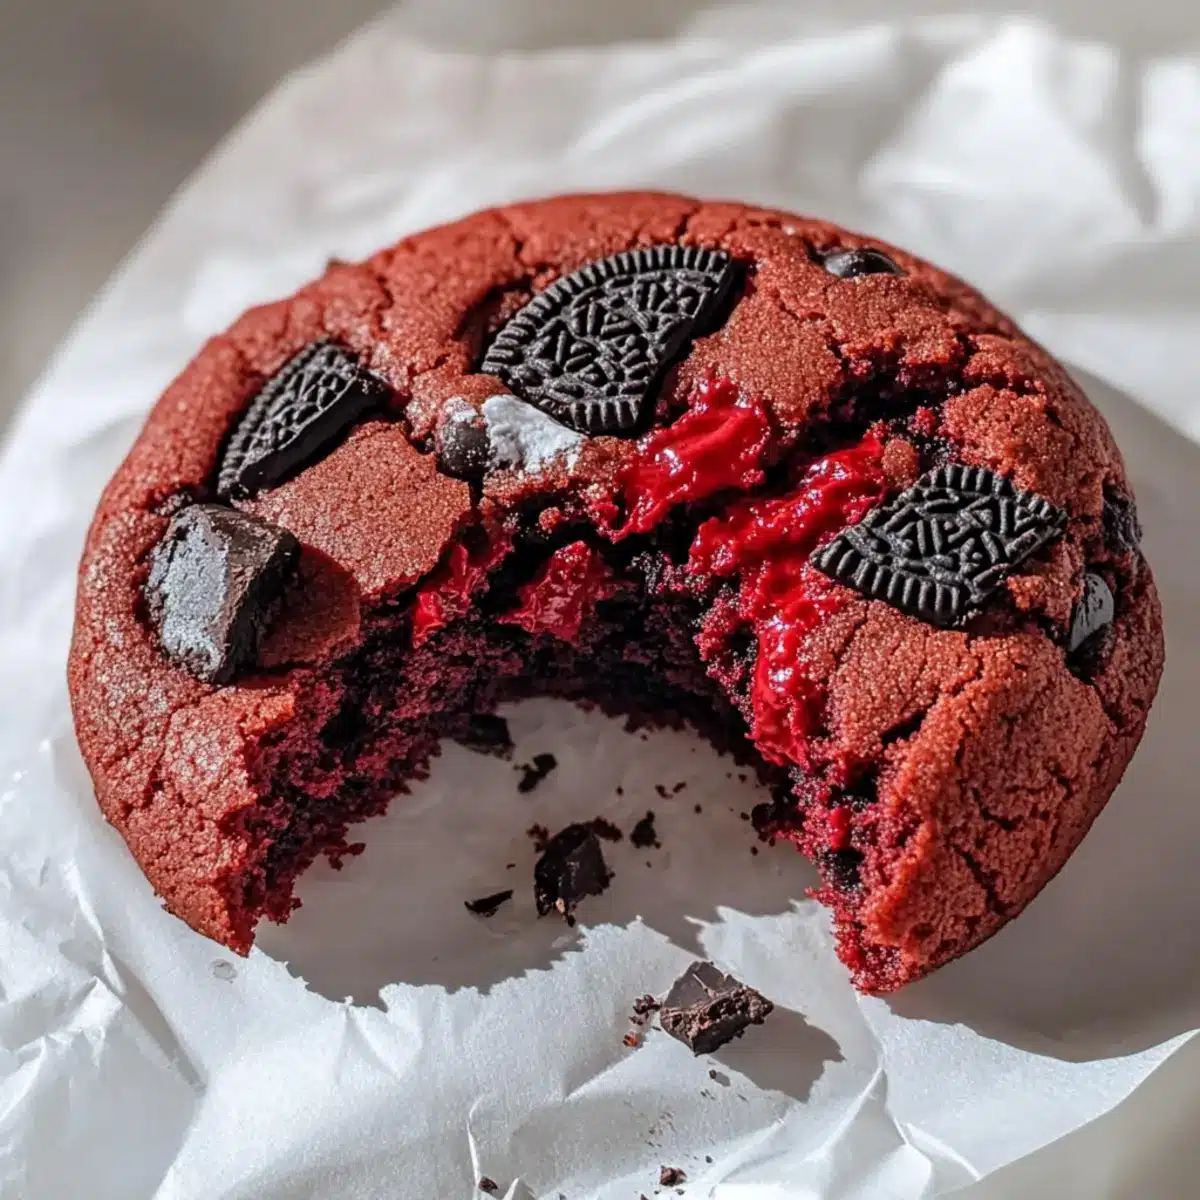
Gooey & Chewy: Bake them just right for a warm, gooey center and chewy edges that will leave you craving more.
Great for Any Occasion: Whether for a birthday celebration or a cozy night in, your taste buds will thank you for this delightful dessert!
Red Velvet Oreo Cookies Ingredients
• Perfect ingredients for baking bliss!
-
For the Cookie Base
-
All-Purpose Flour – Provides structure and body; substitute with a gluten-free flour blend for a gluten-free version.
-
Dutch-Processed Cocoa Powder – Adds rich chocolate flavor essential for red velvet; use regular cocoa if needed, but expect a less profound taste.
-
Cornstarch – Ensures a tender crumb and chewy texture.
-
Baking Soda – Acts as a leavening agent for rising.
-
Kosher Salt – Enhances flavor by balancing sweetness.
-
Unsalted Butter – Creates a tender cookie; melt for better incorporation. Can substitute with plant-based butter for a dairy-free option.
-
Granulated Sugar – Provides sweetness precious for the best Red Velvet Oreo Cookies; cannot be substituted without affecting texture.
-
Light Brown Sugar – Adds moisture and depth of flavor; using only white sugar will lack certain notes.
-
Eggs – Binds ingredients and adds moisture, vital for texture—no substitutions recommended.
-
Vanilla Extract – Adds aromatic sweetness.
-
Red Gel Food Coloring – Imparts that traditional red velvet color; avoid liquid food coloring for better results.
-
For the Add-ins
-
Semisweet Chocolate Chips – For an extra boost of chocolatey richness; substitute with white chocolate if desired.
-
Oreos (Crushed and Chunks) – Adds texture and a rich creaminess; gluten-free Oreos can be used for a gluten-free version.
Step‑by‑Step Instructions for Decadent Homemade Red Velvet Oreo Cookies
Step 1: Prepare the Butter Mixture
Begin by melting 1 cup of unsalted butter in a medium saucepan over low heat, ensuring it does not bubble. Once melted, allow it to cool slightly before transferring to a large mixing bowl. Using a hand mixer, blend the cooled butter with 1 cup of granulated sugar and ½ cup of light brown sugar for about 2 to 3 minutes until the mixture is light and fluffy, creating a delightful aroma that signals you’re on the right track.
Step 2: Incorporate Eggs and Flavor
Next, one by one, add in 2 large eggs to your buttery mixture, beating well after each addition. With the final egg, mix in 2 teaspoons of vanilla extract and 1 tablespoon of red gel food coloring. The vibrant red color will start to shine through, giving your Decadent Homemade Red Velvet Oreo Cookies their signature hue. Ensure everything is well combined before moving on.
Step 3: Combine Dry Ingredients
In a separate bowl, sift together 2 cups of all-purpose flour, 2 tablespoons of Dutch-processed cocoa powder, 1 teaspoon of baking soda, ½ teaspoon of kosher salt, and 2 tablespoons of cornstarch. This dry mix is essential for achieving the perfect texture in your cookies. Gradually add this dry mixture to the wet ingredients, mixing on low speed until just combined to avoid overworking the dough.
Step 4: Fold in Add-ins
Now, gently fold in 1 cup of semisweet chocolate chips and 1 cup of crushed Oreos. The combination of textures will create a delightful surprise in every bite of your Red Velvet Oreo Cookies. Be careful not to overmix; you want to maintain the cookie dough’s integrity while ensuring a good distribution of ingredients throughout.
Step 5: Chill the Dough
Wrap your cookie dough tightly in plastic wrap and refrigerate for at least 3 hours. This step is crucial for preventing the cookies from spreading too much during baking, ensuring you achieve those perfectly chewy edges and gooey centers. While the dough chills, you can prepare your baking sheets.
Step 6: Preheat and Prepare Baking Sheets
About 30 minutes before baking, preheat your oven to 350°F (175°C). Line baking sheets with parchment paper for easy release and to prevent sticking. Once preheated, scoop out the chilled dough, about 2 tablespoons per cookie, rolling into balls before placing them on the prepared sheets. Give each cookie enough space to expand while baking.
Step 7: Bake the Cookies
Bake your Decadent Homemade Red Velvet Oreo Cookies in the preheated oven for 12-14 minutes. Watch closely; for gooier centers, opt for the shorter time. Once they puff slightly and the edges appear set but the center looks slightly soft, remove them from the oven. They’ll continue cooking a bit after being taken out, so don’t worry if they seem slightly underbaked.
Step 8: Cool and Serve
Let the cookies cool on the baking sheet for 5 minutes before transferring them to a wire rack to cool completely. This cooling time allows them to set perfectly and develop that chewy texture we all love. Once cooled, serve these decadent treats as the perfect dessert, pairing beautifully with a glass of milk for an irresistible indulgence.
What to Serve with Decadent Homemade Red Velvet Oreo Cookies
Imagine the bliss of pairing delightful treats with flavors that truly sing—each complement creating a symphony on your palate.
-
Vanilla Ice Cream: The creamy and cooling ice cream contrasts beautifully with the warm, gooey centers of the cookies, creating a blissful indulgence perfect for any dessert lover.
-
Fresh Raspberries: Their tartness enhances the sweetness of the cookies, offering a refreshing bite that balances the rich flavors and adds a pop of color to your dessert spread.
-
Milk: A classic pairing—pour a tall glass of cold milk to enhance each chewy bite and wash away the sweetness with its creamy texture.
-
Chocolate Ganache Dip: For chocolate lovers, a rich ganache elevates the indulgence, allowing you to dip your cookies for a truly decadent experience that makes every bite feel like a celebration.
-
Coffee or Espresso: The warm bitterness of coffee complements the sweetness of the cookies beautifully. Pairing the two makes for an elevated coffee break that turns any moment into a cozy affair.
-
Caramel Sauce: Drizzle warm caramel sauce over your cookies for an added layer of sweetness and a sticky, decadent twist that feels indulgently gourmet.
Make Ahead Options
These Decadent Homemade Red Velvet Oreo Cookies are perfect for meal prep enthusiasts! You can prepare the cookie dough up to 24 hours in advance, which makes baking a breeze during busy weeknights. Simply wrap the dough tightly in plastic wrap and refrigerate it to maintain its freshness and prevent spreading. For even longer storage, the dough can be frozen for up to 2 months—just thaw it in the fridge overnight before baking. When ready to bake, scoop out the chilled dough and follow the baking instructions; you’ll enjoy warm, gooey cookies that taste just as delicious as if you made them fresh that day!
Storage Tips for Red Velvet Oreo Cookies
-
Room Temperature: Store your cookies in an airtight container at room temperature for up to 3 days to maintain their delightful texture and flavor.
-
Fridge: If you want to keep them fresh longer, you can refrigerate them in an airtight container for up to a week. Just be mindful that chilling may change their texture slightly.
-
Freezer: Freeze unbaked cookie dough for up to 2 months. Scoop dough balls onto a baking sheet, freeze until solid, then transfer to a freezer bag. Thaw in the fridge before baking.
-
Reheating: To enjoy that fresh-from-the-oven taste, reheat cookies in a 350°F oven for about 5 minutes or until warm. Enjoy your scrumptious Red Velvet Oreo Cookies!
Red Velvet Oreo Cookies Variations
Customize your Red Velvet Oreo Cookies and make them truly your own with these fun and tasty twists!
-
Gluten-Free: Use a gluten-free all-purpose flour blend instead of regular flour to create a safe and scrumptious version for those on a gluten-free diet.
-
Dairy-Free: Substitute unsalted butter with plant-based butter to make your cookies dairy-free while still retaining soft, melt-in-your-mouth goodness.
-
Nutty Delight: Add chopped pecans or walnuts for a crunchy texture that contrasts beautifully with the soft cookie base, enriching every bite.
-
White Chocolate Twist: Replace semisweet chocolate chips with white chocolate chips for a sweeter, creamier cookie experience that elevates the classic flavor combination.
-
Flavor Infusion: Swap vanilla extract for almond extract to infuse a subtle nuttiness that complements the rich red velvet beautifully. It’s a delightful surprise!
-
Oreo Variations: Use flavored Oreos, like mint or birthday cake, for a fun twist that adds another flavor layer to your cookies. The possibilities are endless!
-
Heat it Up: Add a pinch of cayenne pepper to the dough for a surprising yet delightful kick. The spice enhances the chocolate flavor while keeping things interesting.
-
Chocolate Swirl: For a visually stunning and taste-bud tantalizing treat, swirl in some chocolate ganache or melted chocolate into the dough before baking.
Feel inspired? Don’t forget to check out recipes like my Cardamom Shortbread Cookies or the luscious Gilmore Girls Cookies for more delectable ideas!
Expert Tips for Red Velvet Oreo Cookies
-
Chill the Dough: Refrigerating your dough for at least 3 hours is key to preventing spreading, ensuring a chewy edge and gooey center in your Red Velvet Oreo Cookies.
-
Avoid Overmixing: When combining wet and dry ingredients, mix just until incorporated. Overmixing can lead to tough cookies instead of tender, melt-in-your-mouth treats.
-
Check for Doneness: Remove cookies when the edges are set but the centers look slightly underbaked; they will finish cooking on the baking sheet for perfect gooiness.
-
Use Gel Food Coloring: Opt for red gel food coloring instead of liquid; this provides a vibrant hue without adding extra moisture, keeping the texture just right.
-
Try Different Mix-ins: Have fun by swapping semisweet chocolate chips for white chocolate or add chopped nuts for a delicious twist on flavor and texture!
Red Velvet Oreo Cookies Recipe FAQs
What type of flour should I use for the best texture?
I recommend using all-purpose flour for the perfect structure and chewiness. If you’re looking for a gluten-free option, you can easily substitute it with a gluten-free flour blend. Just make sure the blend contains xanthan gum, which helps mimic the texture of all-purpose flour.
How should I store my Red Velvet Oreo Cookies?
To keep your cookies fresh, place them in an airtight container at room temperature for up to 3 days. If stored in the fridge, they can last for about a week. However, do note that refrigeration may slightly alter their texture, making them less chewy.
Can I freeze the cookie dough?
Absolutely! You can freeze unbaked cookie dough for up to 2 months. To do this, scoop the dough into balls on a baking sheet and freeze until solid. Once solid, transfer the dough balls into a freezer bag. When you’re ready to bake, simply thaw in the fridge overnight before baking as directed.
What if my cookies are too flat after baking?
If your cookies turn out flat, it could be because the dough wasn’t chilled enough before baking. Make sure to refrigerate the dough for at least 3 hours. Also, ensure you’re using the correct amount of flour and not overmixing the ingredients, as both can affect the cookie’s shape!
Are these cookies suitable for pets?
It’s best to keep these cookies away from pets. They contain ingredients like chocolate and sugar, which can be harmful to dogs and other animals. Always opt for pet-friendly treats when sharing goodies with your furry friends.
What do I do if my cookies are too sweet?
If you find the cookies overly sweet, consider reducing the granulated sugar slightly in your next batch. You might also prefer to swap in white chocolate chips for a different flavor profile—this will provide a delightful twist while balancing the sweetness!
Irresistible Red Velvet Oreo Cookies with Gooey Centers
Ingredients
Equipment
Method
- Melt 1 cup of unsalted butter in a medium saucepan over low heat. Allow it to cool slightly before blending with sugars for 2 to 3 minutes until light and fluffy.
- Incorporate 2 large eggs one at a time, mixing well after each. Add 2 teaspoons of vanilla extract and 1 tablespoon of red gel food coloring.
- Sift together 2 cups of flour, 2 tablespoons cocoa powder, 1 teaspoon baking soda, 0.5 teaspoons salt, and 2 tablespoons cornstarch. Gradually mix into the wet ingredients until just combined.
- Gently fold in 1 cup of semisweet chocolate chips and 1 cup of crushed Oreos.
- Wrap cookie dough in plastic wrap and refrigerate for at least 3 hours.
- Preheat oven to 350°F (175°C) and line baking sheets with parchment paper. Scoop chilled dough into balls and place on sheets.
- Bake for 12-14 minutes, removing when edges are set but centers look soft.
- Cool on baking sheet for 5 minutes before transferring to a wire rack.
Leave a Reply