
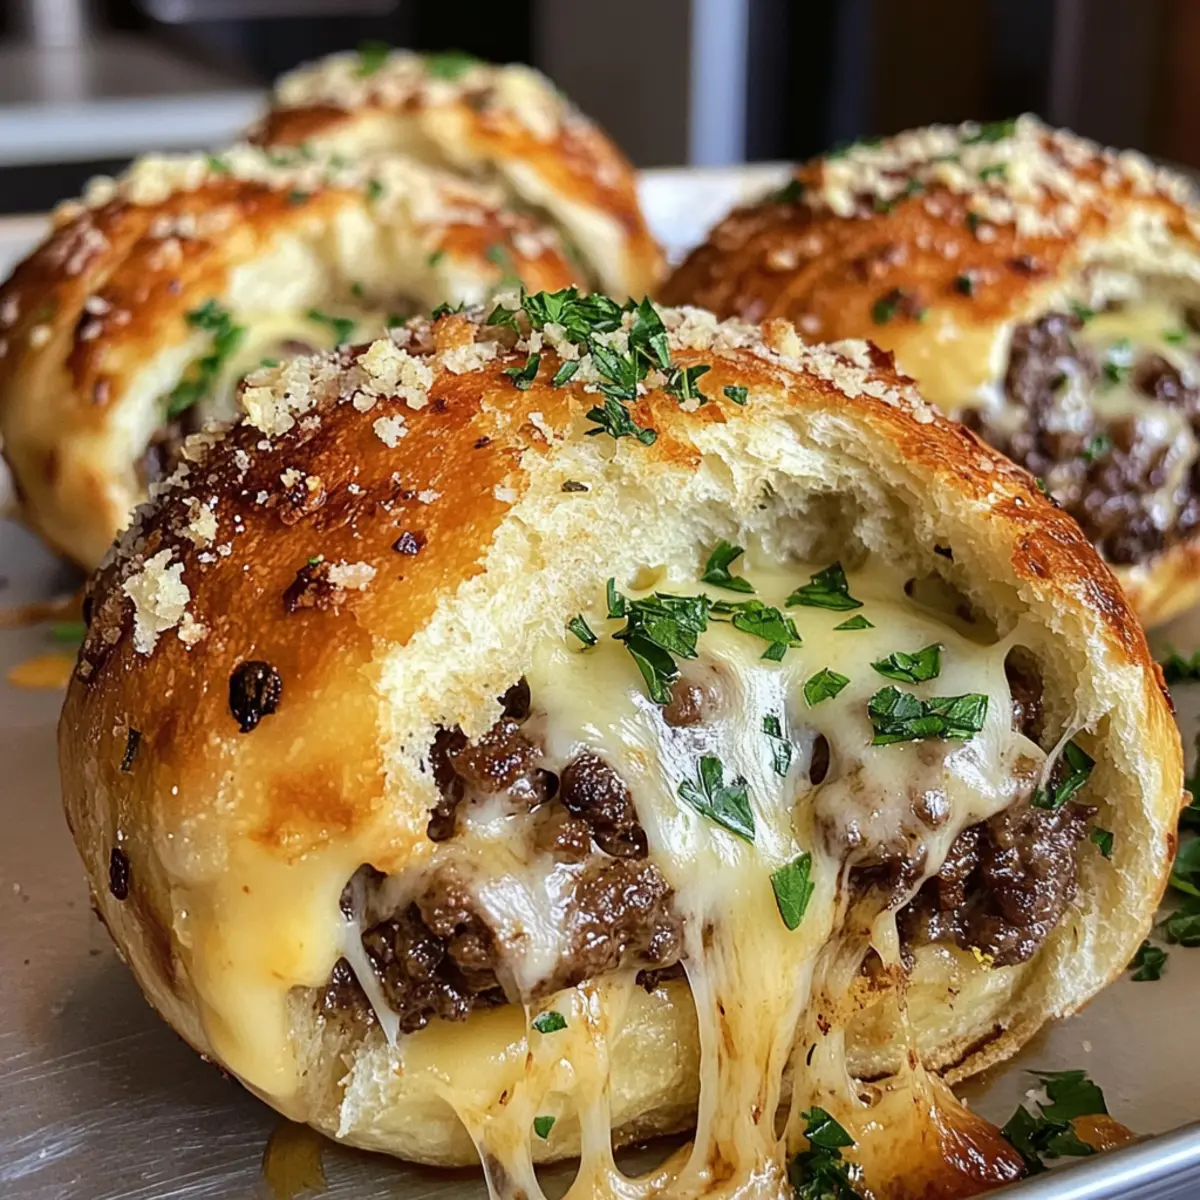
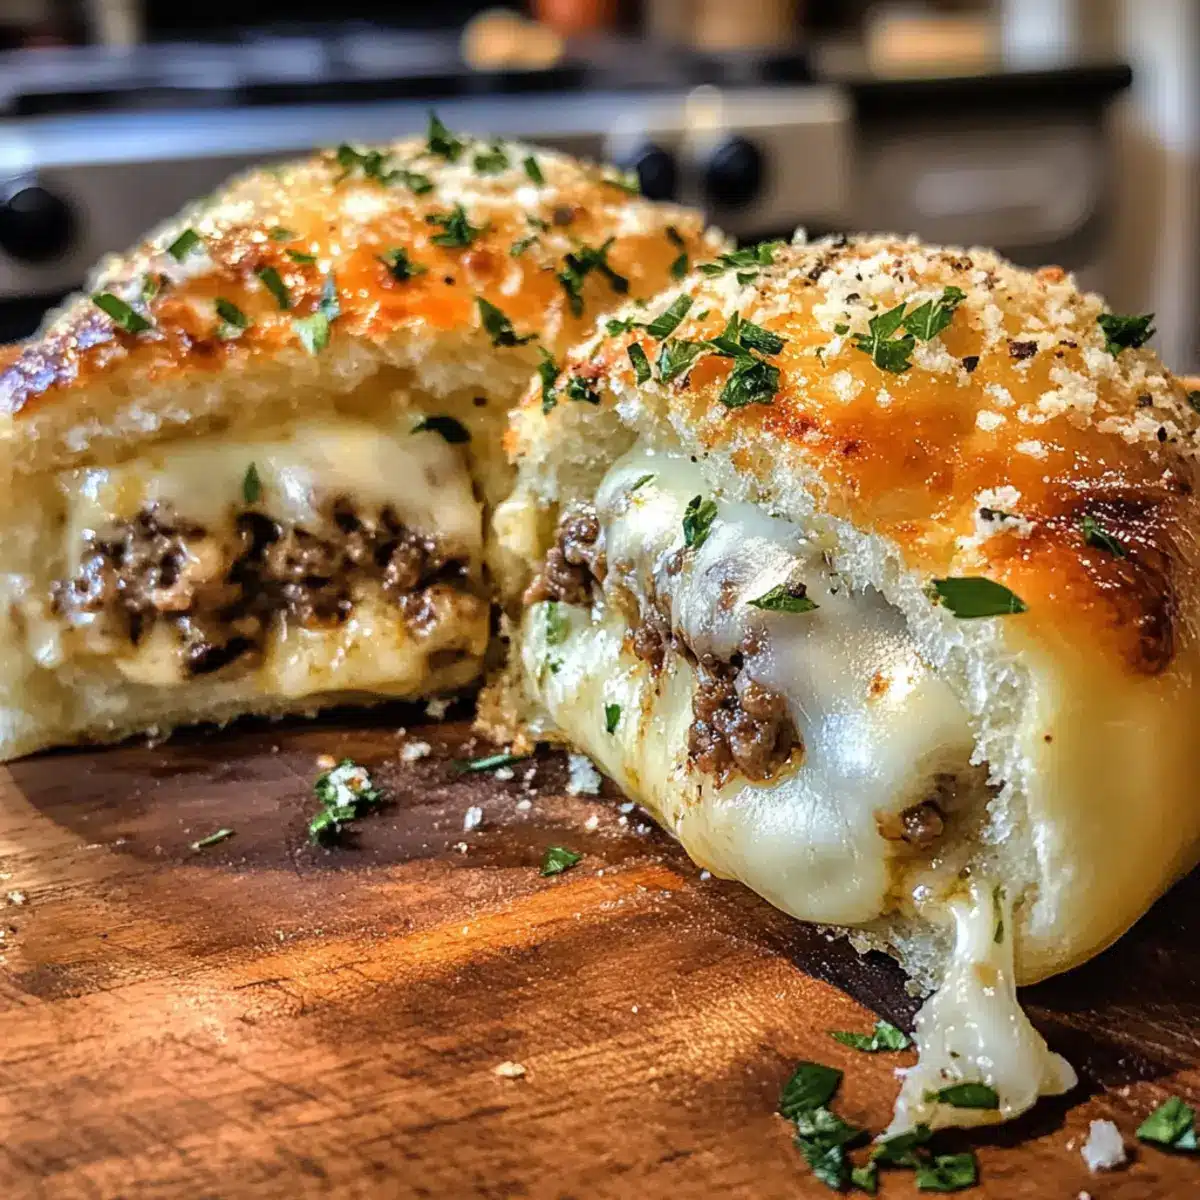
As I stood in the kitchen, a warm aroma of garlic wafted around me, transporting me to a bustling summer barbecue. Today, I’m thrilled to share my latest creation: Garlic Parmesan Cheeseburger Bombs! These delightful little morsels combine tender ground beef with a buttery biscuit dough, resulting in a crispy exterior that hugs a cheesy, savory center. They’re not just quick to prepare, but also make for an impressive party snack or a cozy family dinner that everyone will love. Imagine the joy when you pull a batch from the oven—golden and irresistible, just begging to be devoured! So, what will you serve alongside these tasty bombs? Let’s dive into this scrumptious journey together!
Why are Garlic Parmesan Cheeseburger Bombs a must-try?
Irresistible flavor: Each bomb bursts with savory, cheesy goodness that keeps everyone coming back for more.
Quick prep time: With minimal effort, you’ll be ready to serve these bites in under 30 minutes!
Party pleaser: Perfect for gatherings, they encourage mingling and snacking without the need for utensils.
Versatile options: Customize each bomb with your favorite fillings, from crispy bacon to zesty jalapeños, making them a hit for all taste buds.
Family-friendly: They’re an easy way to introduce kids to new flavors while still satisfying their cheeseburger cravings.
Dive into more delicious ideas like our Buffalo Chicken Bombs for your next snack adventure!
Garlic Parmesan Cheeseburger Bombs Ingredients
• Let’s gather everything you need for these tasty bombs!
For the Filling
- Ground Beef – This is the star of the show, providing rich flavor; consider turkey or plant-based options for a lighter option.
- Salt & Pepper – Essential for enhancing the beef’s flavor; use sea salt and freshly cracked pepper for the best taste.
- Garlic Powder & Onion Powder – Add depth; fresh garlic and minced onions ramp up the flavor profile.
- Worcestershire Sauce – A splash adds umami; soy sauce mixed with balsamic vinegar works well too.
- Shredded Cheddar or Mozzarella Cheese – These add creaminess; for a fun twist, mix both for optimal meltiness.
For the Dough
- Dough (Refrigerated Biscuit or Pizza Dough) – The comforting wrap; crescent roll dough can make it even flakier.
- Unsalted Butter – For brushing on these bombs; olive oil can be a delightful substitute if preferred.
For the Top Layer
- Minced Garlic – Infuse flavor into the butter brush; garlic powder serves as a quick alternative.
- Freshly Grated Parmesan Cheese – Sprinkled on top for added flavor and texture; feel free to skip for a lighter option.
For Garnish
- Chopped Fresh Parsley (optional) – Adds a burst of color and freshness; no substitute necessary for that pop!
Get ready to immerse yourself in a cooking experience that turns ordinary ingredients into something spectacular—your taste buds are in for a treat with these Garlic Parmesan Cheeseburger Bombs!
Step‑by‑Step Instructions for Garlic Parmesan Cheeseburger Bombs
Step 1: Cook the Beef
In a large skillet over medium heat, cook the ground beef for about 7-10 minutes, stirring frequently until browned. Drain any excess fat from the skillet, then season the beef with salt, pepper, garlic powder, onion powder, and Worcestershire sauce. Mix well to incorporate all the flavors, and then remove the skillet from heat to let it cool slightly.
Step 2: Prepare Filling
Once the beef mixture has cooled, fold in your choice of shredded cheddar or mozzarella cheese, making sure it’s evenly distributed. If you’re feeling adventurous, add in optional ingredients like crispy bacon, diced pickles, or caramelized onions. This will elevate the flavor of your Garlic Parmesan Cheeseburger Bombs and make them even more irresistible!
Step 3: Dough Preparation
Preheat your oven to 190°C (375°F) while you prepare the dough. Roll out refrigerated biscuit or pizza dough on a floured surface and cut it into circles, each about 10 cm in diameter. Place 1–2 tablespoons of your tasty beef filling in the center of each circle. Gently fold the dough over the filling and seal tightly to prevent any leaks during baking.
Step 4: Bake
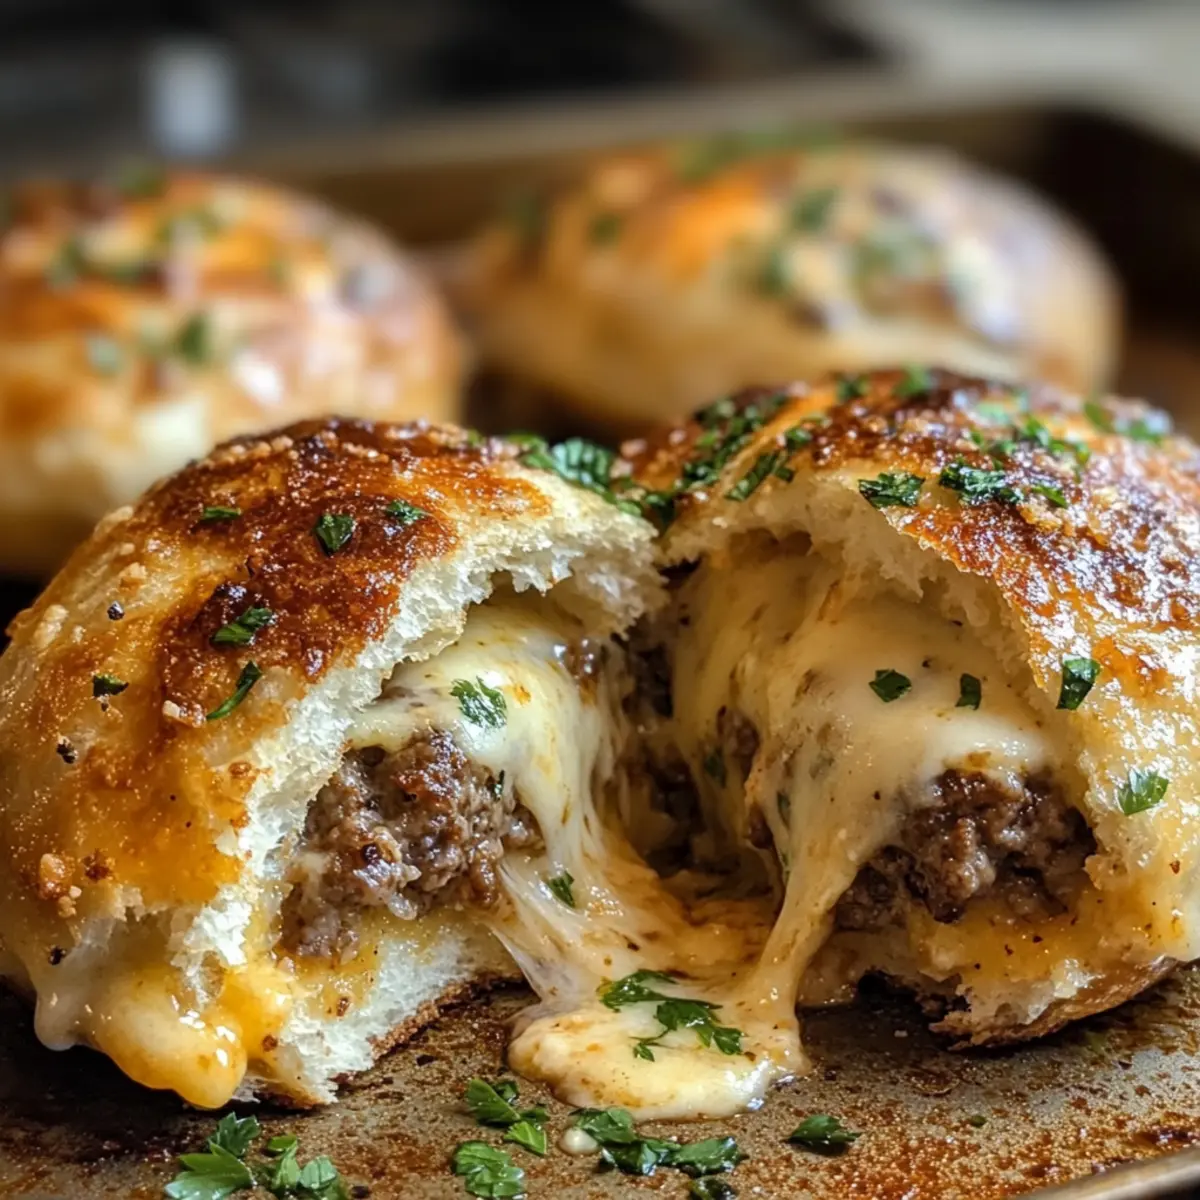
Arrange your sealed dough balls seam-side down on a lined baking tray. Brush each bomb generously with melted garlic butter for added flavor, then sprinkle freshly grated Parmesan on top for a delicious finish. Bake in the preheated oven for 15–18 minutes until they are golden brown and the dough is cooked through, offering a delightful crunch.
Step 5: Serve
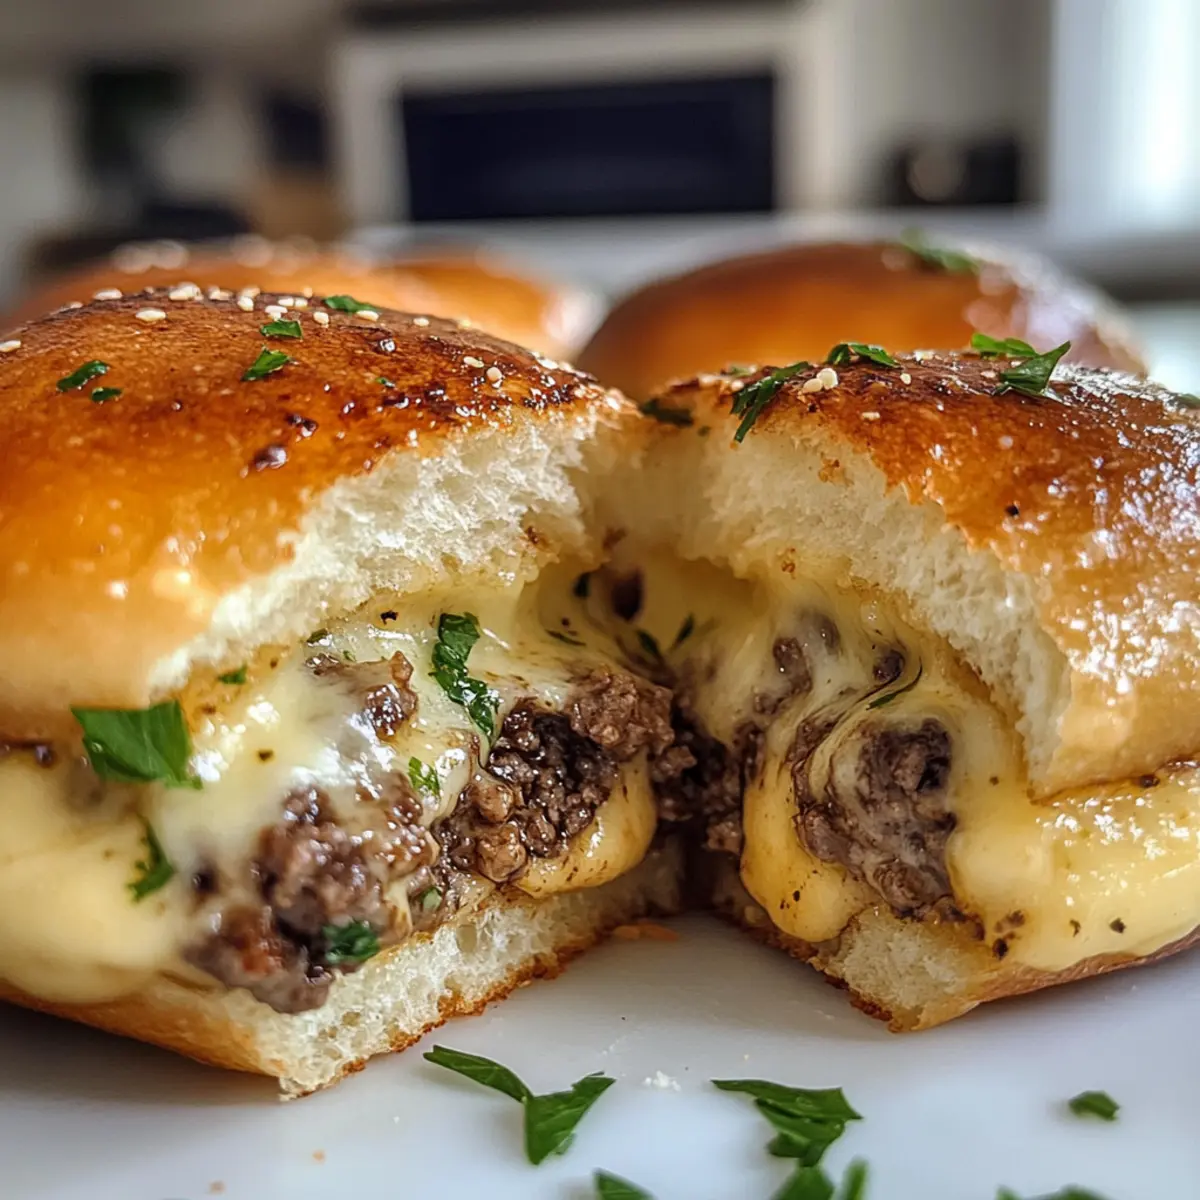
Once your Garlic Parmesan Cheeseburger Bombs are out of the oven, brush them again with any remaining garlic butter to keep them moist and flavorful. If desired, garnish with chopped fresh parsley for a pop of color and freshness. Serve warm alongside your favorite dipping sauces, and enjoy these delightful bites with family and friends!
Garlic Parmesan Cheeseburger Bombs Variations
Feel free to let your creativity run wild with these Garlic Parmesan Cheeseburger Bombs and make them your own!
-
Bacon Boost:
Add crispy bacon bits to the beef filling for extra crunch and smoky flavor. Who can resist the classic combo of bacon and cheeseburgers? -
Turkey Twist:
Switch the ground beef for ground turkey for a lighter take on this dish. You won’t sacrifice flavor, just enjoy a healthier option. -
Jalapeño Kick:
For a spicy touch, mix in sliced jalapeños before sealing the bombs. Feel the heat in every delightful bite! -
Cheese Variation:
Experiment with cheeses like provolone or Swiss for a delightful twist on the traditional mozzarella. Each brings its unique meltiness! -
Veggie Delight:
Replace the beef entirely with a mix of sautéed veggies and cheese for a vegetarian-friendly version. You’ll still get that comforting, savory flavor! -
Onion Explosion:
Fold in some caramelized onions into the beef mixture for added depth and sweetness. They’ll melt in your mouth and elevate your bombs to another level -
Homemade Dough:
Instead of using refrigerated dough, craft your own homemade biscuit dough for a fresher, flakier experience. The love in fresh dough is unparalleled! -
Dip It!:
Serve with a variety of dipping sauces like spicy mayo, ranch, or garlic aioli, giving your guests plenty of options to enjoy.
For more fun variations, check out our delicious Buffalo Chicken Bombs! Customize these goodies however you please, and gather your friends and family to enjoy a sensational snack!
How to Store and Freeze Garlic Parmesan Cheeseburger Bombs
Fridge: Store leftover Garlic Parmesan Cheeseburger Bombs in an airtight container for up to 3 days. Ensure they are fully cooled before placing them in the fridge to retain their texture.
Freezer: If you’re looking to save them for later, freeze the unbaked bombs individually on a baking sheet before transferring to an airtight container. They can last for up to 2 months.
Reheating: For the best results, reheat baked bombs in the oven at 175°C (350°F) for about 10-12 minutes. This will help restore their crispy exterior while warming the cheesy center throughout.
Make-Ahead Tips: Assemble bombs ahead of time and refrigerate them unbaked for a few hours before your guests arrive. This makes entertaining a breeze!
Make Ahead Options
These Garlic Parmesan Cheeseburger Bombs are perfect for meal prep enthusiasts! You can prepare the filling ahead of time and refrigerate it for up to 3 days. Simply cook the ground beef, mix in the seasonings and cheese, then store it in an airtight container. Additionally, you can assemble the bombs and refrigerate them unbaked for up to 24 hours. To maintain their quality, ensure they are tightly sealed to prevent the dough from drying out. When you’re ready to bake, just pop them in a preheated oven and enjoy that golden, crispy goodness! By prepping these bombs in advance, you’ll save time on busy weeknights while still serving a delicious homemade snack.
Tips for the Best Garlic Parmesan Cheeseburger Bombs
- Seal Tight: Ensure each bomb is tightly sealed around the filling to prevent delicious leakage during baking.
- Dough Choices: Experiment with different doughs like crescent roll or homemade for a unique texture and flavor.
- Flavor Depth: Don’t skip on the Worcestershire sauce—this ingredient boosts the overall umami taste of these bombs.
- Cooling Period: Allow the beef filling to cool before combining it with the cheese to maintain the bombs’ perfect texture.
- Perfectly Golden: Keep an eye on the oven; they should be golden brown, indicating a crispy outside and melty inside in your Garlic Parmesan Cheeseburger Bombs.
What to Serve with Garlic Parmesan Cheeseburger Bombs
As you unveil your scrumptious Garlic Parmesan Cheeseburger Bombs, consider these delightful accompaniments to elevate your meal experience.
-
Creamy Coleslaw: The crisp, tangy crunch of coleslaw is a perfect contrast to the savory bombs, providing freshness and balance on your plate.
-
Sweet Potato Fries: Crispy, sweet potato fries add a delightful texture and flavor combination, creating a satisfying bite alongside your cheesy treats.
-
Garlic Aioli Dipping Sauce: This creamy, garlicky delight enhances each bite, providing a rich, flavorful dip that perfectly complements the bombs’ savory essence.
-
Fresh Garden Salad: A light, vibrant salad with mixed greens and a zesty vinaigrette pairs well, offering a refreshing counterpoint to the richness of the bombs.
-
Mini Corn on the Cob: Sweet, buttery corn brings a touch of summer to your table, and its playful element makes it a fun addition to your meal.
-
Beer or Iced Tea: Pairing your bombs with a cold, crisp lager or refreshing iced tea completes the experience, enhancing the savory flavors with a satisfying sip.
Let these ideas inspire your next meal, creating a heartwarming atmosphere that friends and family will love!
Garlic Parmesan Cheeseburger Bombs Recipe FAQs
How do I choose the best ground beef for the filling?
Absolutely! Look for ground beef with a fat content of around 80/20 for the juiciest results. Avoid meat that’s overly lean; it may result in dry bombs. Fresh beef should have a bright red color with a fine grain, while any dark spots can indicate age and should be avoided.
What’s the best way to store leftover Garlic Parmesan Cheeseburger Bombs?
You can store your leftovers in an airtight container for up to 3 days. Make sure the bombs have cooled completely before sealing. For the best taste, reheat them in the oven rather than the microwave—this way, you’ll avoid a soggy texture!
Can I freeze Garlic Parmesan Cheeseburger Bombs?
Definitely! For freezing, assemble the unbaked bombs and freeze them individually on a baking sheet until solid, then transfer them to an airtight container or freezer bag. They can last up to 2 months. Bake from frozen, adding a few extra minutes to the baking time!
What if my bombs leak during baking?
Oh no! This can happen if the dough isn’t sealed properly around the filling. Make sure to pinch and seal the edges tightly before baking. If leakage occurs, you can still enjoy them—just grab a fork and scoop up the tasty filling that escapes!
Are these bombs suitable for those with dietary restrictions?
Very! For gluten-free options, use gluten-free dough available at most stores. You may also substitute ground beef with turkey or plant-based options for lighter or vegetarian-friendly versions. Just be sure to check the labels for allergens like dairy in cheese choices if anyone has intolerances.
How can I serve Garlic Parmesan Cheeseburger Bombs at a party?
Make them a hit by cutting them in half and arranging on a platter with an array of dipping sauces like ranch, spicy mayo, or garlic aioli. This not only makes them easier to enjoy but adds a fun interactive element to your gathering!
Garlic Parmesan Cheeseburger Bombs for the Ultimate Snack Attack
Ingredients
Equipment
Method
- In a large skillet over medium heat, cook the ground beef for about 7-10 minutes, stirring frequently until browned. Drain any excess fat from the skillet, then season the beef with salt, pepper, garlic powder, onion powder, and Worcestershire sauce. Mix well and remove from heat to cool slightly.
- Once the beef mixture has cooled, fold in your choice of shredded cheddar or mozzarella cheese until evenly distributed. Optionally add toppings like crispy bacon, diced pickles, or caramelized onions.
- Preheat your oven to 190°C (375°F). Roll out refrigerator biscuit or pizza dough on a floured surface and cut into circles about 10 cm in diameter. Place 1-2 tablespoons of beef filling in the center of each circle. Fold the dough over and seal tightly.
- Place sealed dough balls seam-side down on a lined baking tray. Brush with melted garlic butter and sprinkle Parmesan cheese on top. Bake in the preheated oven for 15-18 minutes until golden brown.
- Once cooked, brush with remaining garlic butter. Garnish with chopped fresh parsley if desired, and serve warm with dipping sauces.
Leave a Reply