
As I stood in my kitchen, the aroma of ripe bananas filled the air, mingling effortlessly with the promise of a sweet surprise. That’s when I knew it was time to whip up some Banana Mochi. This delightful dessert may sound exotic, but with just four ingredients, it’s a breeze to make at home. Not only is it quick and simple, but it’s also gluten-free, making it perfect for everyone to enjoy. Each bite of this chewy treat envelops a luscious piece of banana, a satisfying combination my friends and family can’t resist. Whether you enjoy them on their own or serve them with a scoop of creamy vanilla ice cream, I guarantee these mochi will elevate your dessert game. Curious to discover how to make this delicious treat for yourself? Let’s dive in!
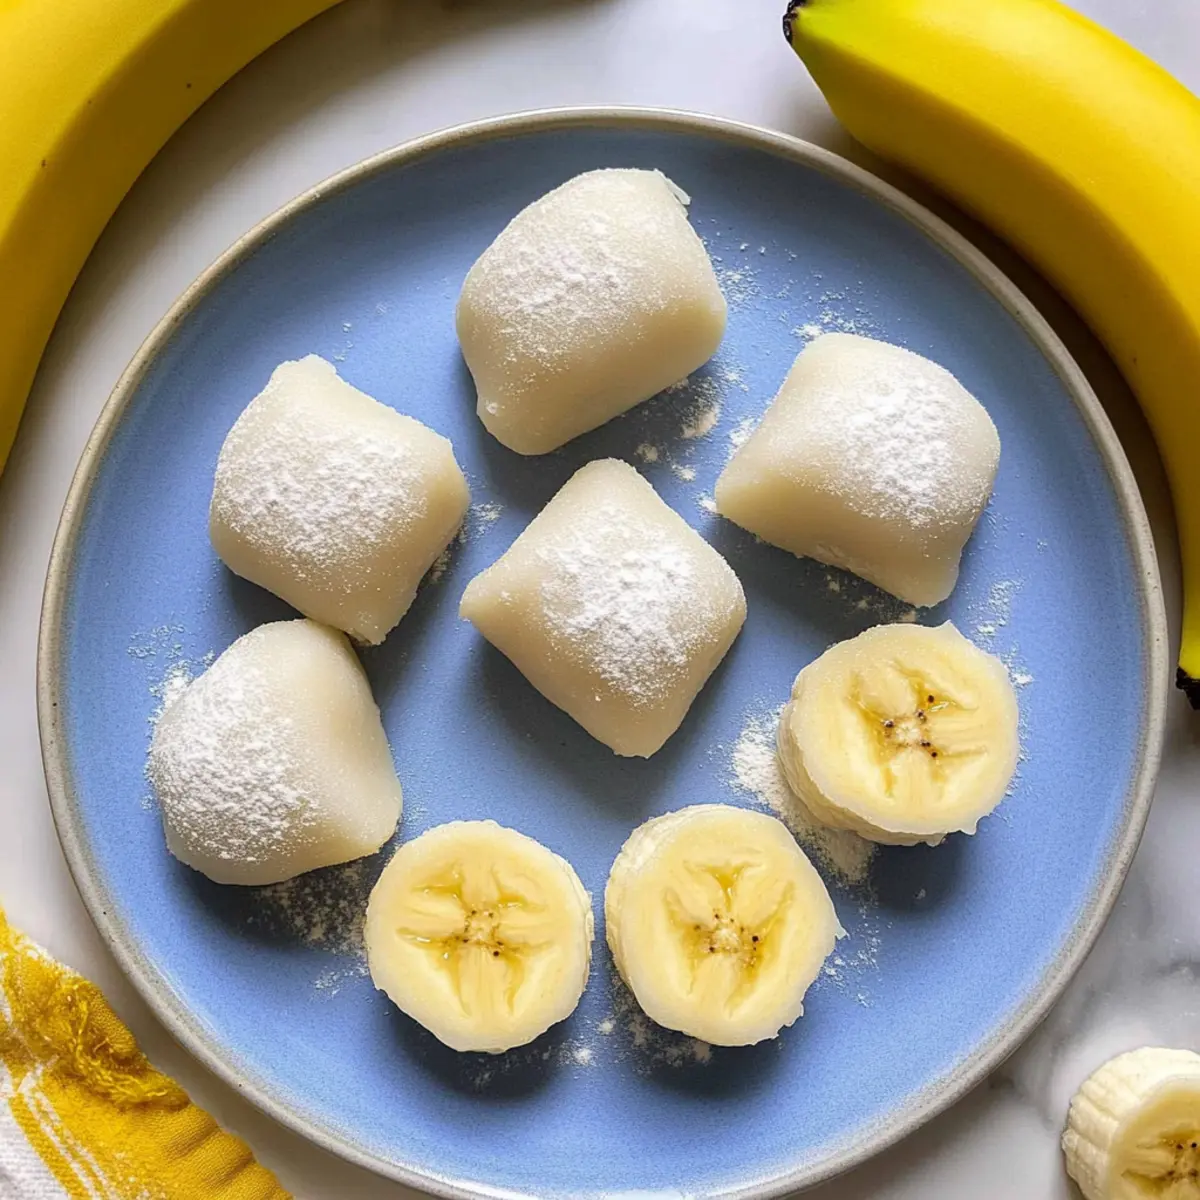
Why Make Banana Mochi Today?
Simplicity at its finest: With just four ingredients, this recipe allows even novice cooks to create a delightful dessert without fuss.
Gluten-free goodness: A perfect option for those avoiding gluten, making it accessible to everyone.
Quick and easy: In just 30 minutes, you can whip up a batch, ideal for sudden cravings or unexpected guests.
Crowd-pleaser: The unique chewy texture and sweet banana filling are sure to impress family and friends, just like my Biscoff Banana Pudding does!
Versatile delight: Feel free to get creative! Substitute bananas with seasonal fruits or even chocolate for a personalized twist.
Perfect pairing: Serve alongside a scoop of vanilla ice cream for that extra indulgence or drizzle with chocolate sauce to elevate your dessert experience.
Banana Mochi Ingredients
• You won’t believe how easy it is!
For the Mochi
- Bananas – Provides natural sweetness and creamy texture; use ripe but firm bananas for the best result.
- Glutinous Rice Flour (or Mochiko Flour) – The essential ingredient for that wonderful chewy texture; make sure to use glutinous rice flour specifically.
- Water – Activates the flour for a pliable dough; room temperature water mixes more easily.
- Sugar – Sweetens the dough to your liking; feel free to substitute with honey or agave for a different flavor.
For Dusting
- Cornstarch – Prevents sticking and gives a silkier finish to your mochi; dust generously to ensure easy handling.
This Banana Mochi recipe is not only simple, but it also opens the door to endless creative variations!
Step‑by‑Step Instructions for Easy 4-Ingredient Banana Mochi
Step 1: Mix the Ingredients
In a medium microwave-safe bowl, whisk together 1 cup of glutinous rice flour and ¼ cup of sugar until combined. Gradually add 1 cup of room temperature water while stirring until the mixture is smooth and free of lumps. The mixture should resemble a thick batter, allowing for an even cooking process in the next steps.
Step 2: Microwave the Mixture
Cover the bowl with a damp paper towel to keep moisture in, then microwave on high for 1 minute. After the time is up, carefully remove the bowl (it will be hot!) and stir the mixture with a wet spatula to help break up any lumps. Return the bowl to the microwave and repeat this process two more times, cooking for 1 minute each time until the mochi is thick and translucent.
Step 3: Cool the Mochi
Once the mochi has reached the desired consistency, let it cool for about 5-10 minutes at room temperature. As it cools, the texture will firm up slightly, making it easier to handle when you prepare it for the filling. Keep an eye on it to ensure it does not cool too much, as it should remain pliable.
Step 4: Prepare the Work Surface
Dust a clean work surface generously with cornstarch to prevent sticking. Carefully transfer the slightly cooled mochi onto the cornstarch-dusted area. Sprinkle additional cornstarch on top of the mochi, ensuring it’s well coated to help with shaping and prevent any unwanted stickiness during the cutting process.
Step 5: Cut the Mochi
Using a sharp knife or a bench scraper dusted with cornstarch, cut the mochi into eight equal pieces. Each piece should be able to easily hold a chunk of banana inside. Remember, the more flour dusted on your surface and knife, the easier the cutting and handling will be.
Step 6: Form the Mochi Balls
Optionally, place the cut mochi pieces in the freezer on a parchment-lined sheet for about 20 minutes to firm them up, making them easier to shape. Once they are slightly frozen, take a piece of mochi, flatten it gently between your palms, and place a chunk of ripe banana in the center before folding it over and pinching the edges to seal.
Step 7: Final Touches
Once you have shaped all the banana-filled mochi, dust them with more cornstarch to prevent sticking. This step ensures that each piece stands out and retains its delightful edible appearance. You can serve the mochi immediately for a delicious treat or refrigerate them for about an hour for a deliciously cold dessert.
Step 8: Store Mochi
If you have any leftovers, store your delightful banana mochi in an airtight container in the refrigerator for up to three days. The chewy texture will remain, and you can enjoy this easy 4-Ingredient Banana Mochi whenever you crave something sweet and satisfying!
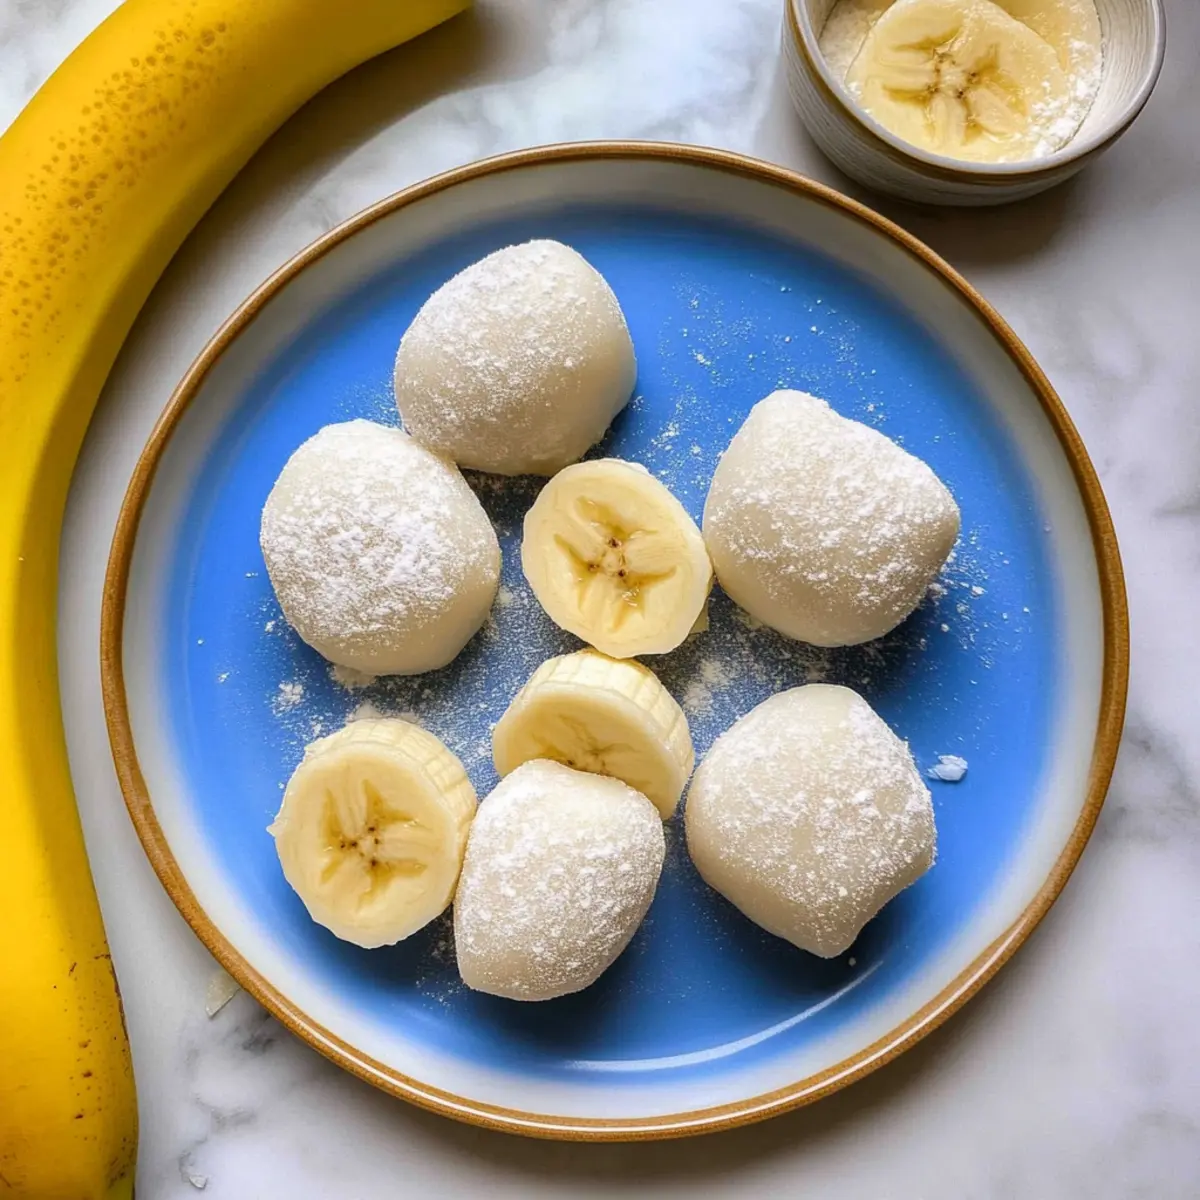
What to Serve with Easy 4-Ingredient Banana Mochi
Elevate your dessert game with delightful pairings that complement the sweet, chewy goodness of banana mochi.
-
Creamy Vanilla Ice Cream: The cool, creamy texture of ice cream beautifully contrasts the chewy mochi, creating an irresistible pairing.
-
Drizzle of Chocolate Sauce: A rich chocolate sauce enhances the sweetness and adds a luxurious flair, transforming it into an elegant dessert.
-
Fresh Berries: Mixed berries offer a burst of freshness and acidity, balancing the sweetness of banana and adding a colorful touch to your plate.
-
Matcha Powder: Sprinkling matcha over your mochi brings a unique earthy flavor, creating a delightful contrast that excites the taste buds.
-
Coconut Flakes: Toasted coconut flakes add a crunch that enhances the mochi’s chewiness while bringing out its tropical essence.
-
Chilled Green Tea: The refreshing notes of green tea cleanse the palate, providing a perfect counterpoint to the sweet, rich flavors of the mochi.
-
Sesame Seeds: A sprinkle of toasted sesame seeds offers a nutty crunch that complements the soft texture, enhancing the overall experience.
-
Coconut Milk Drizzle: Creamy coconut milk adds richness and a hint of sweetness, tying in beautifully with the mochi’s banana flavor.
-
Fruit Salad: A light fruit salad provides refreshing zest and pairs wonderfully with the rich banana mochi, making the dessert feel vibrant and celebratory.
Expert Tips for Making Banana Mochi
-
Banana Selection: Use bananas that are yellow with a few brown spots for sweetness; avoid overly ripe or green bananas to maintain balance in flavor.
-
Microwave Care: Be cautious not to overcook the mochi mixture in the microwave. It should be thick yet translucent for the best texture.
-
Dust Generously: Don’t skimp on cornstarch when dusting your work surface and mochi pieces. This prevents sticking and ensures easy handling while shaping.
-
Chill for Ease: Consider chilling the cut mochi pieces for 20 minutes before filling. It makes them sturdier and easier to work with, enhancing your Banana Mochi recipe.
-
Serving Suggestions: Experiment with serving your mochi alongside ice cream or drizzle with chocolate for an extra indulgent experience your guests will love.
Banana Mochi Recipe Variations
Get ready to embrace creativity with your banana mochi, where the possibilities are as delightful as the flavors!
-
Fruity Twist: Substitute bananas with peaches or strawberries for a fresh burst of flavor. The sweet and juicy filling adds a delightful contrast to the chewy mochi.
-
Chocolate Indulgence: Consider using a piece of chocolate or Nutella instead of banana as the filling. Each bite becomes a sweet surprise, perfect for chocolate lovers!
-
Nutty Goodness: Incorporate a spoonful of peanut butter or almond butter in the center for a rich, nutty flavor that pairs beautifully with the chewy texture.
-
Coconut Bliss: Add shredded coconut to the mochi mixture for an extra layer of flavor and texture. This tropical twist takes your mochi to a whole new level!
-
Spice It Up: Sprinkle in a bit of cinnamon or ginger into the mochi dough for a warm, aromatic touch that elevates the overall taste experience.
-
Small Bites: Instead of larger pieces, cut the mochi into bite-sized squares for a fun, shareable dessert. These mini mochi bites are perfect for gatherings!
-
Chilly Treat: Freeze your finished mochi to create a cold, refreshing dessert. It becomes a delightful treat perfect for hot days.
-
Topping Twists: Drizzle with honey, maple syrup, or a sprinkle of powdered sugar before serving for that extra touch of sweetness. Each topping adds a special flair to your mochi!
Don’t forget to check out my Chocolate Espresso Banana or enjoy a scoop of Biscoff Banana Pudding to complement your mochi experience!
How to Store and Freeze Banana Mochi
Fridge: Store your banana mochi in an airtight container in the refrigerator for up to 3 days. This keeps the chewy texture intact while allowing you to enjoy the sweetness of the banana.
Freezer: For longer storage, freeze the uncooked pieces of banana mochi on a parchment-lined sheet for up to 3 months. Once frozen solid, transfer them to a freezer-safe container or bag for space-saving.
Reheating: When ready to enjoy, simply remove the desired amount and let them defrost in the fridge overnight. Reheat in the microwave for 10-15 seconds to regain that delectable chewy texture.
Dusting Tips: If your mochi sticks together after freezing, dust the pieces lightly with cornstarch to separate and maintain their delightful appearance.
Make Ahead Options
These Banana Mochi are fantastic for meal prep enthusiasts, saving you precious time during busy weeknights! You can prepare the mochi dough up to 24 hours ahead by making it and cooling it, then storing it in an airtight container in the refrigerator. For even better convenience, you can shape the mochi around banana pieces and freeze them for up to 3 months! Just place the filled mochi on a parchment-lined sheet until firm, then transfer to a freezer bag. When you’re ready to serve, let them thaw for about 30 minutes or enjoy them straight from the freezer for a delightful cold treat! This way, you’ll have a quick and delicious dessert on hand whenever a craving strikes.
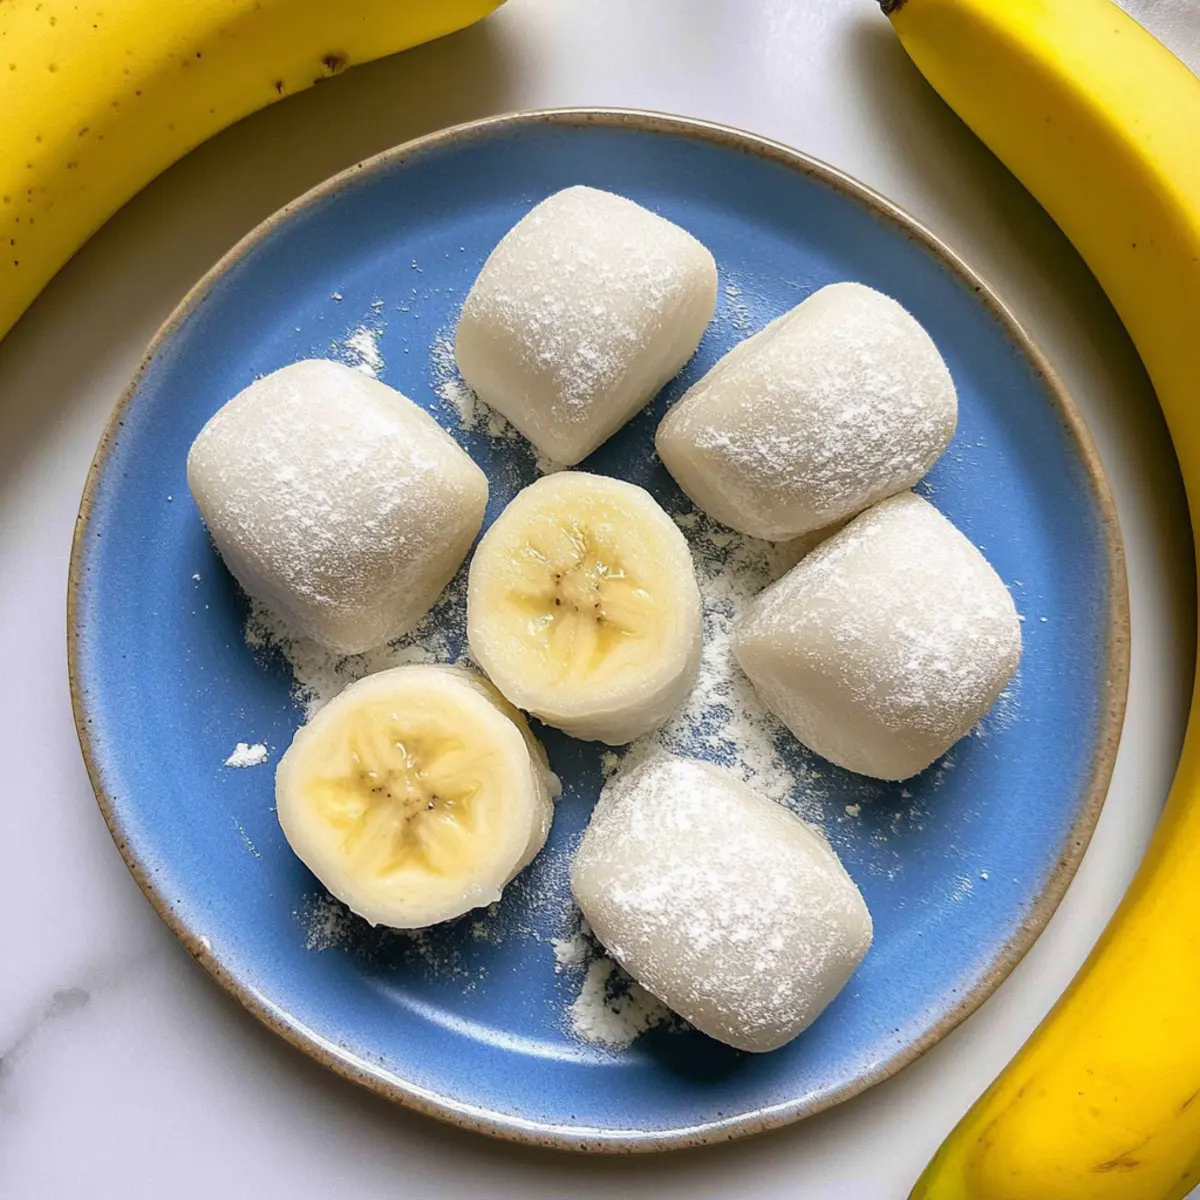
Banana Mochi Recipe FAQs
How do I select the best bananas for my mochi?
Absolutely! You want to choose bananas that are ripe but still firm. Look for bananas that are mostly yellow with just a few brown spots. Avoid those that have dark spots all over, as overly ripe bananas can make your mochi too sweet and mushy.
How should I store leftover banana mochi?
Very wisely! Store your banana mochi in an airtight container in the refrigerator, and they will last for about 3 days. This helps maintain the chewy texture while still allowing you to enjoy that lovely sweetness.
Can I freeze banana mochi?
Yes, you can! For longer storage, freeze the uncooked pieces of banana mochi on a parchment-lined baking sheet for up to 3 months. Once they’re frozen solid, transfer them to a freezer-safe container or zip-top bag. To enjoy them, just remove the desired amount and allow them to defrost in the fridge overnight, then microwave briefly until warmed through.
What if my mochi is too sticky?
Don’t worry! If you find your mochi is sticking too much, it’s often due to not using enough cornstarch when dusting the surface. Ensure your work area and the mochi pieces are generously dusted with cornstarch to prevent sticking as you shape and cut them. If they do stick together after freezing, dust them lightly again with cornstarch to separate.
Is this banana mochi recipe safe for my gluten-free friends?
Absolutely! Since the main ingredient is glutinous rice flour, which is gluten-free, this banana mochi recipe is a perfect treat for gluten-sensitive individuals. Just be sure to double-check your rice flour packaging to confirm it is labeled gluten-free.
Can I use other fruits in this mochi?
Very much so! While bananas create a delightful filling, feel free to experiment with other fruits like ripe peaches or strawberries for a fruity twist. You can even try using filling like chocolate or peanut butter to add some fun flavor variations to your banana mochi.
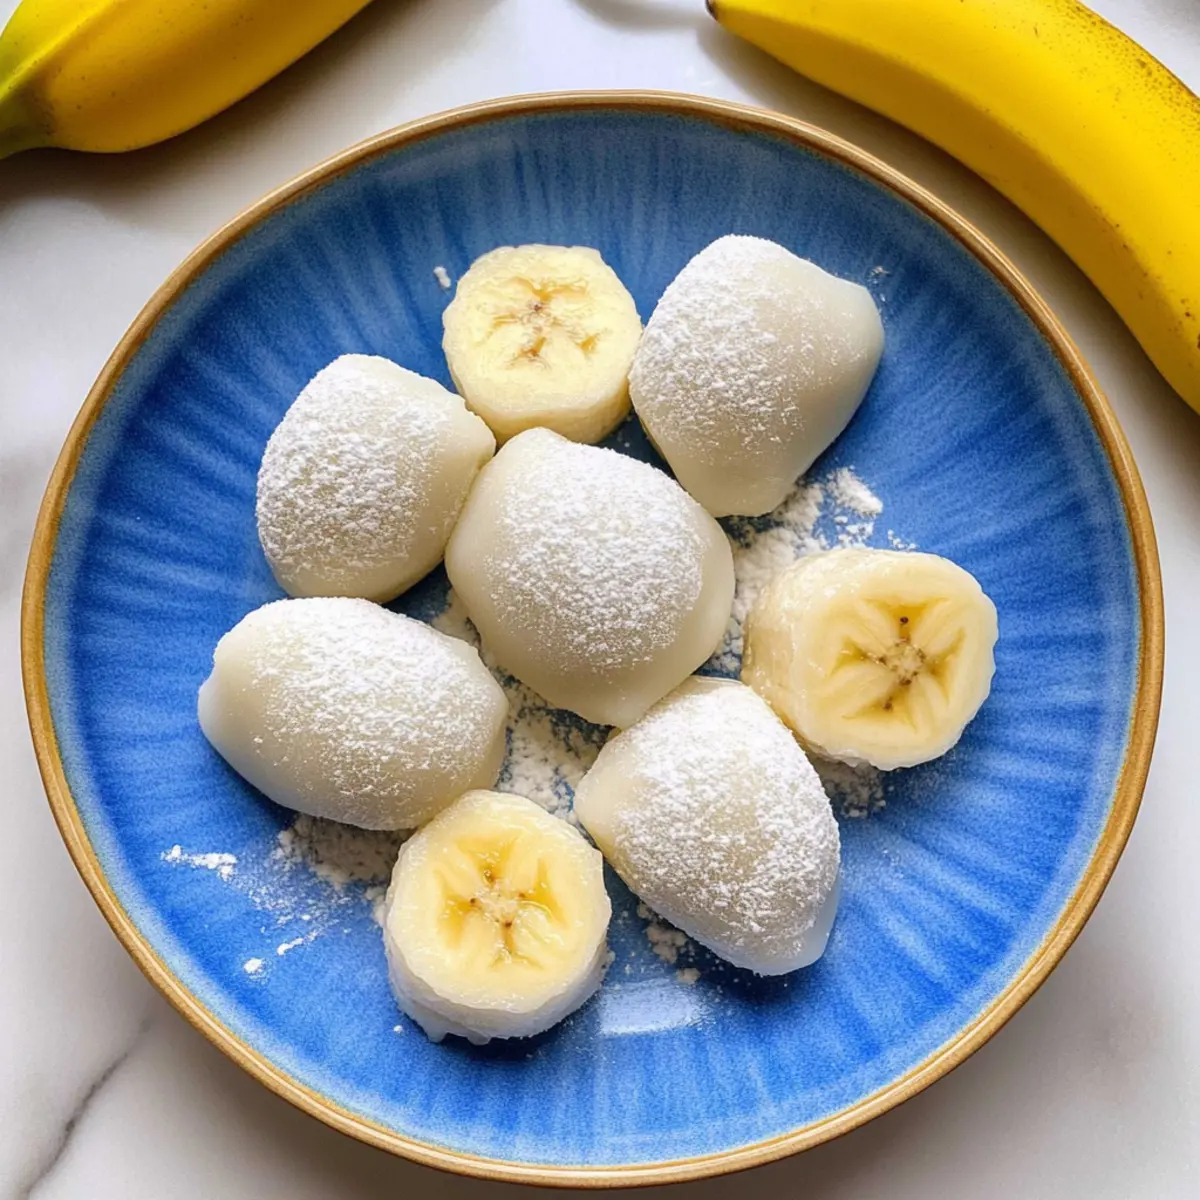
Sweet and Chewy Banana Mochi Recipe You'll Love
Ingredients
Equipment
Method
- In a medium microwave-safe bowl, whisk together the glutinous rice flour and sugar until combined. Gradually add the water while stirring until smooth.
- Cover the bowl with a damp paper towel and microwave on high for 1 minute, stirring after each minute until thick and translucent.
- Let the mochi cool for about 5-10 minutes at room temperature.
- Dust a clean work surface with cornstarch and transfer the mochi onto it, sprinkling more cornstarch on top.
- Cut the mochi into eight equal pieces with a cornstarch-dusted knife.
- Flatten each mochi piece, place a chunk of banana in the center, and pinch the edges to seal.
- Dust shaped mochi with cornstarch to prevent sticking and serve or refrigerate.
- Store leftovers in an airtight container in the refrigerator for up to three days.
Leave a Reply