
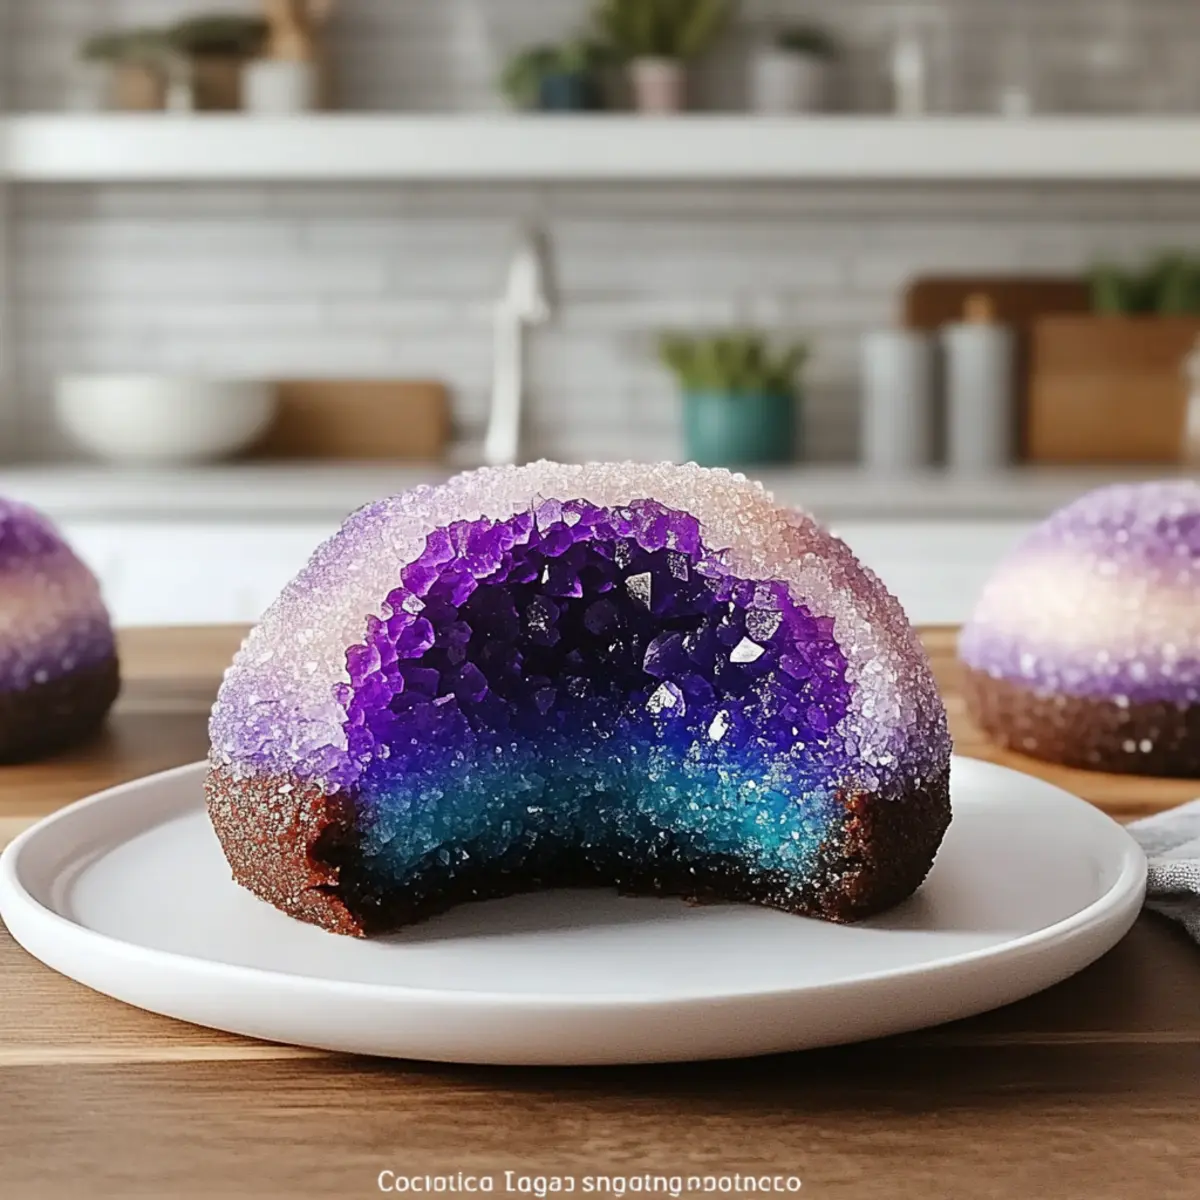
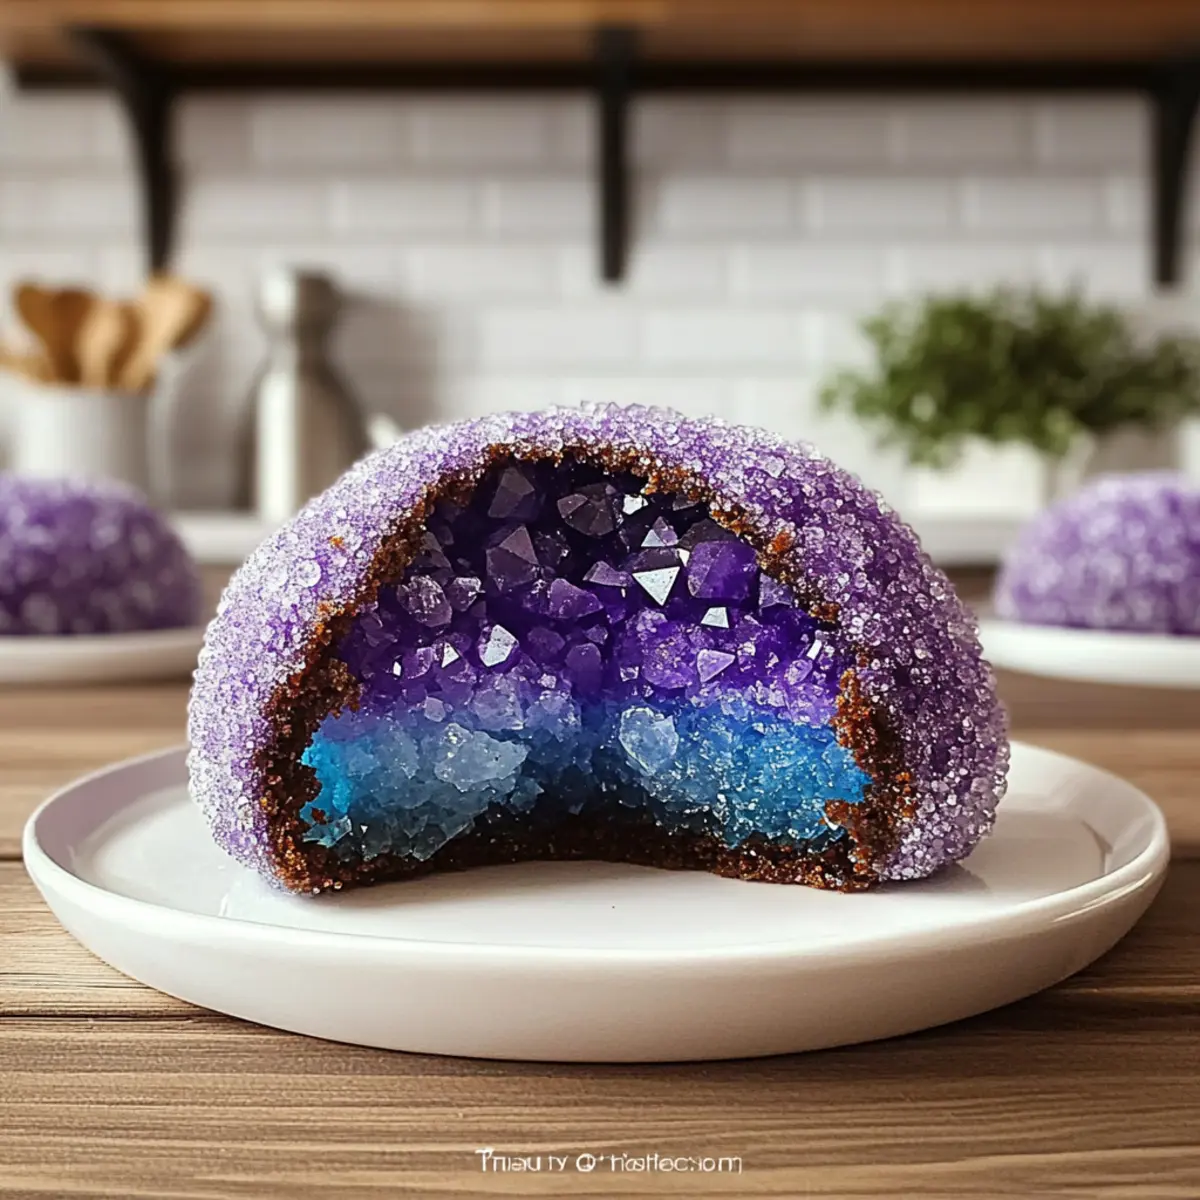
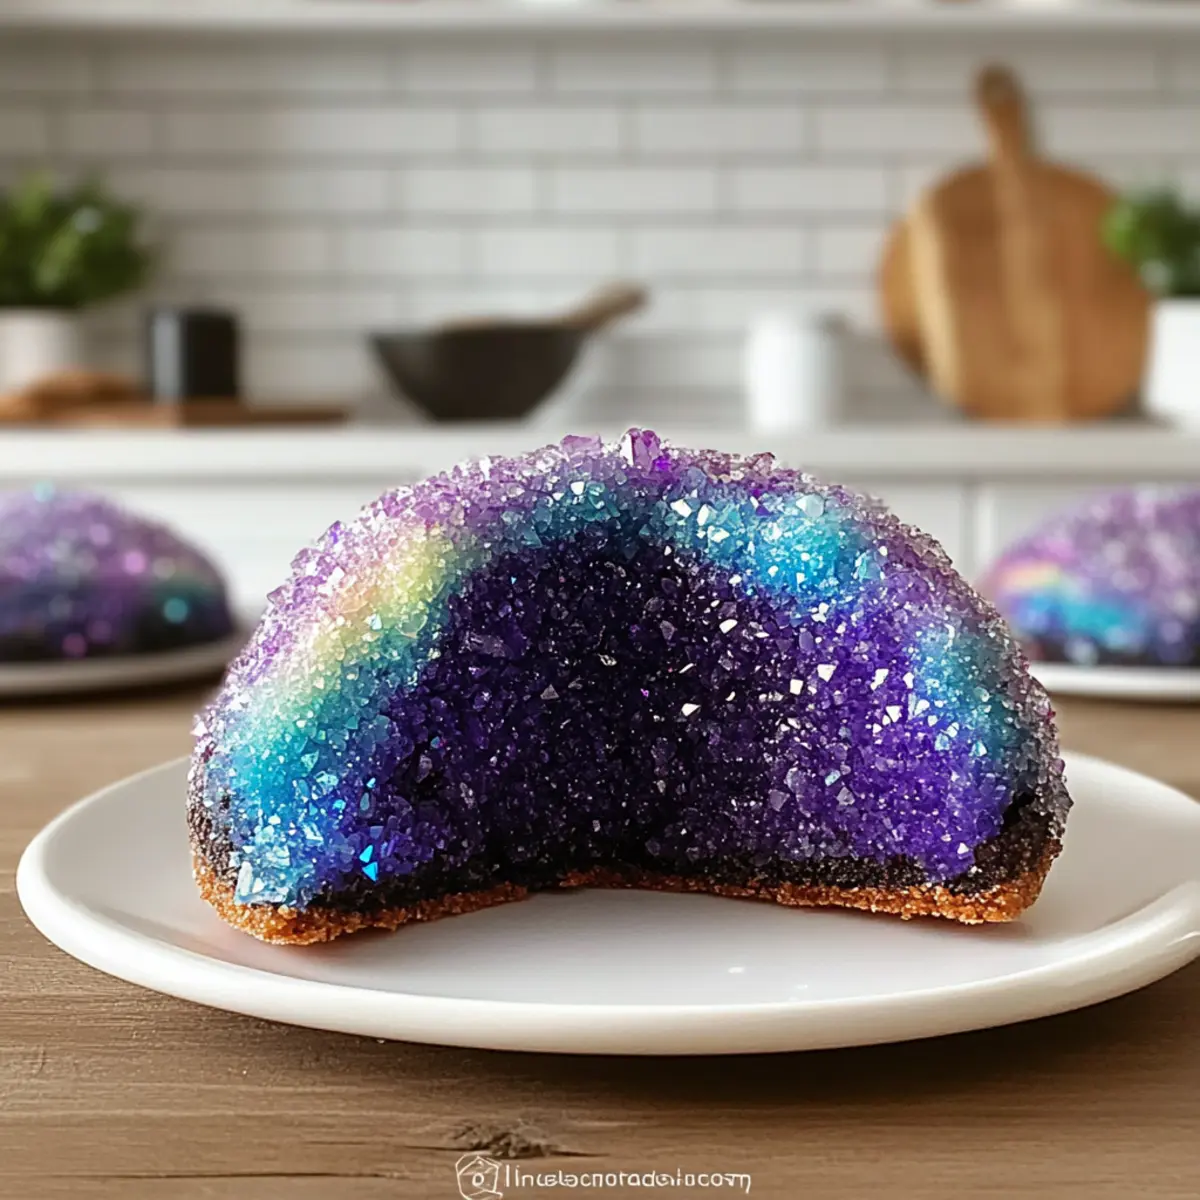
“I can’t believe I’ve been baking for years, and I only just discovered the magic of Easy Geode Cookies! These stunning treats turn ordinary sugar cookies into eye-catching masterpieces that shimmer with edible crystals. With their crispy edges and delightfully tender centers, each bite reveals a surprise crystal-filled cavity that’s sure to delight both kids and adults. Not only are they simple to whip up, making them perfect for any occasion, but the endless color customization options let your creativity shine. Whether you’re hosting a casual get-together or looking to impress at a special event, these geode-inspired cookies are a guaranteed crowd-pleaser. Ready to dive into this deliciously creative realm? Let’s get started on bringing some sparkle into your kitchen!”

Why are Easy Geode Cookies so special?
Visually Stunning: These Easy Geode Cookies are like a work of art, transforming simple cookies into dazzling creations that will wow your friends and family.
Simple to Make: You don’t need to be a professional baker; the easy steps allow anyone to dive into cookie decorating fun!
Endless Customization: With various colors of edible crystals and icing, you can create a unique batch every time, making them perfect for any occasion.
Great for Any Crowd: Whether it’s a birthday party or a cozy gathering, these cookies are bound to impress both kids and adults alike.
Versatile Recipe: Looking for a gluten-free or vegan option? Simply swap ingredients like flour and butter for alternatives without sacrificing taste!
Make Ahead: Prep the dough ahead of time to save on busy days, ensuring you’re always ready to bake something magical!
Easy Geode Cookies Ingredients
For the Cookie Base
• All-Purpose Flour – Provides structure to the cookies; substitute gluten-free all-purpose flour for a gluten-free version.
• Baking Soda – Helps the cookies rise, creating a light texture.
• Baking Powder – Works with baking soda to ensure a fluffy, tender cookie.
• Butter – Adds richness and flavor; use vegan butter for a dairy-free option.
• White Sugar – Sweetens the cookies and contributes to their golden-brown color.
• Egg – Acts as a binder; substitute with a flax egg for a vegan option.
• Vanilla Extract – Enhances flavor; opt for clear vanilla extract if you’re tinting the icing.
For the Royal Icing
• Powdered Sugar – Creates a smooth royal icing for decorating.
• Milk – Thins the royal icing to the desired consistency; any plant-based milk works for non-dairy.
For the Geode Effect
• Rock Candy Crystals (Assorted Colors) – These provide the stunning geode effect and visual appeal.
• Edible Glitter Dust – Adds a touch of magical sparkle to your cookies.
• Food Coloring (Optional) – Use to tint icing or cookie dough for vibrant colors.
These Easy Geode Cookies are as fun to make as they are delightful to taste!
Step‑by‑Step Instructions for Easy Geode Cookies
Step 1: Dough Preparation
Begin by creaming together 1 cup of softened butter and 1 cup of white sugar in a large mixing bowl until the mixture is light and fluffy, about 3-5 minutes. Then, beat in 1 egg and 2 teaspoons of vanilla extract until fully combined. In a separate bowl, whisk together 3 cups of flour, 1 teaspoon of baking soda, and 1 teaspoon of baking powder. Gradually incorporate the dry ingredients into the wet mixture, forming a soft dough. Once mixed, chill the dough in the refrigerator for at least 1 hour to firm up.
Step 2: Geode Cutting Technique
Preheat your oven to 375°F (190°C) while the dough chills. On a floured surface, roll out the chilled dough to a ¼-inch thickness. Using a round cookie cutter, cut out circles and transfer them to a lined baking sheet. Next, take a sharp knife to cut small wedges from the edge of each circle, creating a cavity that mimics the geode shape. These cuts will allow room for the tasty crystals later on.
Step 3: Baking
Bake the prepared cookies in your preheated oven for 10-12 minutes or until the edges are lightly golden. Keep an eye on them—overbaking can lead to a dry texture. Once baked, remove the cookies from the oven and let them cool on the baking sheet for 5 minutes before transferring them to wire racks to cool completely.
Step 4: Icing Application
To create the royal icing, whisk together 2 cups of powdered sugar with 3 tablespoons of milk and 1 teaspoon of vanilla extract until smooth. The icing should be thick yet pourable. Carefully fill the cavity of each cooled cookie with the icing, leveling it with a small spatula if necessary. Immediately sprinkle colorful rock candy crystals into the wet icing, creating the dazzling geode effect.
Step 5: Drying Time
Allow the cookies to dry for at least 2 hours at room temperature, letting the icing set completely. This step is crucial to ensure the crystals adhere well and the cookies maintain their shape. Once dried, you can store the Easy Geode Cookies in an airtight container, keeping them in single layers to protect the decorations. Enjoy the fruits of your labor!
Make Ahead Options
These Easy Geode Cookies are a fantastic choice for meal prep, allowing you to save time on busy baking days! You can prepare the cookie dough up to 2 days in advance; simply wrap it tightly in plastic wrap and refrigerate. Additionally, you can bake the cookies unadorned and freeze them for up to 3 months—just ensure they’re stored in a single layer to prevent sticking. When you’re ready to enjoy, thaw the cookies and decorate within 24 hours of serving to maintain the best texture and ensure the crystals adhere beautifully to the icing. This way, you can impress your guests with minimal effort while still delivering delicious, homemade treats!
Expert Tips for Easy Geode Cookies
• Chill the Dough: Ensure your dough is thoroughly chilled before cutting. This helps achieve clean edges and prevents spreading during baking.
• Precision Cutting: Use a small, sharp knife for cutting cavity shapes. This detail enhances the overall geode appearance, making your Easy Geode Cookies more appealing.
• Work Quickly: Apply rock candy crystals immediately after icing to ensure they stick. Working swiftly is key, as the icing sets quickly.
• Layer Storage: Store cookies in single layers to keep the decorations intact. Using wax paper between layers can help preserve your creations.
• Flavor Variations: Don’t hesitate to experiment with different extracts like almond or lemon. This can add a delightful twist to the cookies while maintaining the signature geode look.
Easy Geode Cookies Variations
Feel free to put your own spin on these delightful treats and discover new flavors and textures!
-
Gluten-Free: Swap all-purpose flour for a gluten-free blend to enjoy these cookies without worry.
-
Vegan-Friendly: Use vegan butter and replace the egg with a flax egg for a delicious dairy-free option. These cookies will still shine beautifully with edible crystals!
-
Chocolate Twist: Replace half of the flour with cocoa powder for a rich chocolate cookie base. Pair with colorful crystals for a stunning contrast!
-
Citrus Burst: Add a teaspoon of lemon or orange zest to the dough for a refreshing flavor twist that brightens each bite.
-
Flavor Infusion: Experiment with different extracts such as almond or coconut to elevate the flavor profile and create a unique cookie experience.
-
Spicy Kick: Incorporate a pinch of cayenne pepper or ground ginger into the dough for an unexpected heat that pairs delightfully with the sweetness.
-
Nutty Additions: Fold in chopped nuts like almonds or pecans into the dough for a delightful crunch and added flavor.
For more creative cookie ideas, check out these wonderful recipes like our Cherry Snowball Cookies and Chai Shortbread Cookies that will surely inspire your baking adventures!
How to Store and Freeze Easy Geode Cookies
• Room Temperature: Store cooled cookies in an airtight container at room temperature for up to 3 days to preserve their texture and decoration.
• Fridge: To extend freshness, keep decorated cookies in the fridge for up to 5 days. Make sure to place parchment paper between layers to avoid sticking.
• Freezer: Freeze undecorated cookies for up to 3 months, tightly wrapped in plastic wrap and aluminum foil. Decorate them after thawing to maintain their beautiful appearance.
• Reheating: If you prefer to enjoy them warm, reheat cookies in a low oven at 300°F for about 5 minutes. This way, they’ll regain their delightful softness!
What to Serve with Easy Geode Cookies?
Creating a delightful spread to accompany these stunning cookies will elevate your gathering to the next level.
- Hot Tea: The warmth and subtle flavors of a calming tea enhance the sugary sparkle of the cookies. A perfect pairing for a cozy afternoon!
- Rich Hot Chocolate: Indulge in the dreamy richness of hot chocolate, which complements the cookies’ sweetness while satisfying chocolate lovers.
- Fresh Berries: A side of tart, juicy berries provides a refreshing contrast to the cookies’ sweetness, adding a bright pop of color.
- Vanilla Ice Cream: Creamy vanilla ice cream is a classic comfort; its smooth texture balances the cookies’ crunchy edges beautifully. Perfect for a dessert bar!
- Sparkling Lemonade: A zesty and bubbly drink refreshes the palate, making it an exciting partner to the cookies, especially for outdoor gatherings.
- Cheese Platter: Include mild cheeses, such as brie or gouda, to introduce savory elements, creating a balanced flavor experience alongside the sweetness.
- Caramel Sauce: Drizzling warm caramel on the cookies adds a decadent touch, intensifying the experience of every delicious bite.
- Flavored Coffees: Lightly flavored coffees, like hazelnut or vanilla, offer a rich backdrop that enhances the indulgent sugar cookies during brunches or gatherings.
With these suggested pairings, your Easy Geode Cookies will surely amaze all in attendance!
Easy Geode Cookies Recipe FAQs
What’s the best way to select rock candy crystals for the geode effect?
Absolutely! Look for rock candy crystals that have vibrant colors and a good sparkle. Avoid any with dark spots or signs of moisture, as this could indicate they’re stale. Larger crystals work beautifully for a dramatic effect, while smaller ones can create a more delicate design.
How should I store Easy Geode Cookies to keep them fresh?
To keep your Easy Geode Cookies fresh, I recommend storing them in an airtight container at room temperature for up to 3 days. If you want to extend their freshness, they can be refrigerated for up to 5 days—just be sure to layer them with parchment paper to prevent sticking.
Can I freeze these cookies, and how?
Yes, you can! For the best results, freeze undecorated cookies. Ensure they’re wrapped tightly in plastic wrap and then in aluminum foil to prevent freezer burn. They can be stored in the freezer for up to 3 months. When you’re ready to enjoy, simply thaw them at room temperature and then decorate as desired.
What should I do if my dough is too sticky or too dry?
Very! If your dough is too sticky, try chilling it for a bit longer—this often helps in firming it up. Alternatively, you can incorporate additional flour, a tablespoon at a time, until the desired texture is achieved. On the other hand, if it’s too dry, add a small amount of milk (a teaspoon at a time) until the dough comes together.
Are there any allergy considerations I should be aware of?
Definitely! Since the Easy Geode Cookies contain common allergens like butter and eggs, always check with your guests if there are any dietary restrictions. For a vegan option, you can substitute the butter with vegan butter and the egg with a flax egg (1 tablespoon of ground flaxseed mixed with 3 tablespoons of water, let sit for 5 minutes).
How long should I let the icing dry before storing the cookies?
For the best results, allow the icing to dry for at least 2 hours at room temperature before storing. This drying time ensures the crystals adhere properly and that the cookies hold their shape beautifully. After drying, store them in a way that prevents the decorations from being damaged, keeping them as stunning as when you decorated them!
Delicious Easy Geode Cookies That Sparkle Like Magic
Ingredients
Equipment
Method
- Cream together butter and sugar in a bowl until light and fluffy, beat in egg and vanilla extract.
- In a separate bowl, whisk together flour, baking soda, and baking powder. Incorporate dry ingredients into wet mixture, chill dough for at least 1 hour.
- Preheat oven to 375°F (190°C). Roll out dough to ¼-inch thickness, cut circles and create cavity shapes with a sharp knife.
- Bake cookies in the preheated oven for 10-12 minutes or until lightly golden, cool on a wire rack.
- Whisk powdered sugar with milk and vanilla until smooth. Fill cavity of each cookie with icing, sprinkle rock candy crystals immediately.
- Allow cookies to dry for at least 2 hours at room temperature before storing.
Leave a Reply