
A sudden craving hit me while scrolling through my favorite dessert blogs—something sweet, indulgent, and absolutely chocolatey. That’s when I stumbled upon the idea of Death by Chocolate No-Bake Cheesecake Bars, and just like that, my chocolate dreams transformed into a blissful reality! Perfect for hot summer days when you want dessert without firing up the oven, these bars impress with a luscious cream cheese filling and a crunchy Oreo crust. In just 10 minutes and with minimal fuss, you can whip up this quick and easy treat that’s a hit for gatherings or a cozy night in. Plus, they’re make-ahead friendly, allowing the rich flavors to develop even more over time. Ready to take your chocolate game to new heights with these Chocolate No-Bake Cheesecake Bars? Let’s dive in!
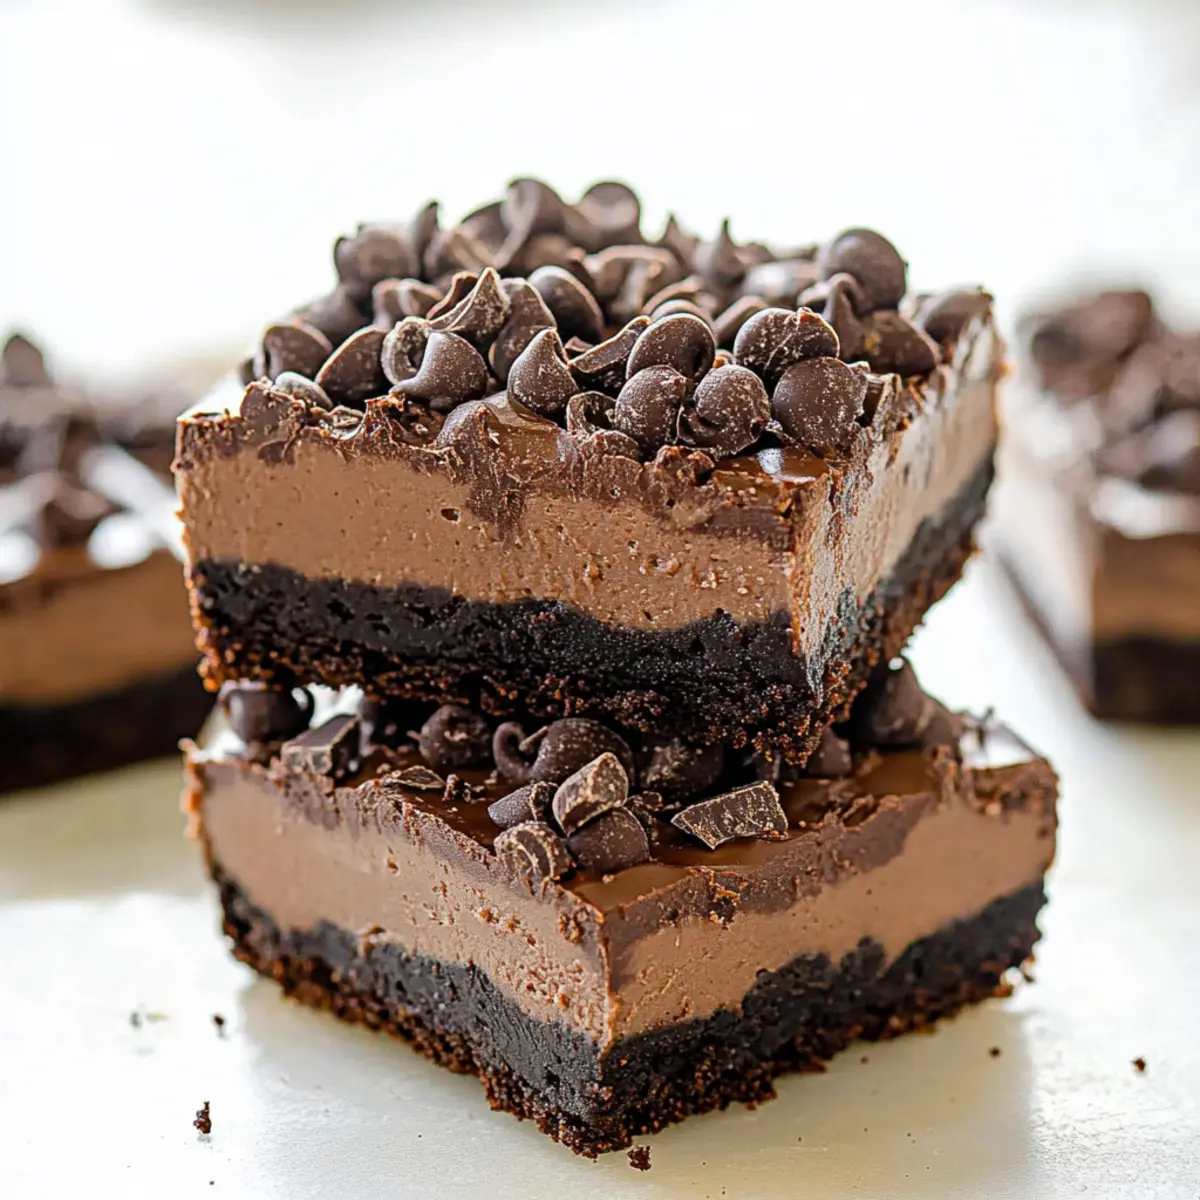
Why Choose No-Bake Cheesecake Bars?
Simplicity: With just ten minutes of prep, these bars are a breeze to make, meaning less time in the kitchen and more time to enjoy your dessert!
Indulgent Flavor: The rich combination of creamy filling and crunchy Oreo crust creates a decadent experience that chocoholics will adore.
Make-Ahead: Ideal for meal prep, these bars can be whipped up days in advance, enhancing their flavor while saving you time. Pair them with a dollop of whipped cream or fresh berries for a delightful contrast.
Versatile Variations: Customize your bars by experimenting with different crusts or adding flavors like hazelnut spread—check out more ideas like my awesome Chocolate Croissants Decadent for a fun twist!
Crowd-Pleaser: Whether it’s a summer gathering or a cozy film night, these no-bake cheesecake bars are guaranteed to impress your guests while incorporating the excitement of no-bake desserts.
Chocolate No Bake Cheesecake Bars Ingredients
For the Crust
• Oreo Cookies – Use these for a sweet, chocolatey base; feel free to substitute with any chocolate wafer cookies if desired.
• Unsalted Butter – Melted to bind the crust together effectively for that perfect crunch.
For the Filling
• Dark Chocolate – The star of the show, providing a rich chocolate taste; avoid using chips and opt for a chocolate bar for melting.
• Brick-style Cream Cheese – Recommended for its creamy texture; be sure to use full-fat for the best consistency.
• Heavy Whipping Cream – This ingredient creates a light and fluffy filling, so skip the low-fat alternatives.
• Baileys Irish Cream or Kahlua – Optional for some gourmet flair; you can replace with brewed coffee if you prefer.
• Salt – Make this optional, but it enhances the chocolate flavor and balances the sweetness beautifully.
For Garnish
• Mini Semi-Sweet Chocolate Chips – Sprinkle these on top for a delightful texture contrast and added sweetness.
Step‑by‑Step Instructions for Chocolate No Bake Cheesecake Bars
Step 1: Prepare the Pan
Start by lining a 9×9-inch pan with aluminum foil, allowing some overhang for easy removal later. Next, lightly spray the foil with cooking spray to prevent sticking. This step ensures that your Chocolate No Bake Cheesecake Bars will come out easily and maintain their beautiful shape when sliced for serving.
Step 2: Make the Crust
In a food processor, crush about 24 Oreo cookies into fine crumbs, resembling sand. Then, in a separate small bowl, combine melted unsalted butter with dark chocolate and stir until smooth. Pour this mixture into the food processor with the cookie crumbs, blending everything until well combined. You want a moist crust that holds together when pressed.
Step 3: Press the Crust into the Pan
Transfer the Oreo crust mixture into your prepared pan and, using your hands or the bottom of a measuring cup, press it evenly and firmly across the bottom. This ensures a compact, sturdy base for your decadent Chocolate No Bake Cheesecake Bars. Make the surface as flat as possible, allowing it to support the creamy filling later.
Step 4: Beat the Cream Cheese
In a mixing bowl, add your softened brick-style cream cheese and beat it with an electric mixer on medium speed until light and fluffy, about 2-3 minutes. This process incorporates air into the cream cheese, making your filling soft and airy, which is essential for a rich texture in your no-bake cheesecake bars.
Step 5: Melt the Chocolate and Cream
In a microwave-safe bowl, combine the dark chocolate and heavy whipping cream. Heat in 30-second intervals, stirring between each until completely melted and smooth, taking about 1-2 minutes total. This melted chocolate mixture is the star of your filling and will create a luscious consistency for your Chocolate No Bake Cheesecake Bars.
Step 6: Combine the Mixtures
Once melted, allow the chocolate mixture to cool slightly, then gradually add it to the fluffy cream cheese. Beat everything together until combined and smooth, scraping down the sides of the bowl as necessary to ensure a silky texture. This step is crucial for blending the flavors seamlessly in your creamy filling.
Step 7: Add Optional Ingredients
If desired, add a splash of Baileys Irish Cream or Kahlua for a gourmet touch, along with a pinch of salt to enhance the chocolate flavor. Continue mixing the filling until it’s completely smooth and well combined. The optional ingredients add depth to the flavor profile of the Chocolate No Bake Cheesecake Bars.
Step 8: Spread the Filling
Carefully spoon the chocolate cheesecake filling over the pressed Oreo crust, using a spatula to spread it evenly. Smooth out the top to create an appealing and even surface. The filling will be thick and creamy, so take your time to ensure that it covers the crust thoroughly, ready for the next step.
Step 9: Garnish and Chill
Sprinkle mini semi-sweet chocolate chips over the top for added sweetness and a delightful texture contrast. Once garnished, cover the pan with plastic wrap and refrigerate the bars for at least 3 hours to set. This chilling time is essential, as it allows the flavors to meld beautifully and provides the perfect firmness for slicing.
Step 10: Slice and Serve
After chilling, remove the bars from the pan by lifting the foil overhang. Slice into squares using a sharp knife, wiping the blade between cuts for clean edges. Serve your Chocolate No Bake Cheesecake Bars chilled, paired with a dollop of whipped cream or fresh berries if desired, for an irresistible treat!
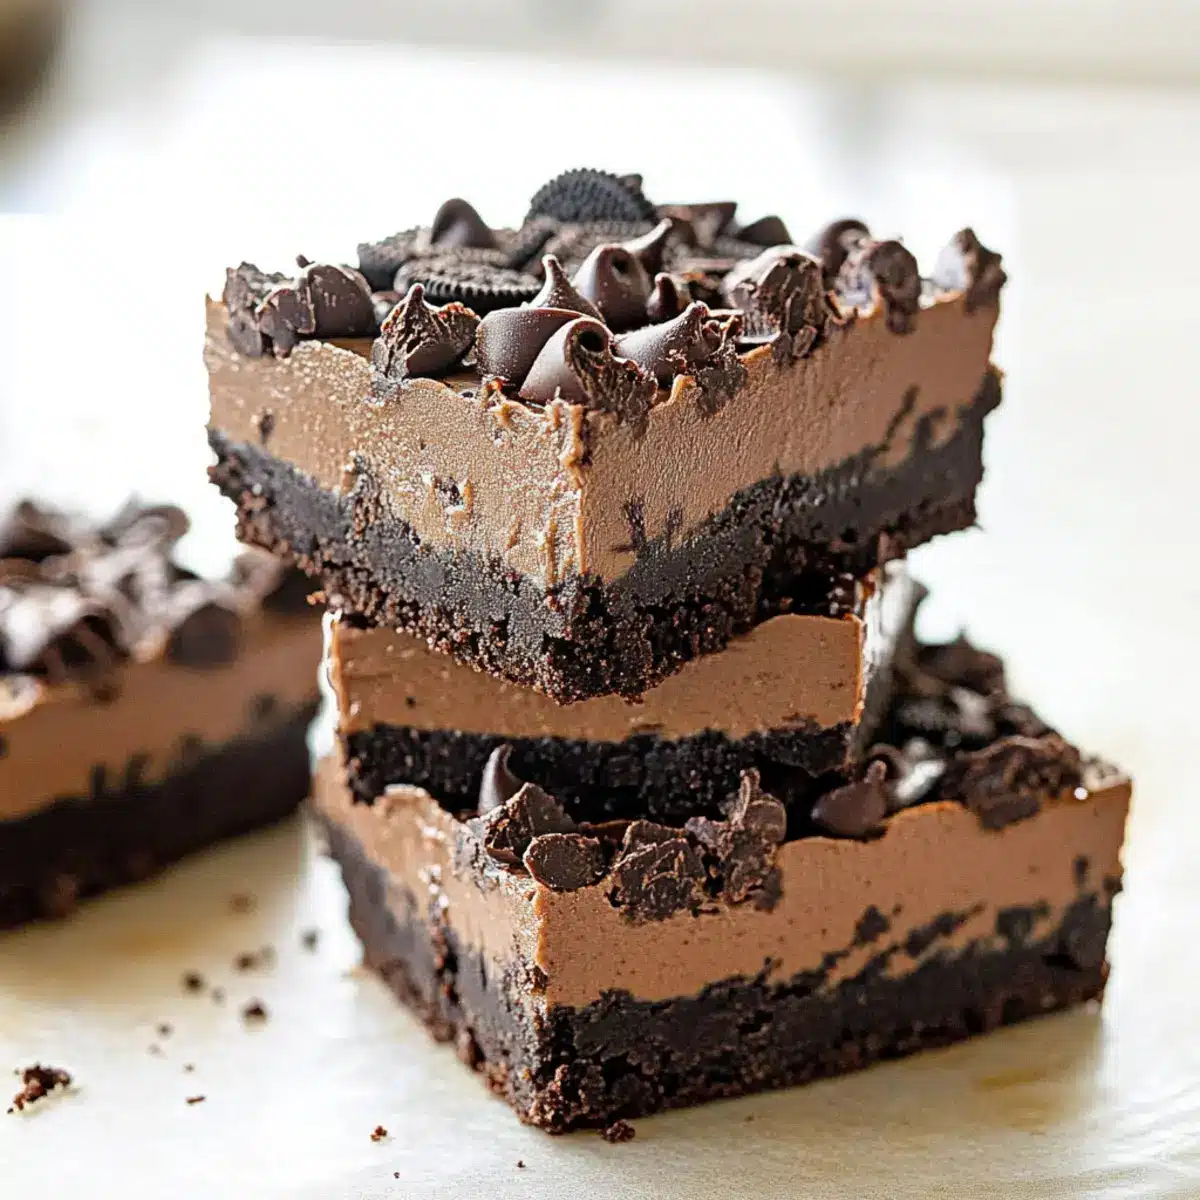
How to Store and Freeze Chocolate No Bake Cheesecake Bars
Fridge: Store your Chocolate No Bake Cheesecake Bars tightly wrapped or in an airtight container in the fridge for up to 10 days. The flavors continue to deepen with time!
Freezer: If you’re looking to extend their life, freeze the bars after slicing. Wrap them individually in plastic wrap, then place them in a freezer-safe container for up to 3 months.
Thawing: To enjoy frozen bars, transfer them to the fridge and let them thaw overnight. They’re still delicious chilled, or you can let them sit at room temperature for about 30 minutes for an easy treat.
Reheating: No need for reheating—these bars are perfect straight from the fridge or after thawing, maintaining their creamy texture and delightful taste!
Make Ahead Options
These Chocolate No Bake Cheesecake Bars are a dream for busy home cooks looking to save time! You can prepare the crust and filling up to 24 hours in advance, storing them separately in the refrigerator to maintain their quality. Crush the Oreo cookies and mix them with melted butter to form the crust; press it into the pan and refrigerate. For the filling, beat the cream cheese and mix it with melted chocolate, followed by any optional flavors. When you’re ready to serve, simply spread the filling over the crust, sprinkle with chocolate chips, and refrigerate for at least 3 hours before slicing. Enjoy a stress-free dessert that’s just as delicious, even when prepared ahead!
Chocolate No Bake Cheesecake Bars Variations
Feel free to indulge your creativity and elevate the flavors of your Chocolate No Bake Cheesecake Bars with these delightful variations!
-
Graham Cracker Crust: Swap the Oreo base for graham cracker crumbs mixed with cocoa powder for a lighter crust flavor. It’s a classic spin that brings a hint of nostalgia to each bite.
-
Nutty Twist: For a delicious hazelnut twist, replace Baileys or Kahlua with hazelnut spread. The creamy nuttiness beautifully complements the chocolate, adding depth to your dessert.
-
Flavor Infusions: Experiment with flavored extracts! Vanilla or almond extract can enhance the richness of the cheesecake filling, adding a lovely aromatic layer to tantalize your taste buds.
-
Different Chocolate Types: Try semi-sweet or even milk chocolate instead of dark chocolate for a sweeter, creamier filling. Each chocolate variety will lend its own unique flavor, so choose based on your preference!
-
Caramel Drizzle: For an extravagant treat, drizzle homemade or store-bought caramel sauce over the top before serving. The sweet-salty contrast takes these bars to a whole new level!
-
Spicy Kick: Add a touch of heat by incorporating a pinch of cayenne pepper into your filling. This surprising twist will ignite your palate and make your dessert unforgettable.
-
Fruit Enhancement: Top the cheesecake bars with fresh raspberries or strawberries right before serving. Their tartness cuts through the richness and adds a beautiful color pop!
-
Mini Cupcake Version: Transform your bars into individual mini cheesecake bites by pressing the crust mixture into muffin tins and filling with the chocolate cheesecake mixture. They’re perfect for parties and portion control!
These variations not only keep your chocolate cravings satisfied but also allow you to tailor the recipe to suit any occasion. If you’re eager for more irresistible desserts, don’t forget to check out my White Chocolate Cheesecake or treat yourself to some Philadelphia Cheesecake Bars for more delightful recipes!
What to Serve with Death by Chocolate No-Bake Cheesecake Bars?
Indulging in these sinfully delicious bars is a treat in itself, but pairing them with complementary sides can elevate your dessert experience.
-
Fresh Berries: The tartness of strawberries, raspberries, or blueberries beautifully balances the rich chocolate flavors, adding a refreshing touch.
-
Whipped Cream: A fluffy dollop of freshly whipped cream provides a light and airy contrast that perfectly offsets the dense creaminess of the cheesecake bars.
-
Coffee or Espresso: A warm cup of coffee or a shot of espresso enhances the chocolate’s depth, making every bite feel even more luxurious.
-
Chocolate Sauce: Drizzling extra chocolate sauce on top amplifies the dessert’s chocolatey goodness, satisfying any chocoholic’s dreams!
-
Mint Leaves: A few fresh mint leaves on the plate not only add a pop of color but also bring a refreshing contrast to the sweet bars.
-
Ice Cream: Serve with a scoop of vanilla or coffee ice cream for a delightful creaminess paired with the chocolate texture—a match made in dessert heaven!
This versatile lineup offers a delightful assortment that appeals to various textures and flavors, ensuring every serving of your Chocolate No-Bake Cheesecake Bars remains a memorable indulgence.
Expert Tips for Chocolate No Bake Cheesecake Bars
• Chill Time is Key: Refrigerate the bars for at least 3 hours—overnight is preferable—to ensure they set properly and flavors meld.
• Choose Quality Chocolate: Use a high-quality dark chocolate bar for melting rather than chocolate chips, as it creates a smoother texture in the filling.
• Beat, Don’t Overmix: When mixing the cream cheese, beat until fluffy but avoid overmixing after adding the chocolate, which can cause the filling to become too soft.
• Adjust to Pan Size: If using a different size pan, adjust chilling times accordingly. A larger pan may require shorter chilling periods and a thinner filling.
• Crust Consistency: Make sure the crust mixture is moist enough to hold together without being too wet. It should resemble damp sand when pressed.
• Garnish Wisely: For extra flair, try adding fresh fruits or a drizzle of chocolate sauce on top of the mini chocolate chips for added appeal.
Chocolate No Bake Cheesecake Bars Recipe FAQs
How do I choose the right Oreos for the crust?
Absolutely! When selecting Oreos for the crust, look for fresh packages without any visible damage. The best ones will have a consistent chocolate color without dark spots or signs of breaking. If you want to mix it up, feel free to substitute with chocolate wafer cookies or other chocolate cookies available at your local store.
What’s the best way to store leftover Chocolate No Bake Cheesecake Bars?
The bars can be stored tightly wrapped in plastic wrap or in an airtight container in the fridge for up to 10 days. The flavors actually improve as they sit, making them even more delicious! Ensure they’re properly sealed to keep them fresh and prevent them from absorbing any odors from the fridge.
Can I freeze Chocolate No Bake Cheesecake Bars?
Absolutely! To freeze the bars, slice them into squares first. Wrap each piece individually in plastic wrap and then place them into a freezer-safe container to prevent freezer burn. They can last up to 3 months in the freezer! When you’re ready to enjoy, simply transfer them to the fridge to thaw overnight.
What should I do if the filling is too soft?
If your filling turns out too soft, it could be because it hasn’t chilled long enough. I recommend keeping the bars in the refrigerator for at least 3 hours, but if necessary, let them chill overnight for the best results. If the filling is still too soft after chilling, try adding a little more whipped cream or cream cheese to help firm it up.
Are there any alternatives for those with allergies or dietary restrictions?
For those with gluten sensitivities, you can use gluten-free chocolate sandwich cookies instead of regular Oreos. If you’re dairy-free, consider using a non-dairy cream cheese and coconut cream in place of the heavy whipping cream. Additionally, if certain alcohols aren’t suitable, you can omit the Baileys Irish Cream or Kahlua without sacrificing flavor. Always double-check labels for allergens!

Irresistible Chocolate No Bake Cheesecake Bars for Chocoholics
Ingredients
Equipment
Method
- Prepare the pan by lining a 9x9-inch pan with aluminum foil and spraying lightly with cooking spray.
- In a food processor, crush about 24 Oreo cookies into fine crumbs. Mix melted butter with dark chocolate, pour into cookie crumbs, and blend.
- Press the crust mixture into the prepared pan evenly and firmly across the bottom.
- Beat softened cream cheese on medium speed until light and fluffy, about 2-3 minutes.
- Melt dark chocolate and heavy cream in 30-second intervals until smooth. Stir between each interval.
- Once melted, cool slightly and add to the cream cheese, beating until smooth.
- Add optional Baileys or Kahlua and salt, mixing until smooth.
- Spread the filling over the crust evenly, smoothing out the top.
- Garnish with mini chocolate chips and refrigerate for at least 3 hours to set.
- Slice into squares and serve chilled, optionally with whipped cream or fresh berries.
Leave a Reply