
“Do you smell that?” I whispered to my friend as the warm, inviting aroma of freshly baked goods wafted through my kitchen, instantly transforming it into a cozy haven. Homemade Honey Buns are the ultimate comfort food—a delightful blend of sweet nostalgia and gooey goodness. Whether you choose to bake or fry them, these versatile treats make for an impressive breakfast or a delightful dessert that’s sure to please a crowd. Best of all, the recipe is effortlessly simple, making it perfect for both seasoned bakers and curious beginners. Join me as we dive into creating these irresistibly soft, warm, and sweet honey buns—what filling or glaze will you choose to make them your own?
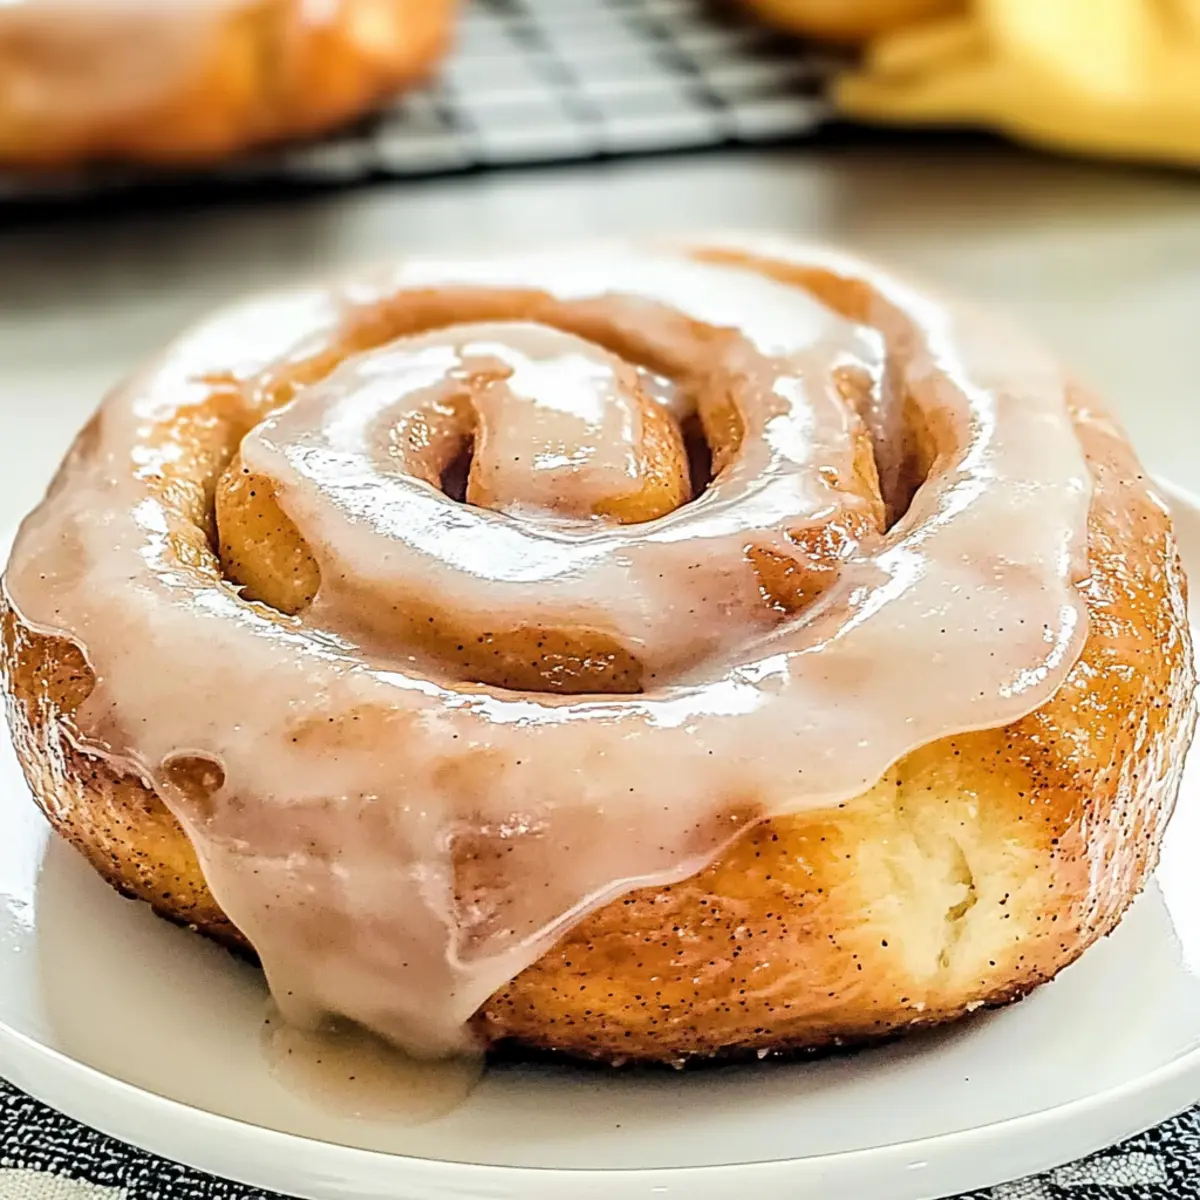
Why Are These Honey Buns Irresistible?
Gooey Goodness: These Homemade Honey Buns are decadently soft and ooze warmth with every bite, making them perfect for cozy mornings.
Versatile Options: Whether you prefer baking for a healthier twist or frying for that crispy finish, this recipe caters to every taste.
Quick and Easy: With simple ingredients and straightforward instructions, you’ll have these delightful treats ready in no time.
Crowd-Pleaser: Perfect for brunch gatherings or as a comforting treat anytime, everyone will be asking for seconds!
Endless Customization: Add your favorite fillings or glazes, like the luscious hints from my Cheese Grilled Cheese or the tangy touch of Honeycrisp Apple Feta. Your creativity knows no bounds!
Homemade Honey Bun Ingredients
For the Dough
- All-Purpose Flour – Provides structure; add extra for rolling if necessary.
- Granulated Sugar – Adds sweetness; brown sugar can be swapped for a richer flavor.
- Instant Yeast – Responsible for leavening; no blooming needed!
- Salt – Balances flavor, enhancing the overall taste.
- Warm Water (105°F-115°F) – Activates yeast; be sure to use the right temperature!
- Honey – Imparts a sweet flavor; warming it up helps with mixing if it’s thick.
- Large Egg – Acts as a binding agent, enriching the dough’s texture.
- Vanilla Extract – Enhances flavors, adding delightful depth.
- Melted Shortening – Provides tenderness; can be replaced with butter, affecting texture slightly.
- Vegetable or Peanut Oil – Essential for frying; keep oil at 350°F to 365°F for best results.
For the Filling
- Cinnamon Sugar (1/4 cup) – A comforting blend of sugar and cinnamon; sprinkle generously to infuse flavor!
For the Glaze
- Powdered Sugar (1 cup) – Baseline for a smooth glaze finish.
- Melted Butter (2 tablespoons) – Enhances the glaze’s texture and flavor.
- Additional Honey (2 tablespoons) – Adds more sweetness to the glaze for that irresistible finish.
- Warm Water – Helps adjust the glaze’s consistency for perfect application.
Step‑by‑Step Instructions for Homemade Honey Buns
Step 1: Mix Dry Ingredients
In a large mixing bowl, combine 4 cups of all-purpose flour, ½ cup of granulated sugar, 2 packets of instant yeast, and 1 teaspoon of salt. Whisk everything together until well mixed, ensuring there are no lumps. This creates a solid base for your dough, so take your time, and give it a gentle fluff before proceeding.
Step 2: Prepare Wet Ingredients
In a separate bowl, whisk together 1 cup of warm water (between 105°F and 115°F), ¼ cup of honey, 1 large egg, and 1 teaspoon of vanilla extract. Once combined, blend in ¼ cup of melted shortening. This mixture should be smooth and slightly warm, perfect to activate the yeast when combined with the dry ingredients.
Step 3: Combine Ingredients
Pour the wet ingredients into the dry ingredient mixture, using a wooden spoon or spatula to mix until a sticky dough forms. Once combined, turn the dough out onto a floured surface and knead for about 8 minutes, until the dough is smooth and elastic. Remember to add extra flour as necessary to prevent sticking while kneading.
Step 4: First Rise
Shape the dough into a ball and place it in a lightly oiled bowl, covering it with a damp cloth. Allow the dough to rise in a warm environment for 1 to 2 hours, or until it has doubled in size. You want the dough to feel puffy and airy, signaling that the yeast has worked its magic!
Step 5: Prepare Filling
While the dough is rising, mix together ¼ cup of granulated sugar and 2 teaspoons of ground cinnamon in a small bowl. Set this aside, as it will add lovely flavor to your Homemade Honey Buns when you roll them out.
Step 6: Shape Honey Buns
After the dough has risen, punch it down gently to release air. Roll the dough out into a large rectangle, approximately 12×18 inches. Sprinkle the cinnamon sugar mixture evenly over the surface, then roll it up tightly from one end to the other. Cut the rolled dough into 12 equal pieces, aligning them in a prepared baking dish for a final rise.
Step 7: Fry or Bake
Let your shaped honey buns rise for another 45 minutes while you preheat the oven to 350°F or heat oil in a deep frying pan to 350°F to 365°F. If baking, place the buns in the oven for 20-25 minutes until golden brown. If frying, cook each bun for 2-3 minutes per side until nicely golden. Keep an eye on them to ensure even cooking!
Step 8: Glaze
While the honey buns are still warm, dip or drizzle them with a glaze made from 1 cup of powdered sugar, 2 tablespoons of melted butter, 2 tablespoons of honey, and enough warm water to achieve a smooth consistency. This glaze adds a delightful sweetness that complements the softness of the honey buns perfectly.
Step 9: Cool
Transfer the warm honey buns to a wire rack to cool slightly before serving. This step will help them set up perfectly and enhances their gooey texture, making them all the more irresistible when you’re ready to dive in!
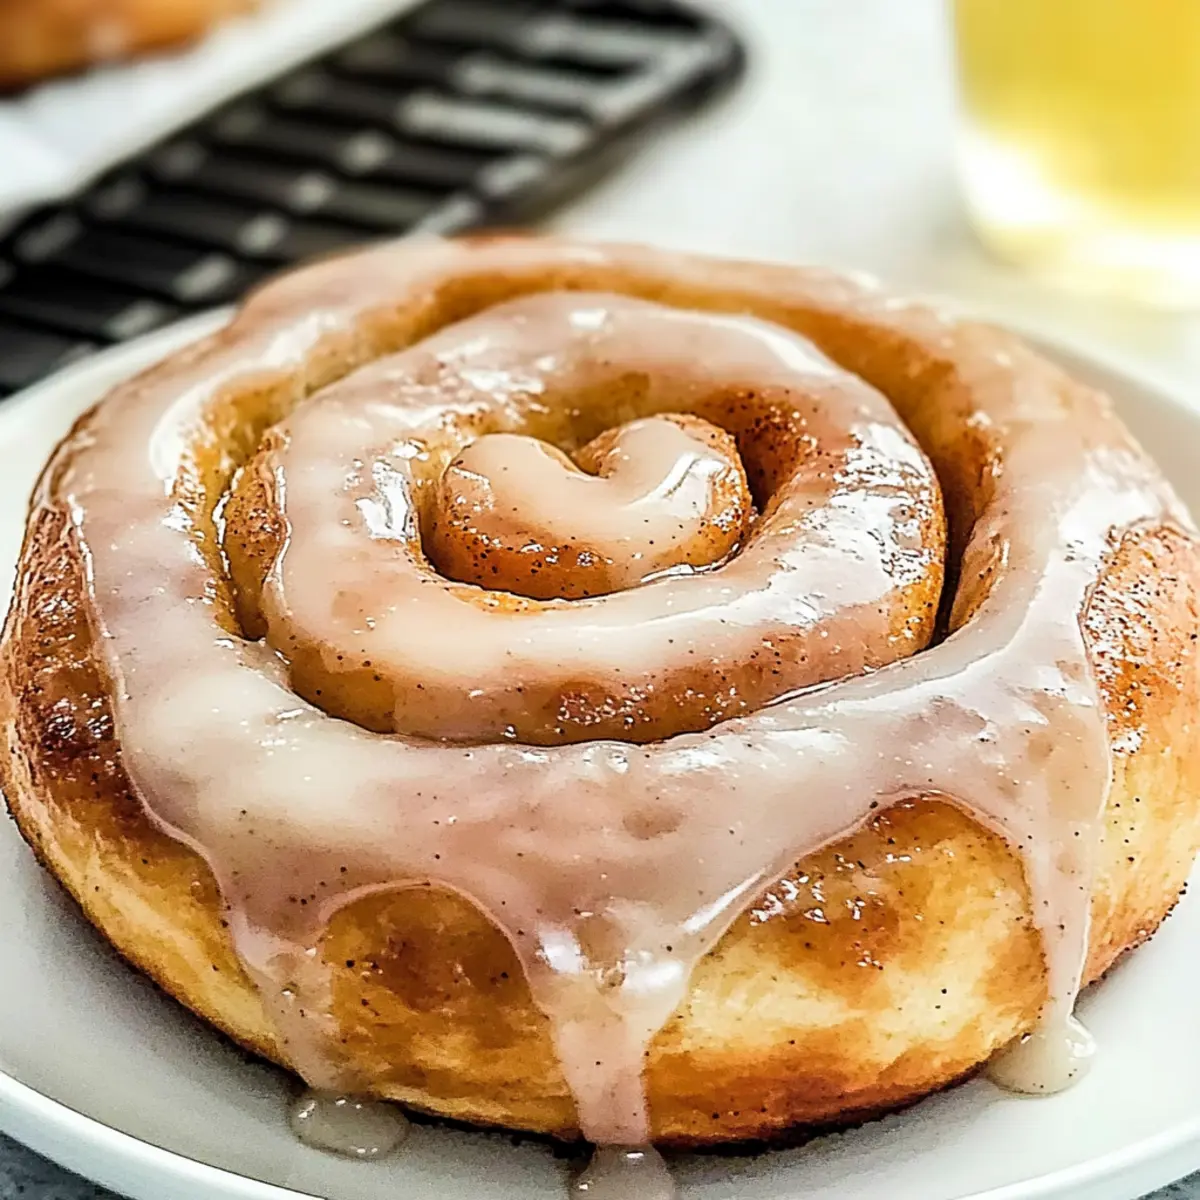
What to Serve with Homemade Honey Buns
Indulging in warm, gooey honey buns is just the beginning; let’s complete your delightful spread with some perfect pairings!
- Creamy Mashed Potatoes: These rich, buttery potatoes add a comforting side that contrasts beautifully with the sweetness of the honey buns.
- Fresh Fruit Salad: A vibrant mix of seasonal fruits offers a refreshing burst of flavor, balancing the richness of your sweet treats.
- Hot Coffee: The bold flavors of a freshly brewed cup complement the sweet sticky goodness of the honey buns, making your morning even brighter.
- Scrambled Eggs: Fluffy and savory, eggs provide a protein boost that rounds out a delicious breakfast experience alongside the honey buns.
- Maple Syrup Drizzle: For those who love extra sweetness, a light drizzle of warm maple syrup further enhances the honey flavor and adds unique depth.
- Chilled Milk: A classic pairing, the coolness of milk refreshes your palate with every bite of the warm, gooey honey buns, creating a comforting treat.
- Cinnamon Coffee Cake: The soft and crumbly texture is a delightful counterpart, offering another layer of warmth and sweetness without duplication.
- Vanilla Ice Cream: For a decadent dessert twist, serving warm honey buns with a scoop of creamy vanilla ice cream creates an irresistible melt-in-your-mouth experience.
Expert Tips for Homemade Honey Buns
- Fresh Yeast Matters: Ensure your instant yeast is fresh to achieve a fluffy rise; expired yeast may lead to disappointing, dense buns.
- Knead Just Right: Knead until the dough is smooth and elastic but avoid over-kneading, which can make your homemade honey buns tough.
- Temperature Control: Maintain oil temperature between 350°F and 365°F when frying for that perfect crispy outside and gooey inside—adjust as necessary for even cooking.
- Flavor Customization: Don’t hesitate to experiment with fun fillings like chocolate chips or unique glazes—personalizing your homemade honey buns makes them even more special!
- Rising Environment: Find a warm spot for your dough to rise; a slightly heated oven or sunny kitchen corner works wonders for achieving that airy fluff.
Make Ahead Options
These Homemade Honey Buns are perfect for meal prep, allowing you to enjoy delightful baked goodness with minimal last-minute effort! You can prepare the dough and let it rise up to 24 hours in advance; just store the covered bowl in the refrigerator. For even more convenience, shape the buns and let them rise for about 45 minutes, then wrap them tightly and refrigerate for up to 3 days. When you’re ready to serve, simply bake or fry them as directed, ensuring they maintain their soft texture and gooey goodness. With these make-ahead options, you can savor homemade honey buns anytime, saving precious time on busy mornings!
Homemade Honey Bun Variations
Feel free to get creative with your Homemade Honey Buns to make them truly your own—let’s explore some delicious twists!
-
Nuts: Add chopped walnuts or pecans to the filling for a delightful crunch. These nuts complement the sweetness beautifully and add a satisfying texture to each bite.
-
Chocolate Chips: Fold in semi-sweet or dark chocolate chips into the filling for an extra touch of indulgence. Their melty goodness brings a whole new level of richness to the bun!
-
Flavor Twists: Experiment with flavored glazes, like adding cocoa powder for a chocolate glaze or maple syrup for a sweet twist. Each glaze offers a unique taste, making every batch distinctly special.
-
Dairy-Free: Swap melted shortening for coconut oil or a plant-based butter to create a dairy-free version. You won’t miss the dairy, as the coconut adds a subtle tropical hint!
-
Spicy Kick: For those who enjoy a bit of heat, introduce a pinch of cayenne pepper to the cinnamon sugar filling. It brings an unexpected warmth that contrasts wonderfully with the sweetness.
-
Gluten-Free: Use a gluten-free flour blend to accommodate dietary needs. Ensure that your blend contains xanthan gum for the best texture, ensuring everyone can enjoy these fluffy treats.
-
Fruit Filling: Substitute part of the cinnamon sugar mix with some chopped apples or pears for a fruity surprise. Not only does it introduce moisture, but it also enhances complexity!
-
Savory Buns: For a unique twist, try a savory filling of spinach, feta, and herbs. The result is a delightful mix of flavors that can even double as a light lunch option.
No matter what path you choose, these variations promise to add your personal touch to these already amazing Homemade Honey Buns! Try pairing them alongside a glass of your favorite milk or a cup of coffee, just like my scrumptious Cheese Grilled Cheese, for a breakfast treat that everyone will love!
How to Store and Freeze Homemade Honey Buns
Room Temperature: Keep your homemade honey buns in an airtight container for up to 5 days to retain their softness and flavor.
Fridge: You can refrigerate them for about a week, but be aware that this may cause some moisture loss, affecting their gooey texture.
Freezer: To freeze, wrap each bun individually in plastic wrap and store them in a freezer-safe bag for up to 3 months. Thaw at room temperature before enjoying!
Reheating: For the best results, reheat thawed honey buns in the oven at 350°F for about 10 minutes, or microwave for 15-20 seconds until warm and gooey.
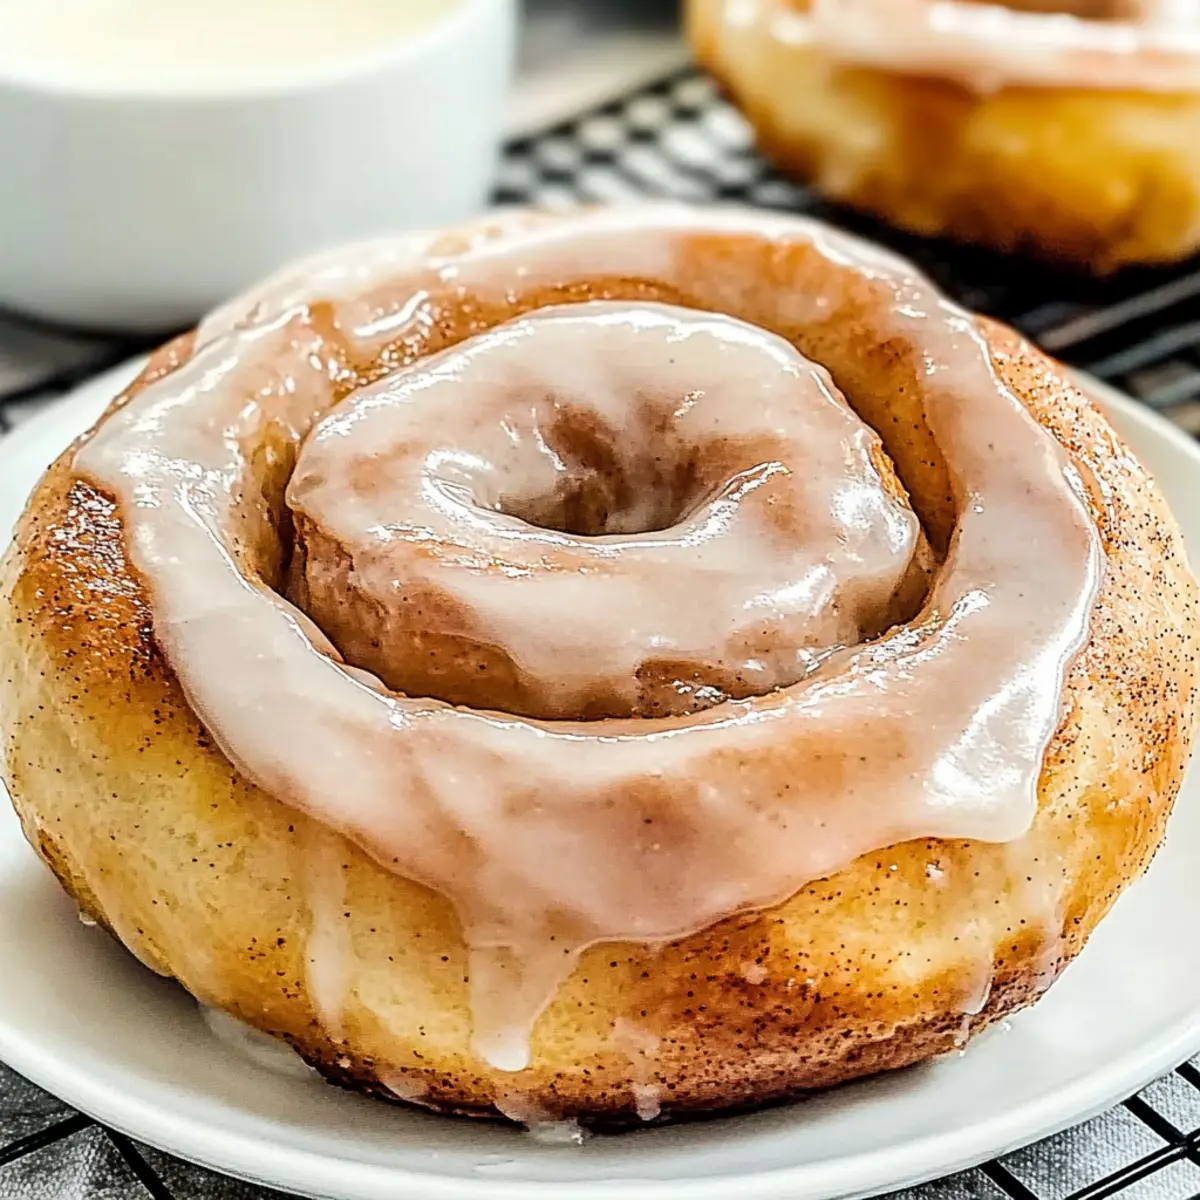
Homemade Honey Buns Recipe FAQs
What type of flour is best for homemade honey buns?
I recommend using all-purpose flour as it provides the best structure for your honey buns. If you are looking for a gluten-free option, you can substitute it with a gluten-free flour blend, but be sure to adjust the liquid ratios in the recipe as needed.
How do I know when my honey buns have risen enough?
During the first rise, you’re looking for the dough to double in size and feel puffy and airy. This typically takes about 1 to 2 hours in a warm environment. For the final rise, allow the shaped buns to rise for 45 minutes until they look voluminous and soft, ready for baking or frying.
Can I freeze homemade honey buns?
Absolutely! To freeze your homemade honey buns, wrap each one individually in plastic wrap to prevent freezer burn and store them in a freezer-safe bag for up to 3 months. When you’re ready to enjoy, simply thaw at room temperature and reheat in the oven at 350°F for about 10 minutes to regain their gooey texture.
What should I do if my dough doesn’t rise?
If your dough doesn’t rise, the most likely culprit is expired yeast. Always check the expiration date before using. If the yeast is fresh and the dough still fails to rise, ensure the environment is warm enough. Place the dough in a warm area, such as an oven set to a low temperature or a sunny kitchen corner, and let it sit longer—sometimes it just needs a little extra time!
How should I store leftover honey buns?
For storage at room temperature, keep them in an airtight container for up to 5 days. If you’re refrigerating them, know they may lose some moisture and become less gooey, but they will still be delicious for about a week. Always reheat before serving to restore their soft texture!
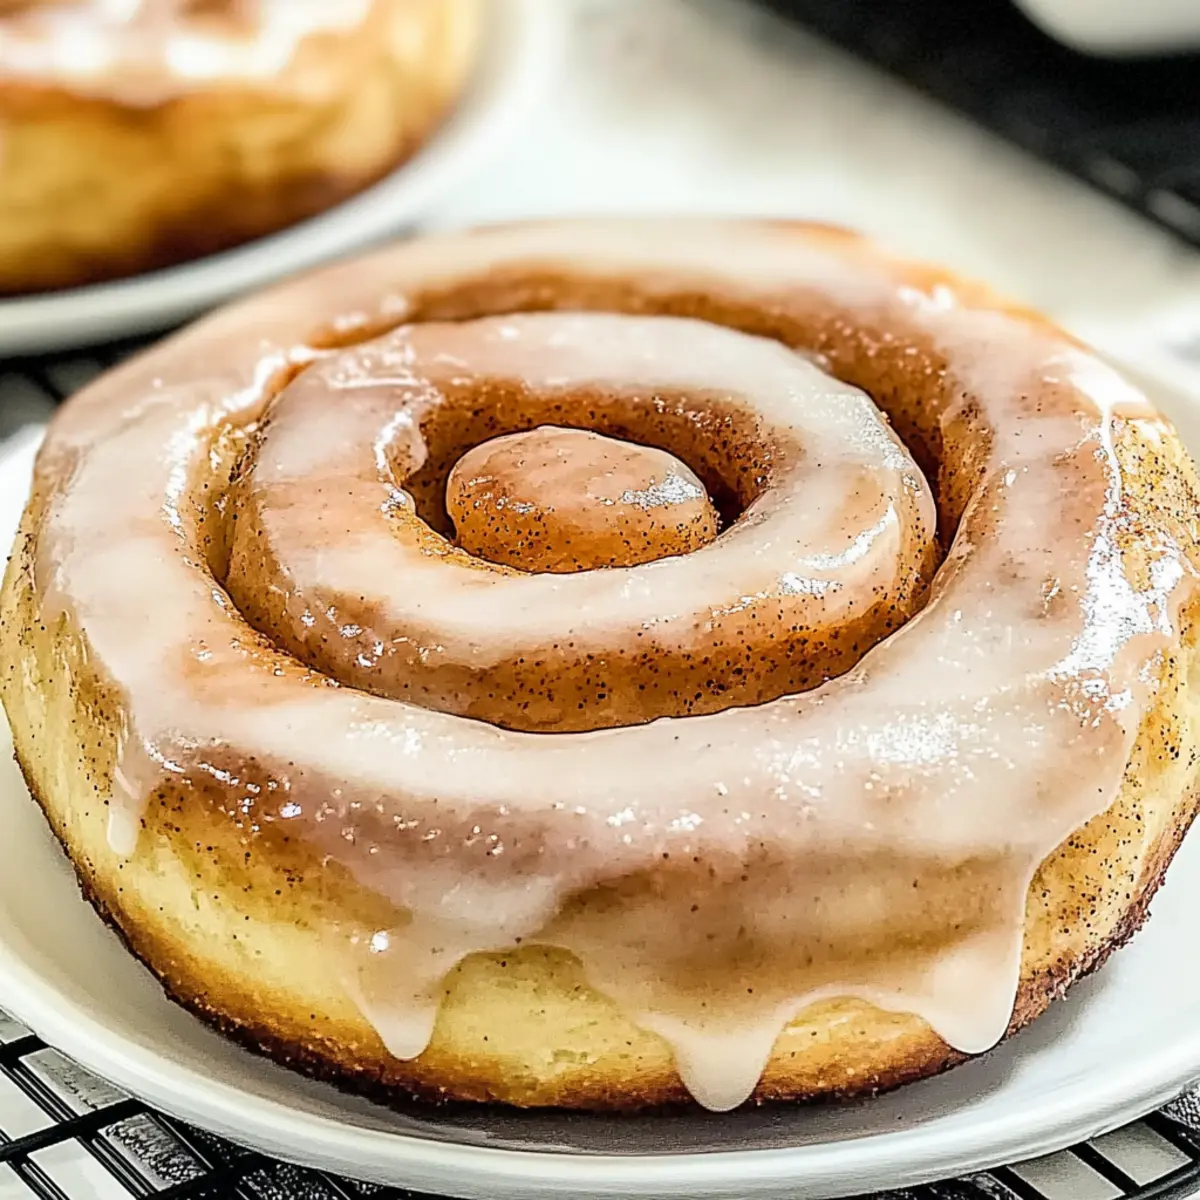
Gooey Homemade Honey Buns That Will Brighten Your Mornings
Ingredients
Equipment
Method
- In a large mixing bowl, combine 4 cups of all-purpose flour, ½ cup of granulated sugar, 2 packets of instant yeast, and 1 teaspoon of salt. Whisk everything together until well mixed.
- In a separate bowl, whisk together 1 cup of warm water, ¼ cup of honey, 1 large egg, and 1 teaspoon of vanilla extract. Blend in ¼ cup of melted shortening.
- Pour the wet ingredients into the dry ingredient mixture, mixing until a sticky dough forms. Knead the dough on a floured surface for about 8 minutes.
- Shape the dough into a ball and place it in a lightly oiled bowl. Cover with a damp cloth and let it rise for 1 to 2 hours.
- Mix together ¼ cup of granulated sugar and 2 teaspoons of ground cinnamon in a small bowl.
- After the dough has risen, roll it out into a large rectangle. Sprinkle the cinnamon sugar mixture over the surface and roll tightly.
- Cut the rolled dough into 12 equal pieces and place them in a prepared baking dish for a final rise.
- Let the honey buns rise for another 45 minutes while preheating the oven to 350°F or heating oil.
- If baking, place the buns in the oven for 20-25 minutes until golden. If frying, cook each bun for 2-3 minutes per side.
- While warm, dip or drizzle with a glaze made from powdered sugar, melted butter, honey, and warm water.
- Transfer the warm honey buns to a wire rack to cool slightly before serving.
Leave a Reply