
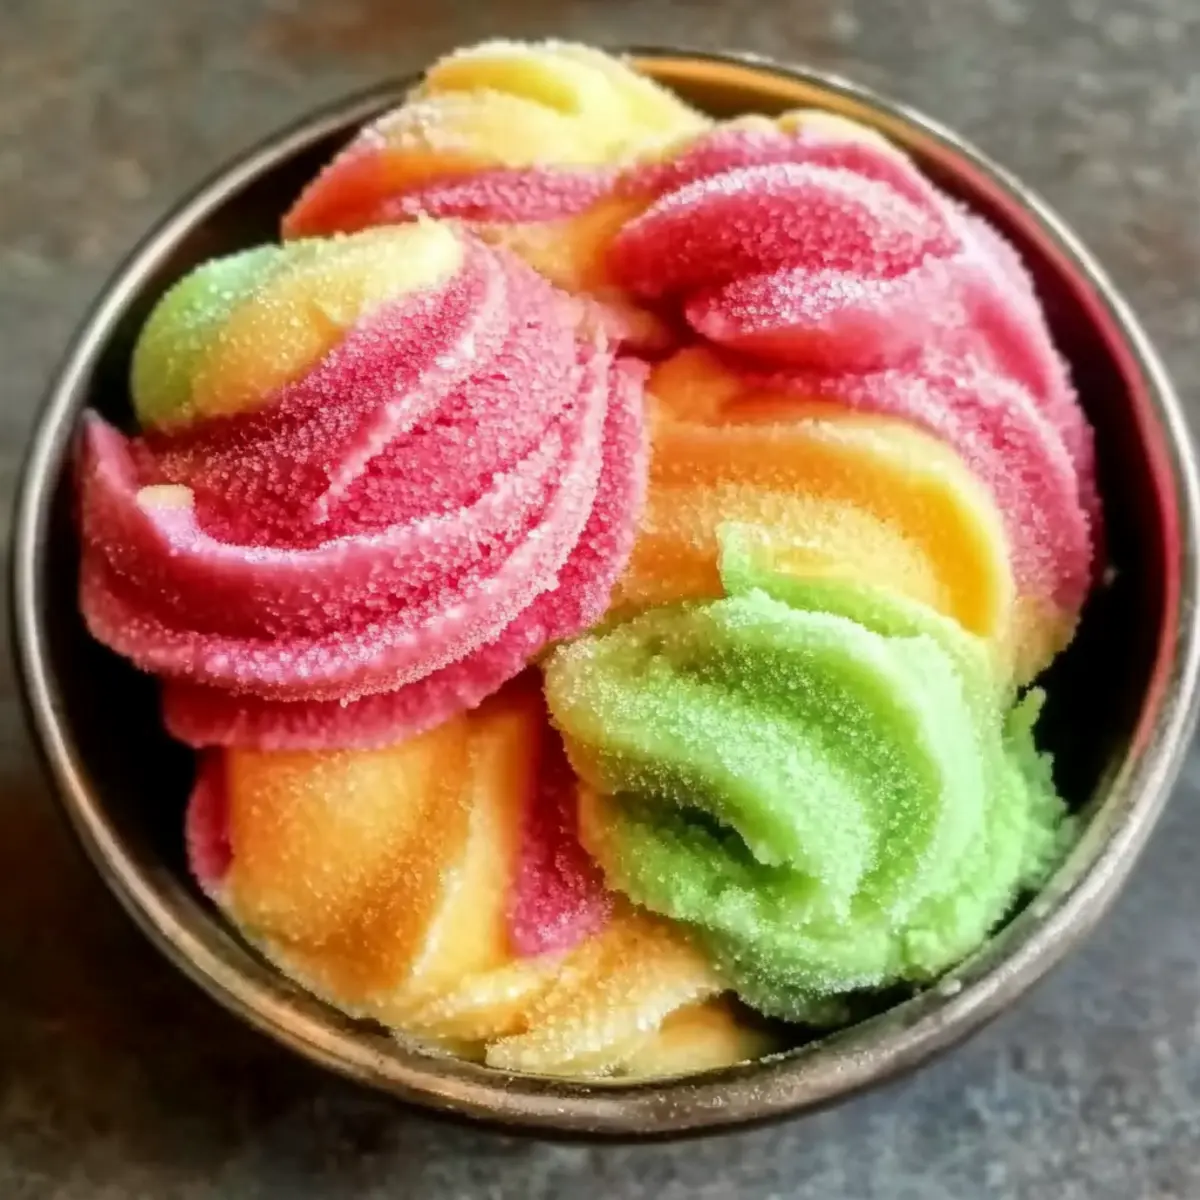
It was a scorching summer day when I decided to whip up something that perfectly matched the vibrant colors of the season—Homemade Rainbow Sherbet! This delightful frozen treat is not only a feast for the eyes, but it’s made with real fruit, ensuring each refreshing scoop is bursting with lively flavors that capture the essence of summer. Whether you’re hosting a backyard barbecue or simply looking to cool off on the patio, this versatile recipe is your go-to choice. Plus, with its easy prep and the opportunity to customize flavors like raspberry, orange, and lime, it’s a fun project that brings joy to both kids and adults alike. Want to learn how to create this colorful masterpiece in your own kitchen? Let’s dive in!
Why is Rainbow Sherbet a Must-Try?
Vibrant Colors: Nothing says summer like the bright hues of Rainbow Sherbet, making it an eye-catching addition to any dessert table. Real Fruit Flavors: Each spoonful is a burst of fresh fruit that truly captures the season’s essence, offering a taste that’s both refreshing and satisfying. Easy to Customize: Whether you love raspberry, orange, or lime, you can mix and match flavors, making it perfect for every palate! Fun for Everyone: Kids adore scooping their colorful treat, while adults appreciate the homemade touch. For more delightful summer recipes, don’t miss our guide on summer desserts to keep your gatherings sweet and memorable!
Rainbow Sherbet Ingredients
For the Base
• Cream – Adds creaminess and richness; use heavy cream for a smoother texture.
• Milk – Provides volume and balance; whole milk gives the best flavor.
• Sugar – Sweetens the base and enhances fruit flavors; adjust to taste, especially if using very sweet fruits.
• Vanilla Extract – Adds a warm flavor that complements the fruit; opt for pure extract for better quality.
For the Flavors
• Raspberries – Used for raspberry puree; fresh or thawed frozen raspberries work well.
• Orange Juice – Incorporates citrus flavor; freshly squeezed juice is preferred for maximum freshness.
• Orange Zest – Enhances orange flavor; optional but recommended for a zesty kick.
• Lime Juice – Provides a tart flavor profile; lime zest can also be used for extra zest.
For Visual Appeal
• Green Food Coloring – Optional for a vibrant look; consider using natural food color if preferred.
Create a delightful homemade rainbow sherbet that will be the star of your summer gatherings!
Step‑by‑Step Instructions for Rainbow Sherbet
Step 1: Prepare the Base
In a medium saucepan over medium heat, combine 1 cup of heavy cream, 1 cup of whole milk, and 3/4 cup of sugar. Stir continuously for about 5-7 minutes until the sugar has completely dissolved and the mixture is warm but not boiling. Remove from heat and add 1 tablespoon of pure vanilla extract. Allow the mixture to cool completely, about 30 minutes.
Step 2: Make the Raspberry Puree
While the base is cooling, take 1 cup of fresh or thawed frozen raspberries and blend them with 2 tablespoons of sugar until smooth. After blending, strain the mixture through a fine mesh sieve to remove the seeds, preserving a silky raspberry puree. Set aside this vibrant puree as it will be one of the delightful layers of your rainbow sherbet.
Step 3: Churn the Base
Once the cream mixture is cooled, pour it into your ice cream maker. Churn according to the manufacturer’s instructions until it reaches a soft-serve consistency, which usually takes about 20-25 minutes. Ensure that the base is churned correctly to create a smooth texture; the Rainbow Sherbet should be creamy and light.
Step 4: Divide and Flavor the Base
After churning, divide the base mixture into three separate bowls. To the first bowl, add 1/2 cup of freshly squeezed orange juice and 1 teaspoon of orange zest, mixing well before churning briefly for about 2 minutes. This fruity mix will become your orange sherbet layer, enhancing the colorful profile.
Step 5: Add Lime Flavor
Next, take the second bowl and mix in 1/4 cup of lime juice and a teaspoon of lime zest, ensuring the flavors merge effortlessly. Churn this mixture for another 2 minutes until well combined. This lime-infused layer will provide a delightful tart contrast to the sweetness of the other flavors in your Rainbow Sherbet.
Step 6: Incorporate Raspberry Puree
For the final base, fold in the prepared raspberry puree into the last bowl. Churn gently for 1-2 minutes until the puree is visually blended throughout the mixture, creating a smooth, rosy layer of sherbet. This completes the vibrant flavor trio of your Homemade Rainbow Sherbet.
Step 7: Layer the Sherbet
To create the eye-catching rainbow effect, take a freezer-safe container and layer spoonfuls of the orange, lime, and raspberry sherbet alternately. Use a spatula to swirl the colors gently without overmixing, ensuring a marbled look. Once layered, it’s time to freeze this masterpiece for at least 4-6 hours until it’s firm and ready to serve.
Step 8: Serve the Rainbow Sherbet
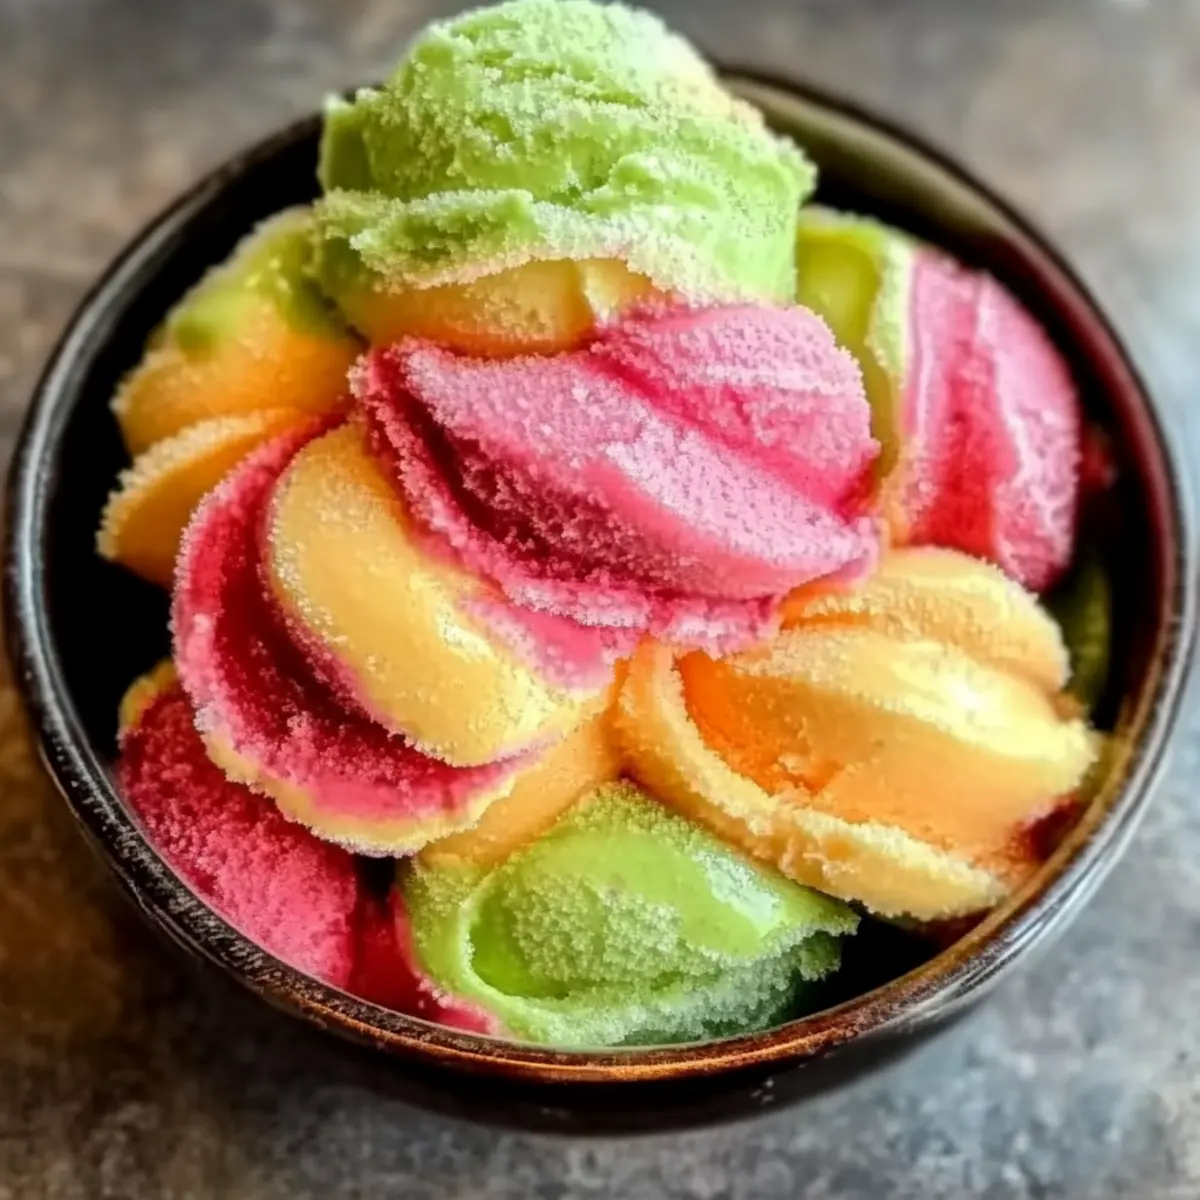
After the freezing time, your Homemade Rainbow Sherbet is ready to shine! Allow it to sit at room temperature for a few minutes before scooping for easier serving. Delight in the colorful, fruity flavors with each scoop, making your summer gatherings even more special.
Rainbow Sherbet Variations & Substitutions
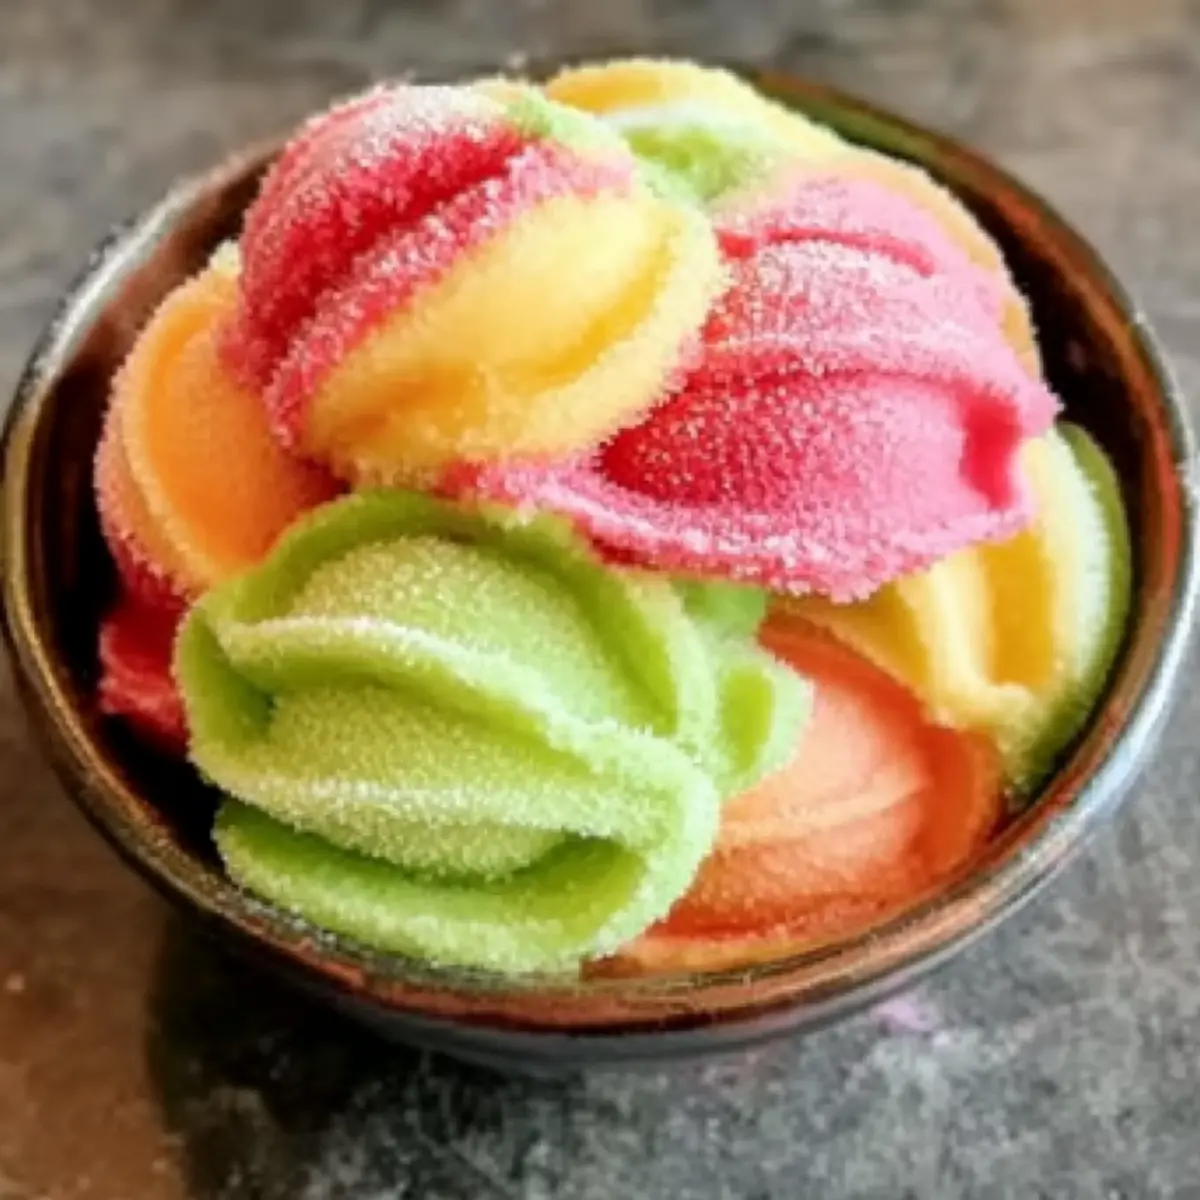
Feel free to get creative and make this delightful rainbow sherbet truly your own with these fun variations!
-
Berry Medley: Swap raspberries for a mix of blueberries, blackberries, and strawberries for a delightful twist.
This will not only add vibrant colors but also a medley of fruity sweetness that everyone will adore. -
Citrus Blend: Combine lemon and grapefruit juice instead of just orange and lime for a refreshing zing.
The bright acidity will elevate your sherbet, making every scoop a rejuvenating experience! -
Dairy-Free: Replace heavy cream and milk with coconut milk for a luscious dairy-free option.
This variation lends a subtle tropical flavor that complements the fruit beautifully—perfect for a sunny day! -
Sweet Herb Infusion: Add a handful of fresh mint leaves to the raspberry puree for a refreshing herbal note.
This unexpected flavor can elevate your sherbet and wow your guests with a refreshing bite. -
Spicy Kick: Incorporate a pinch of cayenne or chili powder into the lime layer for a surprising heat.
This spicy twist contrasts beautifully with the sherbet’s sweetness, creating a unique flavor profile that’s unforgettable! -
Layered Sorbet: For a lighter option, create fruit sorbets instead of a cream base using only fruit juice and purees.
Each layer can represent a different fruit, and they’ll freeze to form a vibrant, light dessert. -
Chocolate Drizzle: Drizzle melted dark chocolate over each scoop before serving for an indulgent topping.
The rich chocolate and fruity lime will harmonize beautifully, giving that delectable summer treat a decadent touch! -
Frozen Fruit Additions: Fold in small chunks of your favorite frozen fruit like peaches or mangoes into the base before freezing.
This adds delightful texture and bursts of flavor, making each bite even more exciting.
Remember, the beauty of homemade rainbow sherbet is its versatility. Celebrate your creativity and have fun with flavor! To further spark your culinary imagination, check out our other fantastic dessert ideas that bring joy to your table!
Storage Tips for Rainbow Sherbet
Room Temperature: Allow Rainbow Sherbet to sit at room temperature for about 5 minutes before serving to soften slightly, making scooping easier.
Fridge: If there’s leftover sherbet, store it in the fridge for a maximum of 1 hour before transferring it back to the freezer to maintain its texture.
Freezer: Keep your Rainbow Sherbet in an airtight container in the freezer for up to 2 months. Wrap it tightly to prevent freezer burn and ice crystal formation.
Reheating: There’s no need to reheat Rainbow Sherbet; simply let it sit out for a few minutes at room temperature before enjoying.
Expert Tips for Rainbow Sherbet
• Chill the Base: Before churning, ensure the cream mixture is completely chilled to achieve that soft-serve texture and avoid ice crystals.
• Watch the Churning: Keep a close eye on your ice cream maker to prevent over-churning, which can result in a grainy texture rather than the creamy consistency you’re aiming for with your Rainbow Sherbet.
• Use Fresh Ingredients: Opt for fresh fruit whenever possible. Freshly squeezed juices and ripe berries yield the most vibrant flavors, enhancing the overall taste of your sherbet.
• Airtight Storage: To maintain optimal texture and flavor, store your sherbet in an airtight container. This minimizes air exposure that can lead to unsightly ice crystals forming.
• Experiment with Flavors: Don’t hesitate to mix in different fruits or even herbs like mint to create unique variations of Rainbow Sherbet that reflect your taste preferences!
What to Serve with Homemade Rainbow Sherbet
Homemade Rainbow Sherbet is not just a treat; it’s the centerpiece of a delightful summer gathering!
- Grilled Fruit Skewers: The sweet and smoky flavors of grilled pineapple, peaches, or maraschino cherries create a scrumptious contrast to the creamy, fruity sherbet.
- Light and Fluffy Meringue Cookies: Adding a meringue’s crisp texture and airy nature enhances the indulgence of rainbow sherbet while keeping it light.
- Fresh Berry Salad: A refreshing blend of strawberries, blueberries, and raspberries tossed with mint creates a vibrant, sweet-sour balance alongside this colorful dessert.
- Coconut Water Mocktails: Chill out with a hydrating coconut drink that complements the fruity notes of the sherbet while refreshing your palate.
- Chocolate Dipped Pretzels: The combination of salty pretzels and rich chocolate against the sweet, fruity sherbet creates a delightful contrast of flavors and textures.
- Caramel Drizzle Brownies: Serve warm, fudgy brownies drizzled with caramel for a rich treat to indulge alongside your rainbow sherbet.
These pairings will elevate your summer dessert experience, ensuring every bite is as joyful as the last!
Make Ahead Options
Homemade Rainbow Sherbet is a fantastic choice for meal prep enthusiasts! You can prepare the base mixture (cream, milk, sugar, and vanilla) up to 24 hours in advance by cooling it completely and storing it in an airtight container in the refrigerator. Additionally, make the raspberry puree ahead of time and refrigerate it for up to 3 days, ensuring a silky texture by straining before use. When you’re ready to serve, simply churn the prepared mixture and layer the flavors as instructed. This way, you’ll have a delightful and refreshing dessert at hand, perfect for those busy summer days when time is of the essence!
Rainbow Sherbet Recipe FAQs
What type of cream is best for making rainbow sherbet?
I highly recommend using heavy cream for the richest and creamiest texture in your rainbow sherbet. The heavy fat content contributes to a smoother mouthfeel that gives your final product that delicious, artisanal quality we all adore!
How should I store leftover rainbow sherbet?
To keep your rainbow sherbet fresh for up to 2 months, store it in an airtight container. It’s essential to ensure it’s well-sealed to minimize air exposure, which can lead to ice crystals. For serving, allow it to sit at room temperature for about 5 minutes for easier scooping.
Can I freeze rainbow sherbet? How do I do it properly?
Absolutely! To freeze your rainbow sherbet, first, layer the flavors in a freezer-safe container as described in the recipe. Cover it tightly with a lid or plastic wrap, ensuring no air can enter. It will keep well in the freezer for up to 2 months. Just remember to let it soften for about 5 minutes at room temperature before scooping.
What if my rainbow sherbet is too icy or grainy?
If your sherbet turns out too icy or grainy, it may have been over-churned or not chilled enough before churning. To fix this, ensure you chill the base mixture thoroughly before churning (about 30 minutes). When churning, watch closely to avoid overdoing it—about 20-25 minutes is typically ideal for a perfect soft-serve consistency.
Can pets eat rainbow sherbet?
It’s best to avoid giving rainbow sherbet to pets. While the ingredients like fruit and cream may seem harmless, high sugar content and dairy can upset their stomachs and lead to health issues. Always consult your vet before sharing human food with your furry friends!
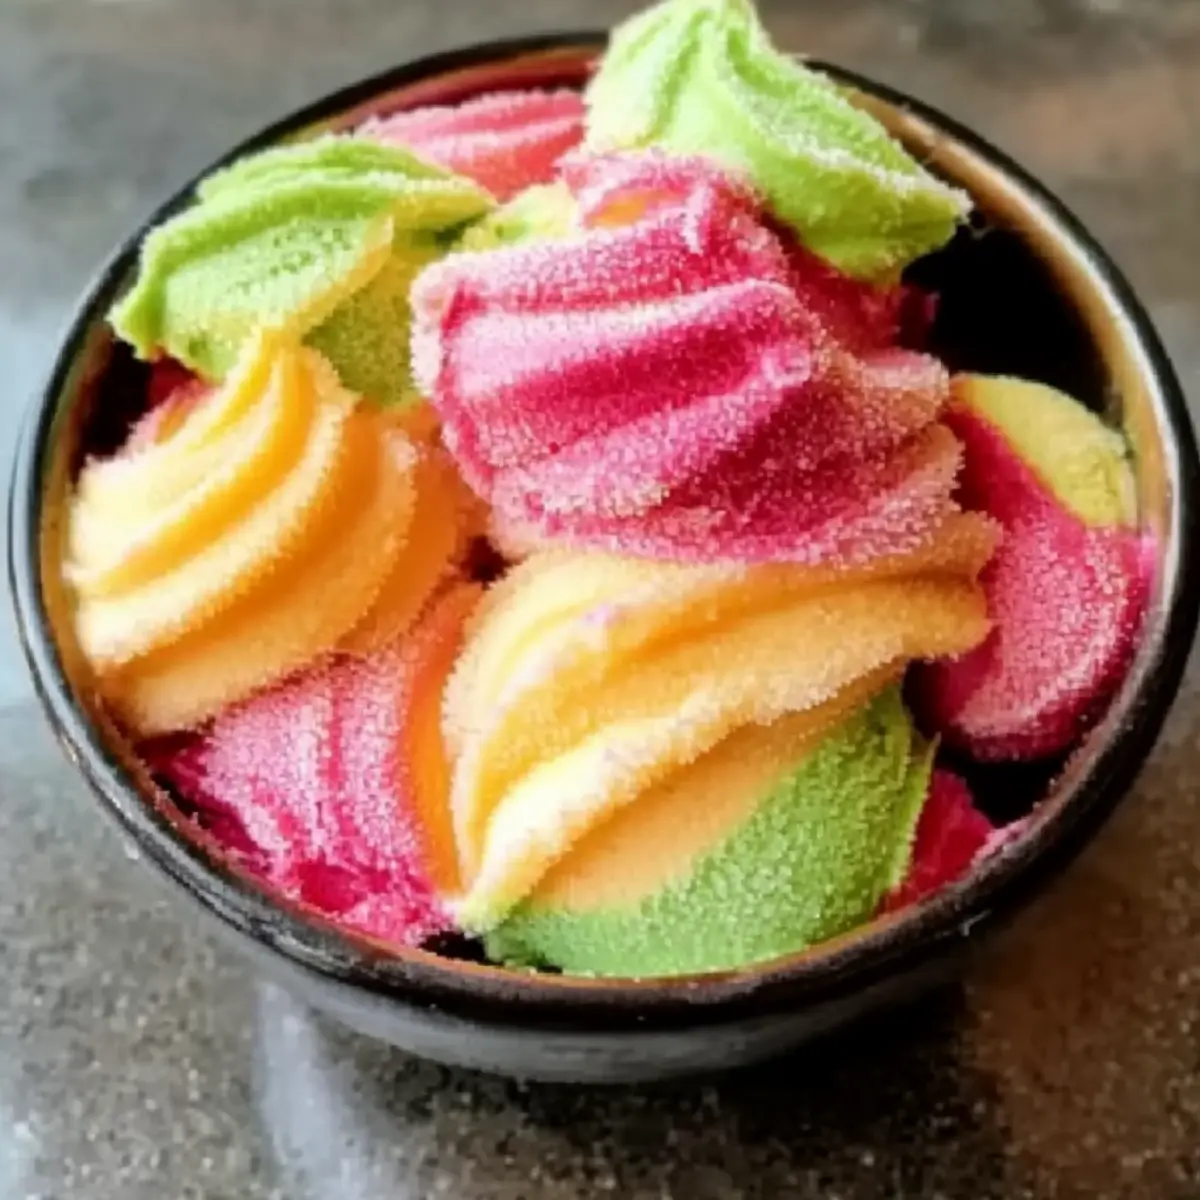
Delightful Rainbow Sherbet: A Taste of Summer Bliss
Ingredients
Equipment
Method
- In a medium saucepan over medium heat, combine 1 cup of heavy cream, 1 cup of whole milk, and 3/4 cup of sugar. Stir continuously for about 5-7 minutes until the sugar has completely dissolved and the mixture is warm but not boiling. Remove from heat and add 1 tablespoon of pure vanilla extract. Allow the mixture to cool completely, about 30 minutes.
- While the base is cooling, take 1 cup of fresh or thawed frozen raspberries and blend them with 2 tablespoons of sugar until smooth. After blending, strain the mixture through a fine mesh sieve to remove the seeds, preserving a silky raspberry puree. Set aside this vibrant puree.
- Once the cream mixture is cooled, pour it into your ice cream maker. Churn according to the manufacturer's instructions until it reaches a soft-serve consistency, which usually takes about 20-25 minutes.
- After churning, divide the base mixture into three separate bowls. To the first bowl, add 1/2 cup of freshly squeezed orange juice and 1 teaspoon of orange zest, mixing well before churning briefly for about 2 minutes.
- Next, take the second bowl and mix in 1/4 cup of lime juice and a teaspoon of lime zest, ensuring the flavors merge effortlessly. Churn this mixture for another 2 minutes.
- For the final base, fold in the prepared raspberry puree into the last bowl. Churn gently for 1-2 minutes until the puree is visually blended throughout the mixture.
- To create the eye-catching rainbow effect, take a freezer-safe container and layer spoonfuls of the orange, lime, and raspberry sherbet alternately. Use a spatula to swirl the colors gently without overmixing.
- Once layered, freeze this masterpiece for at least 4-6 hours until it’s firm and ready to serve.
- After the freezing time, allow it to sit at room temperature for a few minutes before scooping for easier serving.
Leave a Reply