
As the sun begins to warm the days of summer, I find myself craving something refreshingly delicious—Homemade Rainbow Sherbet fits the bill perfectly. This vibrant frozen dessert isn’t just a feast for the eyes; it’s also a creamy summer treat made from fresh fruit juices that dance on your palate. With flavor variations like tangy raspberry, zesty lime, and sweet orange, it offers a delightful way to beat the heat while bringing people together for outdoor gatherings. Plus, it’s easy to whip up, making it the ideal solution for anyone looking to move away from store-bought desserts. Are you ready to impress your guests with a colorful scoop that they’ll be talking about long after the last bite?
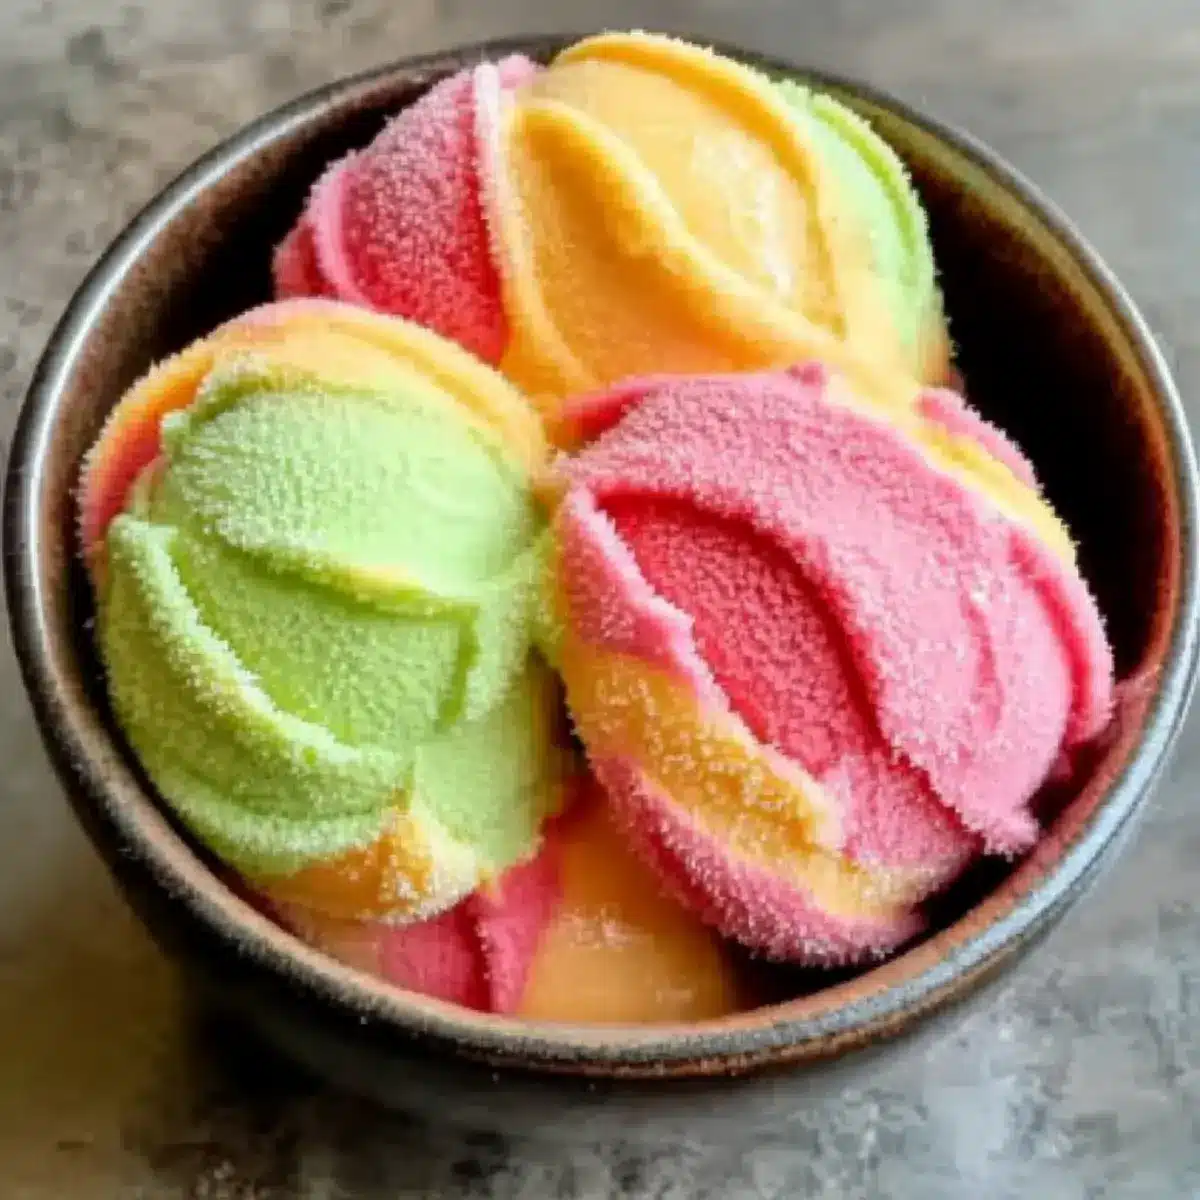
Why Make Homemade Rainbow Sherbet?
Refreshing, Creamy Delight: Enjoy a smooth, luscious texture that beats any store-bought frozen treat.
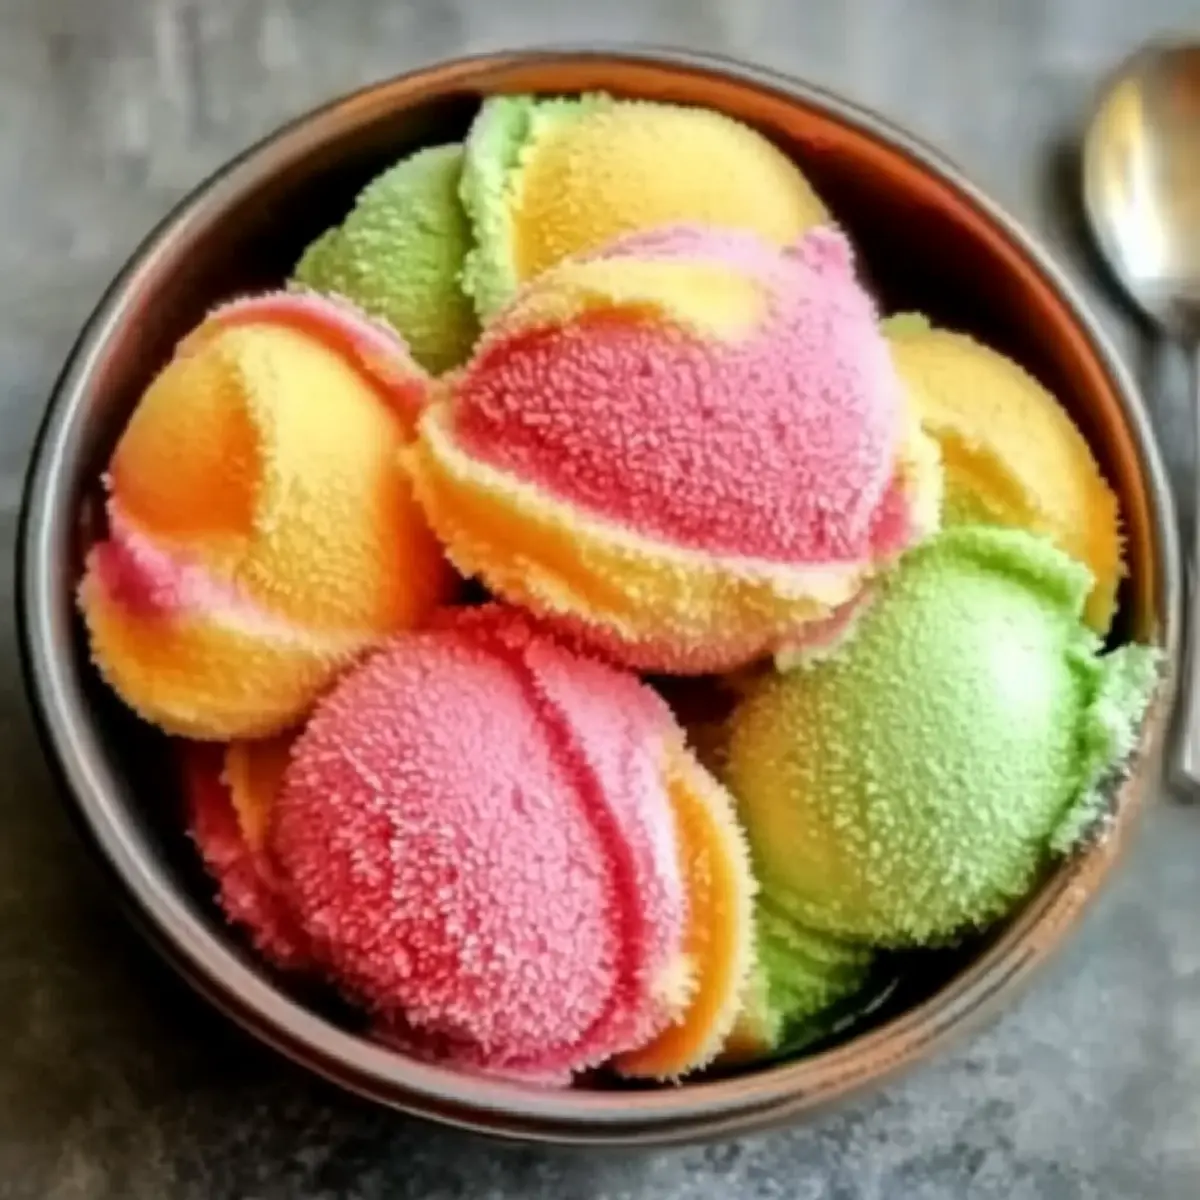
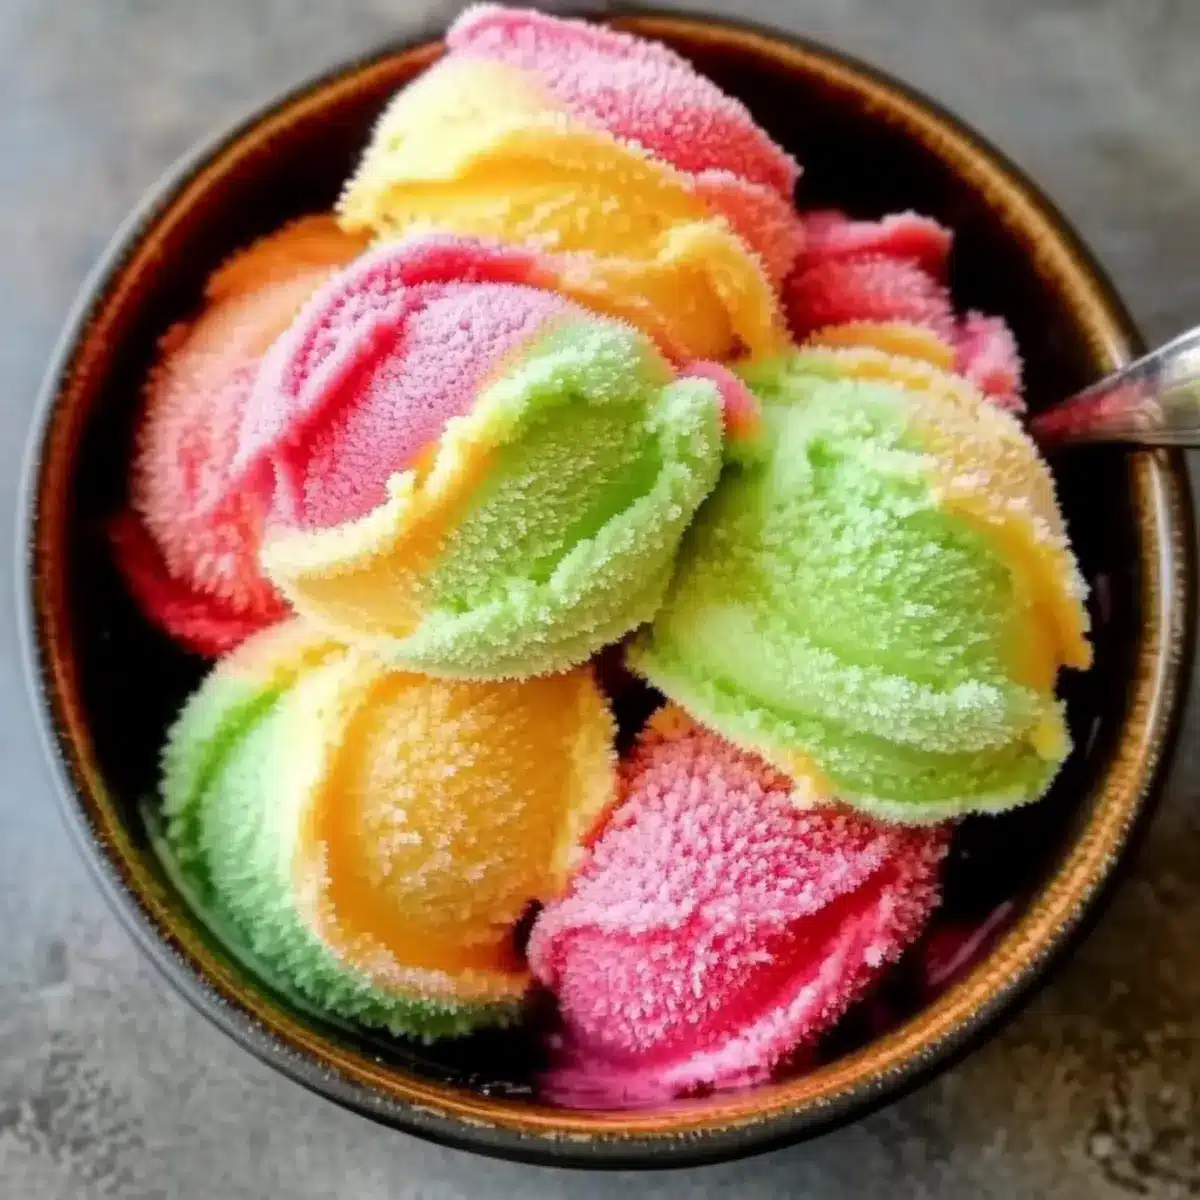
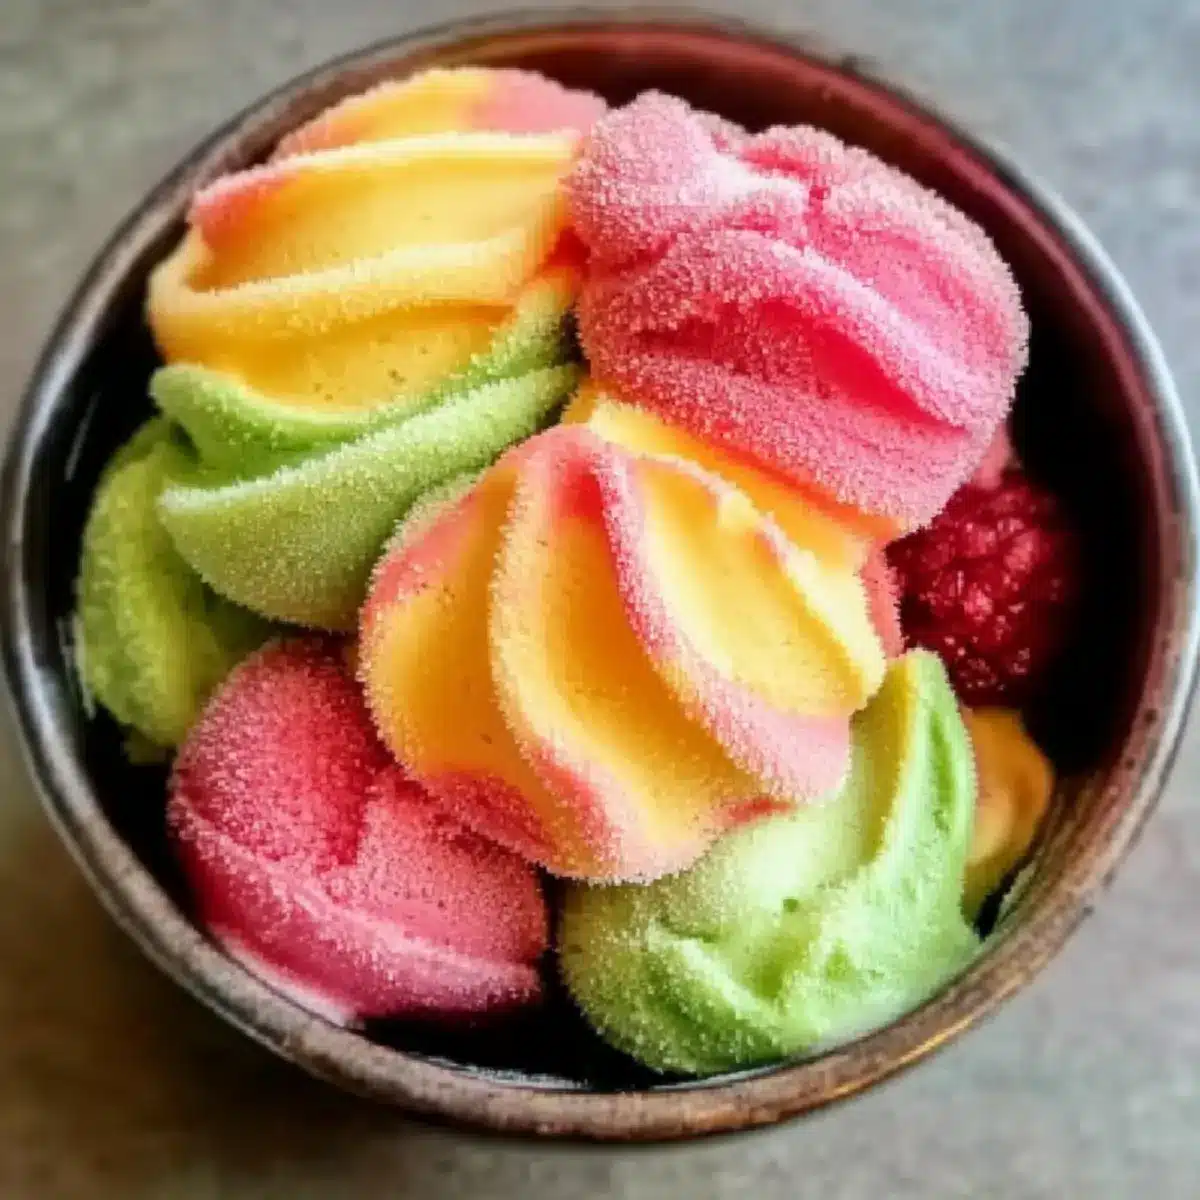
Vibrant Colors: The visually stunning layers of raspberry, orange, and lime create an eye-catching dessert perfect for summer parties.
Customizable Flavors: Feel free to get creative! Use your favorite fruits or even add unique ingredients like fresh herbs for added flair.
Easy to Prepare: With simple steps and minimal equipment needed, you’ll have this vibrant dessert ready in no time!
Crowd-Pleasing Treat: Whether it’s a family gathering or a sunny picnic, this Homemade Rainbow Sherbet will wow every guest.
Plus, if you’re in the mood for another delicious homemade option, don’t miss out on my delightful Chocolate Croissants to round out your summer dessert lineup!
Homemade Rainbow Sherbet Ingredients
• Strike a colorful note with these delightful components!
For the Base
- Heavy Cream – Provides creaminess and a rich texture.
- Substitution: Use coconut milk for a dairy-free version.
- Whole Milk – Contributes to the smooth consistency and adds lightness.
- Substitution: Substitute with almond milk for a dairy-free alternative.
- Granulated Sugar – Sweetens the sherbet and balances flavors.
- Note: Adjust the amount based on the sweetness of the fruit.
- Vanilla Extract – Enhances flavor with a subtle sweetness.
- Note: Use pure vanilla extract for the best taste.
For the Flavors
- Fresh Raspberries – Adds vibrant color and tangy flavor.
- Substitution: Frozen raspberries can be used if fresh ones are unavailable.
- Fresh Orange Juice – Provides a fruity sweetness and zest.
- Note: Fresh squeezed is recommended for best flavor.
- Optional Orange Zest – Enhances the orange flavor and adds aroma.
- Optional Lime Juice – Adds a bright, tangy flavor to the sherbet.
- Substitution: Lemon juice can be used for a slightly different citrus note.
For Color Enhancement
- Food Coloring – Adds vibrant appearance.
- Note: Use natural food coloring or skip if desired.
With this array of simple yet essential ingredients, your Homemade Rainbow Sherbet will not only be delightful but also a beautiful centerpiece for any summer gathering!
Step‑by‑Step Instructions for Homemade Rainbow Sherbet
Step 1: Prepare the Base
In a medium saucepan, combine heavy cream, whole milk, and granulated sugar over medium heat. Stir constantly for about 5–7 minutes until the sugar is completely dissolved and the mixture is steaming but not boiling. Once dissolved, remove from heat and mix in vanilla extract. Allow the base to cool completely before proceeding.
Step 2: Make Raspberry Puree
While the base is cooling, make the raspberry puree by blending fresh raspberries with a little sugar in a blender until smooth. After blending, strain the mixture through a fine mesh sieve to remove seeds, ensuring a silky texture for your sherbet. Set aside the raspberry puree for later mixing with the sherbet base.
Step 3: Chill the Base
Transfer the cooled base into a sealed container and place it in the refrigerator. Chill for at least 2 hours or until the mixture is cold, which is essential for achieving the right creamy consistency when you churn it later. An ice bath can also be used for quicker chilling if you’re short on time.
Step 4: Churn the Base
Once the base is well chilled, pour it into your ice cream maker. Follow the manufacturer’s instructions and churn the mixture until it reaches a soft-serve consistency, typically around 20–25 minutes. This process incorporates air into the sherbet, resulting in a light and fluffy texture.
Step 5: Create Flavors
Divide the churned base into three separate bowls. For the first bowl, mix in fresh orange juice, a bit of orange zest, and natural food coloring to create the orange layer. Combine and churn briefly, then transfer to your freezer-safe container. In the second bowl, add lime juice and green food coloring, mix well, and freeze. Lastly, combine the raspberry puree with the remaining base, churn, and set aside.
Step 6: Layer Flavors
In a freezer-safe container, begin layering your Homemade Rainbow Sherbet by spooning in alternating layers of the orange, lime, and raspberry mixtures. Use a knife or skewer to gently swirl the colors together for a marbled effect, creating a visually stunning dessert that will impress everyone.
Step 7: Freeze
Cover the container tightly with a lid or plastic wrap and freeze for at least 4–6 hours, or until the sherbet is fully hardened. This final freezing step ensures that your Homemade Rainbow Sherbet achieves the perfect scoopable texture. Once set, it’s ready to serve at your summer gatherings!
Expert Tips for Homemade Rainbow Sherbet
-
Cool Completely: Allow the cream and milk mixture to fully cool before churning. This ensures a smoother texture for your Homemade Rainbow Sherbet.
-
Use an Ice Cream Maker: For the best results, use an ice cream maker to incorporate air into the base, resulting in a light, creamy sherbet.
-
Chill Thoroughly: Make sure to chill the base for at least 2 hours; this is crucial for achieving the right consistency when churning.
-
Avoid Over-Churning: Stop the churning process once you reach soft-serve consistency. Over-churning can lead to an icy texture rather than a smooth, creamy finish.
-
Experiment with Add-Ins: Don’t hesitate to customize your flavors with fresh fruits or herbs. Just remember to maintain balance for the best taste!
What to Serve with Homemade Rainbow Sherbet?
As vibrant as the summer sun, creating a beautiful spread around your colorful sherbet will delight your family and guests.
-
Fresh Fruit Skewers: A mix of juicy strawberries, pineapples, and melons creates a refreshing contrast with the creamy sherbet.
-
Crispy Waffle Cones: The crunchy texture of waffle cones adds a perfect complement to the smooth, creamy sherbet, enhancing every delightful bite.
-
Minty Lemonade: A cool glass of mint-infused lemonade offers a zesty brightness that balances the sweetness of the sherbet, making it a perfect quencher.
-
Chocolate Drizzle: Drizzling melted dark chocolate over scoops of sherbet provides an indulgent touch that beautifully contrasts the fruity flavors.
-
Coconut Macaroons: These chewy, tropical treats pair wonderfully, drawing out the sweet flavors of the sherbet while adding textural diversity.
-
Grilled Peaches: The smoky sweetness of grilled peaches enhances the fruity sherbet experience, packing an extra layer of flavor and delight.
-
Pineapple Sorbet: A scoop of pineapple sorbet echoing summer flavors can create a refreshing sorbet duo, perfect for hot afternoons.
-
Bubbly Prosecco: A glass of bubbly, slightly sweet Prosecco transforms your dessert into a festive celebration, perfect for summer gatherings.
Storage Tips for Homemade Rainbow Sherbet
Fridge: Store any leftovers in an airtight container in the fridge for up to 3 days, but note that the texture may become less creamy.
Freezer: For long-term storage, keep your Homemade Rainbow Sherbet in a well-sealed container in the freezer, and it will remain delightful for up to 2 months.
Layer Separation: If you notice some separation when thawing, simply stir the sherbet gently to restore its creamy consistency before serving.
Serving Suggestions: Allow the sherbet to sit at room temperature for about 10 minutes before scooping for the best texture.
Make Ahead Options
These Homemade Rainbow Sherbet treats are perfect for busy cooks looking to save time! You can prepare the base (heavy cream, milk, sugar, and vanilla) up to 24 hours in advance. Simply heat the ingredients, cool them completely, and store them in an airtight container in the refrigerator. Additionally, you can make the raspberry puree up to 3 days ahead, storing it in a sealed container to maintain its vibrant color and flavor. When it’s time to serve, simply churn the chilled base in your ice cream maker, create your colorful layers, freeze for another 4-6 hours, and you’ll be left with a delightful dessert that’s just as delicious with minimal effort!
Homemade Rainbow Sherbet Variations
Customize your Homemade Rainbow Sherbet with exciting twists and substitutions for a personalized treat!
-
Dairy-Free: Substitute heavy cream and whole milk with coconut milk and almond milk, respectively, for a creamy dairy-free option.
-
Tropical Twist: Swap out raspberry and lime for mango and pineapple juice for a refreshing tropical flavor. This version is sure to transport your taste buds to a sunny beach!
-
Herbal Infusion: Add finely chopped basil or mint to the base for a fresh, unexpected flavor burst. These herbs complement the fruit beautifully, making each bite refreshing and unique.
-
Reduce Sugar: Use ripe bananas or pure maple syrup to sweeten naturally if you’re looking for a lower-sugar alternative. It’s a delightful way to keep the sweetness while adding extra flavor.
-
Berry Medley: Try integrating mixed berries, like blueberries or strawberries, for a vibrant blend of flavors. Just replace some of the raspberry puree with your chosen berries for a delightful twist.
-
Zesty Lemon: Replace lime juice with lemon juice for a tangy variation. The brightness of lemon adds a whole new level of freshness to your sherbet!
-
Chocolate Chip Delight: Fold in mini chocolate chips during the layering process for a decadent surprise. The rich chocolate adds texture and flavor that is simply irresistible.
-
Nutty Crunch: Add finely chopped nuts like pistachios or almonds for a crunchy texture contrast to the creamy sherbet. This nutty addition elevates the dessert and makes it extra special!
If you’re feeling adventurous, don’t forget to check out my scrumptious Chocolate Croissants for a fabulous dessert combination that’s sure to make your summer gatherings unforgettable!
Homemade Rainbow Sherbet Recipe FAQs
How do I select ripe ingredients for my Homemade Rainbow Sherbet?
Absolutely! For the best flavor, choose fresh raspberries that are plump and vibrant in color, without any dark spots. Select oranges that are heavy for their size and have a slightly glossy skin, which indicates juiciness. For limes, look for those that feel firm yet slightly soft to the touch, as they are more ripe and flavorful.
What’s the best way to store Homemade Rainbow Sherbet?
You can store your Homemade Rainbow Sherbet in an airtight container in the freezer for up to 2 months. To maintain its creamy texture, press plastic wrap directly against the surface of the sherbet before sealing it with a lid, which helps prevent ice crystals from forming.
Can I freeze leftover Homemade Rainbow Sherbet?
Yes, you can! For freezing, simply transfer any leftover sherbet into a well-sealed, freezer-safe container. Ensure it’s tightly covered to prevent freezer burn. It will maintain its delightful taste and texture for up to 2 months, making it a perfect make-ahead treat for summer gatherings!
What if my sherbet is too icy when I serve it?
If your Homemade Rainbow Sherbet turns out too icy, it may be due to over-churning or insufficient chilling. To fix this, let it sit at room temperature for about 10-15 minutes before scooping. This allows it to soften and become easier to serve, restoring that creamy consistency we all love.
Are there any dietary considerations for this recipe?
Very! This recipe can accommodate various dietary needs. For a dairy-free version, substitute heavy cream and whole milk with coconut milk and almond milk, respectively. Additionally, be mindful of any fruit allergies, especially to berries or citrus. Always check ingredient labels if you’re using pre-packaged items!
Can I customize flavors beyond raspberry, orange, and lime?
Absolutely! The more, the merrier! You can experiment with tropical fruit juices like pineapple or mango, or even add fresh herbs like mint or basil for a delightful twist. Just remember to keep the balance to ensure a harmonious flavor in your homemade sherbet!
Homemade Rainbow Sherbet
Ingredients
Equipment
Method
- In a medium saucepan, combine heavy cream, whole milk, and granulated sugar over medium heat. Stir constantly for about 5–7 minutes until the sugar is completely dissolved. Remove from heat and mix in vanilla extract. Allow to cool completely.
- Blend fresh raspberries with a little sugar until smooth. Strain through a fine mesh sieve. Set raspberry puree aside.
- Transfer the cooled base to a sealed container and refrigerate for at least 2 hours until cold.
- Pour the chilled base into an ice cream maker and churn for 20–25 minutes until soft-serve consistency.
- Divide the churned base into three bowls. For the first bowl, mix in orange juice, orange zest, and food coloring. Transfer to a freezer-safe container.
- In the second bowl, add lime juice and green food coloring, mix and freeze. Combine raspberry puree with remaining base, churn, and set aside.
- Layer the mixtures in a freezer-safe container, swirling them together for a marbled effect.
- Cover tightly and freeze for at least 4–6 hours until fully hardened.
Leave a Reply