
As summer heats up, there’s nothing quite like the thrill of a no-bake dessert that’s both fun and simple to put together. Enter the delightful Ice Cream Sandwich Cake! This recipe is a vibrant tribute to nostalgic summer days, featuring layers of creamy ice cream and airy whipped topping, all drizzled with luscious hot fudge and caramel sauces. Not only is this cake incredibly easy to prepare, but it also offers endless possibilities for customization, making it a perfect choice for gatherings where you want to impress without breaking a sweat. Whether you’re entertaining friends at a backyard BBQ or simply treating your family to a sweet surprise, this dessert is sure to be a showstopper. What unique twists will you add to your version?
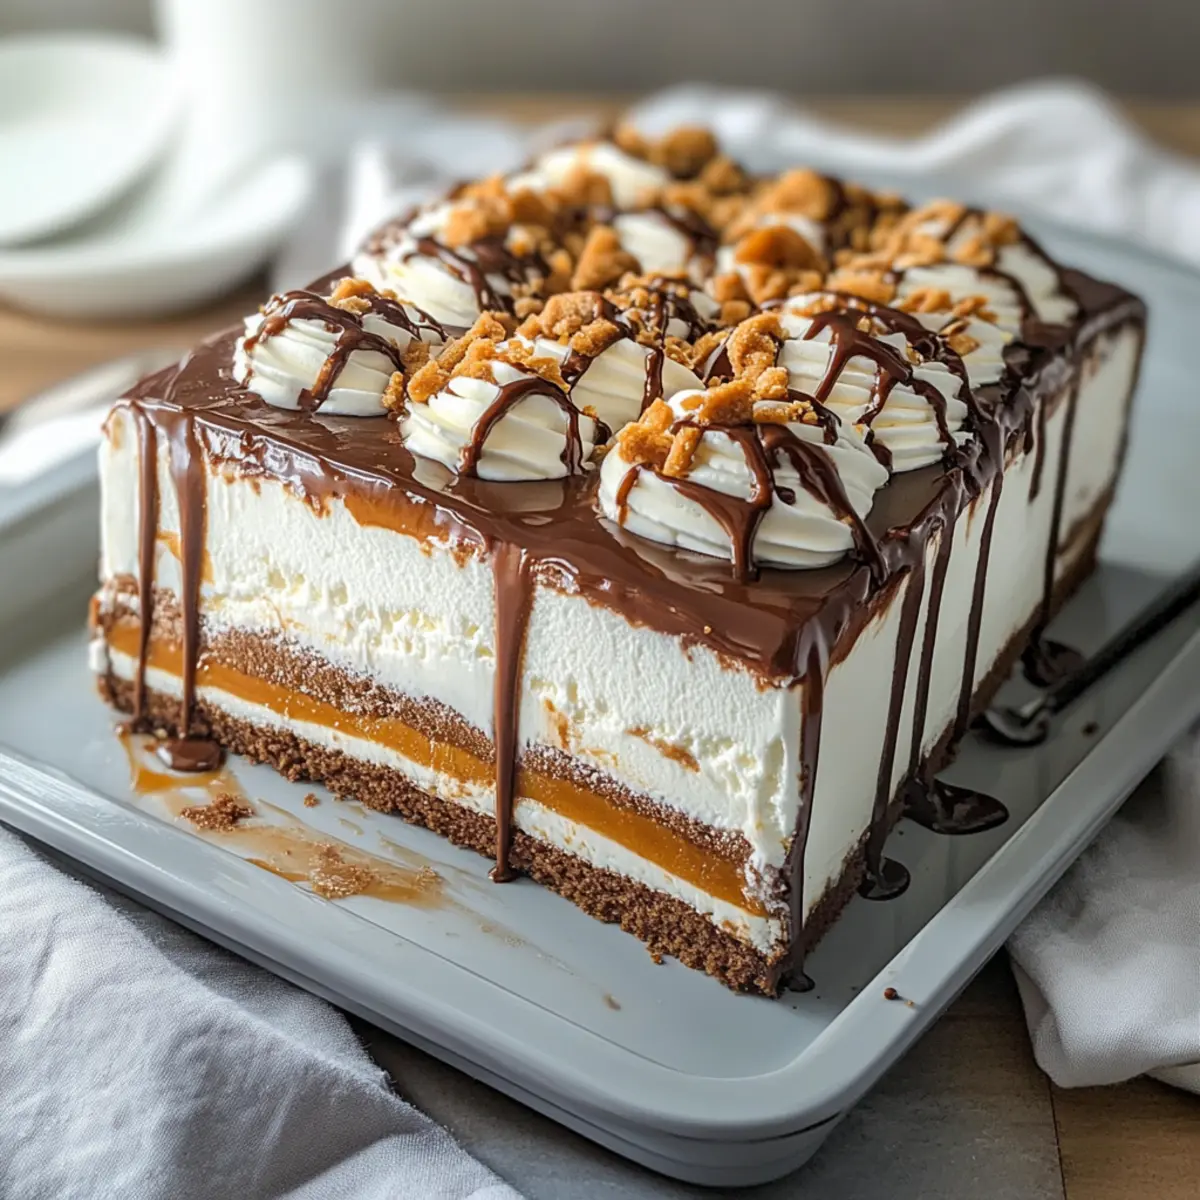
Why is Ice Cream Sandwich Cake so delightful?
Irresistible flavors: The combination of creamy ice cream sandwiches, fluffy whipped topping, and indulgent sauces creates a symphony of delightful tastes that everyone will love.
No-bake convenience: This dessert is perfect for those warm summer days when you want something sweet without turning on the oven!
Endless customization: Whether you swap in chocolate ice cream sandwiches or experiment with various toppings like sprinkles or cookie crumbles, the possibilities are limitless.
Crowd-pleaser: Ideal for parties and family gatherings, this cake transforms any occasion into a festive celebration.
Quick to prepare: You can whip this up in no time, leaving you free to enjoy your time with loved ones. For more quick dessert ideas, check out my delicious Pineapple Cream Cupcakes or the refreshing Creamsicle Mini Cheesecakes!
Ice Cream Sandwich Cake Ingredients
-
For the Cake Layers
• Vanilla Ice Cream Sandwiches – These provide the cake’s base and delightful creaminess; chocolate versions can add a fun twist!
• Whipped Topping – This adds a light and fluffy texture; feel free to use homemade whipped cream for a fresher taste. -
For the Sauces
• Hot Fudge Sauce – This contributes rich, chocolatey sweetness; opt for homemade or store-bought based on your preference.
• Caramel Sauce – Offers a buttery and sweet flavor to complement the chocolate; can be substituted with butterscotch sauce or omitted for less sweetness. -
For the Crunch
• Chopped Pecans – These provide a lovely crunch and nutty flavor; chocolate chips or cookie crumbles make tasty substitutes, or you can omit entirely for a nut-free version.
Step‑by‑Step Instructions for Ice Cream Sandwich Cake
Step 1: Layer Base
Start by unwrapping your vanilla ice cream sandwiches and arranging them in a single layer at the bottom of a 9×13-inch dish, ensuring they are closely placed together for stability. This forms the base of your Ice Cream Sandwich Cake and will provide a delightful creamy foundation for the layers to come.
Step 2: Add Whipped Cream
Next, take your thawed whipped topping and spread a generous layer over the ice cream sandwiches using a spatula. Make sure to cover them evenly, creating a light, fluffy layer that contrasts beautifully with the rich ice cream below. This step adds volume and creaminess, enhancing the overall texture of the cake.
Step 3: Drizzle Sauces
Now, warm your hot fudge and caramel sauces slightly in the microwave for about 10-15 seconds to make them easier to drizzle. Generously drizzle both sauces over the whipped topping, allowing them to cascade and create a luxurious, glossy layer. This delectable blending of flavors is essential for the Ice Cream Sandwich Cake’s deliciousness.
Step 4: Repeat Layers
Continue to build your cake by adding another layer of ice cream sandwiches over the whipped topping and sauces. Repeat spreading whipped topping and drizzling the sauces on top, creating multiple delicious layers. Use up all your ingredients while finishing with a final thick layer of whipped topping to make it visually enticing.
Step 5: Top Finishing Touch
For the final touch, sprinkle chopped pecans or your choice of topping over the last layer of whipped topping. This adds a delightful crunch and visual appeal to your Ice Cream Sandwich Cake. You can also customize this layer with your favorite nuts, sprinkles, or cookie crumbles.
Step 6: Freeze
Cover the dish tightly with aluminum foil and place it in the freezer for at least 30 minutes. This step allows the layers to set and meld together, making it easier to slice and serve later. Once frozen, your Ice Cream Sandwich Cake will be perfectly chilled and ready for slicing into delicious squares.
Make Ahead Options
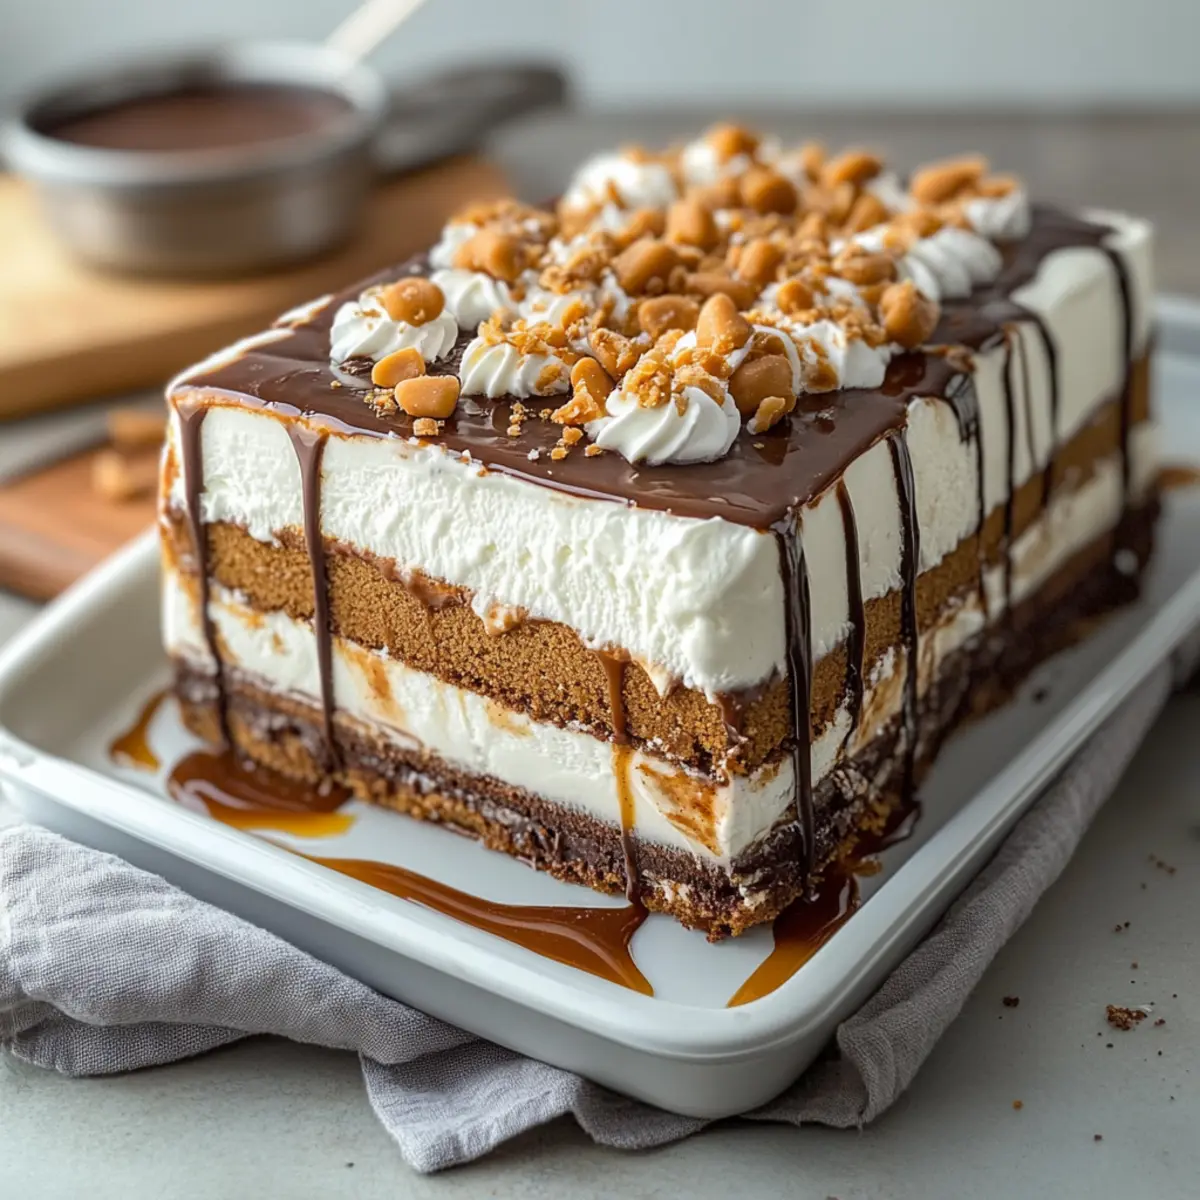
These Ice Cream Sandwich Cakes are a lifesaver for busy home cooks looking to simplify dessert prep! You can assemble the entire cake up to 3 days in advance; just cover it tightly with foil and freeze. To maintain the cake’s delightful texture, ensure the whipped topping is completely thawed for easy spreading, and avoid letting any layers of sauce touch the sides of the dish. When you’re ready to serve, simply remove the cake from the freezer and let it sit at room temperature for about 10-15 minutes before slicing. This way, you’ll still enjoy that creamy, delicious Ice Cream Sandwich Cake with minimal effort and maximum delight!
Storage Tips for Ice Cream Sandwich Cake
- Fridge: Store any leftover Ice Cream Sandwich Cake in the refrigerator, tightly covered, for up to 3 days. This helps maintain its creamy texture and flavor.
- Freezer: If you want to extend storage, wrap the cake tightly in plastic wrap or aluminum foil and store in the freezer for up to 1 week. Thaw in the fridge before serving for best results.
- Reheating: While not typically necessary, if you want to enjoy it slightly softened, let it sit at room temperature for about 5–10 minutes before serving.
- Leftover Toppings: Keep any unused sauces or toppings in separate airtight containers in the fridge for up to 1 week, ready to customize your future servings!
What to Serve with Ice Cream Sandwich Cake?
As you prepare to indulge in this delightful dessert, consider these complementary flavors and textures to create a complete and memorable meal.
-
Fresh Fruit Salad: A refreshing medley of seasonal fruits adds a bright, juicy contrast to the rich layers of the cake, enhancing the overall experience. The sweetness of fruits like berries and melon can brighten up each bite.
-
Chocolate Chip Cookies: These classic cookies provide a crunchy, chewy balance to the soft creaminess of the cake. Plus, they’re a nostalgic pairing that will transport you back to summer days filled with treats.
-
Grilled Peaches: The caramelized sweetness of grilled peaches pairs beautifully with the ice cream sandwich cake, adding a warm and slightly smoky element that enhances its flavors. Top with a dollop of whipped cream for extra indulgence.
-
Ultimate Milkshake: A creamy milkshake loaded with chocolate or vanilla flavors offers a deliciously rich drink option that complements the cake’s textures. Garnish with a drizzle of hot fudge for an extra treat.
-
Mint Chocolate Chip Ice Cream: For the mint lovers, serving a scoop of this refreshing ice cream alongside your dessert can elevate the flavor profile, creating a delightful contrast with the sweet richness of the cake.
-
Decaf Coffee or Iced Tea: A warm or chilled beverage can provide a perfect counterpoint to the sweetness of the dessert, helping to cleanse the palate after each indulgent bite.
-
Mini Cheesecakes: These tangy treats offer a different texture and flavor, round out the dessert offerings, and are a delightful surprise for guests. Choose flavors like berry or lemon for a refreshing twist.
-
Brownie Bites: Rich, fudgy brownie bites can create a chocolate lover’s dream paired with the cake, intensifying the dessert experience with their decadence.
Ice Cream Sandwich Cake Variations
Feel free to let your creativity flow and personalize your dessert with these delightful twists!
- Chocolate Sandwiches: Swap vanilla ice cream sandwiches for chocolate ones to add a rich, decadent twist. Imagine the flavor explosion!
- Fruity Sauces: Instead of caramel and hot fudge, try drizzling with strawberry or raspberry sauce for a refreshing fruit twist that’s perfect for summer.
- Alternative Toppings: Experiment by sprinkling crushed cookies, colorful sprinkles, or a variety of nuts to give an extra texture contrast. Add some fun!
- Healthier Versions: Use low-fat whipped topping and sugar-free sauces for a lighter dessert option without losing flavor. Enjoy guilt-free indulgence!
- Nut-Free Delight: Omit chopped pecans and replace them with crunchy rice cereal or chocolate chips for a delightful crunch that’s nut-free.
- Ice Cream Variety: Don’t stop at vanilla; try using a mix of ice cream flavors, like mint chocolate chip or cookies and cream, for a surprise in every bite.
- Cold Brew Buzz: Add a drizzle of coffee syrup over layers for a sophisticated twist, perfect for those who love coffee-flavored treats!
- Miniature Treats: Transform this cake into individual servings by layering in mason jars for a fun and portable dessert idea. Perfect for gatherings!
This Ice Cream Sandwich Cake is bursting with possibilities! Want some more sweet inspiration? Try my delicious Raspberry Vanilla Cream for another delightful dessert experience.
Expert Tips for Ice Cream Sandwich Cake
- Work Quickly: Make sure to assemble your layers swiftly to prevent the ice cream sandwiches from melting and losing their structure.
- Thawing Whipped Topping: Always allow your whipped topping to thaw completely before spreading; this ensures a smooth application and a beautifully layered cake.
- Freezer Time: For the best texture, freeze the Ice Cream Sandwich Cake for at least 30 minutes, but feel free to prep it up to three days in advance to save time.
- Creative Toppings: Don’t be afraid to get creative with toppings! Use cookie crumbs or fresh fruit to add unique flavors that will delight guests.
- Cutting Tips: When it’s time to serve, dip your knife in warm water before slicing to make clean cuts through the layers of your cake.
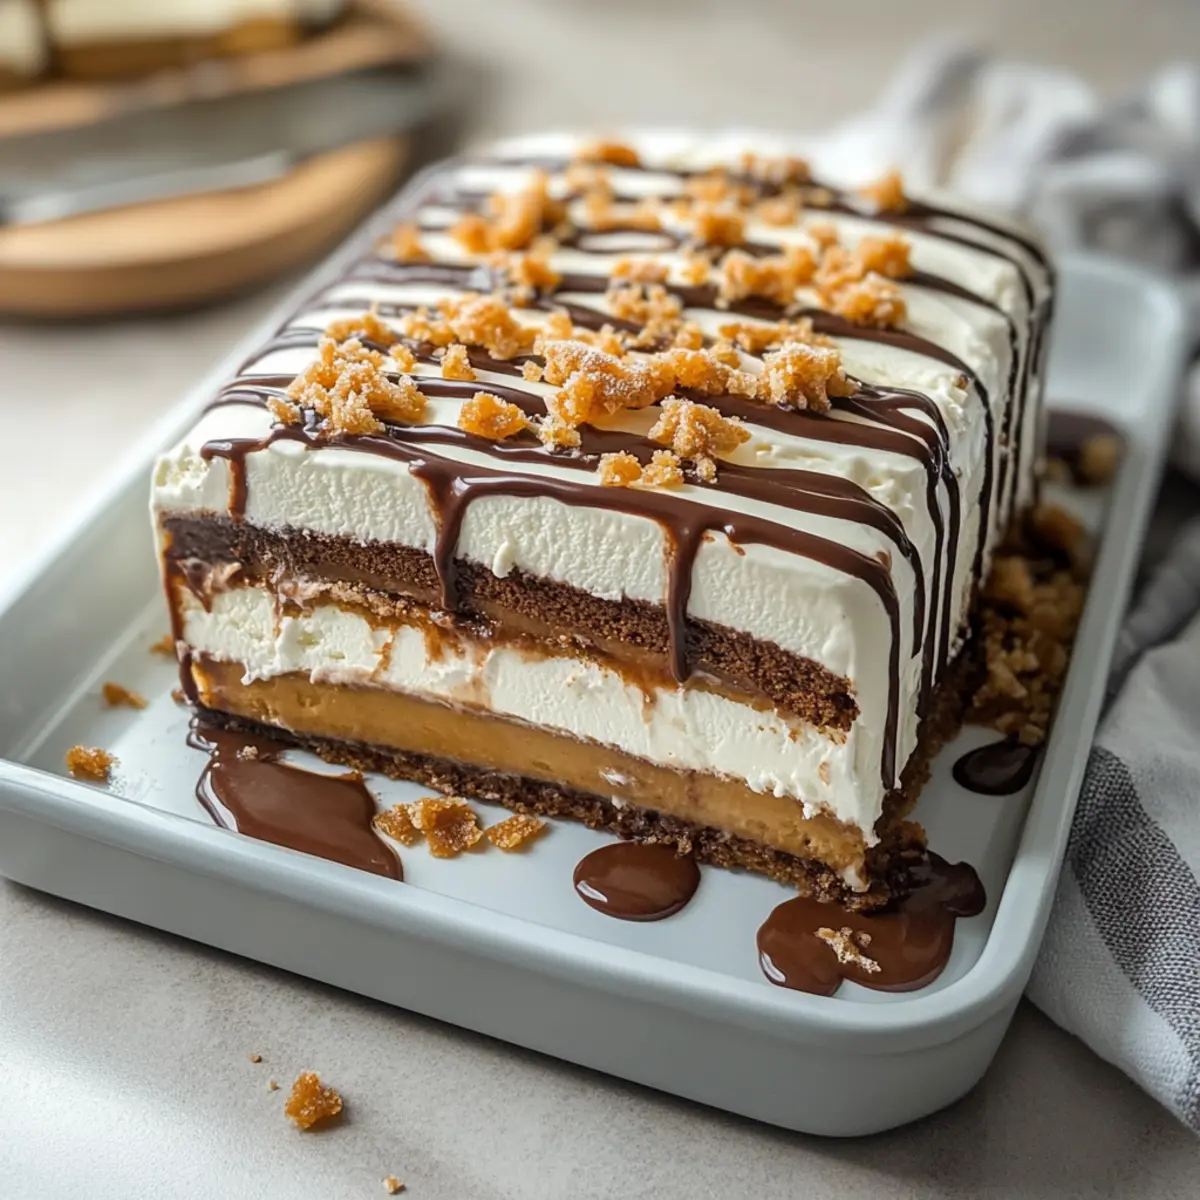
Ice Cream Sandwich Cake Recipe FAQs
How do I select the best ice cream sandwiches for the cake?
Absolutely! Look for ice cream sandwiches that are soft and have a creamy consistency. You want them to be free from any dark spots or freezer burn. I usually choose sandwiches with a pleasant vanilla flavor, but chocolate ones can add a fun twist if that’s more your style.
How should I store the Ice Cream Sandwich Cake?
I often store any leftovers in the freezer, tightly wrapped in plastic wrap or sealed in an airtight container. This helps maintain the creamy texture and keeps it fresh for up to 1 week. If you prefer, you can also keep it in the refrigerator for up to 3 days. Just be sure you cover it well, so it doesn’t absorb any odors!
Can I freeze the Ice Cream Sandwich Cake?
Yes, you can! I recommend freezing your cake for at least 30 minutes to set the layers, but you can prepare it up to 3 days in advance and store it in the freezer until you’re ready to serve. Just make sure to cover it tightly with foil or plastic wrap to prevent freezer burn.
What if my whipped topping is too thick to spread?
If you find your whipped topping is a bit too thick, I recommend letting it sit at room temperature for about 5-10 minutes to soften. Mixing it gently with a spatula can also help create a smoother consistency. If you like, you can whip your own fresh cream instead for an even fluffier texture.
Can I customize the toppings, and what are some good substitutes?
Absolutely! The more the merrier when it comes to toppings! You can substitute chopped pecans with chocolate chips, crushed cookies, or even fresh fruit for a refreshing touch. If you’re aiming for a nut-free version, just omit the nuts completely. Sprinkles or crumbled candies can also make delightful additions.
Is this dessert suitable for people with nut allergies?
If you’re catering to someone with a nut allergy, simply skip the pecans (or any other nuts) and check the labels on your sauces, as some may contain trace amounts of nuts. Use cookie crumbles or extra chocolate chips for that satisfying crunch instead, ensuring everyone can enjoy this delicious Ice Cream Sandwich Cake!
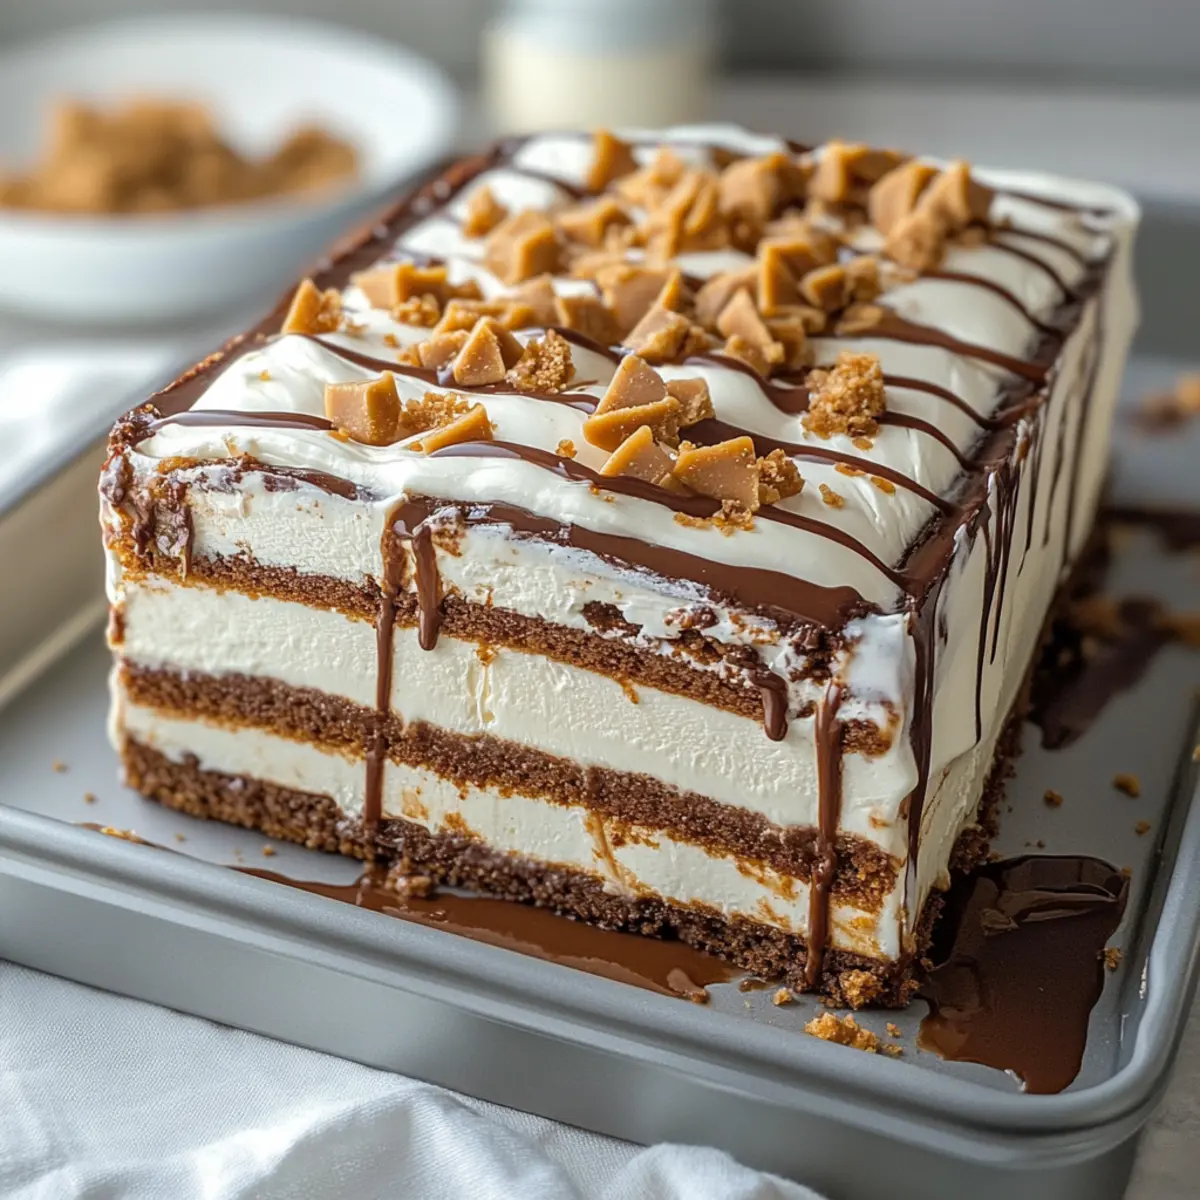
Irresistible Ice Cream Sandwich Cake for Effortless Summer Fun
Ingredients
Equipment
Method
- Start by unwrapping your vanilla ice cream sandwiches and arranging them in a single layer at the bottom of a 9×13-inch dish, ensuring they are closely placed together for stability.
- Take your thawed whipped topping and spread a generous layer over the ice cream sandwiches using a spatula.
- Warm your hot fudge and caramel sauces slightly in the microwave for about 10-15 seconds, then drizzle both sauces over the whipped topping.
- Continue to build your cake by adding another layer of ice cream sandwiches over the whipped topping and sauces. Repeat the process for several layers, finishing with a layer of whipped topping.
- Sprinkle chopped pecans or your choice of topping over the last layer of whipped topping.
- Cover the dish tightly with aluminum foil and place it in the freezer for at least 30 minutes.
Leave a Reply