
As I laid eyes on that vibrant California Pasta Salad, I couldn’t help but feel transported to a sun-soaked picnic, where laughter mingles with the scent of fresh herbs and olive oil. This colorful dish isn’t just a feast for the eyes; it’s an invitation to combine the flavors you love. With its fresh mix of crunchy cherry tomatoes, cucumbers, and bell peppers, this make-ahead marvel is perfect for busy weeknights or lively gatherings. The best part? It’s easily customizable! Whether you’re keeping it gluten-free or looking to add a protein punch, this California Pasta Salad adapts beautifully to your cravings. So, why not dive in and discover how your pantry can transform a classic into your very own signature dish?
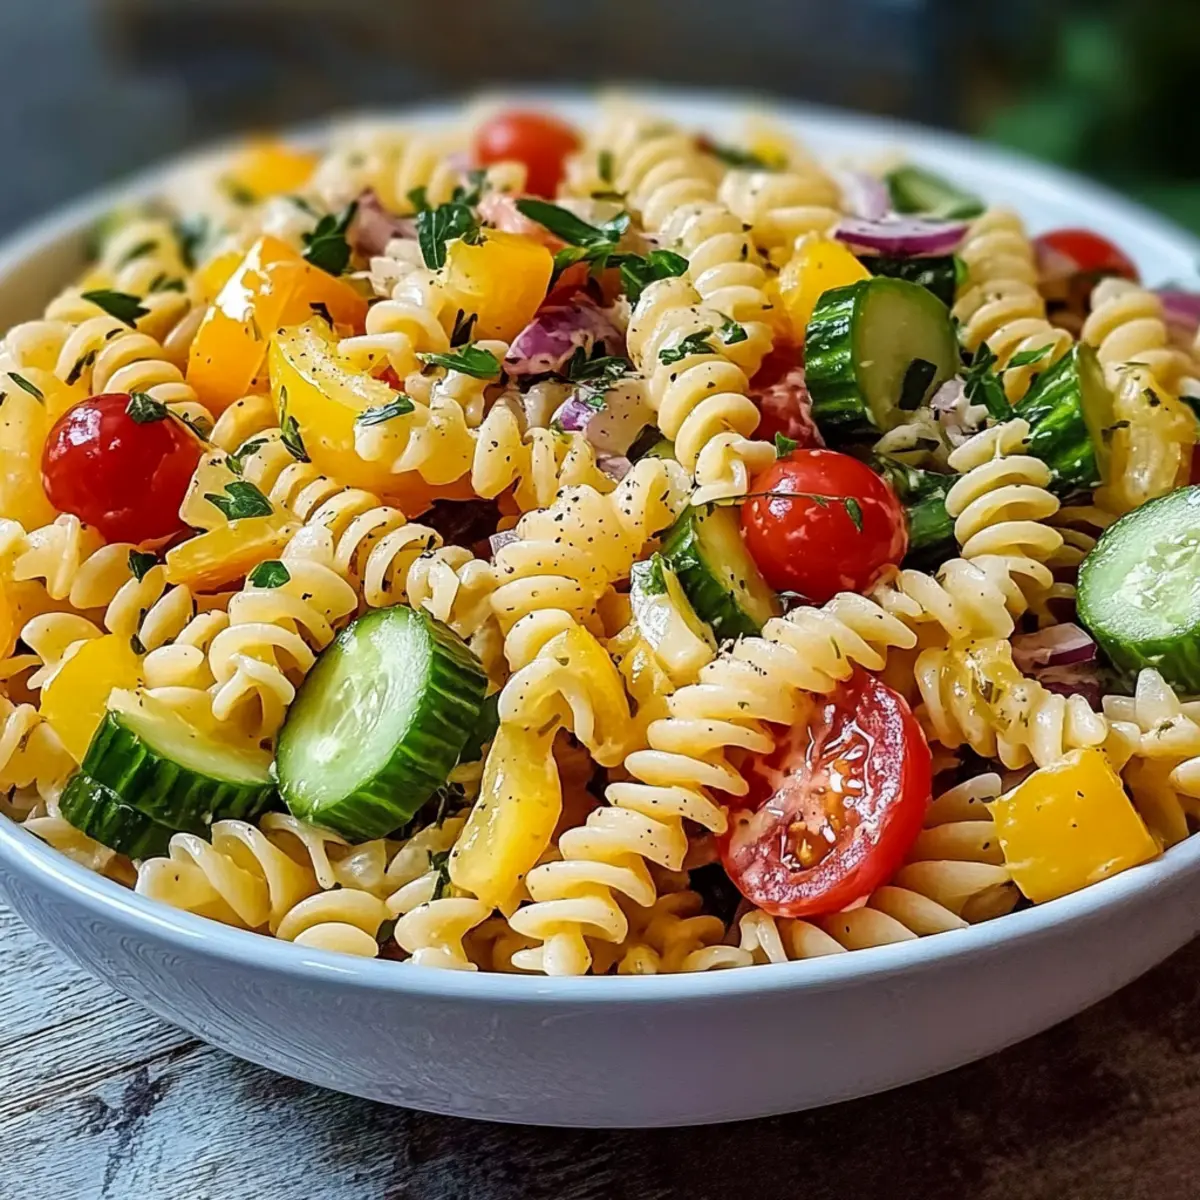
Why is California Pasta Salad a Must-Try?
Vibrant and Colorful: The kaleidoscope of fresh veggies not only makes this dish visually appealing but also bursts with flavor in every bite.
Customizable to Your Tastes: Whether it’s a dairy-free adjustment or a protein boost with grilled chicken, this salad flexes to fit your dietary needs beautifully.
Make-Ahead Marvel: Perfect for meal prep, it tastes even better after a night in the fridge, allowing the flavors to meld.
Quick and Easy: With just a few simple steps, you can whip up this refreshing dish in no time, making it ideal for busy weeknights.
Perfect for Any Occasion: From picnics to potlucks, this California Pasta Salad is a crowd-pleaser that suits any gathering, much like our delicious Mac Pasta Salad or Apple Feta Salad.
California Pasta Salad Ingredients
For the Pasta
• Rotini Pasta – Provides structure; use gluten-free pasta for a gluten-free version.
For the Vegetables
• Cherry Tomatoes – Adds sweetness and color; substitute with diced regular tomatoes if desired.
• Cucumber – Contributes crunch and hydration; any variety, such as English or Persian cucumbers, works.
• Red Onion – Adds a sharp, zesty flavor; use green onions for a milder taste.
• Black Olives – Provides saltiness and richness; can be replaced with green olives or omitted.
• Bell Pepper – Gives a sweet, crunchy element; any color works, or try zucchini for variation.
For the Cheese
• Sharp Cheddar Cheese – Offers creaminess; swap for vegan cheese for a dairy-free version or omit for a lighter salad.
For the Dressing
• Italian Salad Dressing – Enlivens flavors; consider homemade dressing to control ingredients.
For Garnish
• Fresh Parsley – Adds a fresh garnish; feel free to use other herbs like basil or cilantro.
• Salt and Pepper – Enhances overall flavor; add to taste for the perfect finish.
This California Pasta Salad is not only adaptable but a delightful medley tailored to your preferences!
Step‑by‑Step Instructions for California Pasta Salad
Step 1: Cook the Pasta
Begin by bringing a large pot of salted water to a vigorous boil over high heat. Add the rotini pasta and cook according to the package instructions until al dente, usually about 8–10 minutes. You’ll know it’s ready when it’s firm but not hard. Once cooked, drain the pasta in a colander and immediately rinse under cold water to halt the cooking process and cool it down.
Step 2: Prepare the Vegetables
While the pasta cools, chop your vegetables. Dice the cherry tomatoes, cucumber, and bell pepper into bite-sized pieces, and finely slice the red onion. In a spacious mixing bowl, combine these colorful ingredients with the black olives. The vibrant hues will make your California Pasta Salad irresistible!
Step 3: Combine Pasta and Veggies
Once the pasta is cool, add it to the mixing bowl with the chopped vegetables. Gently fold the ingredients together to ensure they’re evenly distributed. The lovely contrast of textures and colors in the bowl sets the stage for a delicious California Pasta Salad that’s both refreshing and filling.
Step 4: Add Cheese and Dressing
Sprinkle sharp cheddar cheese into the bowl, followed by your choice of Italian salad dressing. Pour enough dressing to coat all the ingredients, using about ½ to 1 cup, depending on your preference for flavor. Toss everything gently but thoroughly, ensuring that each piece is glazed with the zesty dressing.
Step 5: Season and Garnish
Taste your California Pasta Salad and season with salt and pepper to your liking. For an added touch of freshness, finely chop some fresh parsley and sprinkle it over the salad. This garnishing not only enhances the flavor but also adds a lovely visual appeal to your dish.
Step 6: Chill and Serve
Cover the mixing bowl with plastic wrap or a lid, and place the salad in the refrigerator for at least 30 minutes. This chilling time is essential as it allows the flavors to meld and intensify. When ready to serve, give it another light toss, and enjoy your creative California Pasta Salad as a delightful meal or side dish.
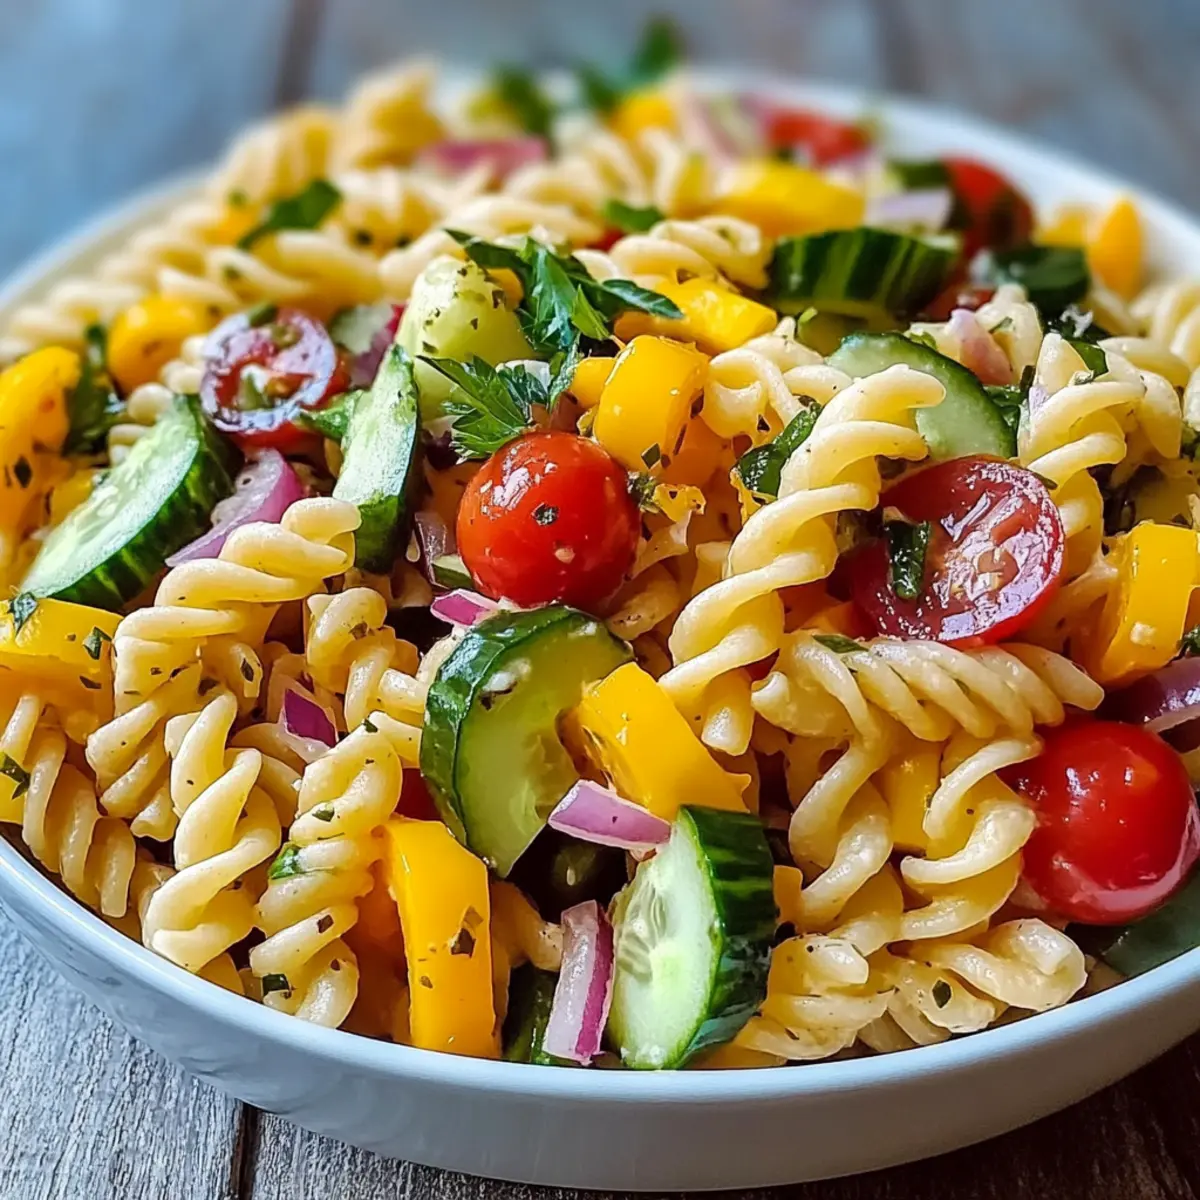
California Pasta Salad Variations & Substitutions
Feel free to play with this California Pasta Salad recipe and make it your own with these delicious variations!
- Gluten-Free: Substitute rotini with gluten-free pasta for a gluten-free delight that everyone can enjoy.
- Extra Veggies: Add seasonal roasted veggies like zucchini or spinach in the cooler months for a hearty twist. These vibrant additions can elevate both flavor and nutrition!
- Protein Boost: Mix in grilled chicken, shrimp, or chickpeas for hearty protein options. Not only does this enhance the salad, but it transforms it into a fulfilling meal perfect for dinner.
- Creamy Avocado: Add diced avocado just before serving for a creamy texture and rich flavor that complements all the crunchiness.
- Herb Variation: Swap parsley for fresh basil or cilantro to introduce a fresh herbal touch that brightens the entire dish.
- Spicy Kick: For heat lovers, include diced jalapeños or a drizzle of sriracha in the dressing for a zesty feeling. This twist will tantalize your taste buds with bold flavor!
- Mediterranean Flair: Incorporate feta cheese, kalamata olives, and a lemon-oregano vinaigrette for a refreshing Mediterranean version of this classic. It’s like a vacation on your plate!
- Southwest Flavor: Mix in black beans, corn, and some avocado with a chipotle-lime dressing for a bursting Southwest style. This addition brings a delightful smokiness to the dish.
Ready to explore more delightful flavors? Check out our delicious Deviled Egg Macaroni Salad for another twist on a classic!
Expert Tips for California Pasta Salad
-
Perfect Pasta Cooking: Avoid mushy noodles by cooking your rotini pasta until just al dente. Rinse it immediately to stop the cooking process.
-
Flavor Infusion: Allow the California Pasta Salad to chill for at least 30 minutes before serving. This resting time enhances flavor melding as the ingredients mingle.
-
Crisp Vegetables: Choose the freshest vegetables and chop them into uniform sizes for even texture and flavor distribution. A mix of colors makes your salad visually stunning.
-
Versatile Dressings: Don’t hesitate to experiment with various dressings! Homemade versions can provide more flavor control, making your California Pasta Salad uniquely yours.
-
Protein Power-Up: For added nutrition, consider including grilled chicken, tuna, or chickpeas. This not only boosts the protein content but also adds richness to the dish.
How to Store and Freeze California Pasta Salad
Fridge: Keep your California Pasta Salad in an airtight container in the refrigerator for up to 3 days. This allows the flavors to meld and develop further!
Freezer: While it’s best enjoyed fresh, you can freeze the pasta salad for up to 1 month. Just be aware that the texture of some veggies may change upon thawing.
Reheating: If desired, let it sit at room temperature for about 15 minutes before serving. You can also add a little extra dressing to refresh the flavors.
Make-Ahead: This salad makes an excellent make-ahead option! Prepare it a day in advance for gatherings, and the tastes will be even more delightful.
Make Ahead Options
California Pasta Salad is perfect for busy home cooks looking to simplify mealtime! You can prepare the dressing and chop all the vegetables (cherry tomatoes, cucumbers, bell peppers, and red onions) up to 24 hours in advance, storing them separately in sealed containers in the refrigerator to maintain their crispness. Additionally, you can cook and cool the rotini pasta ahead of time, simply tossing it with a dash of oil to prevent sticking. When you’re ready to enjoy this colorful dish, mix all the prepared components with the cheese and dressing, and give it a good toss. You’ll have a delightful meal ready with minimal effort, just as delicious as when freshly made!
What to Serve with California Pasta Salad
Elevate your California Pasta Salad experience by pairing it with delightful side dishes and drinks that cater to every palate.
-
Garlic Bread: Adds a toasty, buttery crunch that perfectly complements the fresh flavors of the salad. It’s great for indulging in those juicy bites.
-
Grilled Chicken Skewers: Tender, smoky chicken adds protein and a savory note, making for a well-rounded meal that satisfies everyone’s hunger.
-
Roasted Vegetables: Serve up a medley of seasonal roasted veggies, creating a warm, earthy contrast to the salad’s cool crispness. Their caramelized sweetness will have you reaching for more!
-
Fruit Salad: A bright, refreshing fruit medley balances the savory elements beautifully, providing both sweetness and hydration to your meal. Think juicy watermelon and tart berries!
-
Sparkling Lemonade: This fizzy drink refreshes the palate and echoes the zesty Italian dressing’s brightness, proving to be a festive beverage choice.
-
Cheesy Caprese Skewers: Just the right amount of juicy tomatoes, creamy mozzarella, and fresh basil on skewers make for a fingerprint-friendly appetizer that ties in nicely with the pasta salad’s vibe.
-
Chocolate Chip Cookies: For a touch of sweetness after your meal, warm, gooey chocolate chip cookies add the perfect ending to your delightful dining experience.
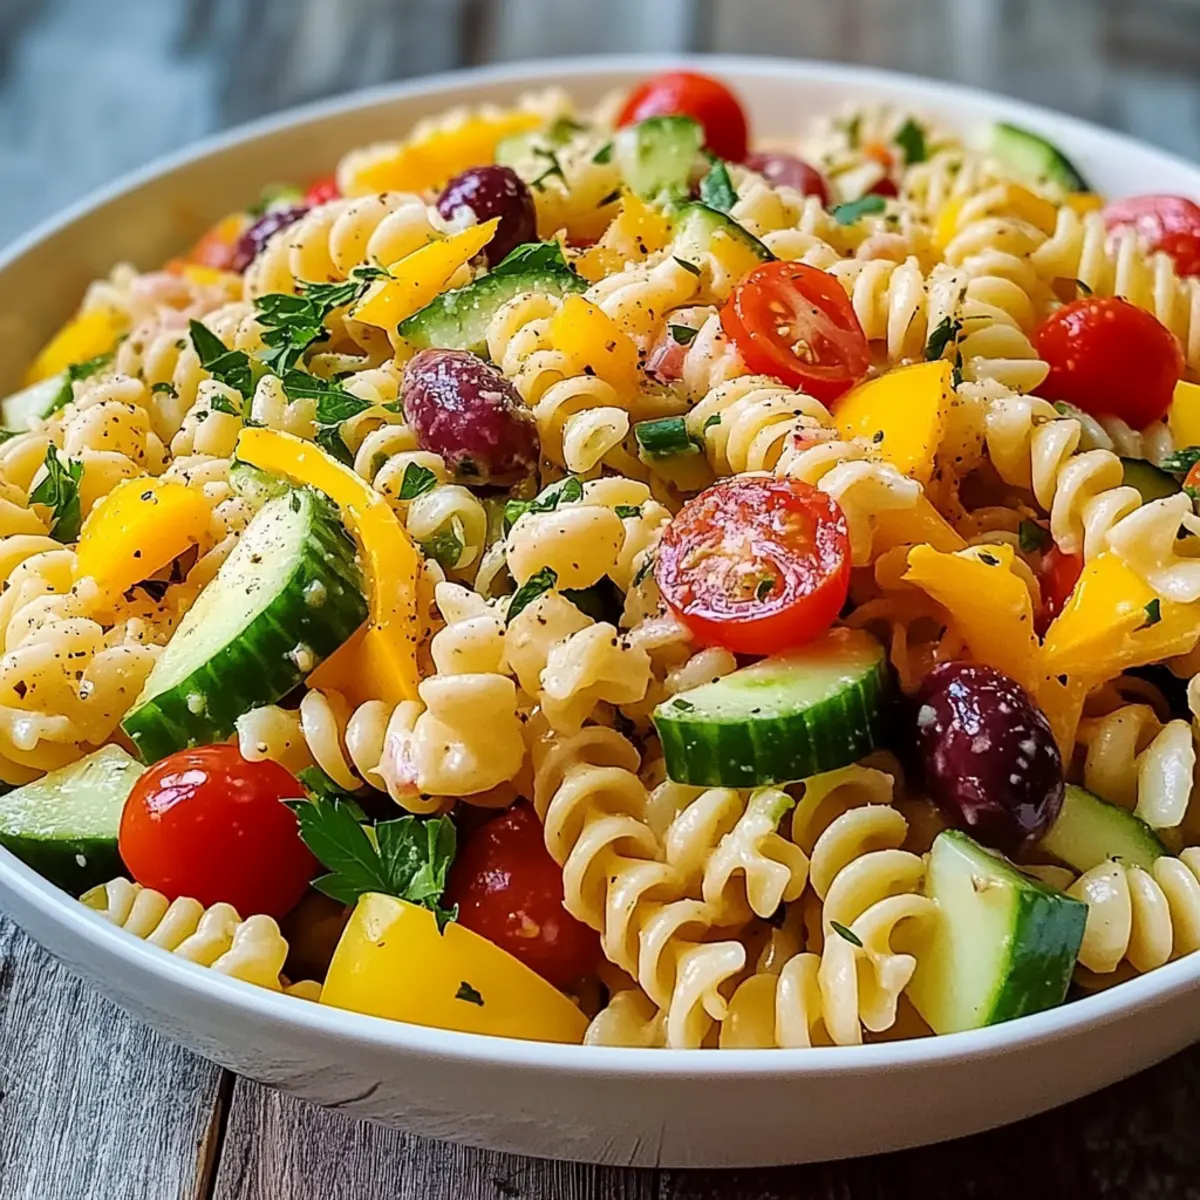
California Pasta Salad Recipe FAQs
What type of pasta works best for California Pasta Salad?
Absolutely! Rotini pasta is a favorite for this recipe due to its shape, which holds the dressing and complements the crunchy vegetables. For those needing gluten-free options, simply swap in gluten-free rotini, and you’ll still enjoy the same delightful texture!
How should I store leftover California Pasta Salad?
Store your California Pasta Salad in an airtight container in the refrigerator to keep it fresh for up to 3 days. The flavors will actually deepen as it chills, so this dish is a great make-ahead option! Just remember to give it a gentle toss before serving to redistribute the dressing.
Can I freeze California Pasta Salad?
While it’s best enjoyed fresh, you can absolutely freeze your California Pasta Salad for up to 1 month. If you decide to freeze it, consider leaving out fresh ingredients like tomatoes and cucumbers, as their texture can change during thawing. To freeze, simply pack the salad in a freezer-safe container, and when you’re ready to enjoy, allow it to thaw overnight in the refrigerator.
How do I prevent overcooked pasta in this salad?
The trick to perfectly cooked pasta is to keep an eye on the clock! Cook the rotini just until it reaches al dente, typically around 8 to 10 minutes, depending on the brand. To stop the cooking, drain and rinse the pasta under cold water immediately after it’s done. This step ensures that your salad maintains a nice bite without the pasta becoming mushy.
Are there any dietary considerations for California Pasta Salad?
Very! This salad is easily customizable to accommodate various dietary needs. For a dairy-free version, simply swap out the sharp cheddar cheese for a vegan alternative or omit it altogether. Additionally, feel free to substitute the Italian dressing with a vegan option if you’re avoiding animal products. Always check ingredient labels to ensure they meet your specific dietary requirements!
How long should I let the California Pasta Salad chill before serving?
To enhance the flavors significantly, I recommend refrigerating your California Pasta Salad for at least 30 minutes before serving. This resting time allows all the components to meld beautifully, culminating in a refreshing and flavorful dish that’s perfect for any occasion!
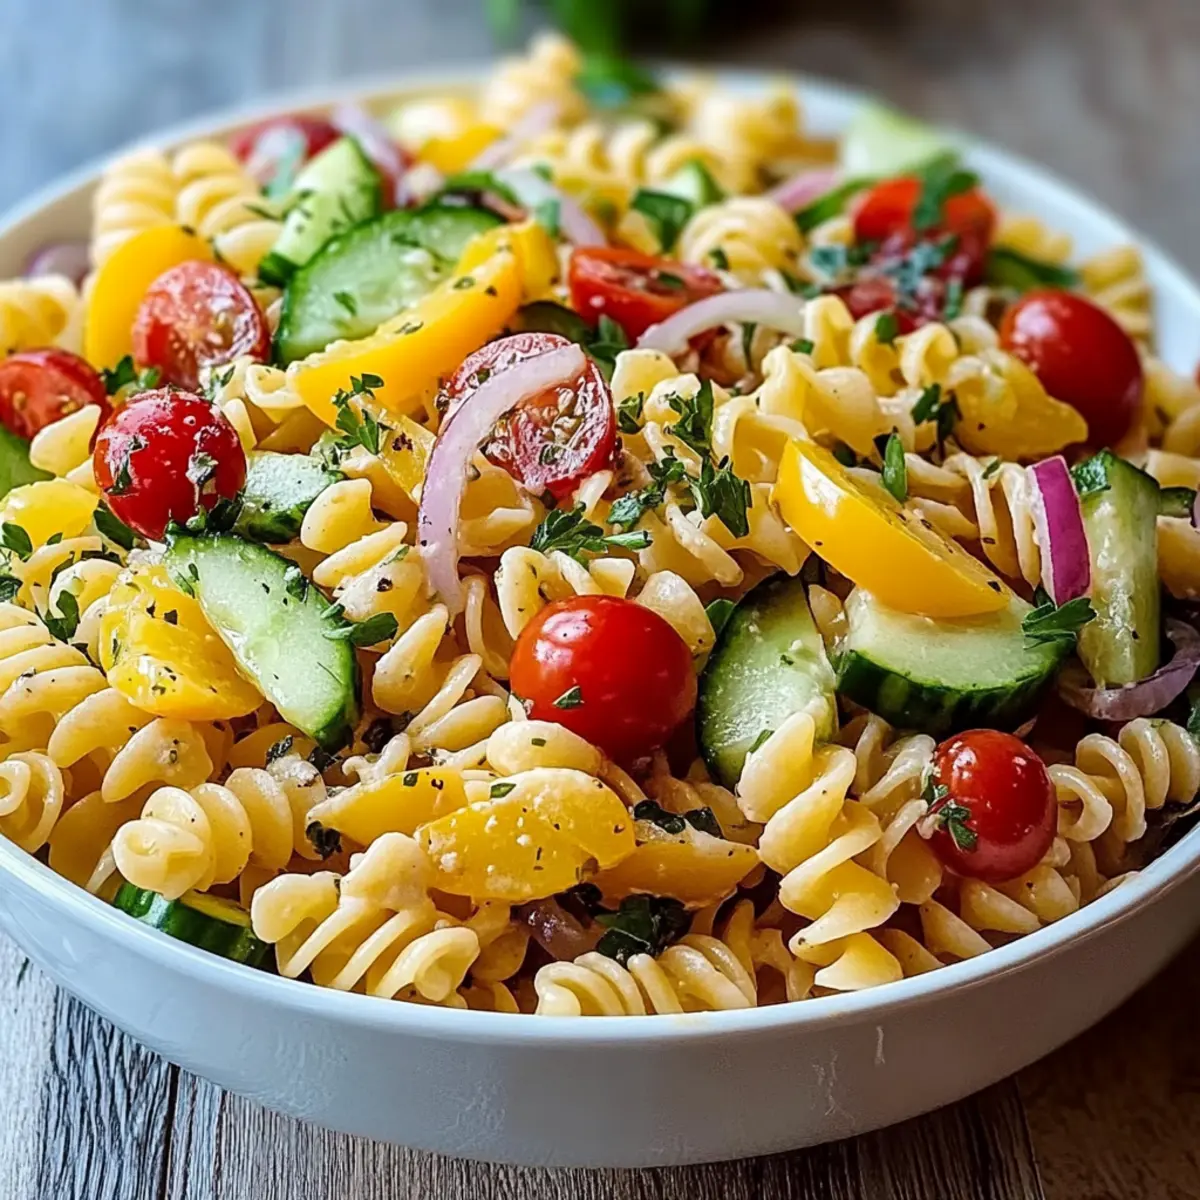
Colorful California Pasta Salad: Fresh and Customizable Delight
Ingredients
Equipment
Method
- Begin by bringing a large pot of salted water to a vigorous boil. Add the rotini pasta and cook according to the package instructions until al dente, about 8–10 minutes. Once cooked, drain and rinse under cold water.
- While the pasta cools, dice the cherry tomatoes, cucumber, and bell pepper, and finely slice the red onion. In a mixing bowl, combine these colorful ingredients with the black olives.
- Once the pasta is cool, add it to the mixing bowl with the chopped vegetables. Gently fold the ingredients together.
- Sprinkle sharp cheddar cheese into the bowl, followed by your choice of Italian dressing. Toss everything gently but thoroughly.
- Taste your salad and season with salt and pepper. Finely chop fresh parsley and sprinkle over the salad.
- Cover the bowl and chill in the refrigerator for at least 30 minutes before serving.
Leave a Reply