
As I carefully unwrapped the foil from my latest baking endeavor, the inviting aroma of fresh lemons wafted through the kitchen, instantly uplifting my spirits. This Baked Lemon Ricotta Cheesecake is the perfect way to celebrate sunny days or add a touch of elegance to any gathering. Its creamy texture intertwines beautifully with the zesty lemon flavor, making each slice a delightful experience. Not only is this dessert an easy crowd-pleaser, but it can also be made ahead of time and frozen for up to two months—perfect for those busy weeks when you crave something special. Are you ready to impress your friends and family with this refreshing treat? Let’s embark on this delicious journey together!
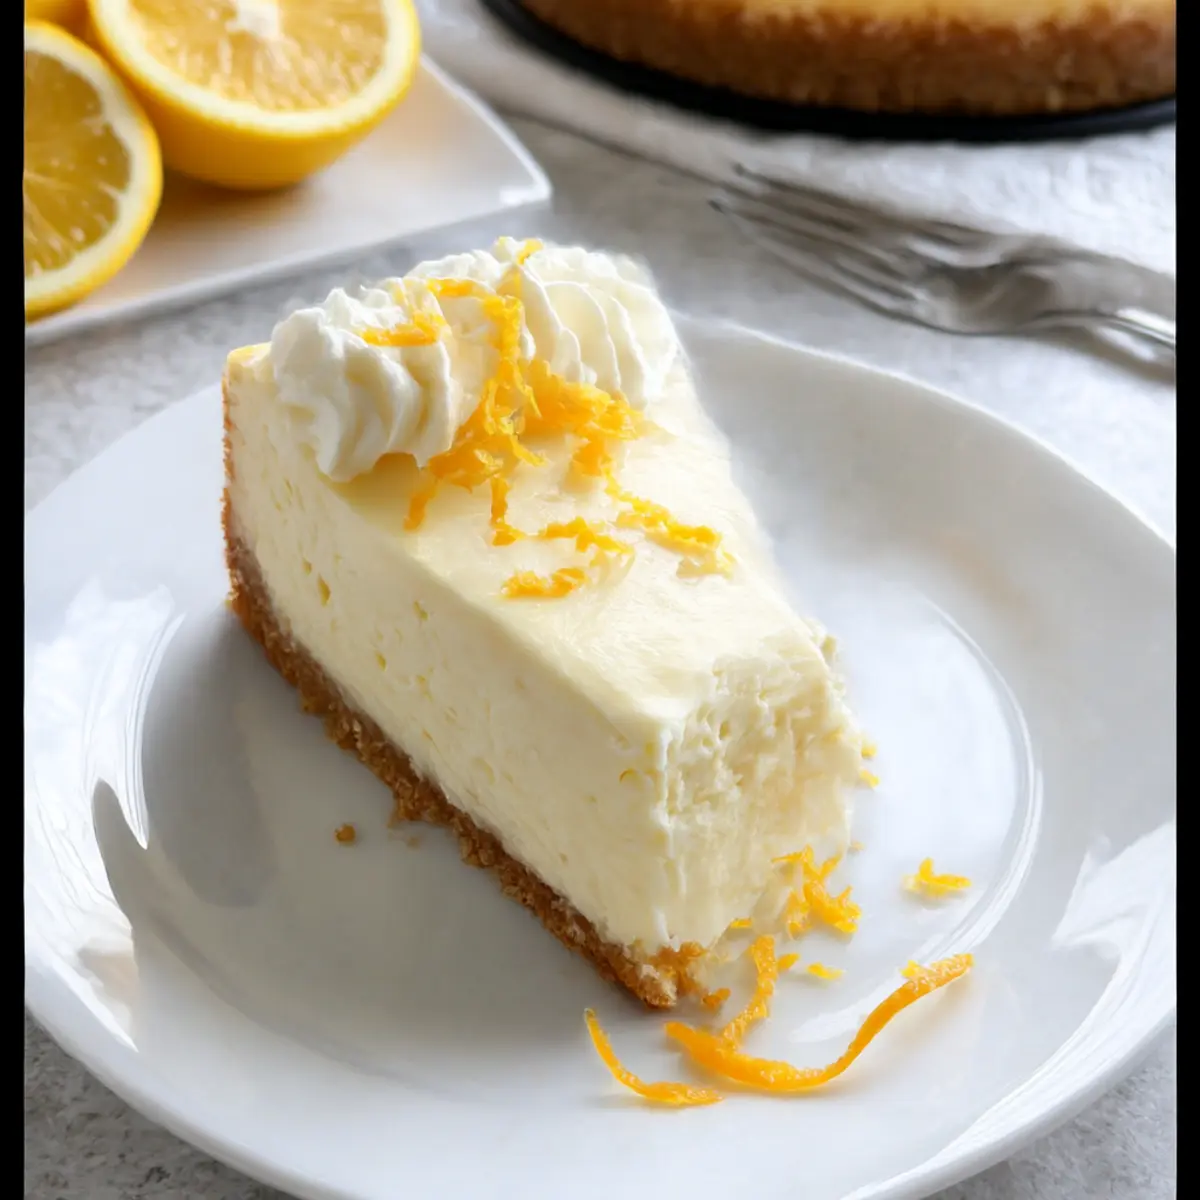
Why is Lemon Ricotta Cheesecake so special?
Creamy Delight: This Baked Lemon Ricotta Cheesecake features a dreamy texture, combining smooth ricotta and cream cheese that melts in your mouth.
Zesty Refreshment: The bright burst of fresh lemon juice and zest elevates the flavor, ensuring each bite is both tangy and sweet.
Effortless Preparation: With simple ingredients and straightforward instructions, this dessert is perfect for home bakers looking to impress without stress.
Make-Ahead Marvel: You can prepare it in advance and freeze it, making it an exceptional choice for gatherings or those busy weeks when you want a treat ready to go.
Versatile Options: Experiment by adding mixed berries on top or pairing it with sparkling wine—perfect for any occasion! This cheesecake stands out, just like our Cinnamon Roll Cheesecake.
Lemon Ricotta Cheesecake Ingredients
For the Crust
- Graham Crackers crumbs – Provides a sweet and textured crust. Substitution: Digestive biscuits may be used if preferred.
- Granulated Sugar (for crust) – Sweetens and helps bind the crust.
- Kosher Salt – Enhances flavor balance. Substitution: Table salt can be used as an alternative.
- Unsalted Butter – Binds the crust mixture. Preparation Note: Ensure butter is melted.
For the Filling
- Full-Fat Cream Cheese – Main filling component providing creaminess. Note: Use very soft for ease of mixing.
- Whole Milk Ricotta Cheese – Adds a light and fluffy texture to the filling.
- Granulated Sugar (for filling) – Sweetens the cheesecake.
- Pure Vanilla Extract – Adds depth of flavor to the filling.
- Eggs + Egg Yolks – Provide structure and richness. Substitution: Flax eggs for a vegan option.
- All-purpose Flour – Helps stabilize filling. Substitution: Cornstarch may be used for a gluten-free version.
- Fresh Lemon Juice – Gives the cheesecake a bright and tangy flavor. Substitution: Bottled lemon juice can be used but fresh is recommended.
- Fresh Lemon Zest – Enhances the lemon flavor.
For Serving
- Whipped Cream – Optional topping for serving, adds a creamy finish.
- Finely grated Lemon Zest (for garnish) – For decoration and added flavor.
Step‑by‑Step Instructions for Lemon Ricotta Cheesecake
Step 1: Preheat the Oven
Begin by preheating your oven to 350°F (175°C). While it warms up, prepare a 9-inch springform pan by generously spraying it with non-stick spray. For added protection and to prevent leaks, wrap the bottom of the pan in aluminum foil. This will keep your Lemon Ricotta Cheesecake smooth and creamy.
Step 2: Prepare the Crust
In a mixing bowl, combine graham cracker crumbs, granulated sugar, and kosher salt. Pour in the melted unsalted butter and mix until the crumbs are evenly moistened. Press this mixture firmly into the bottom of the prepared springform pan. Bake for 10 minutes, or until lightly golden, then remove from the oven and let it cool completely.
Step 3: Lower Oven Temperature
Once the crust is cool, reduce the oven temperature to 300°F (150°C). This lower heat will allow the Lemon Ricotta Cheesecake to bake evenly and gently, preventing cracks. Prepare for the next stage while the oven adjusts to maintain the perfect baking environment for your cheesecake.
Step 4: Mix the Filling
In a large mixing bowl, use a stand mixer to blend the full-fat cream cheese and whole milk ricotta cheese until just smooth, about 2-3 minutes. Gradually add the granulated sugar and pure vanilla extract, mixing until well combined. Slowly incorporate the eggs one at a time, then sift in the all-purpose flour, followed by the fresh lemon juice and zest, mixing until everything is smooth and creamy.
Step 5: Bake the Cheesecake
Pour the creamy filling into the cooled crust and ensure it is evenly spread. To create a gentle baking environment, place the springform pan into a larger baking dish filled with hot water, creating a water bath. Bake in the 300°F oven for 1 hour and 25 minutes, or until the edges are slightly set but the center remains a bit jiggly. After baking, turn off the oven and let the cheesecake sit inside for another 40 minutes.
Step 6: Cool the Cheesecake
After the timer goes off, carefully remove the cheesecakes from the water bath. Run a knife around the edges to loosen it before allowing it to cool completely on a wire rack. Once cooled, cover and chill the Lemon Ricotta Cheesecake in the refrigerator for at least 6 hours, or overnight for optimal texture and flavor.
Step 7: Serve the Cheesecake
When ready to serve, carefully remove the sides of the springform pan. Optionally, top your Lemon Ricotta Cheesecake with a dollop of whipped cream and garnish with finely grated lemon zest for an exquisite finish. Slice and enjoy this delightful dessert that is both refreshing and indulgent!
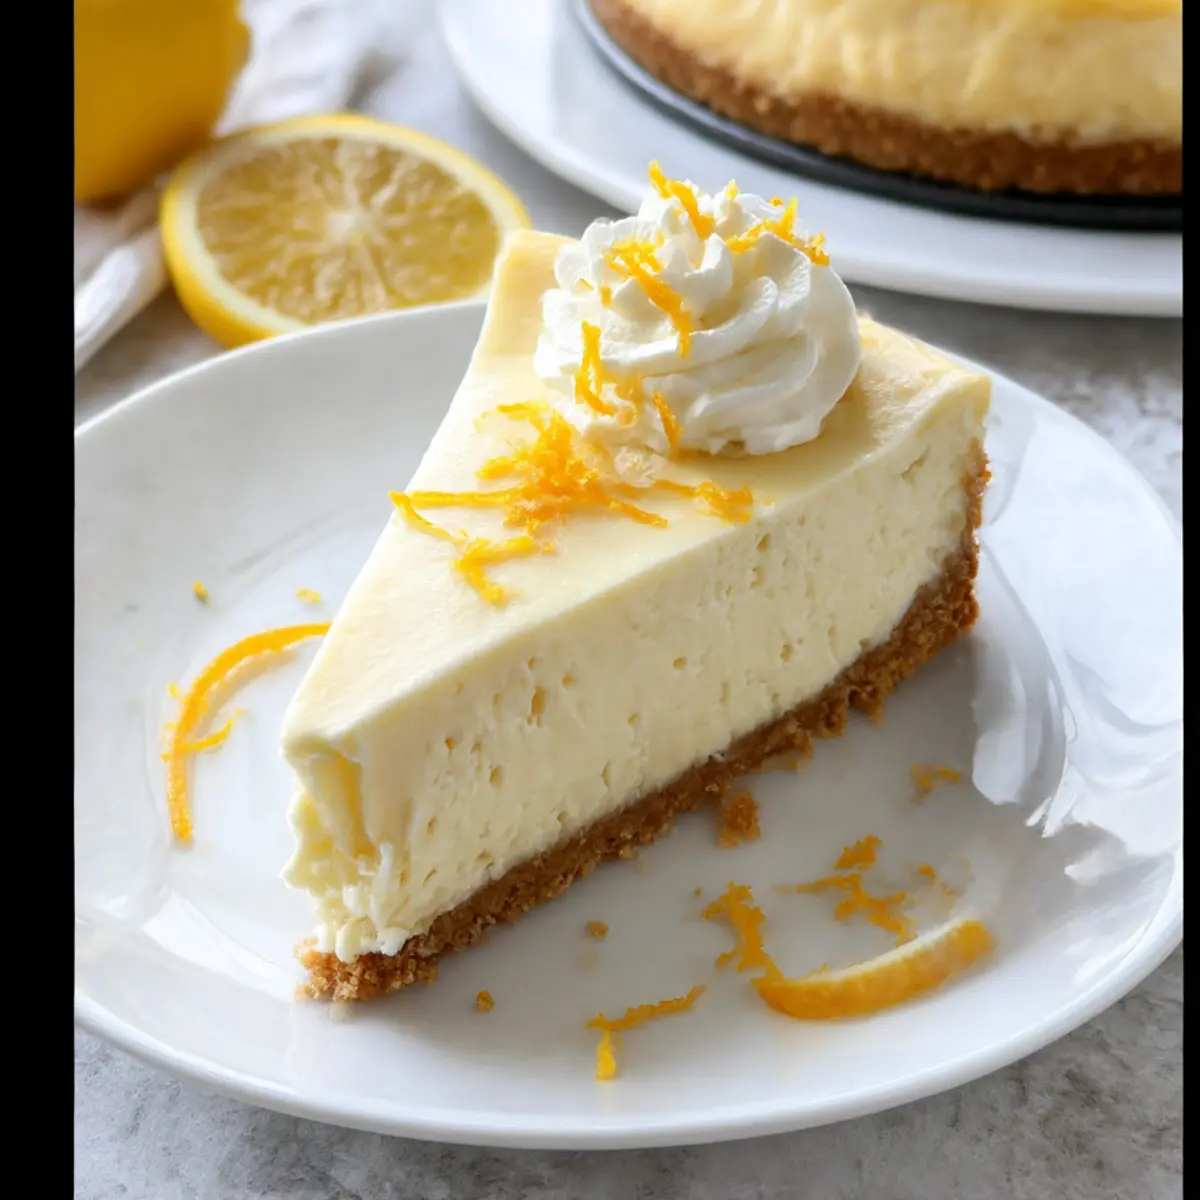
What to Serve with Baked Lemon Ricotta Cheesecake
Elevate your dessert experience with delightful pairings that complement the creamy and zesty flavors of this cheesecake.
-
Fresh Berries: Juicy strawberries and blueberries enhance the cheesecake’s citrus notes, adding a burst of color and freshness.
-
Whipped Cream: A dollop of lightly sweetened whipped cream adds creaminess and lightness, balancing the rich cheesecake.
-
Lemon Sorbet: A refreshing lemon sorbet provides a cool, tangy contrast that enlivens your palate between bites.
-
Sparkling Wine: A glass of bubbly pairs excellently, accentuating the cheesecake’s citrus zest while adding a celebratory touch.
-
Mint Leaves: Fresh mint leaves as a garnish add a pop of color and aromatic freshness, enhancing its overall presentation and flavor.
-
Chocolate Drizzle: A chocolate sauce drizzle introduces a rich, sweet depth that beautifully complements the cheesecake’s tangy lemon flavor.
-
Almond Biscotti: Crunchy almond biscotti serves as a delightful dipper, adding texture and a nutty contrast to the indulgent cheesecake.
-
Coffee or Espresso: A warm cup of coffee or a shot of espresso lifts the flavors of the cheesecake, creating a cozy and inviting pairing.
Lemon Ricotta Cheesecake Variations
Feel free to get creative with your Lemon Ricotta Cheesecake and personalize it to your taste! Let your culinary imagination run wild!
-
Dairy-Free: Substitute the cream cheese and ricotta with vegan cream cheese and a plant-based yogurt for a delightful non-dairy version. Rich and wonderfully creamy, it’s a treat everyone can enjoy.
-
Gluten-Free: Switch all-purpose flour with almond flour or cornstarch to make this cheesecake gluten-free. The texture remains luscious, making it a perfect option for gluten-sensitive guests.
-
Sweetener Swap: Use honey or maple syrup instead of granulated sugar for a natural sweetening option. This adds a distinctive flavor while keeping the cheesecake indulgently sweet.
-
Flavor Infusion: Add a dash of almond or coconut extract to the filling for a unique twist on flavor that pairs beautifully with lemon.
-
Extra Zest: Mix in one teaspoon of lemon extract to enhance the citrus flavor in every bite, creating an even more vibrant lemon experience.
-
Fruit Fusion: Top with a homemade berry compote or mix fresh fruit like blueberries or strawberries into the cheesecake batter before baking. This creates delightful pockets of flavor throughout!
-
Chocolate Drizzle: Drizzle melted dark or white chocolate over the chilled cheesecake for a luxurious finish. The combination of chocolate and lemon is absolutely divine!
-
Spice It Up: Incorporate a pinch of cardamom or cinnamon into the crust for a warm, aromatic twist that will surprise and delight palates.
This Lemon Ricotta Cheesecake can also be joined by other tempting desserts, such as a refreshing Mini Lemon Tart or a delightful Cotton Candy Cheesecake. Let your creativity shine!
Expert Tips for Baked Lemon Ricotta Cheesecake
Room Temperature Ingredients: Ensure all your ingredients, especially cream cheese and ricotta, are at room temperature. This helps achieve a perfectly smooth filling.
Water Bath Essential: Using a water bath is key for baking. It keeps your Lemon Ricotta Cheesecake moist and prevents cracks on the surface.
Gentle Mixing: After adding the eggs, mix gently to avoid overmixing. This preserves the creamy texture and prevents it from becoming dense.
Cool Gradually: To avoid shocking the cheesecake, cool it in the oven with the door slightly ajar after baking. This gradual cooling helps maintain its structure.
Right Chilling Time: Allow the cheesecake to chill for at least 6 hours—or overnight if possible—to let the flavors meld together beautifully.
Flavor Variations: Experiment by adding other flavors like almond extract or a berry compote for an exciting twist on your classic Lemon Ricotta Cheesecake.
How to Store and Freeze Lemon Ricotta Cheesecake
Fridge: Keep your Lemon Ricotta Cheesecake tightly covered in the refrigerator for up to 5 days to maintain its creamy texture and flavor.
Freezer: To freeze, wrap the cheesecake tightly in plastic wrap and aluminum foil, ensuring no air can enter. It can be frozen for up to two months.
Thawing: When ready to enjoy, transfer the cheesecake from the freezer to the fridge and let it thaw overnight for the best results.
Reheating: If desired, serve it chilled or allow it to sit at room temperature for about 30 minutes before slicing to enhance the flavors.
Make Ahead Options
These Lemon Ricotta Cheesecake options are perfect for busy home cooks looking to save time during the week! You can prepare the crust and filling up to 24 hours in advance. Simply mix the crust and press it into the springform pan, then cover and refrigerate. For the filling, blend all the components, pour it over the crust, and store the covered cheesecake in the fridge until you’re ready to bake. When it’s time to serve, bake it as directed and let it cool. This method ensures your cheesecake remains just as delicious while streamlining your cooking process—perfect for those gatherings or weeknight cravings!
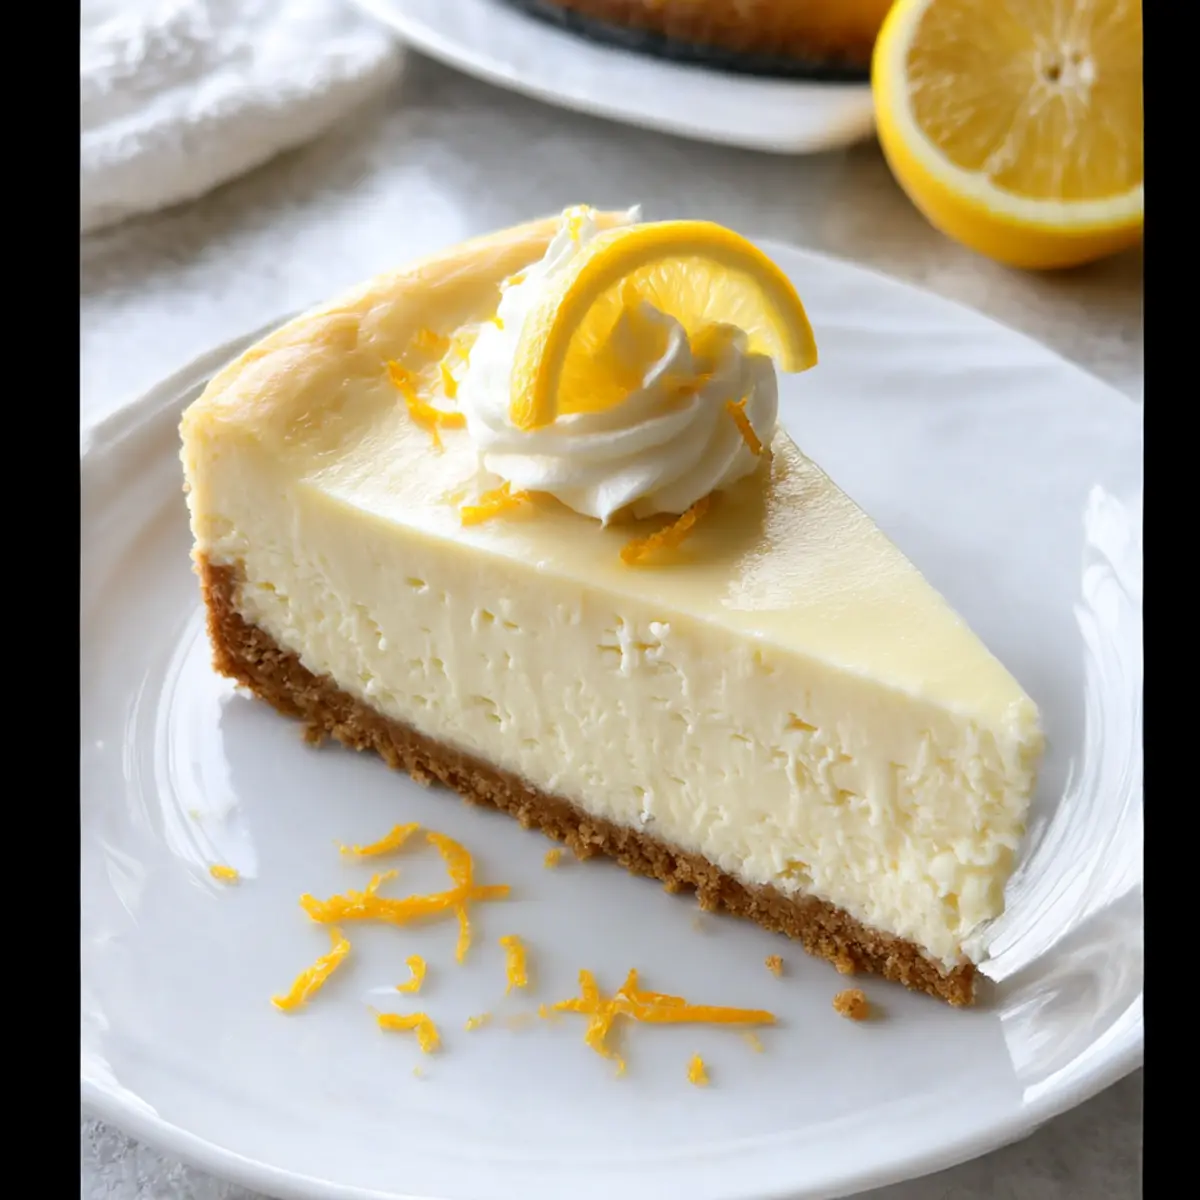
Lemon Ricotta Cheesecake Recipe FAQs
What is the best way to select ripe lemons for this cheesecake?
Absolutely! When choosing lemons, look for ones that are firm and heavy for their size, indicating juiciness. The skin should be vibrant yellow, smooth, and free from dark spots. Avoid lemons with dull, dry skin, as these may not yield as much juice. Squeezing them gently can also give you a sense of their ripeness; they should feel a bit soft, signifying that they are perfectly juicy and flavorful.
How long can I store the Lemon Ricotta Cheesecake in the fridge?
Very! You can keep your Lemon Ricotta Cheesecake in the refrigerator for up to 5 days. Just make sure to cover it tightly with plastic wrap or place it in an airtight container to maintain its creamy texture and prevent it from absorbing any odors from other foods.
Can I freeze this cheesecake and how?
Certainly! To freeze your Lemon Ricotta Cheesecake, first, allow it to cool completely. Then, wrap it tightly in plastic wrap followed by aluminum foil to prevent freezer burn. Make sure it’s well-sealed—this cheesecake can be frozen for up to 2 months. When ready to enjoy, simply transfer it to the fridge and let it thaw overnight for the best texture.
What should I do if my cheesecake cracks while baking?
Oh no, cracks can be disheartening! If your cheesecake cracks, it often means it was overbaked or whipped too much after adding the eggs. To prevent this, always mix on low speed after adding eggs, and aim for a jiggle in the center when you take it out of the oven. If it does crack, don’t worry—a dollop of whipped cream or fresh berries will disguise it beautifully!
Is this recipe suitable for those with dietary restrictions?
The more the merrier! If you have dietary restrictions, there are a few alternatives! You can substitute egg yolks with flax eggs for a vegan option, and use cornstarch instead of flour for a gluten-free version. Also, be cautious of allergies; ensure that guests are aware of the ingredients used, especially with dairy products like cream cheese and ricotta.
Can I add fruit to this cheesecake?
Definitely! Feel free to enhance your Lemon Ricotta Cheesecake with mixed berries or a berry compote—this can add a delightful twist. Simply layer the fruit on top before serving, or even mix them into the batter for an exciting new flavor profile that complements the lemon beautifully!
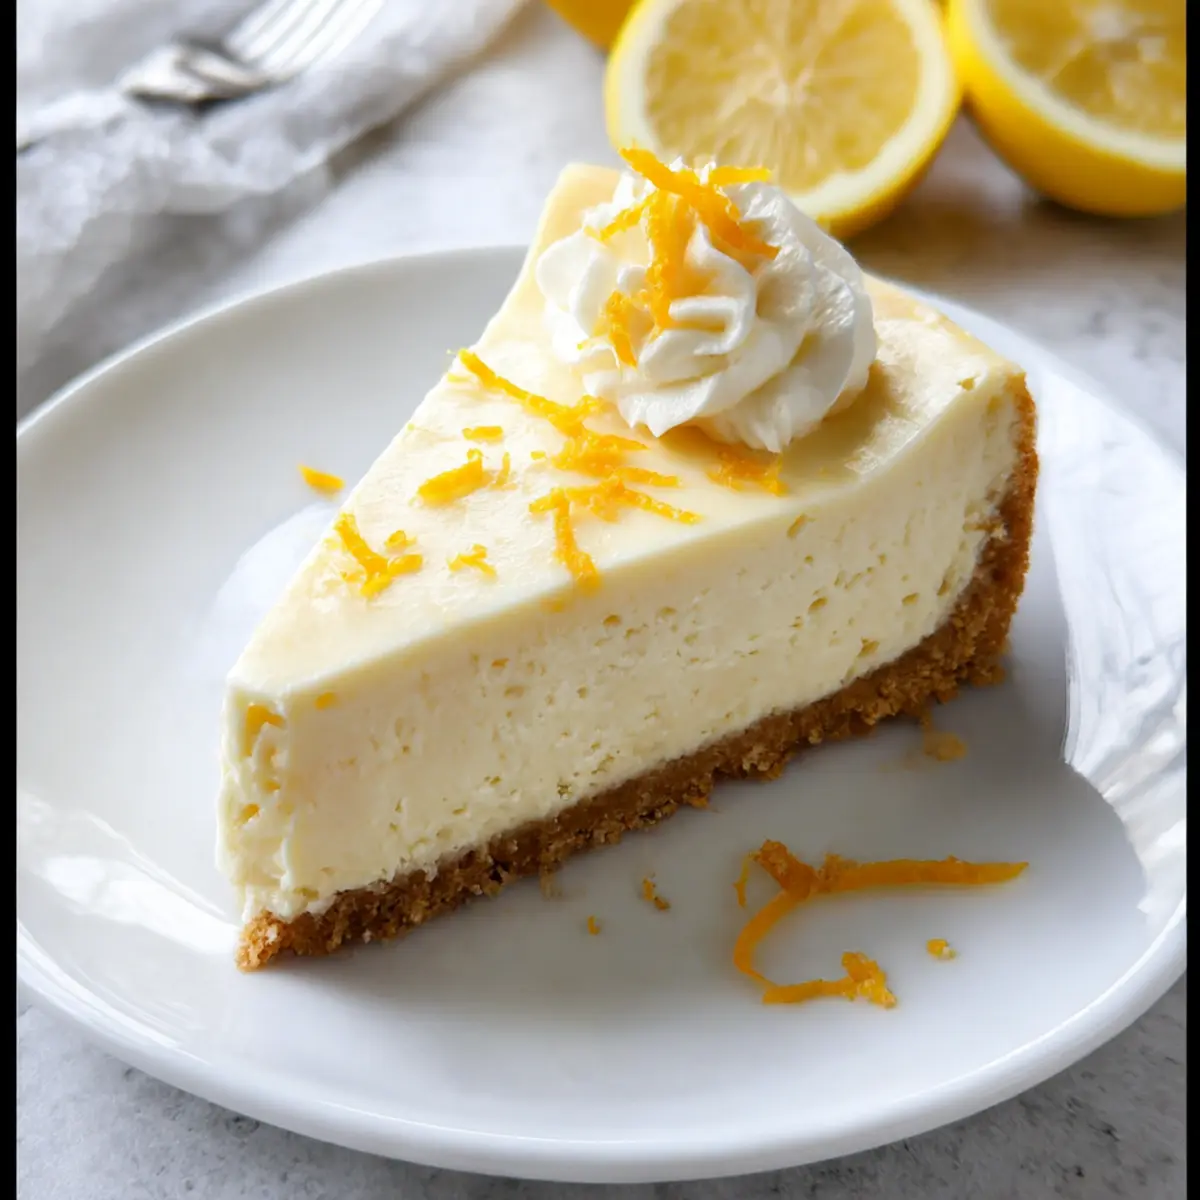
Lemon Ricotta Cheesecake – The Creamy Dessert You’ll Love
Ingredients
Equipment
Method
- Preheat your oven to 350°F (175°C) and prepare a 9-inch springform pan by spraying it with non-stick spray and wrapping the bottom in aluminum foil.
- In a mixing bowl, combine graham cracker crumbs, granulated sugar, and kosher salt. Pour in melted unsalted butter and mix until evenly moistened. Press into the bottom of the prepared springform pan and bake for 10 minutes, or until lightly golden.
- Lower the oven temperature to 300°F (150°C). Prepare for the next stage.
- Mix the full-fat cream cheese and whole milk ricotta cheese in a large mixing bowl until smooth. Gradually add granulated sugar and vanilla, then add eggs one at a time, followed by flour, lemon juice, and zest.
- Pour the filling into the cooled crust. Place the pan in a larger baking dish filled with hot water to create a water bath and bake for 1 hour and 25 minutes.
- After baking, turn off the oven and let the cheesecake sit inside for another 40 minutes.
- Remove from the water bath, loosen edges with a knife, and cool completely on a wire rack before chilling in the refrigerator for at least 6 hours or overnight.
- Serve by removing the sides of the springform pan. Top with whipped cream and garnish with lemon zest before slicing.
Leave a Reply